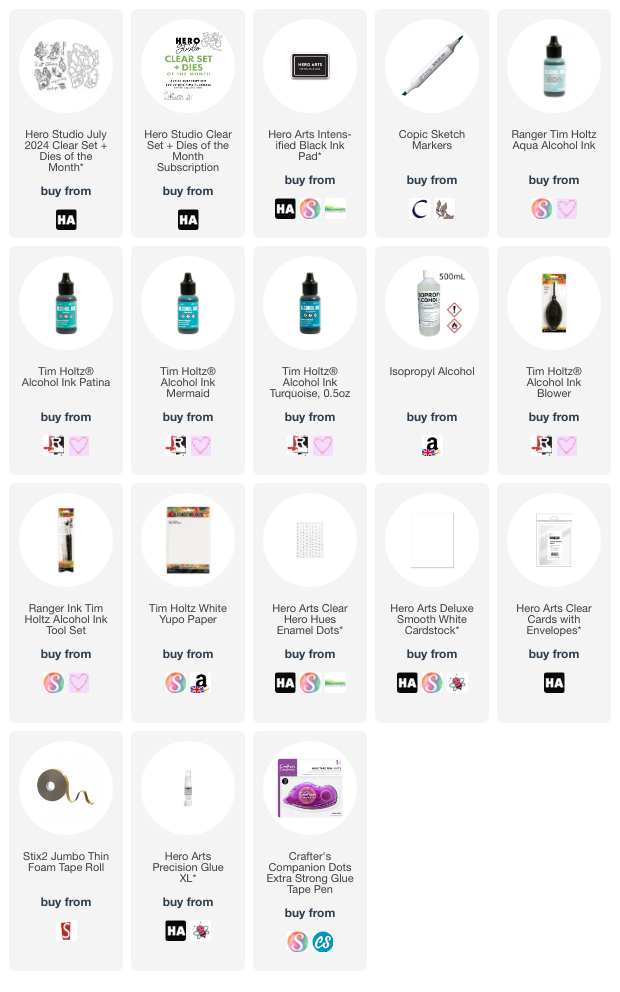
Hello there and welcome as we countdown to the release of the Hero Arts July 2024 Hero Studio Kits and extras, which release on Monday. Yesterday was the peeks of the Card Kit of the Month and today we are focussing on the Monthly Minis. For my card, I am using the Clear Set + Dies of the Month.
PLEASE
NOTE: This post contains affiliate links. Please see below for my full
disclosure.
The kits this month are all about the beach and oceans and the June 2024 Clear Set + Dies of the Month feature beautiful mermaids and sea creatures. The kit can be purchased as part of a subscription, or from the Hero store.
I started off my card by stamping the mermaid with the seahorse image from the set, as well as the fish onto Hero Arts Deluxe Smooth White Cardstock using Hero Arts Intens-ified Black Ink. I then coloured them with Copic Markers and die cut them out using the coordinating dies.
For the background, I took a panel of Yupo Paper and added a layer of Isopropyl Alcohol on first, I then dropped on my favourite colour combination for water of Tim Holtz Alcohol inks on top - Aqua, Patina, Mermaid and Turquoise. I added the lightest ones first and dried in-between all the layers using the Tim Holtz Alcohol Ink Blower. Once I got the panel as I liked it, I splattered on Isopropyl Alcohol to create the droplets/bubbles in the water. I then set it aside to dry.
Once dry, the mermaid and fish were adhered on top using thin foam tape. I then adhered the panel to a Hero Arts Clear Card with more thin foam tape. I created panels of cardstock for the inside and back of the card to hide the adhesive and also give me somewhere to write a message inside the card.
I stamped the sentiment from the set onto more white cardstock using Hero Arts Intens-ified Black Ink. It was die cut out with the coordinating die. I also cut the die again from white cardstock and adhered the stamped one on top (for added dimension). It was then adhered to the card with more foam tape. To finish off, I embellished with Hero Hues Clear Enamel Dots.
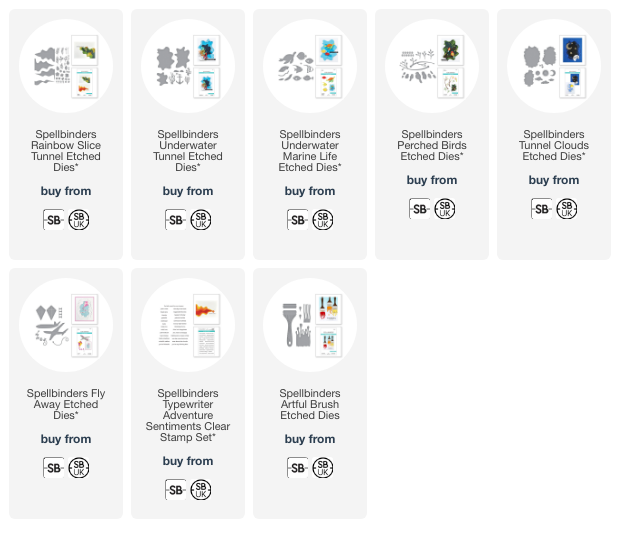
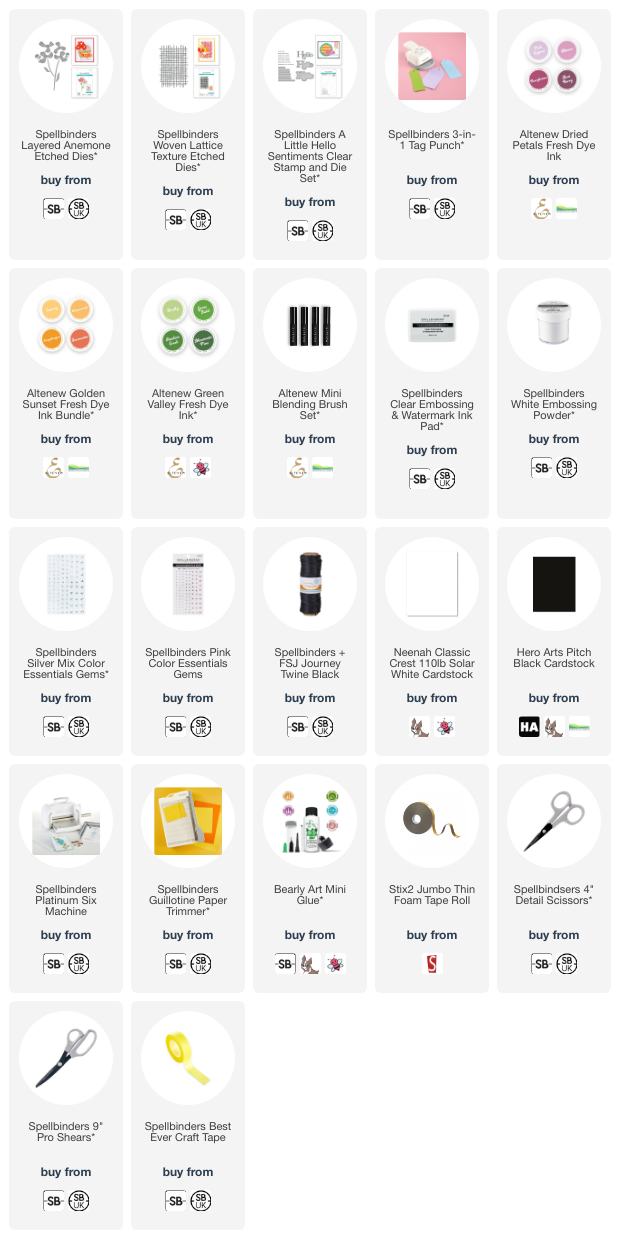
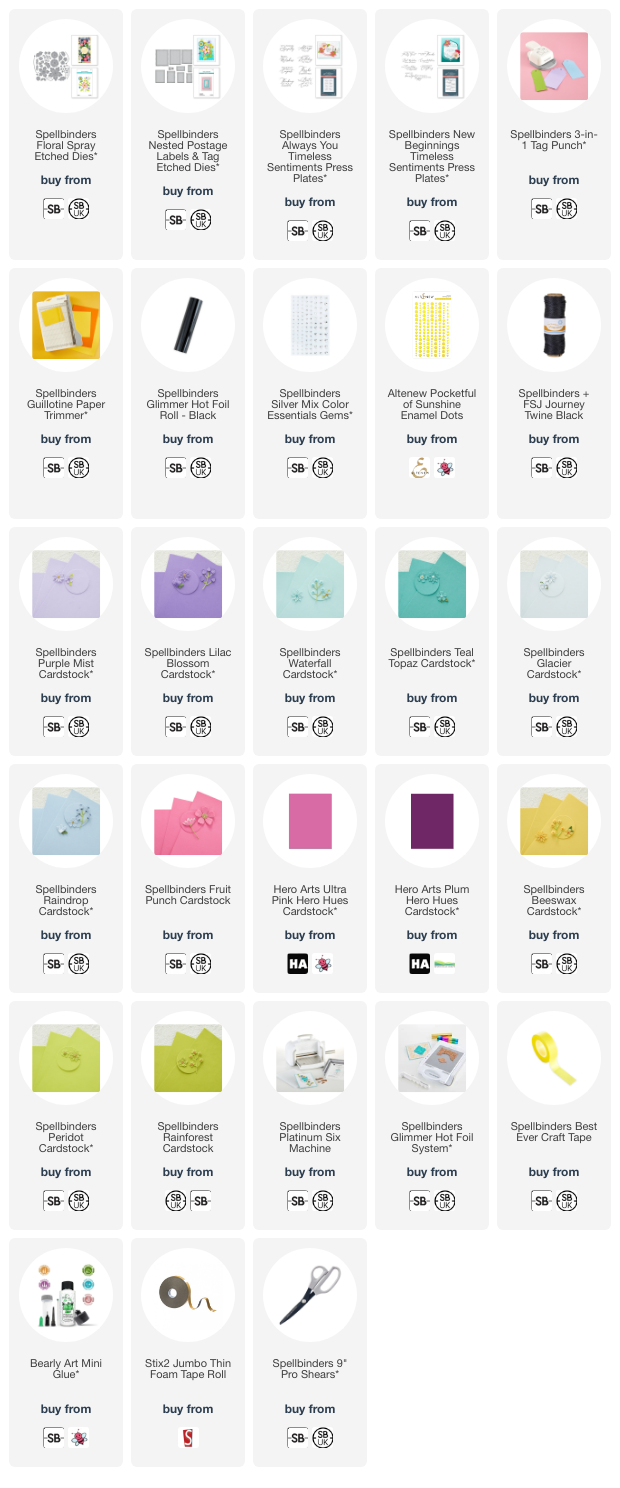
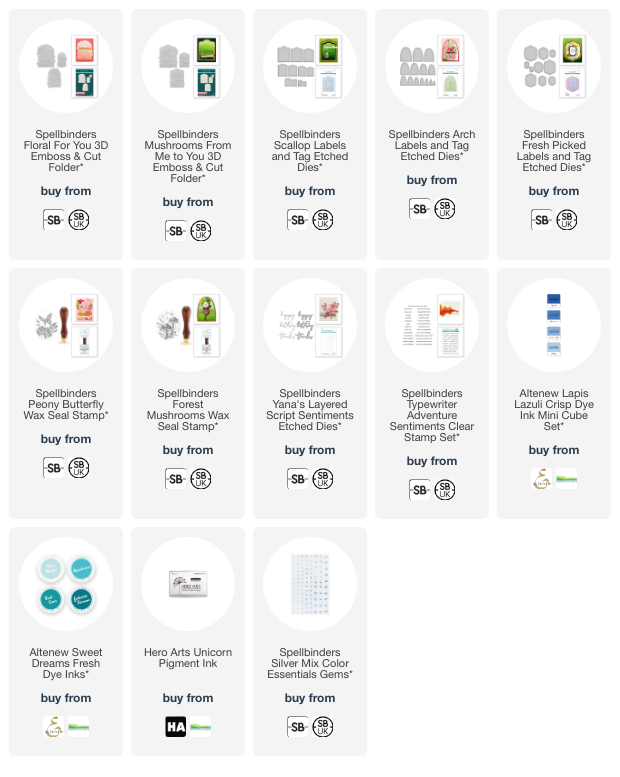
SUPPLIES:
Here are the links to
what I have used on the project. Affiliate
links are used on some products. This means that if you make a purchase after
clicking on my link, I receive a small commission with no extra cost to you. I
truly appreciate your support when using these links. Please click on the logo below
the product to shop at your favourite store. All products were personally
purchased except those from Clearly Besotted, Hero Arts or those marked with an
asterisk (*) which were kindly sent to me to use. You can read my full
disclosure here.
For more inspiration using the Hero Studio Monthly Minis, please head over to the Hero Arts Blog. Be sure to leave a comment over there too, for a chance to win a kit! Thank you so much for stopping by today, see you on Monday for the release! I hope you have a wonderful day!


.jpg)


.jpg)