31 May 2018

Clearly Besotted Teasers | That's Genius!

Hello there and welcome to day four of the Clearly Besotted June 2018 Teasers. All of the new sets release tomorrow at 8pm BST and I am back with my last teaser to share with you today. Today uses the new That's Genius set and it is so cute! Perfect for students, teachers, assistants etc.
 

I started off with a panel of white cardstock. I stamped one of the puppy images from the That's Genius set, along with one of the sentiments, onto the top middle of the panel with Memento Tuxedo Black ink. I then stamped and cut out a mask for the image and placed this over the panel. I also used post-it tape to mask off the bottom portion of the card. I took Peacock Feathers Distress Oxide ink and blended this over the top half using an ink blending tool. For some depth, I added some Faded Jeans Oxide ink towards the bottom. The masks were then removed.
 
 
I coloured the image with Copic Markers (colours used are listed below the supplies section). The panel was added to a white A2 card base with foam sheet and DST. I then added Crystal Glaze to his spectacles/glasses, to finish.
 
SUPPLIES:

Here are the links to what I have used on the card. Affiliate links are used on some products. This means that if you make a purchase after clicking on my link, I receive a small commission with no extra cost to you. I truly appreciate your support when using these links. Please click on the logo below the product to shop at your favourite store. Products marked with an asterisk (*) were kindly sent to me to use.
 
 
COPIC MARKERS: Dog - E55, E53, E51, E50. Book - C5, C3, C1, C0, E43, E40.
 
These images are adorable and I love their huge glasses! So cute! For more inspiration on using the release, please head over to see Stephanie. Not only will she have some stunning projects to share with you, she will also have links to the rest of the DT and guests sharing today too. Thanks so much for visiting me today. I will back tomorrow with my release video. Have a great day!

30 May 2018

MFT Wednesday Sketch Challenge | Flamazing Day

*This is my second post of the day, please see below for my Clearly Besotted Teaser post*
 
Hello there, I am back with my last guest post for My Favorite Things this month for their Wednesday Sketch Challenge. This week we are on Sketch 387, I flipped the sketch to create a horizontal card. I also used a bit of artistic licence with the length of the three elements, as I really wanted to use these wonderful flamingos!
 

I started off by taking a panel of white cardstock and cutting the Stitched Triple Peek-a-Boo Window Die from it to create windows. I took the sentiment form the new Let's Flamingle stamp set and stamped this on to the panel below the windows, using black ink. I took a white A2 card base and masked off the edges of the card. I then stamped the new Itsy Bitsy Polka Dot Background stamp on to it using more black ink and removed the masks. I love this background stamp!
 
 
I took three of the flamingos from the Let's Flamingle stamp set and stamped these on to white cardstock. I coloured them using Copic Markers (the colours I used are listed below the supplies section) and die cut them out using the coordinating Die-namics dies. The window panel was added to the card base with foam tape and then the flamingos added on top with a combination of tape runner and foam tape. To finish , I added a little Crystal Glaze to their beaks.
 

SUPPLIES:

Here are the links to what I have used on the card. Affiliate links are used on some products. This means that if you make a purchase after clicking on my link, I receive a small commission with no extra cost to you. I truly appreciate your support when using these links. Please click on the logo below the product to shop at your favourite store. Products marked with an asterisk (*) were kindly sent to me to use.
 
 
COPIC MARKERS: RV34, RV32, RV52, R00, C10, C7, C5.
 
Please do head over to the MFT Challenge Blog for more details on the sketch and for plenty more inspiration. There is $50 up for grabs too! A big thank you goes to MFT for having me guest with them this month, I have had so much fun! Thank you so much for visiting me today, I hope you have  a great day!

Clearly Besotted Teasers | Happy Hibiscus

Hello there and welcome to day three of the Clearly Besotted June 2018 Teasers. Not long to wait now, all the new sets will be available to purchase on the 1st June. Today I am using the beautiful new Happy Hibiscus stamp set.
 

I started off with panel of cardstock that was cut using one of the MFT A2 Stitched Rectangles Stax dies. I then stamped the hibiscus grouping image from the Happy Hibiscus set on to the bottom left with black ink. I took the individual hibiscus image, as well as the leaf, and stamped these in the top right hand corner of the panel, masking the flower before stamping the leaves. The image was coloured using Copic Markers (the colours I used are listed below the supplies section). I also added a little Spica glitter pen to the stamens on the flowers.
 
 
I took the 'happy birthday' sentiment from the Scrumptious Script set and stamped this on to the panel with more black ink. The panel was added to a white A2 card base with foam sheet and DST. To finish off, I added a few Ice Crystal Sequins with Multi Medium Matte glue.
 
SUPPLIES:

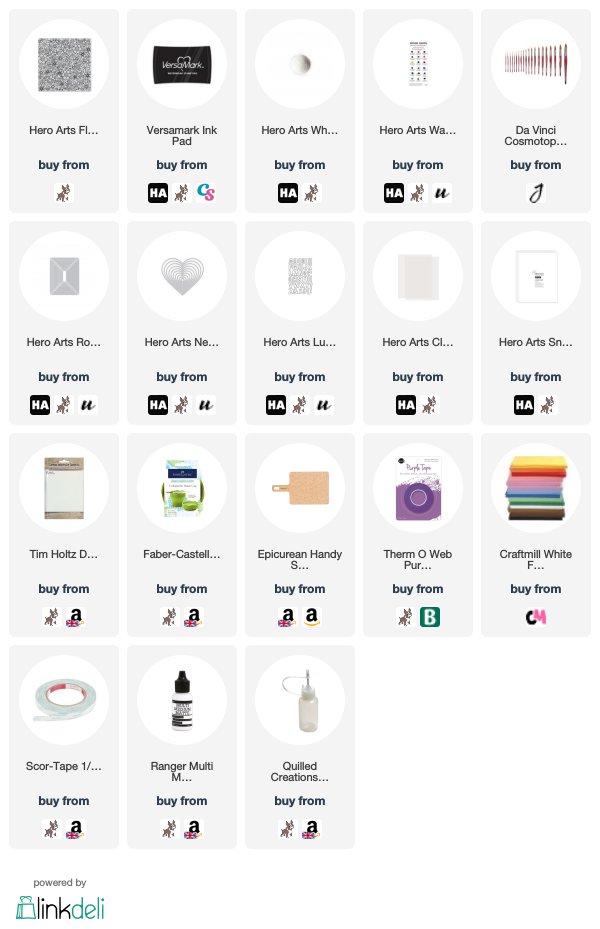
Here are the links to what I have used on the card. Affiliate links are used on some products. This means that if you make a purchase after clicking on my link, I receive a small commission with no extra cost to you. I truly appreciate your support when using these links. Please click on the logo below the product to shop at your favourite store. Products marked with an asterisk (*) were kindly sent to me to use.
 
 
COPIC MARKERS: Hibiscus flowers - RV69, RV63, RV55, RV52, YR18, YR15, YR12. Leaves - YG67, YG17, YG23, YG03, YG01, Spica Buttermilk 16. Outside shading - B01, B00, B000, B0000.
 
There are some beautiful sentiments in the Happy Hibiscus set, but I just love the font on the Scrumptious Script sentiments and thought it would work well with the image. For more inspiration on using the new sets, please head over to see Stephanie. Not only will she have some amazing projects to share with you, she will also have links to the other DT and guests sharing today. Thanks so much for stopping by today, see you later for my MFT post.

29 May 2018

Clearly Besotted Teasers | Birthday Butterfly

Hello there and welcome to day two of the Clearly Besotted June 2018 Teasers. Today I have two new sets to share with you - Flutter By Me and Brushed Sentiments. These butterflies are so beautiful and very versatile too. There are both outlines and solid/negative outlines in this set.
 

I started off by stamping the larger of the two butterflies from the Flutter By Me set on to vellum. I used the design with the outlines. I stamped it using Versmark Ink and applied white detail embossing powder. This was then heat set. I fussy cut the image out with scissors, but there will be dies available. I took a white 5" x 5" card base and stamped the 'happy birthday' sentiment from the new Brushed Sentiments set with black ink on to the front panel.
 
 
I die cut three rectangles from the SSS Stitched Rectangles die set from watercolour paper. Using an ink blending tool, I applied Wilted Violet Distress Oxide Ink on to the panels. I added darker colour at the bottom, moving to lighter at the top. These were added to the card with foam tape. I then added the butterfly on top with little dots of Multi Medium Matte glue.
 
SUPPLIES:

Here are the links to what I have used on the card. Affiliate links are used on some products. This means that if you make a purchase after clicking on my link, I receive a small commission with no extra cost to you. I truly appreciate your support when using these links. Please click on the logo below the product to shop at your favourite store. Products marked with an asterisk (*) were kindly sent to me to use.
 
 
These butterflies are so pretty and can be used for so many occasions and in different ways. I am looking forward to using them again already! Please do head over to Stephanie to see her amazing creations. She will also have links to all the DT and guests sharing today. Thank you so much for visiting me today, see you tomorrow! Have a great day!

28 May 2018

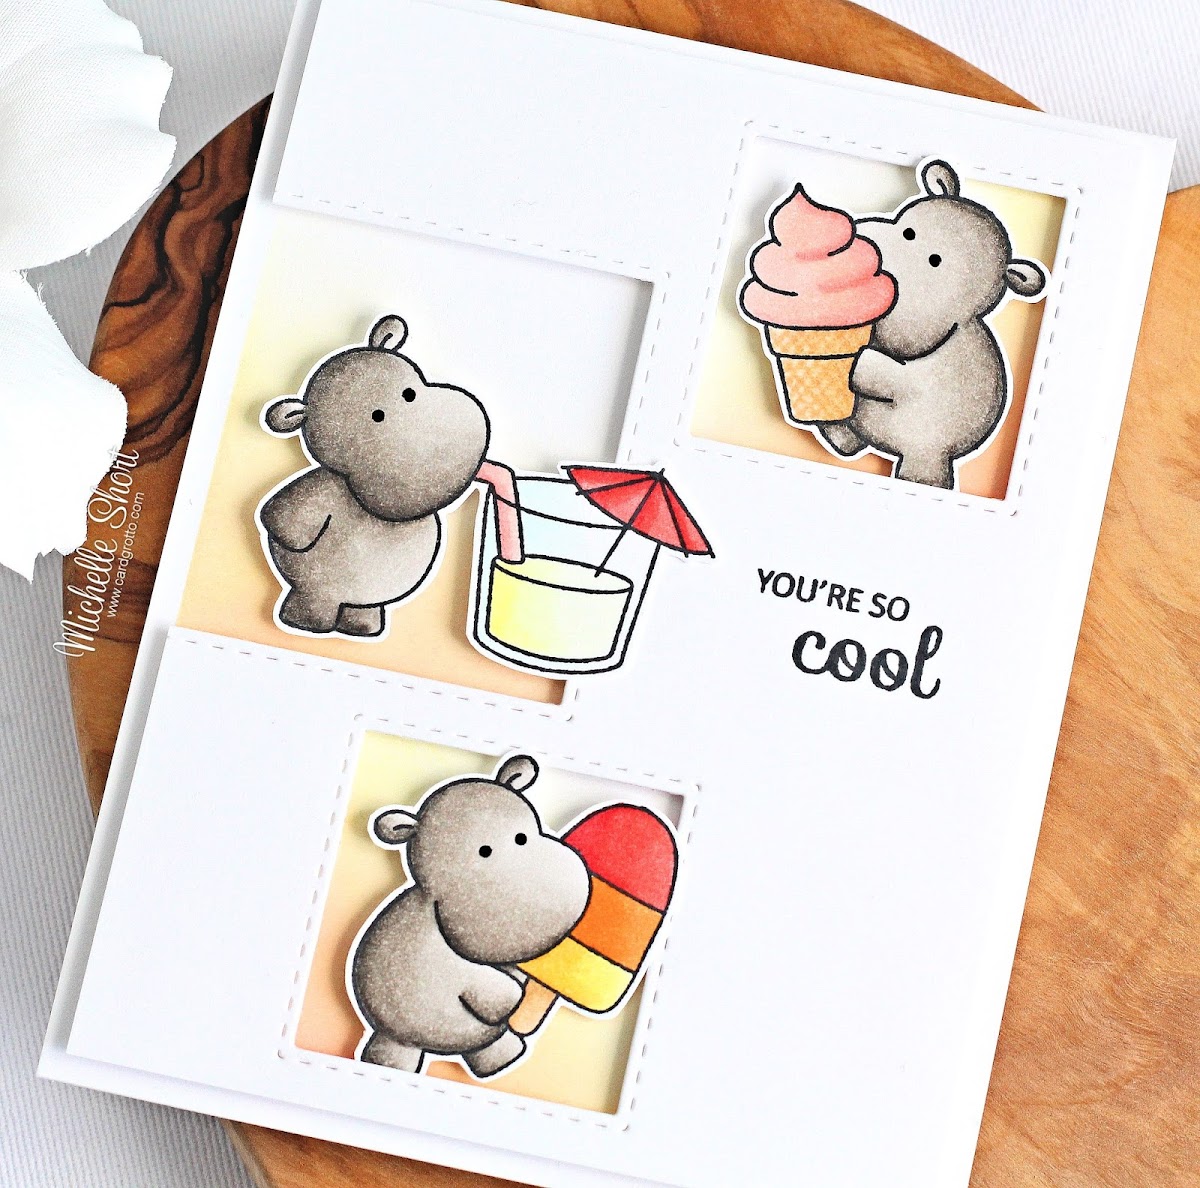
Clearly Besotted Teasers | You're So Cool

Hello there, today starts the countdown for the Clearly Besotted June 2018 release. The DT and guests are teasing you for the next four days, with the release being on the 1st June 2018 at 8pm BST. My card today uses the super cute Cooling off stamp set.
 

I started off by stamping the three super cute hippos from the set on to white cardstock with Memento Tuxedo Black Ink. I coloured them with Copic Markers (the colours used are listed below the supplies section) and then fussy cut out with scissors (there will be coordinating dies available). These were then set aside for me to work on the card base. I took a panel of white cardstock and cut three squares from it using the SSS Stitched Squares dies. I then stamped the sentiment on to the panel with black ink.
 
 
I took an A2 white card base and masked off the where the square openings are to add some ink blending. I used Squeezed Lemonade and Picked Raspberry Distress Oxide inks and a blending tool to add some colour behind the windows. The window panel was then added on top with foam tape. To finish off, I added black glaze pen to their eyes to help them pop.
 

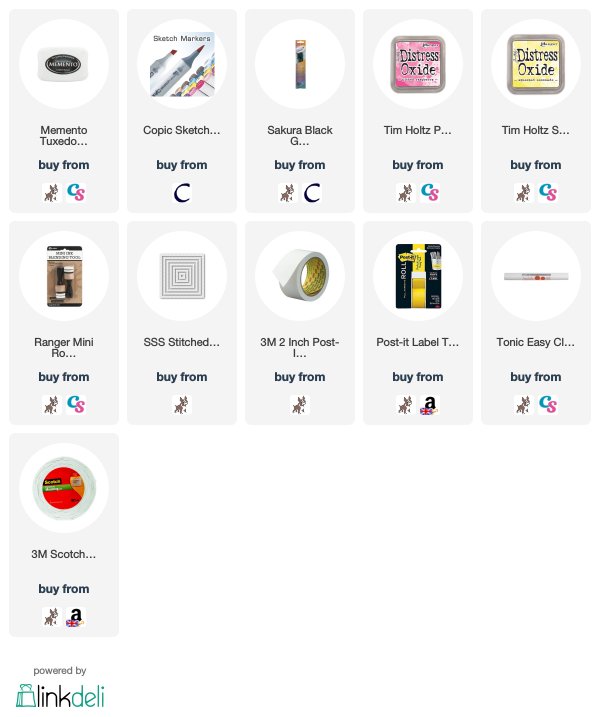
SUPPLIES:

Here are the links to what I have used on the card. Affiliate links are used on some products. This means that if you make a purchase after clicking on my link, I receive a small commission with no extra cost to you. I truly appreciate your support when using these links. Please click on the logo below the product to shop at your favourite store. Products marked with an asterisk (*) were kindly sent to me to use.
 
 
COPIC MARKERS: Hippos - W7, W5, W3, W2, W1. Ice lolly - Y17, Y15, Y13, Y11, YR16, YR15, YR12, R27, R24, R14, E55, E53. Ice cream - E55, E53, E51, E50, R32, R30. Lemonade glass - Y02, Y00, Y000, B000. Umbrella - R27, R24, R14. Straw - R32, R30.
 
How adorable are these hippos? I love them! For more inspiration using the new release, please do head over to my teamies Stephanie, Lisa and Keren. We also have two fabulous guest designers this month - Anita and Lisa. Thanks so much for stopping by today, see you tomorrow for day two. Have a great day!

27 May 2018

Altenew May Blog Hop Winner

Hello there, sorry I am a day late in posting this, I had a horrible migraine yesterday. Anyway, I am here today to share the winner of the $30 gift certificate from the Altenew May 2018 Blog Hop I took part in at the beginning of the week.


The winner from my blog is:
 

Congratulations, Michele! Please can you email me using the link on my sidebar. A huge thank you to everyone who took part and left me such lovely comments. I hope you are having a great weekend!

25 May 2018

VIDEO | Studio Katia 2nd Anniversary Blog Hop

Hello there, I am delighted to be taking part in Studio Katia's 2nd Birthday Celebration Blog Hop today. They have released a wonderful new collection of stamps, dies, stencils and embellishments. To celebrate both the release and the anniversary, there is a two day hop going on today and tomorrow.  If you are following along in the hop, you should have arrived here from the amazing Rubeena. I have more details on the hop below :)
 

I am using the gorgeous new Lovely Blooms stamp set today, along with the new Birthday Greetings set. I started off by stamping the floral image from the Lovely Blooms set on to TH watercolour paper. I stamped it with Versamark Ink and then applied detail white embossing powder. This was then heat set. The image was coloured using Zig Clean Color Real Brush Pens (the colours I used are listed below the supplies section).
 
 
The panel was then die cut using the largest frame from the Dotted Patterns Scallop Frame Die collection. This was added to a white A2 card base with foam sheet and DST. I took one of the sentiments from the Birthday Greeting stamp set and stamped this on to black cardstock with Versamark Ink. I applied the same detail white embossing powder and heat set. This was then cut in to a strip using a craft knife and metal ruler. It was added to the card with clear foam tape. To finish off, I added a sprinkling of clear gems from the new Spring Gems collection, which is a free gift with purchase this month.


VIDEO:

Here is the video showing how I made the card:


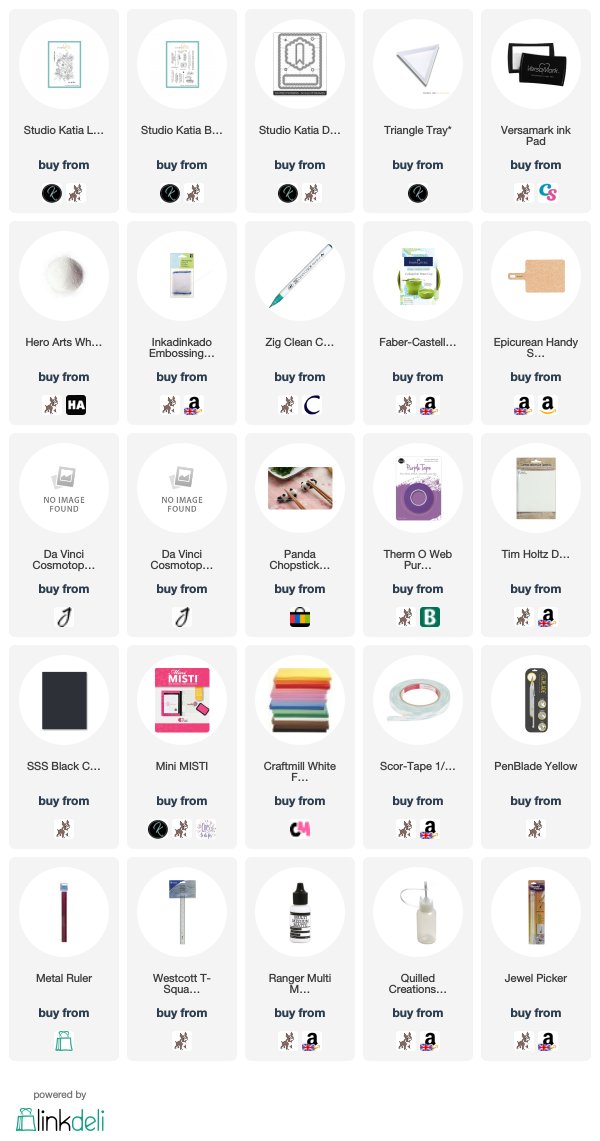
SUPPLIES:

Here are the links to what I have used on the card. Affiliate links are used on some products. This means that if you make a purchase after clicking on my link, I receive a small commission with no extra cost to you. I truly appreciate your support when using these links. Please click on the logo below the product to shop at your favourite store. Products marked with an asterisk (*) were kindly sent to me to use.
 

ZIG CLEAN COLOR REAL BRUSH PENS: Large purple flowers - Light Violet 081, Violet 080. Pink flowers - Pink 025, Carmine Red 022, Geranium Red 029. Small purple flower heads - Lilac 083. Small coral flowers - Pale Pink 028, Pink 025, Yellow 050. Light green leaves - Light Green 041. Darker green leaves - Green 040, Yellow 050. Teal leaf branches - Turquoise Green 042. Outside shadow/colour - Light Blue 036.


BLOG HOP:

 
For the hop, you should have arrived here from the amazingly talented Rubeena. Next in the hop is the super talented Kaja. For more information on the hop and to start from the beginning, please head over to the Studio Katia Blog. Remember that there will be another hop tomorrow with lots more inspiration too.


GIVEAWAY:

Studio Katia are giving away two $100 (CAD) gift certificates to the Studio Katia store on each day of the hop. That is four chances to win! The winners will be chosen from the comments left across all the stops in the hops, so the more you comment, the more chances you have to win. Comments close on Saturday 2nd June 2018 at 11.59pm EST. The winners will be announced on the Studio Katia blog on the 3rd June. Good Luck!

Thank you so much for visiting me today. I hope you have a wonderful time on the rest of the hop!

24 May 2018

Sending You Hugs

Hello there, today I have a card to share using the new Tile Pattern Stencil from Hero Arts. It is such a great stencil and although I have only used a small portion of it today, I think it is really pretty. I also think it is a very gender neutral pattern, which is always great!
 

I started off by placing the stencil over some watercolour paper. Using a blending tool, I blended over Distress Oxide Inks in Salty Ocean, Cracked Pistachio and Peacock Feathers. I then added a layer of Frosty Dawn Sparkle Paste, removed the stencil and set aside to dry. Once dry, I die cut this in to a heart using a Nesting Heart Infinity Die and added it flat to a white A2 card base with tape runner.
 
 
I took the Hello Stamp & Cut and cut the hello die three times from black cardstock. I layered these up with liquid glue and added it on top of the heart.
 
 
I then took the sentiment from the set and stamped this on to white cardstock with black ink. This was added to the card with foam tape below the 'hello'.
 
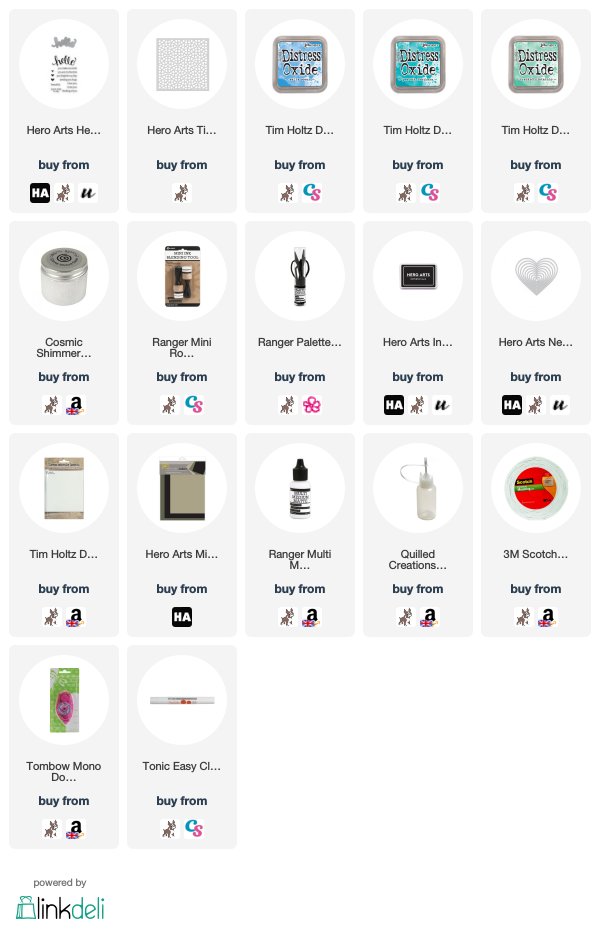
SUPPLIES:

Here are the links to what I have used on the card. Affiliate links are used on some products. This means that if you make a purchase after clicking on my link, I receive a small commission with no extra cost to you. I truly appreciate your support when using these links. Please click on the logo below the product to shop at your favourite store. Products marked with an asterisk (*) were kindly sent to me to use.
 
 
Such a simple design but I love the sparkle from the paste. Sadly it doesn't show up well in the photos but it is so pretty in real life. Thank you so much fro visiting me today. I hope you have a great day!

23 May 2018

MFT Wednesday Sketch Challenge | Cheers

Hello there, it's Wednesday so that means it's time for another MFT Wednesday Sketch Challenge. I am guesting with My Favorite Things all month long and have really enjoyed making these cards for the sketches. It really pulls you out of your comfort zone, but in a good way! We are on to Sketch 386.
 

I started off my card by creating the background panel. I took a panel of white cardstock and using the new Basic Shapes - Circles stencil, I created circles over the piece with Worn Lipstick and Squeezed Lemonade Distress Oxide Inks. I love this stencil as there are lots of different sized circles on it, so it is really versatile. As you can see, I created a few different sized circles as I wanted it to look kind of like bubbles, to go along with the cocktail theme.
 
 
I then took the new Martini Shaker Window & Frame Die-namics die and cut the centre portion out of the background panel. I also cut a piece of white sparkle paper at the same time to add in to the glass. The panel was adhered flat to a white A2 card base. The frame piece was cut three times from white cardstock and layered up using Multi Medium Matte liquid glue. I placed some of the fun new Frosty Ice Cubes on to the glitter piece and then stuck the shaker pouch over the top using 1/8" scor tape. The glass frame was then added over the top with MMM glue. The sentiment, from the new Spirited Sentiments stamp set, was stamped on to a strip of black cardstock with Versamrk Ink. I applied white embossing powder and heat set, this was added to the card with foam tape.
 

SUPPLIES:

Here are the links to what I have used on the card. Affiliate links are used on some products. This means that if you make a purchase after clicking on my link, I receive a small commission with no extra cost to you. I truly appreciate your support when using these links. Please click on the logo below the product to shop at your favourite store. Products marked with an asterisk (*) were kindly sent to me to use.
 
 
These are such fun sets! Please do head over to the MFT Challenge Blog to see the sketch and for more details on how to enter. There is a lots more inspiration for using the sketch over there too! Thank you so much for visiting me today. I hope you have a great day!

21 May 2018

VIDEO | Altenew May 2018 Stamp & Die Release Blog Hop + Giveaway

Hello there, I am delighted to be hopping along with Altenew for their May 2018 stamp & die release today. It is a wonderful release with something for everyone but today, I decided to focus on creating some simple floral cards where the focus is the flowers.
 

My first card uses the new Starry Flowers stamp set. I started off by stamping the larger of the two floral images from the set on to watercolour paper, using Versamark Ink. I applied white embossing powder and heat set. Using an ink blending tool, I applied inks from the Sweet Dreams Ink collection on to the panel.

 
I used all four of the ink colours starting darker at the top and moving to lighter shades at the bottom. I then misted over Iridescent Ink Spray and also added some larger drops for some added interest and shimmer.
 
 
While the panel was drying, I took one of the sentiments from the set and stamped this on to black cardstock with Versamark ink. I applied white embossing powder and then heat set. This was cut in to a strip. I adhered the image panel to a white A2 card base with foam sheet and DST and then added the sentiment on top with clear foam tape.
 

My second card uses the new Fabulous Floral stamp set. This is a wonderful layering set with two flowers and a few different leaves. I started off by stamping one of the flowers on to a 4" x 5.25" panel of white cardstock. I used the Glacier Caves Ink collection and started with the lightest colour at the bottom for the larger layers, moving up to the darker colours for the smaller layers. I also used black for the flower centre.
 
 
The flower was masked off and then the other flower from the set stamped using the same colours, before removing the mask. This makes it look like the first flower is in front of the second. Both flowers were then masked off and the leaves stamped using the Green Fields Ink collection. I used all three shades of green from the set.
 
 
The panel was then adhered to a white A2 card base with foam sheet and DST. I then took a sentiment from the Strawberry stamp set and stamped this on to black cardstock, white heat embossed it and cut it in to a strip. This was added to the card with clear foam tape. To finish off, I added a few Sparkling Clear sequins.
 
 
Since I really like how the flowers looked in the blue, I decided to create a tag as well. I free-hand cut a tag from white cardstock and stamped one of the flowers and leaves in the bottom right hand corner using the same inks. I then stamped a sentiment from the Sentiments and Quotes stamp set in the top left hand corner. To frame the tag, I used the new Fine Frames Rectangles dies. These are thin frames and I think they worked particularly well for this tag, bringing the focus in to the middle.
 
VIDEO:
 
Here is the video showing how I made the cards:


SUPPLIES:

Here are the links to what I have used on the card. Affiliate links are used on some products. This means that if you make a purchase after clicking on my link, I receive a small commission with no extra cost to you. I truly appreciate your support when using these links. Please click on the logo below the product to shop at your favourite store. Products marked with an asterisk (*) were kindly sent to me to use.
 
BLOG HOP:


For the hop, you should have arrived here from Laura Jane. The next person on the hop is Erum Tasneem. For the full list of participants, or to start the hop from the beginning please visit the Altenew Card Blog.
 
GIVEAWAY:
 
To celebrate the release, Altenew is giving away a $50 gift certificate to 6 lucky winners! Please leave a comment on the Altenew Card Blog and/or Altenew Scrapbook Blog by Friday 26th May 2018 for a chance to win. The 6 winners will be announced on the Altenew blogs on the 27th May 2018.
 
I am also giving away a $30 gift certificate to the Altenew store to one lucky winner. Please leave a comment on this post by May 25th 2018 at 17.00 hrs BST/ 12.00 EDT. I will announce the winner on May 26th. Good luck!
 
Thank you so much for visiting me today. I hope you have a great time on the rest of the hop and have a fabulous day!  

20 May 2018

Birthday Peony

Hello there, today I have a card to share using the new Peonies Stamp Set from Hero Arts. I am in love with all the new florals that they have brought out, perfect for colouring!
 

I started off by stamping the large peony image using black ink on to Fabriano Artistico watercolour paper. I then did a light wash of Daniel Smith Quinacridone Rose watercolour to the petals and Undersea Green to the leaves. Once dry, I coloured the peony with colored pencils. I used mainly Polychromos and then added some white highlights with a Caran d'Ache Luminance white pencil. The colours I used are listed below the supplies section.
 
 
The image panel was then cut down to 5.25" x 4" and added to a Fog card base with ATG. I took the 'happy birthday' sentiment from the Eat Cake All Day Stamp & Cut and stamped this on to black cardstock using Versamark Ink. I applied white embossing powder and heat set. This was then cut in to a strip and added to the card with foam tape. To finish off, I added a few Sparkling Clear sequins.
 
SUPPLIES:

Here are the links to what I have used on the card. Affiliate links are used on some products. This means that if you make a purchase after clicking on my link, I receive a small commission with no extra cost to you. I truly appreciate your support when using these links. Please click on the logo below the product to shop at your favourite store. Products marked with an asterisk (*) were kindly sent to me to use.
 
 
COLOUR PENCILS: Flower petals - Polychromos 199, 133, 125, 129, Luminance 001 White. Leaves - Polychromos 199, 174, 168, Luminance 001 White.
 
Unfortunately the photos aren't quite doing the colouring justice but I think the watercolour helped to give a base to the colour pencils. Thank you so much for visiting me today. I hope you have a great rest of the weekend!

19 May 2018

VIDEO | Card Making Haul - May 2018

Hello there, today I am popping in to share my Card Making Haul for May 2018 (plus a few little bits I bought in April too!). I mainly bought stamps and dies this month, plus a lot of Doodlebug stickers!
 
 
As I share in the video, I don't usually use stickers on my cards but I often add them when wrapping up presents, use them on tags or on envelopes. I also add them in my Filofax sometimes for a bit of fun! Here is everything I got:


SUPPLIES:

Here are the links to what I shared in the video. Affiliate links are used on some products. This means that if you make a purchase after clicking on my link, I receive a small commission with no extra cost to you. I truly appreciate your support when using these links. Please click on the logo below the product to shop at your favourite store. Products marked with an asterisk (*) were kindly sent to me to use.
 
 
I am really looking forward to using it all. Thank you so much for visiting me today. Have a great weekend!

18 May 2018

Flowers for Colouring

Hello there, today I am over on the Hero Arts Blog sharing a card made using the new Hero Arts Flowers for Coloring Bold Prints. I tend to go for softer backgrounds, so this time I challenged myself to create a fairly bold one. I loved colouring the flowers with watercolours.
 
 
SUPPLIES:

Here are the links to what I have used on the card. Affiliate links are used on some products. This means that if you make a purchase after clicking on my link, I receive a small commission with no extra cost to you. I truly appreciate your support when using these links. Please click on the logo below the product to shop at your favourite store. Products marked with an asterisk (*) were kindly sent to me to use.
 
 
For more information on how I made the card, please head over to the blog post. Thank you so much for visiting me today. I hope you have a great rest of the day and a wonderful weekend!

16 May 2018

MFT Sketch Challenge | Happy Birthday To Roo

*This is my second post for the day, please see below for my Simon Says Stamp Sending Sunshine post*
 
Hello there, today I am back to share another card with you as a guest designer for My Favorite Things Wednesday Sketch Challenge. We are on sketch 385 and I have to say, this was a bit of a challenge for me! I don't often add so many layers to my card and I did flip the side panel to be on the other side, but in the end, I really like how the card came out!
 

I started out by creating the background piece. I took a panel of white cardstock and using the Cloud Stencil and Broken China Distress Oxide Ink, I added some subtle clouds to the panel. I took a strip of paper from the Black & White Stripes Pattern Paper Pad and added this to the left hand side, along with a thin strip of black cardstock. I took the Grassy Fields dies and die cut these from green cardstock. I then blended a little Mowed Lawn and Twisted Citron Distress Ink on to them to give some depth. These were added to the cloud side of the panel and then the whole panel was added to a 5" x 5" white card base with tape runner.
 
 
I took the kangaroo image from the new Aussie Animals Stamp Set, along with the balloons from the Beary Special Birthday stamp set. These were stamped with black ink on to white cardstock and coloured using Copic Markers. They were then die cut out with the coordinating dies. The balloons were added to the card with tape runner and then the kangaroo added with a combination of tape runner and thin foam tape (to the stop half of his body).
 
 
I took the sentiment from the Aussie Animals set and stamped this on to black cardstock with Versamark Ink. I applied white embossing powder and heat set. This was cut in to strips and added to the card with thin foam tape.
 
SUPPLIES:

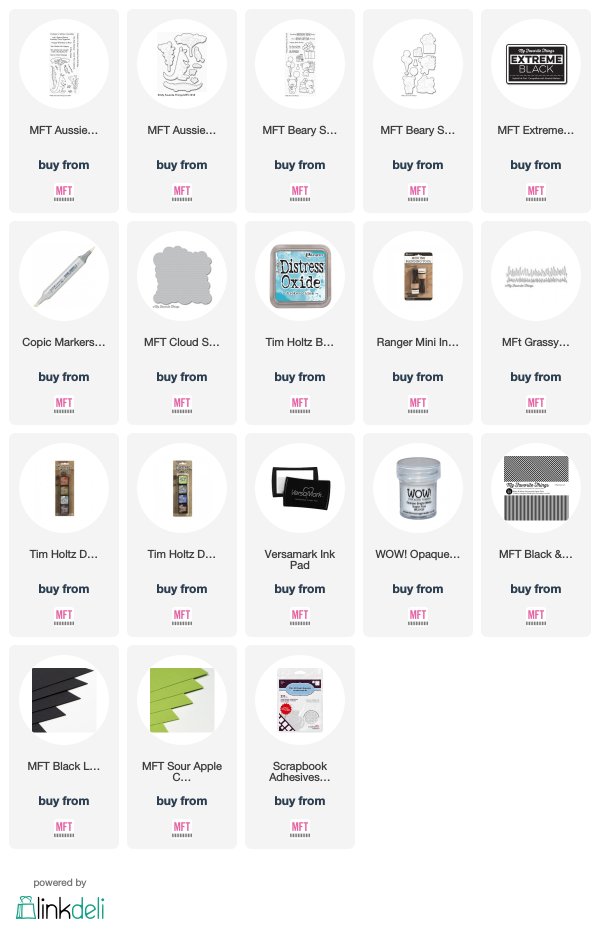
Here are the links to what I have used on the card. Affiliate links are used on some products. This means that if you make a purchase after clicking on my link, I receive a small commission with no extra cost to you. I truly appreciate your support when using these links. Please click on the logo below the product to shop at your favourite store. Products marked with an asterisk (*) were kindly sent to me to use.
 
 
COPIC MARKERS: Kangaroo - E47, E44, E43, E42, E41, E40, R12, R00. Balloons - Y17, Y15, Y13, Y11, B04, B02, B00, YG17, YG23, YG03.
 
Do head over to the MFT Challenge Blog to see the sketch and for more inspiration. I hope you will enter. There is a $50 gift certificate to MFT up for grabs! Thank you so much for visiting me to day. I hope you have a great day!

Fancy Floral Thanks

Hello there, today I have a card to share using the wonderful new Center Cut Fancy Flower background stamp from the new Sending Sunshine release from Simon Says Stamp. The new release is out today.
 

For my card, I started off by stamping the background stamp on to a piece of Ranger watercolor paper. I stamped it using Versamark Ink and then applied white embossing powder. This was then heat set. I placed the panel in a box and sprayed on Broken China, Peacock Feathers, Mermaid Lagoon and Chipped Sapphire Distress Spray Stains. I set the piece aside to dry and once dry, wiped off any excess ink from the embossing powder. This was then cut down and added to a 5.25" x 5.25" white card base with tape runner.
 
 
I took the Big Thanks die and cut the bubble piece from vellum and the wording piece from white. I cut the word three times from white and stacked these up with liquid glue before adding on to the vellum piece. This was added to the card with more liquid glue. I took the sentiment from the CZ Design Emphatic stamp set and stamped this on to black cardstock with Versamark Ink. I applied white embossing powder and heat set. This was cut in to a strip and added to the card with clear foam tape.
 
SUPPLIES:

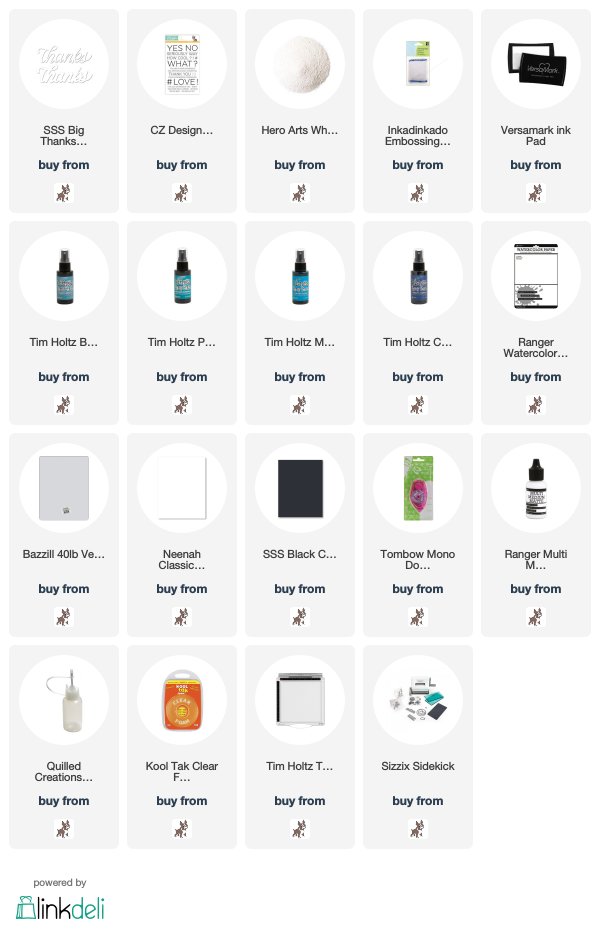
Here are the links to what I have used on the card. Affiliate links are used on some products. This means that if you make a purchase after clicking on my link, I receive a small commission with no extra cost to you. I truly appreciate your support when using these links. Please click on the logo below the product to shop at your favourite store. Products marked with an asterisk (*) were kindly sent to me to use.
 
 
I am really looking forward to using this stamp again for a different technique. Watercolour maybe? Thanks so much for visiting me today. I will be back later with my MFT Sketch Wednesday post.
End of code