Showing posts with label WPlus9. Show all posts

5 August 2020

Spellbinders | Stylish Script

Hello there, today I have a card to share with you using the beautiful Spellbinders Thank You & Happy Birthday Glimmer Hot Foil Set from the Stylish Script Collection. I really love the handwritten font on these!
 

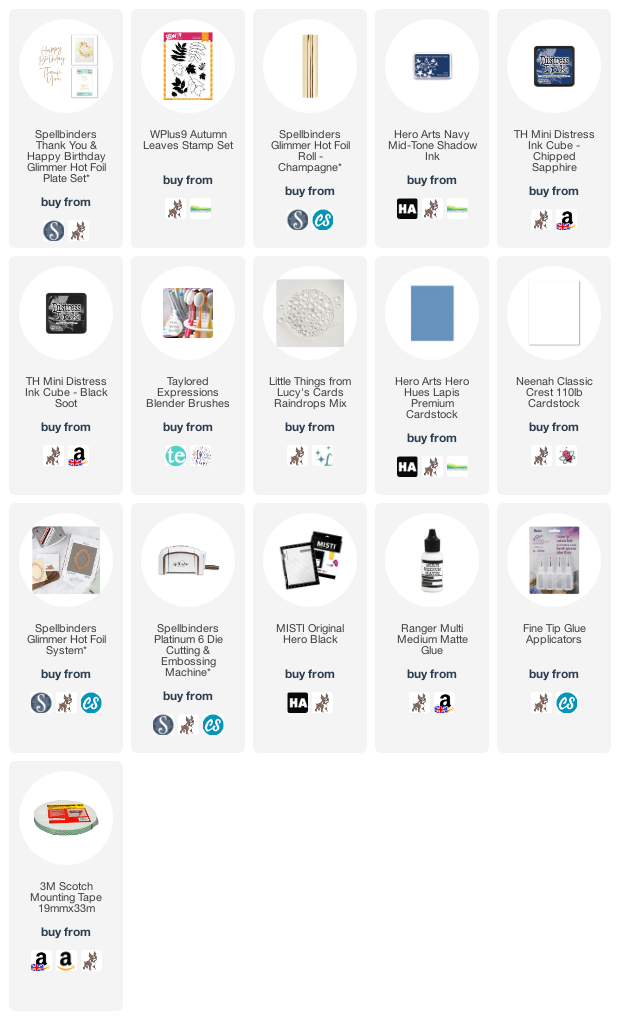
I started off by taking a panel of 3.75" x 5" Hero Arts Lapis Cardstock and blending Tim Holtz Chipped Sapphire Distress Ink around the edges. I wanted it to be a bit darker towards the very edges, so I added on some Tim Holtz Black Soot Distress Ink too. I then left the panel to dry for a few hours.
 
 
I took the thank you from the Spellbinders Thank You & Happy Birthday Glimmer Hot Foil Plate Set and foiled it on to the top middle of the panel using Spellbinders Champagne Foil. Once foiled, I stamped the fern shaped leaf from the WPlus9 Autumn Leaves Stamp Set around the edges of the panel, using Hero Arts Navy Mid-Tone Shadow Ink.
 
 
The panel was then adhered on to an A2 white card base with foam tape. To finish off, I added Lucy's Raindrops around the panel, adhering with Multi Medium Matte adhesive.
 
SUPPLIES:

Here are the links to what I have used on the card. Affiliate links are used on some products. This means that if you make a purchase after clicking on my link, I receive a small commission with no extra cost to you. I truly appreciate your support when using these links. Please click on the logo below the product to shop at your favourite store. All products were personally purchased except those from Clearly Besotted, Hero Arts or those marked with an asterisk (*) which were kindly sent to me to use. You can read my full disclosure here.
 
 
I think this design would work well using the happy birthday sentiment too for a masculine birthday card. Thank you so much for stopping by to see me today. I really do appreciate it. I hope you have a wonderful day!

30 June 2019

Clearly Besotted Teasers | Birds of a Feather

Hello there and welcome to day four of the Clearly Besotted July 2019 Teasers. I am back with one last teaser to share with you before the release of the new sets tomorrow. My card today uses the new Birds Of A Feather Set. This set is full of different birds, accessories and sentiments.
 

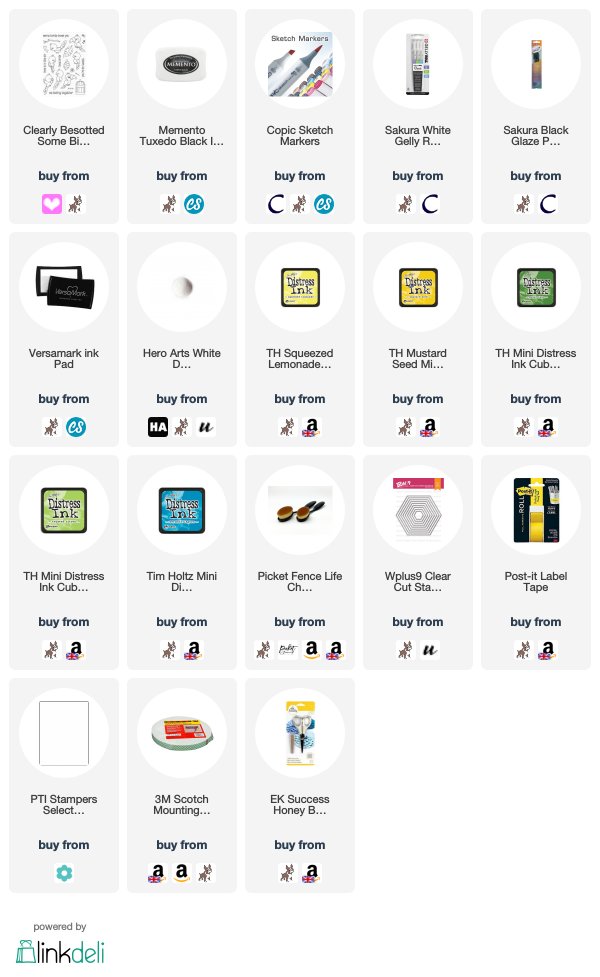
I started off by stamping the parrot and toucan from the Clearly Besotted Birds Of A Feather Stamp Set, along with the flower and leaf image (which I stamped twice), on to white cardstock with Memento Tuxedo Black Ink. I then stamped a further leaf from the Clearly Besotted Some Birdie Loves Me Stamp Set. These were coloured with Copic Markers (the colours that I used are listed below the supplies area), fussy cut out with scissors and set aside while I worked on my background.
 
 
I took a panel of 4.75" x 4.75" white cardstock and cut three hexagons from it using the Wplus9 Clear Cut Stackers Hexagon Dies. I placed the panel over a 5" square card base and drew faint pencil lines inside of the hexagon windows. I then placed Post-It tape around these and erased the lines. Using blending brushes, I blended Distress Inks into the openings. I used Mowed Lawn and Twisted Citron for the green hexagon, Mustard Seed and Squeezed Lemonade for the yellow and Mermaid Lagoon for the blue.
 
 
The Post-It tape was removed and the panel added to the card base with foam tape. I then adhered the images on top with a combination of foam tape and tape runner. I took the sentiment from the Birds Of A Feather Stamp Set and stamped it three times on to black cardstock (masking off the individual words as I went so that I could separate the sentiment into three strips) with Versamark Ink. I applied Detail White Embossing Powder and heat set.
 
 
They were then cut in to strips and added to the card with foam tape. To finish off, I added white gel pen dots and highlights to the images and black glaze pen to the eyes of the birds.
 
SUPPLIES:

Here are the links to what I have used on the card. Affiliate links are used on some products. This means that if you make a purchase after clicking on my link, I receive a small commission with no extra cost to you. I truly appreciate your support when using these links. Please click on the logo below the product to shop at your favourite store. All products were personally purchased except those from Clearly Besotted, Hero Arts or those marked with an asterisk (*) which were kindly sent to me to use. You can read my full disclosure here.
 
 
COPIC MARKERS: Parrot - R89, R39, R29, R27, R24, R14, Y17, Y15, Y13, Y11, N9, N8, N7, N6, N4, N3, N1. Toucan - N9, N8, N7, N6, N5, N3, N1, YR18, YR16, YR15, Y17, Y15, Y13, Y11. Leaves - YG17, YG23, YG03, YG01. Flower - RV66, RV55, RV52.
 
That's it in terms of teasers from me but I will be back tomorrow with my release preview video. For more inspiration using the new sets, please head over to the Clearly Besotted Blog, Keren and Lisa. Also make sure to stop by and see out fabulous guest Amy too. Thanks so much for popping by today, I really do appreciate it. I hope you have a wonderful day!

18 February 2019

Hello Bear

Hello there, today I have a very CAS card to share with you. I coloured this adorable bear as part of The Daily Marker 30 Day Colouring Challenge and I thought he would look nice with just a simple background behind.
 

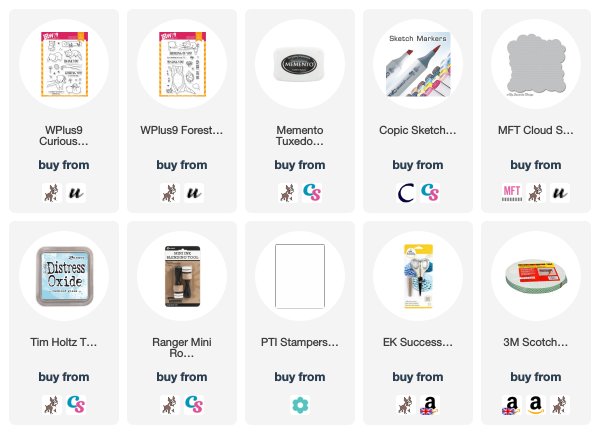
I started off by stamping the bear image from the WPlus9 Curious Forest Friends stamp set on to white cardstock with Memento Tuxedo Black Ink. I coloured him with Copic Markers (the colours that I used are listed below the supplies section) and then fussy cut out with scissors.
 
 
I took an A2 white card base and the MFT Cloud Stencil and blended Tumbled Glass Distress Oxide ink over to create the cloud background. The sentiment from the WPlus9 Forest Friends set was stamped on to the card base and then the bear image added with foam tape.
 
SUPPLIES:

Here are the links to what I have used on the card. Affiliate links are used on some products. This means that if you make a purchase after clicking on my link, I receive a small commission with no extra cost to you. I truly appreciate your support when using these links. Please click on the logo below the product to shop at your favourite store. All products were personally purchased except those from Clearly Besotted, Hero Arts or those marked with an asterisk (*) which were kindly sent to me to use. You can read my full disclosure here.
 
 
COPIC MARKERS: Bear - E44, E43, E42, E41. Branch - E59, E57, E55, YG17, YG01.
 
I love that little bear! He is so cute! I apologise for the photo's though, winter light and photography do not seem to work well together for me it seems. Thank you so much for stopping by to see me today, I really do appreciate it. I hope you have a great Monday and a fantastic week!

14 November 2018

40th Birthday Flowers

Hello there, today I have a card to share that I made back in August for my Sister-in-Law for her 40th Birthday. I am now finally getting around to sharing it.
 

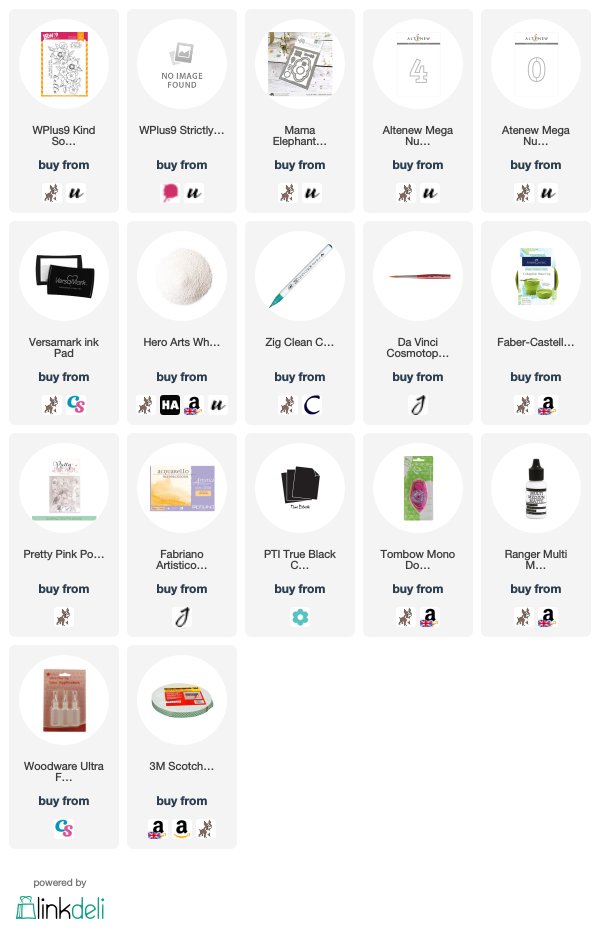
I started off by stamping the WPlus9 Kind Soul flowers on to a panel of Fabriano watercolour paper with Versamark Ink. I applied white embossing powder and heat set. The panel was then coloured using Zig Clean Color Real Brush Pens, a paintbrush and water (the colours I used are listed below the supplies section). Once the panel was dry, I die cut it using the largest rectangle die in the Mama Elephant Cloud Nine die set.

 
I then took the Altenew Mega Numbers dies and die cut the 4 and 0 from the middle. I cut a further four numbers from white cardstock. I adhered the panel flat to an A2 white card base with tape runner and then stacked the white cardstock numbers up and added them in to the gaps. The image panel ones were added on top to complete the design through the panel.
 
 
I stamped the sentiment from the WPlus9 Strictly Sentiments 1 stamp set on to black cardstock with Versamark Ink. I applied white embossing powder and heat set. This was then cut in to a strip and added to the card with foam tape. To finish off, I added a few Sparkling Clear Sequins.
 
SUPPLIES:

Here are the links to what I have used on the card. Affiliate links are used on some products. This means that if you make a purchase after clicking on my link, I receive a small commission with no extra cost to you. I truly appreciate your support when using these links. Please click on the logo below the product to shop at your favourite store. Products marked with an asterisk (*) were kindly sent to me to use.
 
 
ZIG CLEAN COLOR REAL BRUSH PENS: Pink flowers - Pink 025, Geranium Red 029. Purple flowers - Lilac 083, Violet 080. Leaves - Light Green 041, Turquoise Green 042. Blue - Light Blue 036.
 
Unfortunately I have only just got around to editing the photos and they are not the best, so I do apologise for that. Thank you so much for visiting me today, I hope you have a great day!

17 October 2018

With Thanks

Hello there, today I have another card to share with you that I have made as part of my guest designing with WOW Embossing Powder. Since the theme this month is shimmers, I wanted to use one of the Glintz powders. These have a beautiful pearlescent finish to them.


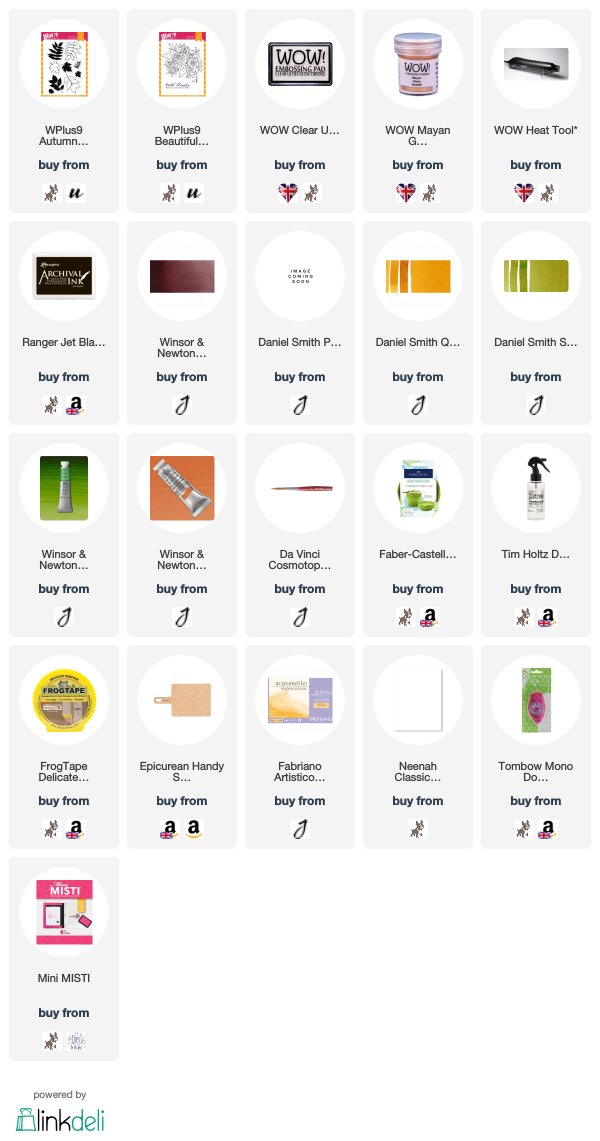
I started off with a panel of watercolour paper. I added masking tape to the edges to create my focal point in the centre. I took one of the leaves from the WPlus9 Autumn Leaves stamp set and stamped this three times on to the panel. I stamped it using WOW Clear Ultra Slow Drying Embossing Ink and then applied WOW Mayan Glintz Embossing Powder.
 
 
I then taped the piece down to a board and added the watercolour. I used purple going into pink/red that goes into yellow and finally green in the bottom right hand corner. I thought these colours would work well for an autumn card and also go well with the tone of the embossing powder. I added the watercolour in layers, deepening the colour as I went. I then set the piece aside to dry.
 
 
Once dry, I removed the masking tape and stamped the sentiment from the WPlus9 Beautiful Bouquets: Ranunculus set using Archival Ink. The piece was adhered flat to an A2 white card base with tape runner.
 
SUPPLIES:

Here are the links to what I have used on the card. Affiliate links are used on some products. This means that if you make a purchase after clicking on my link, I receive a small commission with no extra cost to you. I truly appreciate your support when using these links. Please click on the logo below the product to shop at your favourite store. Products marked with an asterisk (*) were kindly sent to me to use.
 
 
I am not usually a fan of gold tones but I really love the colour of this embossing powder, it is like a softer honey-ish tone of gold. Really pretty! For this card, I was inspired by a previous card that I had made as part of an Online Card Classes class. For more inspiration using WOW Embossing Powder, please do check out their blog. Thank you so much for visiting me today, I hope you have a great day!

19 January 2018

Butterfly Beauty

Hello there, today I have a card to share using the Concord & 9th Butterfly Beauty stamp set. This set was kindly given to me by a friend as a present. She gave it to me a while ago and I am now finally using it (more on that below).
 

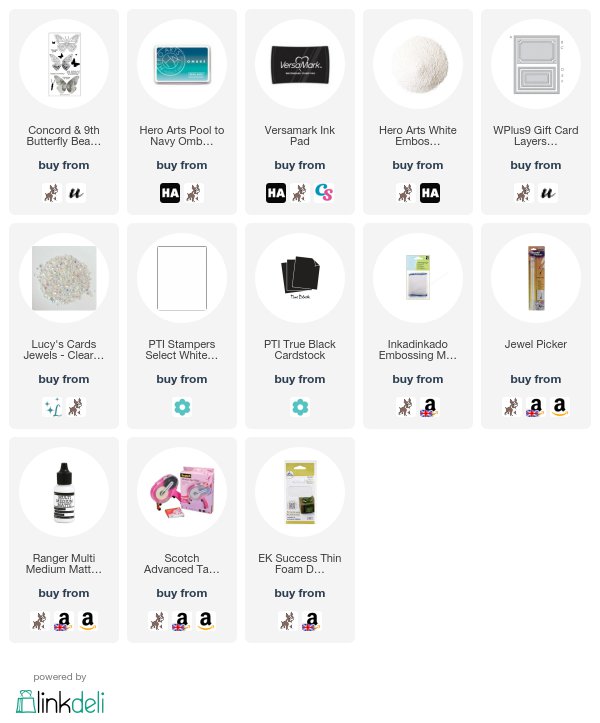
I started off by cutting a panel of white cardstock using the largest of the dies in the WPlus9 Gift Card Layers Die Set. I love that the panel is A2 in size but has that added stitching detail. I then took the most solid of the butterflies and inked this up using the Hero Arts Pool to Navy Ombre Ink. I love the pattern and detail in this stamp! The panel was then adhered flat to a white A2 card base.
 
 
I took the thank you sentiment from the set and stamped this on to a strip of black cardstock using Versamark Ink. I applied white embossing powder and heat set. This was added to the centre of the butterfly with foam squares. To finish off, I added a few Iridescent Jewels.
 
SUPPLIES:

Here are the links to what I have used on the card. Affiliate links are used on some products. This means that if you make a purchase after clicking on my link, I receive a small commission with no extra cost to you. I truly appreciate your support when using these links. Please click on the logo below the product to shop at your favourite store. Products marked with an asterisk (*) were kindly sent to me to use.
 
 
So, like I mentioned above I received the stamp set a little while ago. I had so many ideas of what to do with the set but one thing after another happened and I never got round to using it, until now. My goal this year is to use products a lot quicker. I know that I always get around to using them at some point but I want to try harder at using them closer to the time they were bought, or in this case kindly given to me as a present. Do you have any crafty goals for the year? Thanks so much for visiting me today. I hope you have a wonderful day and a fabulous weekend!

6 October 2017

Modern Peonies

Hello there, today I have a card to share that I made for my mum for her birthday. My mum loves flowers so I thought it would be nice for me to use the WPlus9 Modern Peonies set for her card. Although Peonies are not purple in real-life, I went with a pale shade of purple/lilac for the flowers.
 

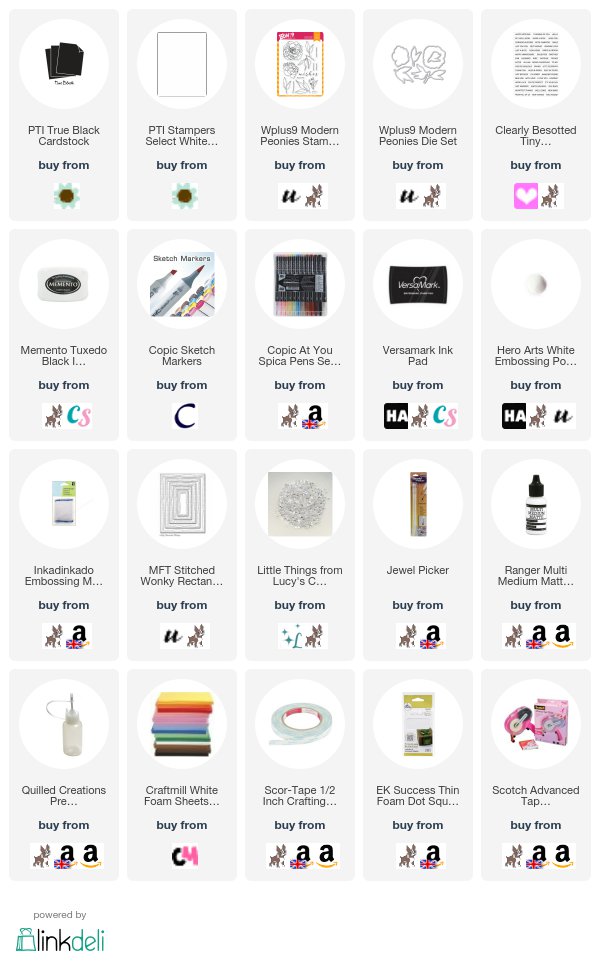
I started off by stamping the flowers and leaves with Memento Tuxedo Black ink on to white cardstock. I coloured them with Copic Markers, keeping the colours pale, and then added some lilac glitter dots with a Copic Spica pen to the flowers. They were then die-cut out with the coordinating dies.
 
 
I took a piece of white cardstock and cut this using the largest of the MFT Wonky Stitched Rectangle dies. This was adhered to a black A2 card base with foam sheet. I then added the leaves on top with ATG. The flowers were then popped up with foam squares. I stamped the sentiments from the CB Tiny Type set on to black cardstock using Versamark Ink. I applied white embossing powder and heat set. This was cut in to a strip and added to the card. To finish off, I added a few Ice Cube Jewels from Lucy's Cards.
 
SUPPLIES:
Here are the links to what I have used on the card. Affiliate links are used on some products. This means that if you make a purchase after clicking on my link, I receive a small commission with no extra cost to you. I truly appreciate your support when using these links. Please click on the logo below the product to shop at your favourite store. Products marked with an asterisk (*) were kindly sent to me to use.
 
 
COPIC MARKERS: Flowers - BV01, BV000, BV0000. Leaves - G43, G40.
 
These stamps are so beautiful. I am glad I went with pale colours for this card, I think they work quite nicely with the black and white (although difficult to photograph!). I am, however, looking forward to colouring them bolder colours next time :) Thanks so much for visiting me today. I hope you have a great weekend!

13 April 2017

Mother's Day Flowers

Hello there, today I have the card to share that I made for my mum for Mother's Day (we celebrated it here in the UK about two weeks ago). My mum loves flowers so I decided to use the WPlus9 Kind Soul stamp set for her card. I just love WPlus9's florals!
 

I started off by taking a piece of white cardstock and stamped the flowers on to it using Memento Tuxedo Black Ink. I then stamped the sentiment from the Clearly Besotted All Occasion Sentiments Stamp Set below. The image was then coloured using Copic Markers. I also added a soft blue halo around the image to help it pop.
 
 
The image panel was simply added to a white A2 card base with ATG. To finish off, I added PPP Sparkling Clear sequins and a little clear Wink of Stella to the centres of the purple flowers.
 
SUPPLIES:
Here are the links to what I have used on the card. Please click on the picture or wording to be taken to where I purchased it. Affiliate links are used on some products. This means that if you make a purchase after clicking on my link, I receive a small commission with no extra cost to you. I truly appreciate your support when using these links.


COPIC MARKERS: Purple flowers - V09, V06, V05, V04, V01, Y13. Pink flowers - R85, R83, R81. Leaves - YG67, YG17, YG23, YG03. Shadow/halo - B00, B000, B0000, 0.
 
A bit of a simple card but my mum liked it so that's what matters! :) Thanks so much for visiting me today. I  hope you have a great week!

25 January 2017

One Happy Couple

Hello there, today I have my last card to share as part of guesting for Sweet Stamp Shop. Today I am using the adorable Hedgehog Kiss stamp set. It is so sweet!
 

I started off by die cutting a piece of watercolour cardstock and a piece of mask paper using the largest of the dies from the WPlus9 Gift Card Layers Die set. I then cut a heart from the mask piece to create an aperture. The mask piece was added on top of the watercolour cardstock piece and then I blended over shades of red and pink Distress Ink on the heart. I spritzed this with water to give some added detail.
 
 
I took the hedgehogs from the set and stamped these with black ink. I added the top hat and bow to them using masking. They were coloured using Copic Markers and  then fussy cut out. I added the heart piece to a white A2 card base with ATG and then the hedgehogs to the heart with foam tape. The sentiment, from the Just the Basics set was stamped and cut out and added with more foam tape. To finish, I added a few sequins and heart confetti.
 
SUPPLIES:
Here are the links to what I have used on the card. Please click on the picture or wording to be taken to where I purchased it. Affiliate links are used on some products. This means that if you make a purchase after clicking on my link, I receive a small commission with no extra cost to you. I truly appreciate your support when using these links. Please click on the letters below the product to shop at your favourite store - Simon Says Stamp (SSS), Hero Arts (HA), Seven Hills Crafts (SHC) Amazon (AZ) etc. Products marked with an asterisk (*) were kindly sent to me to use.
 
COPIC MARKERS - Hedgehogs: E49, E47, E44, E43, E42, E41. Top hat: C10, C8, C6, R89, R37, R27. Bow: R89, R37, R27, R14.
 
I thought this card would work well for a wedding or an anniversary. I love making cards that can be used for a couple occasions :) A big thank you goes to Sweet Stamp Shop for having me guest this month. For more inspiration on using their stamps, please head over to their blog. Thanks so much for visiting me today. I hope you have a great day!
End of code