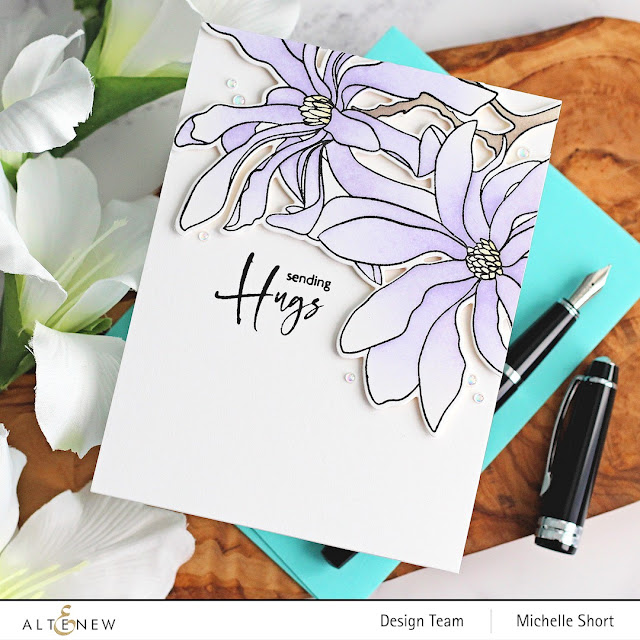
Hello there, I am delighted to be joining Pinkfresh Studio for their February 2022 release which is out today. There is so much yummyness releasing today! Lots of stamp/die/stencil/foil plate collections, as well as standalone cover plates. Today I am using the new Botanicals & Butterflies collection.
PLEASE NOTE: This post contains affiliate links. Please see below for my full disclosure.
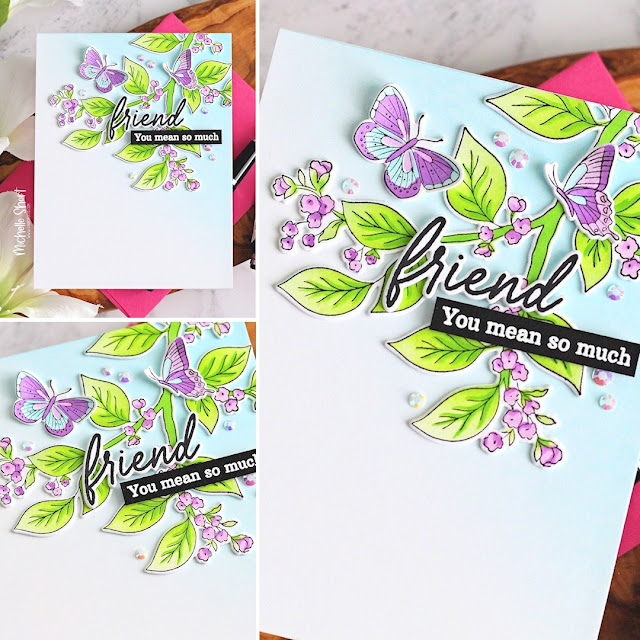
I started off by stamping the Pinkfresh Studio Botanicals & Butterflies Stamp on to white cardstock with Pinkfresh Detail Black Hybrid Ink. I then placed the Pinkfesh Studio Botanicals & Butterflies Layering Stencils on top. I love that everything lines up, so that you can use one colour per stencil if you want, to colour in your images, or you can mask bits off and use multiple colours.

Using ink blending brushes, I blended on colours from the Pinkfresh Studio Over the Hills Premium Dye Ink Cube Set for the leaves and stems. For the flowers, I used Pinkfresh Studio Soul of Provence Premium Dye ink Cube Set. The butterflies use the Soul of Provence set, as well as the Pinkfresh Studio Island Oasis Premium Dye ink Cube Set. It was then die cut using the Pinkfresh Studio Botanicals & Butterflies Die.

I took an A2 white card base and blended blue ink in the top right hand corner using Pinkfresh Studio Morning Sky Premium Dye Ink Cube Set. The branch/leaves and butterflies were then added on top, popping them up with another die cut, for some added dimension. I took the 'friend' sentiment from the new Pinkfresh Studio Lily Frame Stamp and stamped it on to white cardstock with black ink. It was die cut out with the Pinkfresh Studio Lily Frame Die.

The accompanying sentiment is from the same set. I stamped it on to black cardstock with Versamark Ink and applied white embossing powder. It was heat set and then cut in to a strip. The friend word was popped up with two die cuts and then the strip added below with foam tape. To finish off, I added a few Pinkfresh Studio Glacier Jewels.
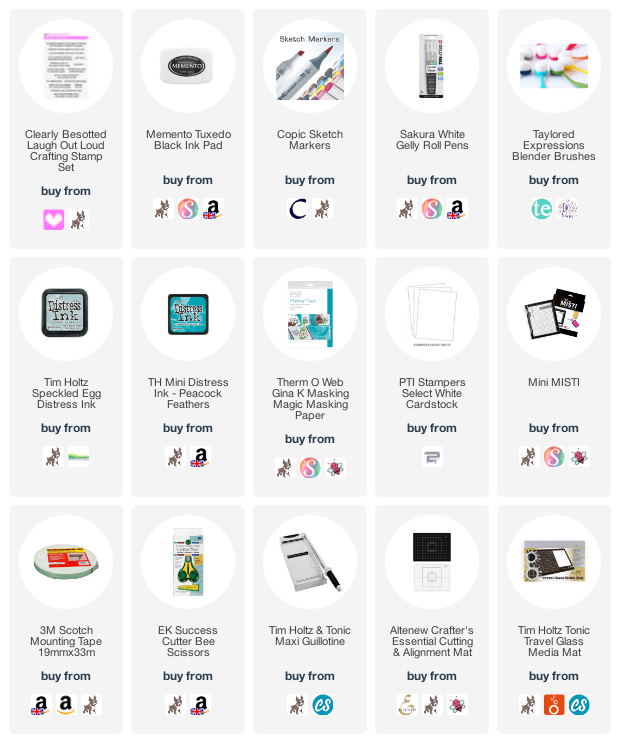
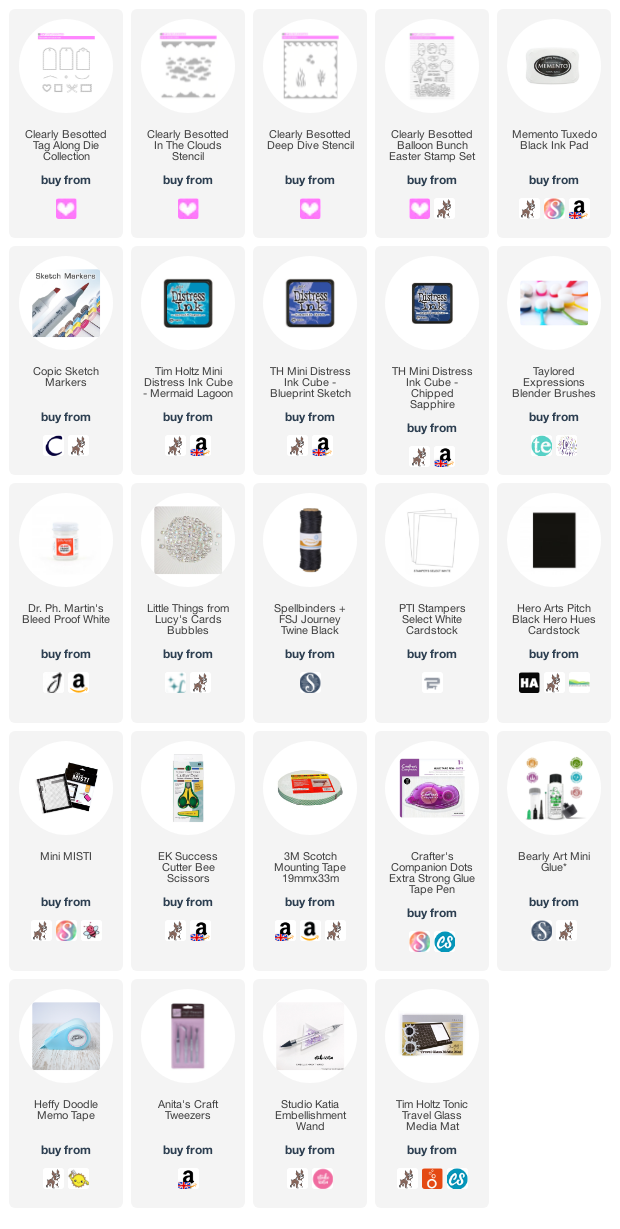
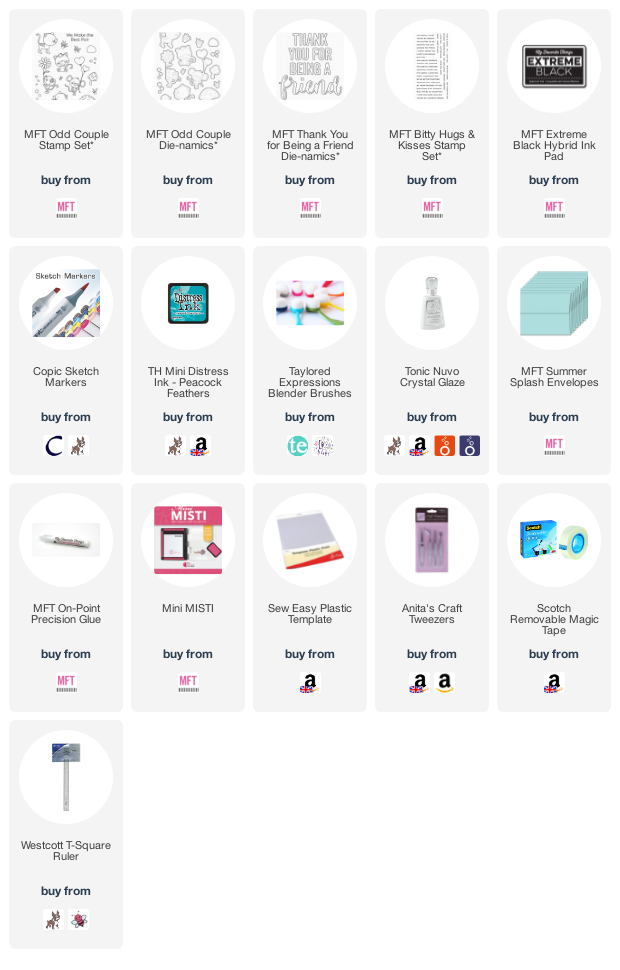
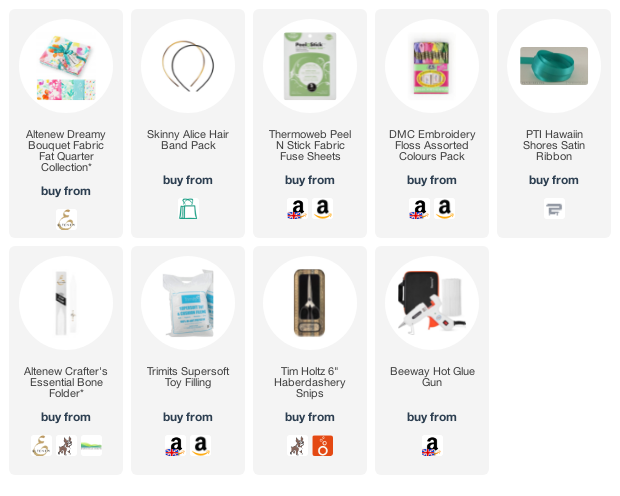
SUPPLIES:
Here are the links to what I have used on the project. Affiliate links are used on some products. This means that if you make a purchase after clicking on my link, I receive a small commission with no extra cost to you. I truly appreciate your support when using these links. Please click on the logo below the product to shop at your favourite store. All products were personally purchased except those from Clearly Besotted, Hero Arts or those marked with an asterisk (*) which were kindly sent to me to use. You can read my full disclosure here.
I will be back tomorrow sharing another set with you but in the mean-time, please do head over to the Pinkfresh Studio Blog for more inspiration and to see the rest of the release. Thank you so much for stopping by today, I really do appreciate it. Have a wonderful rest of the day!