
Hello there and welcome to day four of the Clearly Besotted December 2022 Teasers. Only one more sleep to go until the release tomorrow! Today I am using the super cute On the Farm set. As you may expect from the name, the set features lots of cute animals from the farm, as well as a farm/barn scene.
PLEASE
NOTE: This post contains affiliate links. Please see below for my full
disclosure.

I started off my card by die cutting a panel of white cardstock into a circle using the Hero Arts Nesting Circle Infinity Dies. I then stamped the scene from the Clearly Besotted On the Farm Stamp Set on top. I also stamped the pig from the set on to a separate piece of cardstock, as well as the butterfly (twice) from the Clearly Besotted In the Jungle Stamp Set.

I stamped the background scene on to mask paper and then adhered it on top of the circle panel. I placed the Clearly Besotted Cloudy Day Stencil on top and then using ink blending brushes, I blended Tim Holtz Mermaid Lagoon Distress Ink on top. I moved the stencil down as I went to cover the sky with clouds. The mask was removed and the panel coloured with Copic Markers, as well as the other images.

The background panel was adhered to a white circle card base using thin foam tape. I then added the pig and butterflies on top. I stamped the sentiment from the Clearly Besotted On The Farm Stamp Set on to black cardstock using Versamark Ink. I applied white embossing powder and heat set. It was cut into a strip and added to the card with more thin foam tape. To finish off, I added Crystal Glaze to the pig's nose.
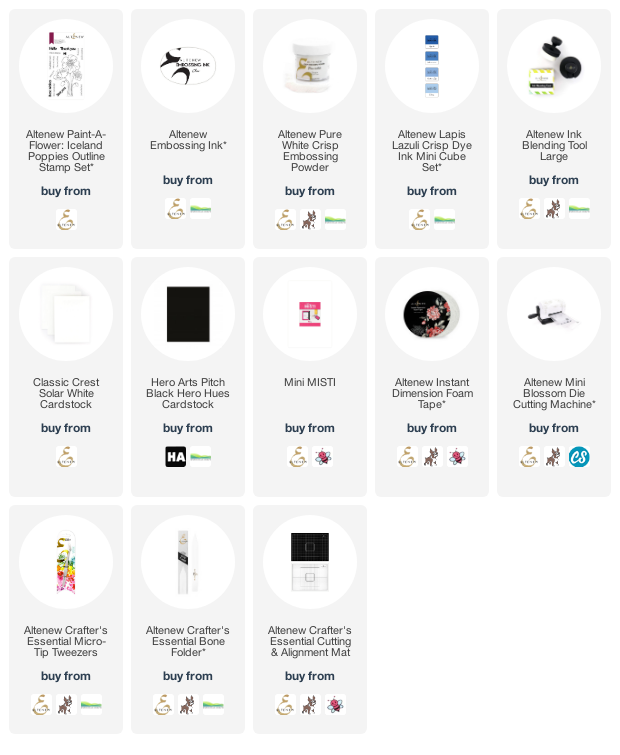
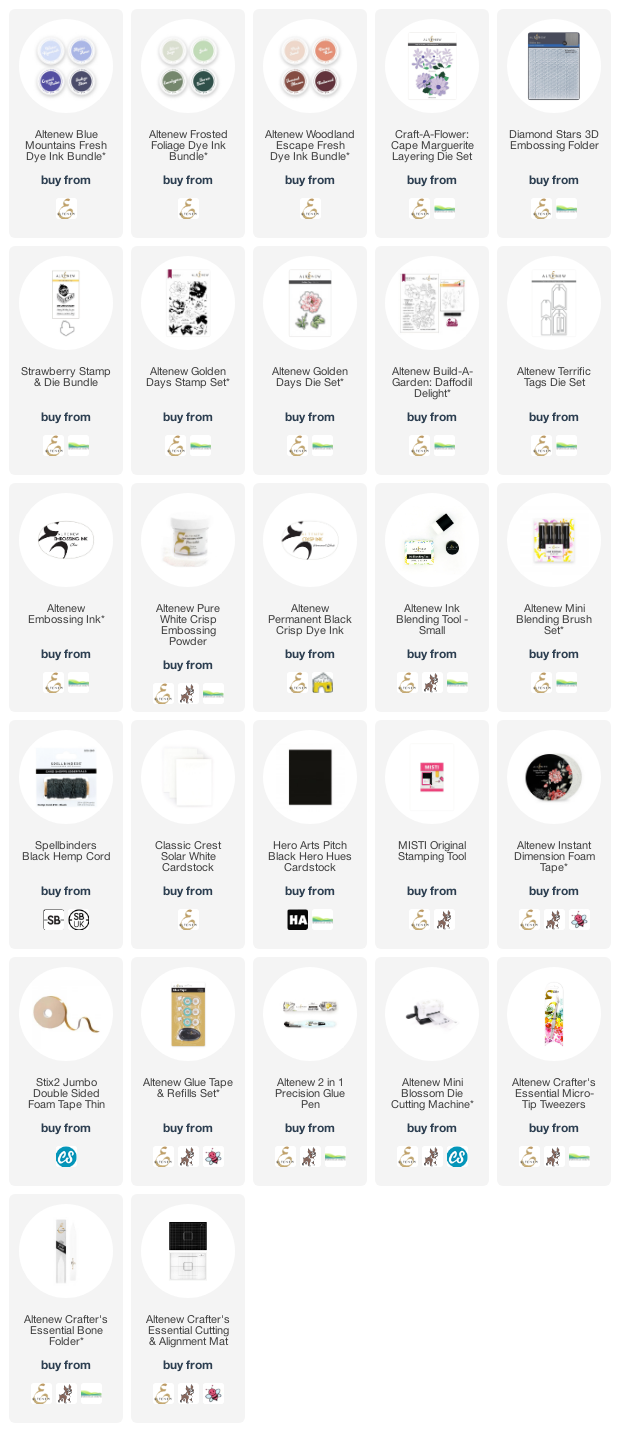
SUPPLIES:
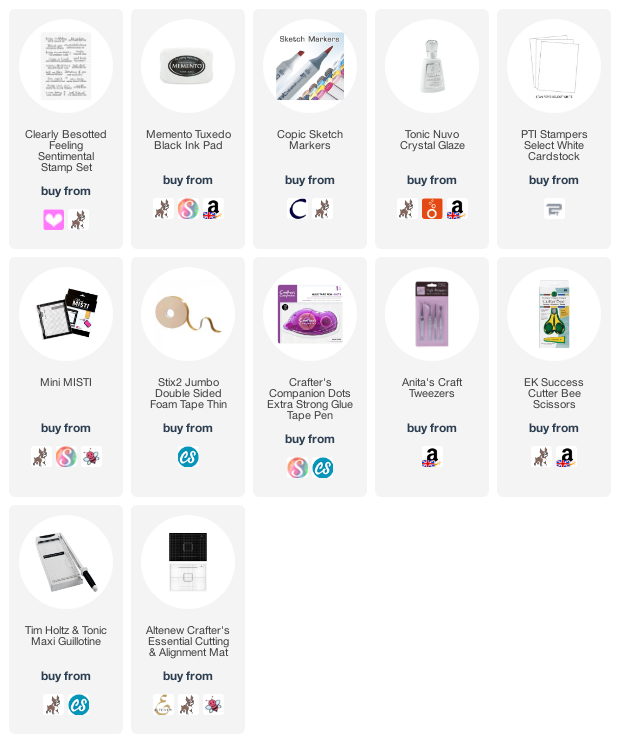
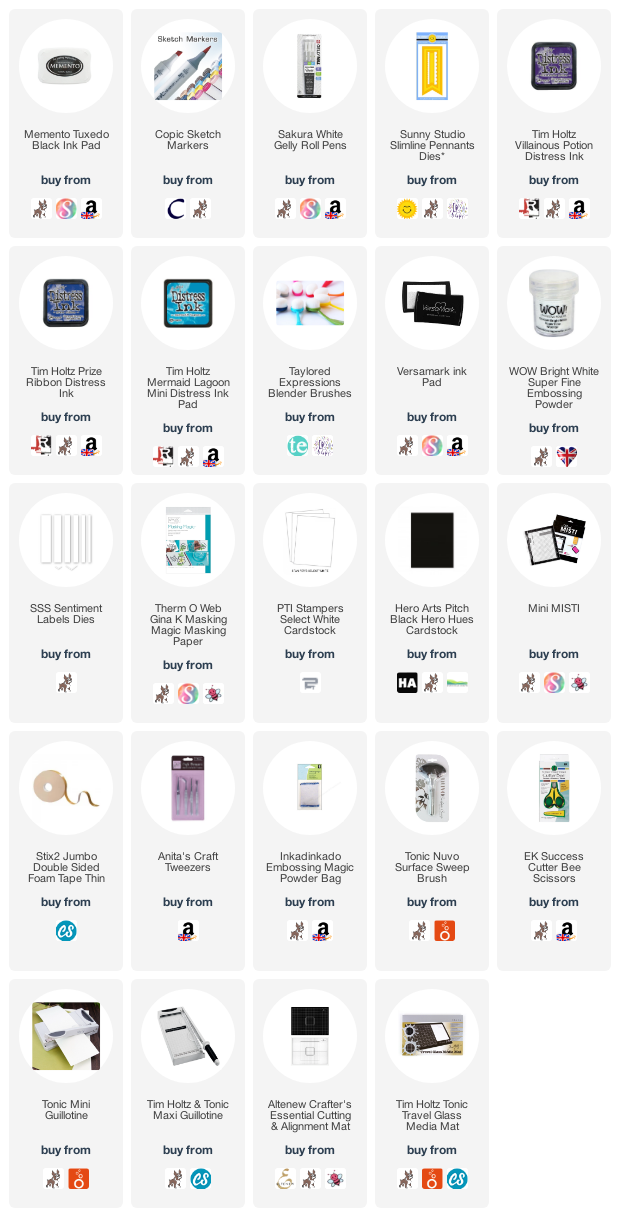
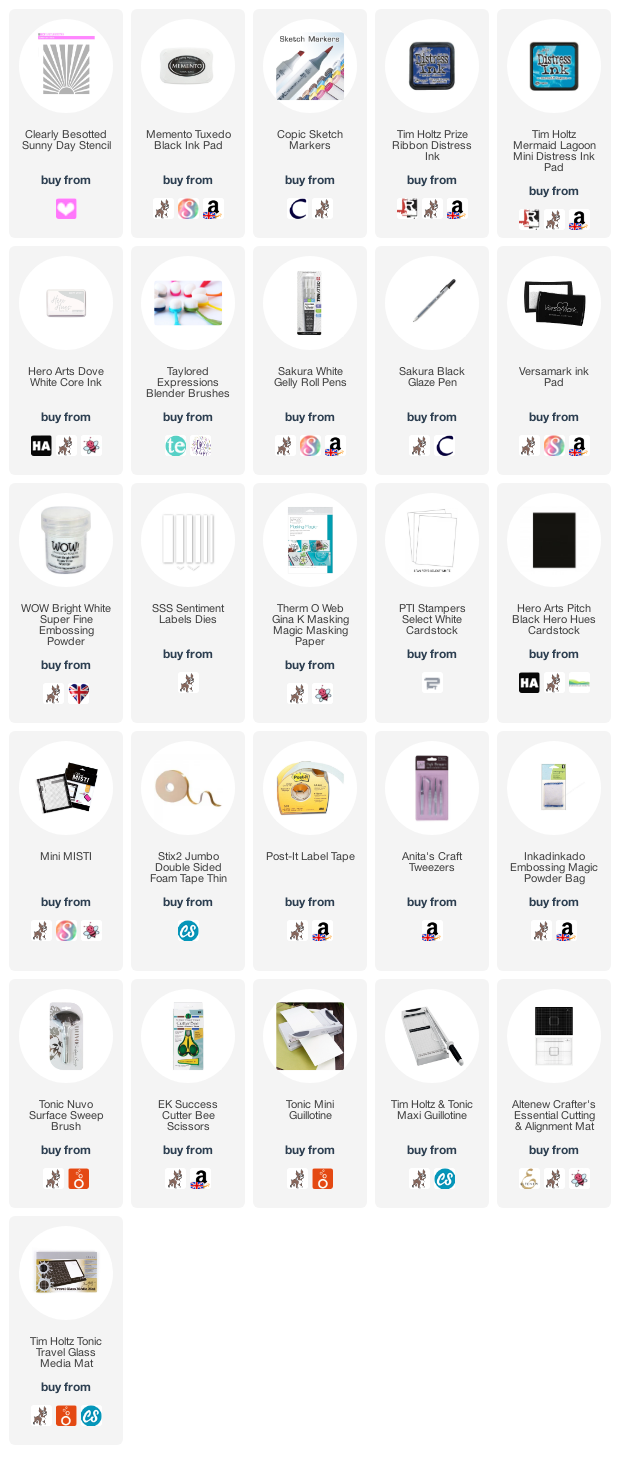
Here are the links to what I have used on the project. Affiliate links are used on some products. This means that if you make a purchase after clicking on my link, I receive a small commission with no extra cost to you. I truly appreciate your support when using these links. Please click on the logo below the product to shop at your favourite store. All products were personally purchased except those from Clearly Besotted, Hero Arts or those marked with an asterisk (*) which were kindly sent to me to use. You can read my full disclosure here.
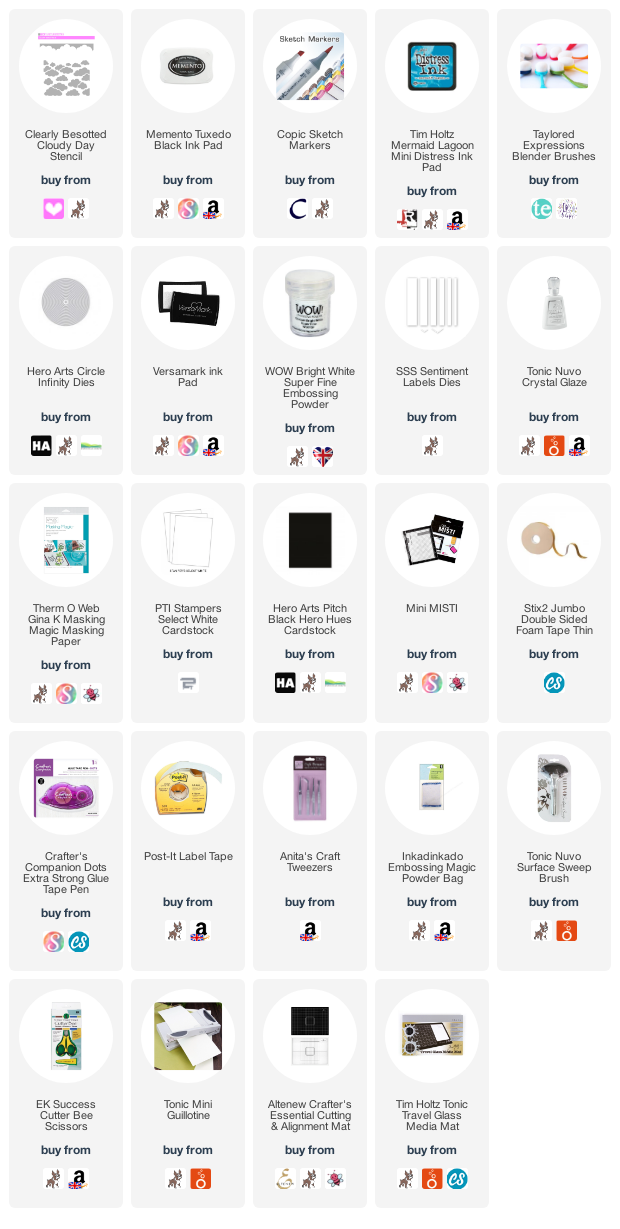
COPIC MARKERS: Pig - R22, R21, R20, R000. Butterflies - V17, V15, V01. Grass - G29, YG17, YG23, YG01. fence - E59, E57, E55. Barn - R89, R39, R37, R35/YR31/C3, C1, C0.
There are so many cute animals in this set but since pigs are my favourite animal, of course I had to use one of those! For more inspiration using the new release, please head over to the Clearly Besotted Blog, Keren, Francine and Alberto. Thank you so much for stopping by today, I really do appreciate it. Wishing you a lovely day!


.jpg)