30 April 2020

Clearly Besotted Teasers | Spring Hugs

Hello there and welcome to day four of the Clearly Besotted May 2020 Teasers. The new sets release tomorrow but I still have a couple of teasers to share with you! Today I am using an adorable set called Spring Corners. The set has two corner images of adorable chicks with flowers but for my card today, I decided to use the smaller image in the set.
 

I started off by stamping the chick with daffodil image from the Clearly Besotted Spring Corners Stamp Set on to white cardstock with Memento Tuxedo Black Ink. I then coloured the chick and daffodil using Copic Markers (the colours that I used are listed below the supplies area) and fussy cut out with scissors.
 

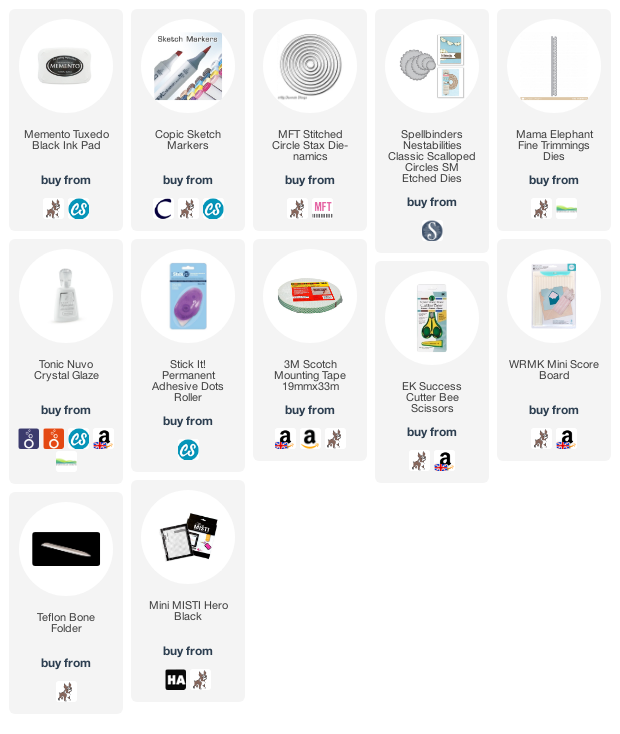
I thought it would be fun to have the image on a circle card so I first cut two scalloped circles from white cardstock. I scored a line towards the top of one piece and adhered it to the back of the other piece. This makes a hinge so that the card can open and close easily. I then cut two circles from patterned paper (sadly the MFT paper has now been discontinued) and adhered the blue one on to the card with tape runner.
 
 
I cut the green circle down and using the stitched die from the Mama Elephant Fine Trimmings Die Set, added the stitching detail to the top of the piece. It was then added on top of the blue circle to be the grass. I took the sentiment from the Clearly Besotted Flower Plushies Stamp Set (that I used on day two of the teasers) and stamped this above the grass layer. The chick and daffodil image was then added on top with foam tape. To finish off, I added Crystal Glaze to the chicks beak.
 
SUPPLIES:

Here are the links to what I have used on the card. Affiliate links are used on some products. This means that if you make a purchase after clicking on my link, I receive a small commission with no extra cost to you. I truly appreciate your support when using these links. Please click on the logo below the product to shop at your favourite store. All products were personally purchased except those from Clearly Besotted, Hero Arts or those marked with an asterisk (*) which were kindly sent to me to use. You can read my full disclosure here.
 
 
COPIC MARKERS: Chick - Y17, Y15, Y13, Y11, YR16, YR12. Daffodil - YR31, YR30, Y00, G29, G46, G43, YG01.
 
I love creating little cards like this, just to send a little cheer through the mail! I am, however, looking forward to inking up and colouring the corner images in the set too! For more inspiration using the new release, please head over to the Clearly Besotted Blog, Keren and Keeway. Thanks so much for visiting me today. See you tomorrow for release day. Have a lovely day!

29 April 2020

Clearly Besotted Teasers | Hug In A Mug

Hello there and welcome to day three of the Clearly Besotted Teasers. Not long to go until the release. The sets release on Friday :) For my cards today, I am using the super cute Spilling Tea set. I know that coffee and tea sets are really popular in the crafting world, so I hope you like these adorable critters drinking their favourite beverages!
 

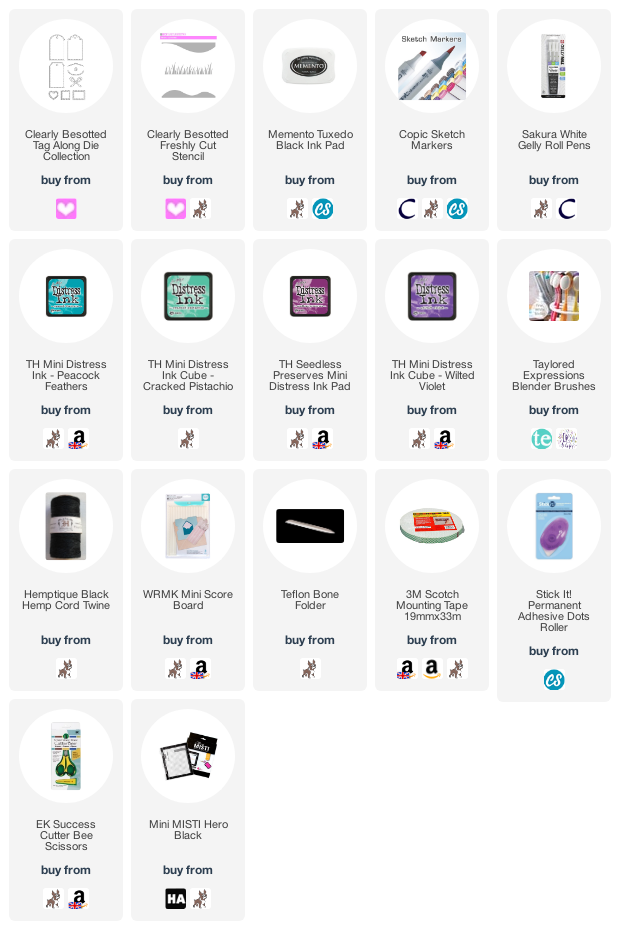
For both cards, I started off by taking A2 white card bases and scoring horizontal lines on the front using a scoring board and bone folder. I apologise that they are difficult to see in the photos, white texture is not easy to capture, but they do add an extra detail to clean and simple cards in real life! I then took the rounded tag die from the Clearly Besotted Tag Along Die Collection and die cut it twice from white cardstock.
 
 
Taking the Clearly Besotted Freshly Cut Grass Stencil, I placed the landscape side towards the bottom of the tag. I then blended Distress Inks on top. For the sloth, I used Peacock Feathers and Cracked Pistachio inks. For the penguin, I used Seedless Preserves and Wilted Violet inks. I then splattered on some water droplets and set aside to dry.
 
 
I took the sloth and penguin images from the Clearly Besotted Spilling Tea Stamp Set and stamped them on to white cardstock with Memento Tuxedo Black Ink. They were coloured using Copic Markers (the colours that I used are listed below the supplies area) and then fussy cut out with scissors. The sentiments were stamped on to the tags and then the images added on with foam tape. I tied twine through the top of the tags and then they were added to the cards with tape runner. To finish off, I added white gel pen details to the images.
 
SUPPLIES:

Here are the links to what I have used on the cards. Affiliate links are used on some products. This means that if you make a purchase after clicking on my link, I receive a small commission with no extra cost to you. I truly appreciate your support when using these links. Please click on the logo below the product to shop at your favourite store. All products were personally purchased except those from Clearly Besotted, Hero Arts or those marked with an asterisk (*) which were kindly sent to me to use. You can read my full disclosure here.
 
 
COPIC MARKERS: Penguin - BV29, BV25, BV23, C2, C1, YR14, YR12. Cup - C5, C3, C1, C00, V17, V15, V12, V01, B00, B000, B0000. Sloth - W8, W7, W6, W5, W4, W3, W2, W1, E50. Cup - BG49, BG15, BG13, BG11.
 
The set also includes other critters such as bears, bunnies and cats, as well as lots of fun sentiments. For more inspiration using the new release, please head over to the Clearly Besotted Blog, as well as Keren; plus our wonderful guest this month, Keeway. Thanks so much for stopping by, see you tomorrow for day four. Have a lovely day!

28 April 2020

Clearly Besotted Teasers | Sending Sunshine

Hello there and welcome to day two of the Clearly Besotted May 2020 Teasers. Today I am using a an adorable set called Flower Plushies. The set has lots of adorable critters holding flowers, perfect for spring and the lovely weather we have been having in the UK recently!
 

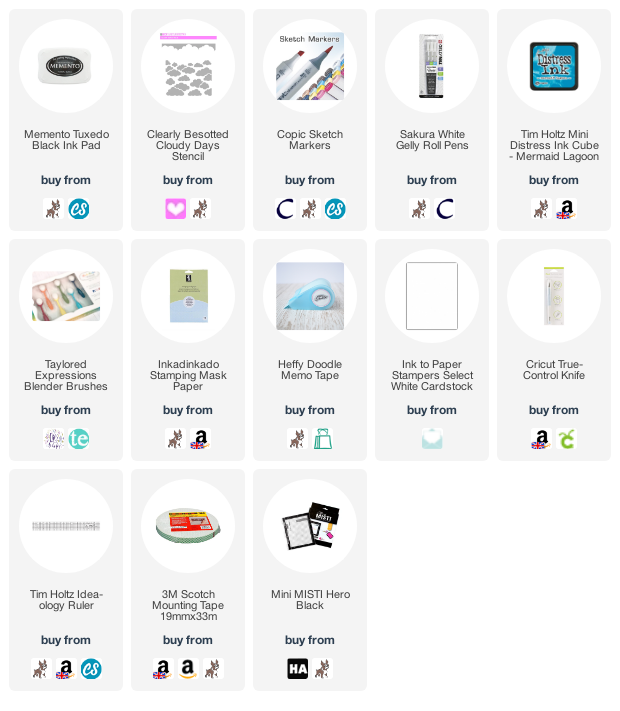
I started off by creating my panel. I took a piece of white cardstock and found the centre point with a ruler. I drew faint pencil lines from the centre point to the bottom corners and then cut this using a craft knife and ruler to create a banner or fishtail end. I then stamped the cute little chick from the Clearly Besotted Flower Plushies Stamp Set on top. I made a mask for her from mask paper and then stamped the fence from the set on top. I made a mask for this also and added it on to the panel.
 
 
I added a piece of memo tape below the fence to mask off the grass. I then placed the Clearly Besotted Cloudy Day Stencil at the top. Using a blending brush, I blended on Mermaid Lagoon Distress Ink on to the panel, moving the stencil down as I went to create a cloudy sky. The masks were then all removed and the grass, chick, flower and fence coloured using Copic Markers (the colours that I used are listed below the supplies area).
 
 
The sentiment from the Clearly Besotted Flower Plushies Stamp Set was stamped in the top right and then the panel was adhered to an A2 white card base with foam tape. To finish off, I added a few white gel pen highlights to the chick, flower and fence.
 
SUPPLIES:

Here are the links to what I have used on the card. Affiliate links are used on some products. This means that if you make a purchase after clicking on my link, I receive a small commission with no extra cost to you. I truly appreciate your support when using these links. Please click on the logo below the product to shop at your favourite store. All products were personally purchased except those from Clearly Besotted, Hero Arts or those marked with an asterisk (*) which were kindly sent to me to use. You can read my full disclosure here.
 
 
COPIC MARKERS: Chick - Y17, Y15, Y13, Y11, YR18, YR15, YR12. Sunflower - YR14, Y35, Y11, E49, E79, E77, E74, E71, G29, G46, G43. Grass - G29, G46, YG17, YG25, YG23, YG03, YG01.
 
There are also bears and sheep in the set - so cute! For more inspiration using the new sets, please head over to the Clearly Besotted Blog, Keren and Keeway. Thanks so much for visiting me today, I do appreciate it. I hope you have a sunshiny day!

27 April 2020

Clearly Besotted Teasers | Peaceful Plushies

Hello there and welcome to day one of the Clearly Besotted May 2020 Teasers. This is such a fun release so I hope that you will enjoy what we have in store for you over the next few days. We will be sharing teasers with you up until the release on May 1st. For my card today, I am using the new Peaceful Plushies set. This is such a beautiful set with a lovely Japanese garden, as well as cute little foxes.
 

I started off my card by taking a panel of white cardstock and stamping one of the foxes from the Clearly Besotted Peaceful Plushies Stamp Set on to it using Memento Tuxedo Black Ink. I then made a mask for her from mask paper, cut it out and added it on top of the stamped image. I then stamped the background image in the set over the top. The mask was then removed to show her standing on the little island of grass in the water.
 
 
The panel was then coloured using Copic Markers (the colours that I used are listed below the supplies area for reference). I started off by colouring the sky with blues and then went on to colour the water, followed by the tree, bridge and grass and finally the little fox. I added white gel pen stars to the sky and as well as highlights and twinkles in the water.
 
 
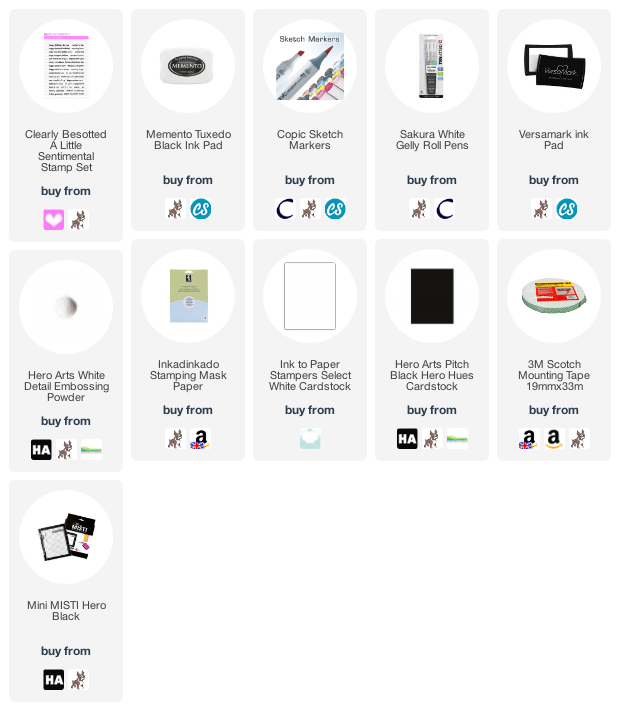
The panel was adhered to an A2 white card base with foam tape. I then stamped the sentiment from the Clearly Besotted A Little Sentimental Stamp Set on to black cardstock with Versamark Ink. I applied White Detail Embossing Powder and heat set. It was cut in to strips and added to the card with more foam tape.
 
SUPPLIES:

Here are the links to what I have used on the card. Affiliate links are used on some products. This means that if you make a purchase after clicking on my link, I receive a small commission with no extra cost to you. I truly appreciate your support when using these links. Please click on the logo below the product to shop at your favourite store. All products were personally purchased except those from Clearly Besotted, Hero Arts or those marked with an asterisk (*) which were kindly sent to me to use. You can read my full disclosure here.
 
 
COPIC MARKERS: Pebbles - C5, C3, C1. Bridge - E79, E77, E75, E71. Grass - G29, G46, G43. Tree - E49, E59, E57, E55, R85, R83, R81. Fox - E18, E19, E09, E07, E15, E13, E31, E30, E50. Parasol - R85, R83, R81. Water - BG49, BG18, BG45, BG15, BG13, BG11, BG10, B00. Sky - B79, B39, B37, B18, B16, B14, B12, BG13, B52.
 
I had a lot of fun colouring this in! There are lots of other foxes in the set though, and you could make the scenes as simple or as detailed as you wanted. For more inspiration using the set, please head over to see my teamies. Sadly, Lisa is unable to join us this month but please do head over to the Clearly Besotted Blog and Keren, as well as our wonderful guest this month, Keeway. Thanks so much for stopping by, I really do appreciate it. I hope you have a wonderful day!

23 April 2020

Simon Says Stamp | Sunny Days Ahead

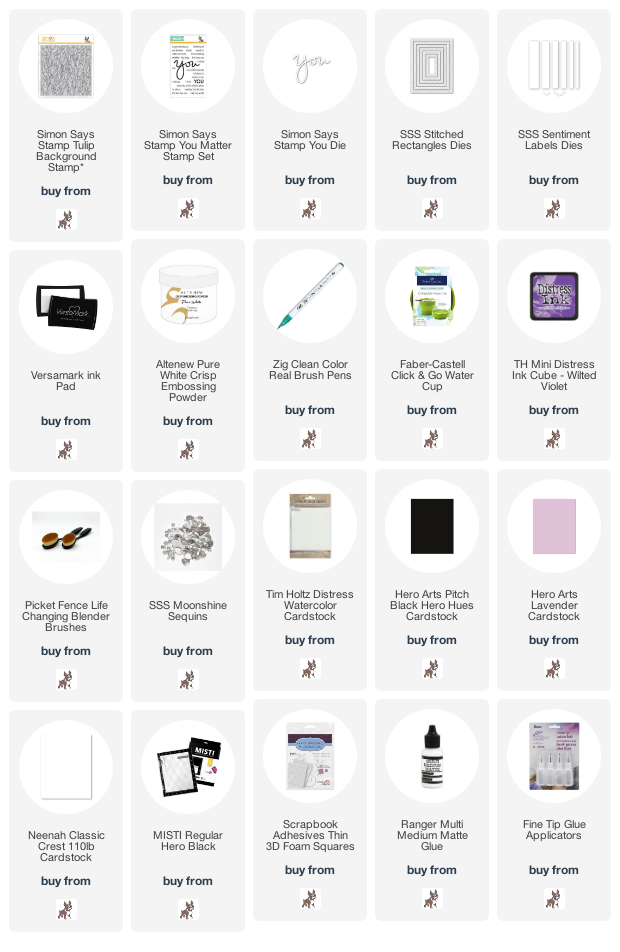
Hello there, today I have a card to share with you using the new Tulips Background stamp from Simon Says Stamp's Sunny Days Ahead Release, which is out today. What a great name for a release during these difficult times. Sunny days are ahead, we will get through this! Great news also, Simon Says Stamp have started shipping again with precautions in place and limited staff. Still expect delays, but it is great that they have been able to reopen.
 

I started off my card by stamping the Simon Says Stamp Tulip Background Stamp on to a piece of Tim Holtz Watercolor Paper (the smooth side) using Versamark Ink. I applied white embossing powder and heat set. I then coloured the image using Zig Clean Color Real Brush Pens (the colours that I used are listed below the supplies area). I added a small amount of colour from the pen and then used a paint brush and water to move the colour out. I did add a few layers for depth of colour but kept it very basic. Once dry, it was then cut out using a Simon Says Stamp Stitched Rectangle Die.
 
 
The panel was adhered to an A2 white card base with thin foam tape. I then die cut the Simon Says Stamp You Die from Simon Says Stamp Lavender Cardstock three times. On the top one, I applied Tim Holtz Wilted Violet Distress Ink, concentrating the colour at the bottom. They were then all stacked up using liquid glue and adhered to the card.
 
 
I took the sentiment from the Simon Says Stamp You Matter Stamp Set and stamped it on to Hero Hues Pitch Black Cardstock with Versamark Ink. I applied white embossing powder and heat set. It was cut in to a strip and added to the card with more thin foam tape. To finish off, I added a few Simon Says Stamp Moonshine Sequins.
 
SUPPLIES:

Here are the links to what I have used on the card. Affiliate links are used on some products. This means that if you make a purchase after clicking on my link, I receive a small commission with no extra cost to you. I truly appreciate your support when using these links. Please click on the logo below the product to shop at your favourite store. All products were personally purchased except those from Clearly Besotted, Hero Arts or those marked with an asterisk (*) which were kindly sent to me to use. You can read my full disclosure here.
 
 
ZIG CLEAN COLOR REAL BRUSH PENS: Purple tulips - 083 Lilac, 080 Violet. Pink tulips - 200 Sugared Almond Pink, 027 Dark Pink. Peach tulips - 071 Flesh Color. Leaves - 045 Pale Green, 041 Light Green. Background - 036 Light Blue.
 
This is such a pretty stamp and I think would look great coloured with lots of different mediums. I hope you will check out the rest of the Sunny Days Ahead collection, it is a fabulous release! Thanks so much for stopping by today. I very much appreciate it. Hope you have a lovely sunny day!

22 April 2020

Mix It Up On Your Birthday!

Hello there, today I have a card to share with you that I made for my cousin for her 40th Birthday. I really wanted to keep the card bright and happy and thought that the Clearly Besotted Mix It Up set would work perfectly for it.
 

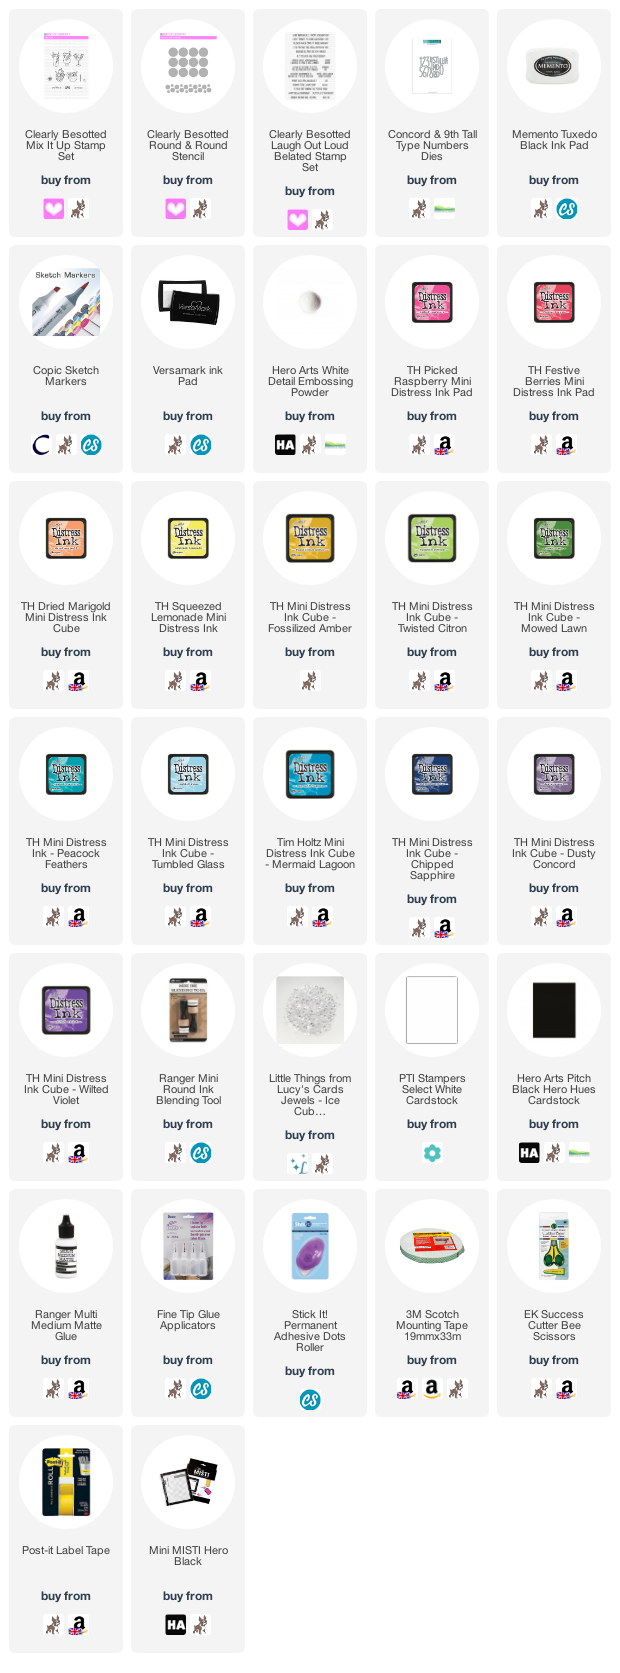
I started off by taking a panel of white cardstock and placing the Clearly Besotted Round & Round Stencil on top, securing it in place with Post It Tape. I then blended Distress Inks through the circles, masking off each one as I went. The stencil was removed and the panel added to the front of an A2 card base with tape runner.
 
 
I stamped three of the cocktails from the Clearly Besotted Mix It Up Stamp Set on to white cardstock with Memento Tuxedo Black Ink. They were coloured using Copic Markers (the colours that I used are listed below the supplies area) and fussy cut out. They were added to the card with foam tape. I took the Concord & 9th Tall Type Numbers Dies and die cut the 40 and the 'th' from black cardstock three times. They were layered up with liquid glue and added to the card.
 
 
I then stamped the 'happy' and 'birthday' from the Clearly Besotted Laugh Out Loud Belated Stamp Set on to black cardstock with Versamark Ink. I applied white embossing powder and heat set. They were cut in to strips and added to the card with foam tape. To finish off, I added white gel pen highlights to the glasses and embellished with Lucy's Ice Cube Jewels.
 
SUPPLIES:

Here are the links to what I have used on the card. Affiliate links are used on some products. This means that if you make a purchase after clicking on my link, I receive a small commission with no extra cost to you. I truly appreciate your support when using these links. Please click on the logo below the product to shop at your favourite store. All products were personally purchased except those from Clearly Besotted, Hero Arts or those marked with an asterisk (*) which were kindly sent to me to use. You can read my full disclosure here.
 
 
COPIC MARKERS: Blue cocktail - BG15, BG11, B69, B66, B63. Strawberry - R39, R24, R14, G43. Straw - G46, G43. Ice cubes - B02, B00. Glass - C3. Pink cocktail - Y13, Y15, RV55, RV52. Straw - RV17, RV55, RV52. Umbrella - Y15, Y13, Y11. Cherry - R39, R24, R14. Glass - C3. Green cocktail - YG23, YG01, YG00. Leaves - G29, YG17, YG23, YG01. Lemon - Y17, Y15, Y13, Y11. Straw - YR12, YR30.
 
This card is a little bit busier than my normal cards but as I mentioned, I wanted the card to be bright and happy and I hope that I have achieved that! Thanks so much for stopping by today, I really do appreciate it. I hope you are doing well and have a lovely day. Take care!

21 April 2020

Creating a Background with Individual Stamps

Hello there, apologies for being MIA (Missing In Action) for a little while. I hope you are all doing well. I am over on the Hero Arts Blog today, sharing a card using the Festive Balloon set.
 
 
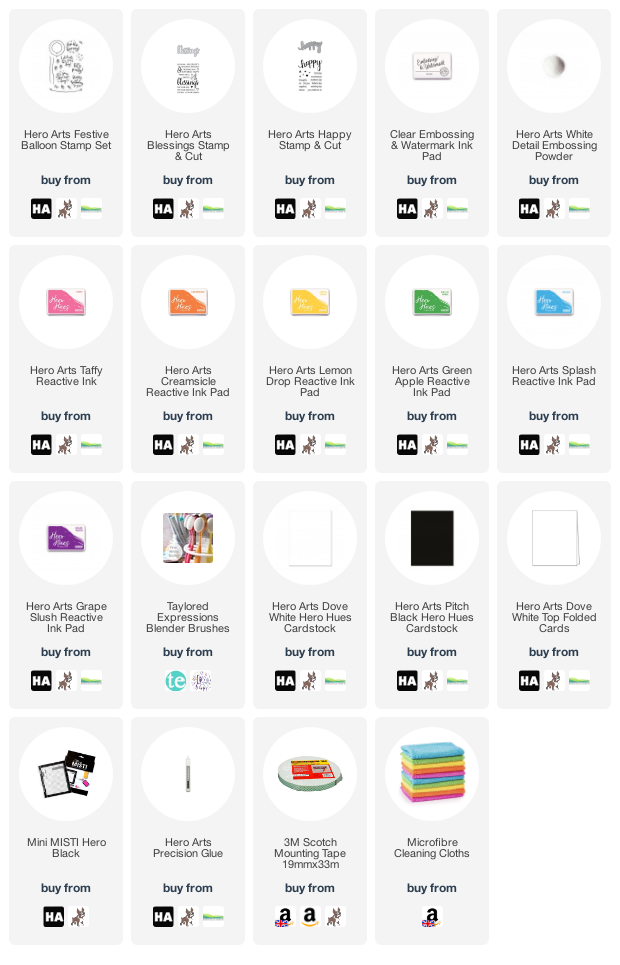
I thought it would be fun to create a background using the balloon images from the set. I then used lots of Reactive Inks in rainbow colours to add ink over the top, added on some water splatters and let sit to dry. For the sentiment, I used the Happy Stamp & Cut for the 'happy' and then the Blessings Stamp & Cut for the 'birthday', which was heat embossed.
 
SUPPLIES:

Here are the links to what I have used on the card. Affiliate links are used on some products. This means that if you make a purchase after clicking on my link, I receive a small commission with no extra cost to you. I truly appreciate your support when using these links. Please click on the logo below the product to shop at your favourite store. All products were personally purchased except those from Clearly Besotted, Hero Arts or those marked with an asterisk (*) which were kindly sent to me to use. You can read my full disclosure here.
 
 
For more information on how I made the card, please head over to the blog post here. Thanks so much for stopping by to see me today. I really do appreciate it. I hope you have a lovely day!

13 April 2020

Spellbinders SDOM | Just Married

Hello there, today I have a card to share with you using the Spellbinders Small Die of the Month Kit for April 2020. This month is all about "special celebrations". The kit contains dies that can be used for Christmas/holidays and also wedding/love. The dies also coordinate with the Trucking Through the Seasons Large Die of the Month Kit. I do not have this but as you can see, it works with the Sunday Drive set too.
 

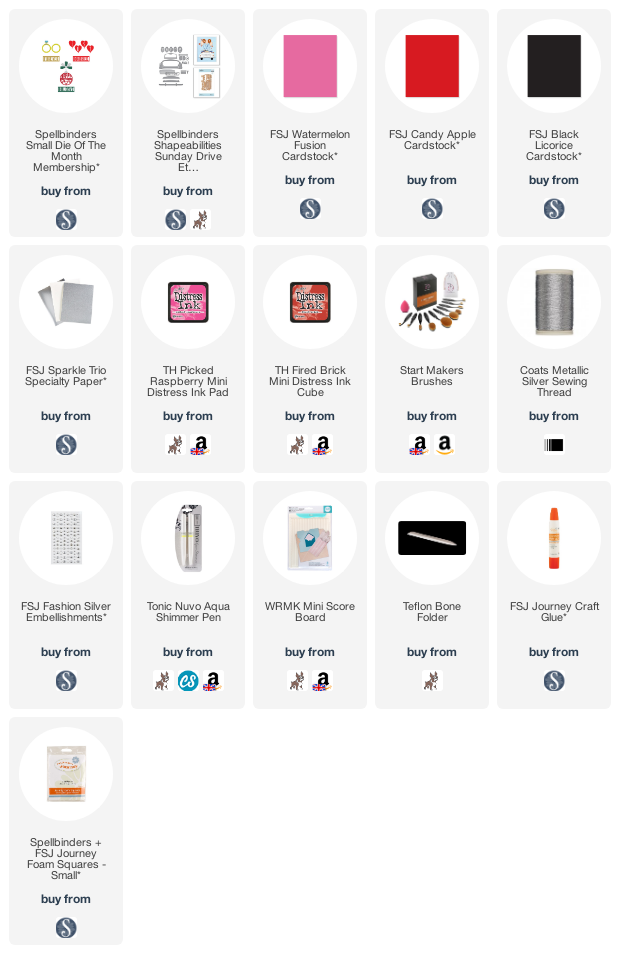
I started off my card by die cutting the Spellbinders Shapeabilities Sunday Drive Etched Dies from FSJ Watermelon Fusion Cardstock, FSJ Candy Apple Cardstock, FSJ Black Licorice Cardstock and the matte silver foil cardstock from the FSJ Sparkle Trip Speciality Paper pack. The pieces were adhered with liquid glue and then set aside.
 
I took the married die from the Spellbinders April 2020 Small Die of the Month Kit and die cut this from more of the silver cardstock. I then placed the number plate die from the Sunday Drive set on top. This was then added to the car with more liquid glue.
 
 
I took the heart balloon die from the kit and die cut this from the red and pink cardstocks. I added a small amount of ink blending to the bottom of these for added dimension. I then threaded silver thread around the bottom piece and adhered them on to a white A2 scored card base with foam squares. The car was then adhered below with more foam squares. I added a glue dot on to the car (on the right hand side by the wing mirror) and adhered the threads from the balloons to it to secure them in place and then cut off the excess thread.
 
 
To cover the threads, I die cut some flowers and leaves from the March 2020 Small Die of the Month Kit and placed them over the glue dot. I also cut another for the left hand side of the car. I added Spellbinders Fashion Silver Embellishments to the centres of the flowers. To finish off, I added Tonic Aqua Shimmer Pen to the balloons.
 
SUPPLIES:
 
Here are the links to what I have used on the card. Affiliate links are used on some products. This means that if you make a purchase after clicking on my link, I receive a small commission with no extra cost to you. I truly appreciate your support when using these links. Please click on the logo below the product to shop at your favourite store. All products were personally purchased except those from Clearly Besotted, Hero Arts or those marked with an asterisk (*) which were kindly sent to me to use. You can read my full disclosure here.
 
 
For more information on the Spellbinders Small Die of the Month Kit, please see here. You can also purchase older kits here. Thanks so much for visiting me today. I really do appreciate it. I hope you have a lovely day and a great week!

11 April 2020

You're Womb-Tastic!

Hello there, today I am over on the Hero Arts Blog sharing a card using the new Bandicoot & Friends set, that was released as an add-on to the April 2020 My Monthly Hero Kit. I thought the little wombat in the set was super cute so had to use him on my card today!
 
 
The wombat and sentiment from the Hero Arts Bandicoot & Friends Stamp Set sits on top of a panel stamped using the new Hero Arts Eucalyptus Bold Prints and ink blended with Key Lime Fizz and Green Apple Reactive Inks.
 
SUPPLIES:

Here are the links to what I have used on the card. Affiliate links are used on some products. This means that if you make a purchase after clicking on my link, I receive a small commission with no extra cost to you. I truly appreciate your support when using these links. Please click on the logo below the product to shop at your favourite store. All products were personally purchased except those from Clearly Besotted, Hero Arts or those marked with an asterisk (*) which were kindly sent to me to use. You can read my full disclosure here.
 
 
COPIC MARKERS: E47, E44, E43, E41.
 
For more information on how I made the card, please head over to the blog post here. Thanks so much for stopping by today, I really do appreciate it. I hope you have a wonderful weekend!

10 April 2020

VIDEO | Spellbinders Foiling & Ink Blending

Hello there, I am over on the Spellbinders Blog and YouTube channel today taking a look at the new Effortless Greetings Project Kit. The new Effortless Greetings collection was designed by the amazing Laurie Willison. The project kit contains three of her new Glimmer Hot Foil Plate sets, as well as a stamp set and all that you need to create four pre-kitted projects. Although sky's the limit with what you can do with this kit! You can now purchase the glimmer plates separately too.
 
 
The Effortless Greetings collection consists of basic foiling plates that you can mix and match to create both clean and simple projects (like mine) or more detailed ones. I love Laurie's new collection! All of my cards today combine foiling with ink blending. I am also using the Spellbinders Glimmer Hot Foil System, along with the Spellbinders Platinum 6 Machine.
 

FOIL RESIST
 
My first card uses the foil resist technique for ink blending. Did you know that you can ink blend over foiling and the foil resists the ink?
 

I started off by foiling the falling leaves plate from the Spellbinders Framed Details Glimmer Hot Foil Plate set (that comes in the Effortless Greetings Project Kit) on to a panel of white cardstock with Spellbinders Silver Foil (also in the kit). As you will see in the video below, I like to adhere my foiling plates on to the cardstock and foil with low tack tape, but there are different methods of foiling.
 
 
Once foiled, the panel was cut down and I added the ink on top using brushes. I used FSJ Lavender Fusion True Color Fusion Ink Pad at the top, followed by FSJ Huckleberry Fusion True Color Fusion Ink Pad in the middle and FSJ Turbo Teal True Color Fusion Ink Pad at the bottom, blending out to white. It was then splattered with FSJ Sparkle Silk. The sentiment from the Spellbinders Effortless Sentiments Glimmer Hot Foil Plate & Die Set (which is in the kit), was foiled in Silver Foil and then die cut out with the coordinating die. It was added on to the card with foam tape.
 

FOILING OVER INK BLENDING
 
For my second card, I decided to do the ink blending first and then foiling over the top. This technique works well but the ink does need to be dry before foiling.
 
 
I started off by taking a panel of FSJ Huckleberry Cardstock and stamping the floral image from the Spellbinders Floral Love Clear Stamp Set (in the kit) using FSJ Huckleberry Fusion True Color Fusion Ink Pad. I then blended the same ink around the edges and re-stamped the image to increase the intensity. I then set the piece aside to dry for a few hours.
 
 
I took two of the stripes from the Spellbinders Foiled Brushstrokes and Stripes Glimmer Hot Foil Plate set (in the kit) and foiled these at the bottom of the panel using Spellbinders Gold Foil Roll (also in the kit). I then took the sentiment from the Spellbinders Everyday Sentiments II Glimmer Hot Foil Plate set (not in the kit) and foiled this above the stripes. The panel was then simply added to a white A2 card base with foam tape.
 

FOILED BACKGROUND
 
For my last card, I used foiling in the background with the ink blending on a die cut word.
 
 
To start, I took two of the brushstrokes from the Spellbinders Foiled Brushstrokes and Stripes Glimmer Hot Foil Plate set and foiled these using Silver Foil on to a panel of white cardstock. The panel was added to a white A2 card base with tape runner. I then took the hello die cut word that is in the kit and added ink blending to it (it comes as white cardstock).
 
 
I used FSJ Catalina Splash True Colour Fusion Ink Pad at the bottom, FSJ Blue Lagoon True Color Fusion Ink Pad in the middle and FSJ Turbo Teal True Color Fusion Ink Pad at the top. It was then adhered on to the card using foam squares. For an accompanying sentiment, I foiled the 'friend' sentiment from the Spellbinders Everyday Sentiments II Glimmer Hot Foil Plate on to FSJ Black Licorice Cardstock with Silver Foil. To finish off, I added a few FSJ Fashion Silver Embellishments (you get a strip of these in the kit).
 

VIDEO:

Here is the video showing how I made the cards:


If you are viewing this blog post via email subscription, you can watch the video HERE on YouTube.
 
SUPPLIES:

Here are the links to what I have used on the cards and in the video. Affiliate links are used on some products. This means that if you make a purchase after clicking on my link, I receive a small commission with no extra cost to you. I truly appreciate your support when using these links. Please click on the logo below the product to shop at your favourite store. All products were personally purchased except those from Clearly Besotted, Hero Arts or those marked with an asterisk (*) which were kindly sent to me to use. You can read my full disclosure here.
 
 
For more inspiration using the new release, please head over to the Spellbinders Blog. Thanks so much for joining me today, I really do appreciate it. I hope you have a lovely day, take care!

8 April 2020

We Make a Great Combo!

Hello there, if you watched my Clearly Besotted April 2020 Release Video, you will have already seen this card. I made it during the release but didn't share it as an actual teaser. It uses the Peckish Plushies set which is such a fun set!
 

I started off my card by stamping the burger and fries image from the Clearly Besotted Peckish Plushies Stamp Set on to white cardstock with Memento Tuxedo Black Ink. I coloured the images using Copic Markers (the colours that I used are listed below the supplies section for reference), adding black glaze pen to their eyes. They were then fussy cut out with scissors and set aside.
 
 
I took a piece of mylar and cut one of the Hero Arts Nesting Heart Infinity Dies in to it. This was placed over a panel of white cardstock and used as a stencil to ink blend the heart. Using an ink blending brush, I blended on Worn Lipstick and Abandoned Coral Distress Inks. The stencil was then removed and the panel adhered to an A2 white card base with foam tape.
 
 
The burger and fries images were then added on top with more foam tape. I took the sentiment from the set and stamped it on to black cardstock with Versamark Ink. I applied White Detail Embossing Powder and heat set. It was then cut in to a strip and added to the card with more foam tape. To finish off, I added a few Lucy's Ice Cube Jewels.


SUPPLIES:

Here are the links to what I have used on the card. Affiliate links are used on some products. This means that if you make a purchase after clicking on my link, I receive a small commission with no extra cost to you. I truly appreciate your support when using these links. Please click on the logo below the product to shop at your favourite store. All products were personally purchased except those from Clearly Besotted, Hero Arts or those marked with an asterisk (*) which were kindly sent to me to use. You can read my full disclosure here.
 

COPIC MARKERS: Burger - E49, E59, E57. Cheese - YR24, YR23, Y18, Y15, Y13. Burger bun - E55, E53, E51. Fries - YR24, YR23, Y15 | R89, R37, R27, R24.

I hope that I haven't made you feel too hungry with this card! Thanks so much for visiting me today, I really do appreciate it. I hope you are able to stay safe and well. Take care!

6 April 2020

Hero Arts April 2020 My Monthly Hero Kit Release Blog Hop + Giveaway

Hello there and welcome as we celebrate the release of the Hero Arts April 2020 My Monthly Hero Kit. The kit this month was originally designed to support the devastating fires in Australia, celebrating the beautiful landscape, flowers and animals down under. The world has sadly changed a lot since then and we are now battling a new issue, but we are still excited to share a much needed crafty escape to Australia!
 
If you are following along in the hop, you should have arrived here from the Hero Arts Blog but if you get lost along the way, I have the full list of participants below.
 
 
The first card I am sharing with you today is the card that I shared over on the Hero Arts Blog for the countdown. I love creating sunsets with silhouette images so this kit is perfect for them! The bottom half of the panel was simply masked off and the top half ink blended with mainly Reactive Inks.


I used Lemon Drop, Creamsicle and Fruit Punch Reactive Inks and then added a bit more depth with the Ruby Pigment Ink. The tree, kangaroos and sentiment were then simply stamped on top with Intens-ified Black Ink. For more details on how I made the card, please head over to the blog post.
 

I did then create a very similar card but with a different layout. For this one, I first took a panel of white cardstock and cut a circle from it using the Nesting Circle Infinity Dies. I then blended inks on to the front of a top folding card base. I used Lemon Drop, Creamsicle and Fruit Punch Reactive Inks for this one too.
 

I then stamped the grass image from the Safari Wild About You Stamp Set and the birds from the Safari Huge Thanks Stamp Set in Intens-ified Black Ink. The kangaroo and tree from the April 2020 My Monthly Hero Kit stamp set were then stamped as well. I love that you can combine the sets! The sentiment from the kit stamp set was then stamped on to the top panel and the panel added with foam tape.
 

For my final card, I wanted to use the gorgeous Sunset Stencil that you get in the kit. This works so well for different landscapes - you can use the bottom half for sea, sand or grass and as you can see, you can also use the sun image as a moon. I placed the stencil over a panel of white cardstock and blended on Reactive Inks for the sea and sky. I used Pool Party, Splash and Blue Hawaii for the sea and Blue Hawaii, Grape Slush and Intens-ified Black Ink for the sky.
 
 
I then took the dolphin image from the main kit stamp set and stamped this on top with more Intens-ified Black Ink (in the photos, you can see the ink blending underneath but in real-life, that is not really visible). The panel was then added to a white top folding card base (A2) with tape runner. I took the sentiment from the Bandicoot & Friends Stamp Set, which is an add-on this month and stamped it on to Pitch Black Cardstock with Clear Embossing & Watermark Ink. I applied White Detail Embossing Powder and heat set. It was cut in to a strip and added to the card with foam tape.

SUPPLIES:

Here are the links to what I have used on the card. Affiliate links are used on some products. This means that if you make a purchase after clicking on my link, I receive a small commission with no extra cost to you. I truly appreciate your support when using these links. Please click on the logo below the product to shop at your favourite store. All products were personally purchased except those from Clearly Besotted, Hero Arts or those marked with an asterisk (*) which were kindly sent to me to use. You can read my full disclosure here.


THE KIT:
 
The Hero Arts April 2020 My Monthly Hero Kit contains a 6" x 8" Clear Stamp Set, 31 Coordinating Frame Cuts, 5.25" x 6.5" Sunset Stencil, Intense Black Ink Pad, 2 5.5." x 8.5" Cherry Wood Sheets and 3 5.5." x 8.5" Adhesive-backed Birch Wood Sheets. The kit values at $80 but you can get it for $34.99 (approximately £28 depending on exchange rate). The kit is limited edition and they often sell out quickly. You can subscribe here so that you never miss a kit. International subscribers get a discount off shipping too!
 

A MESSAGE FROM HERO ARTS:
 
Please note that this month, shipping will be delayed. Currently, we estimate that shipping will commence on 20th April. We know that you will be excited to receive your kit and appreciate your patience while we work through delays during this time of COVID-19. We are sending love and support, as well as healing thoughts to those who know people who have fallen sick or are sick themselves.
 

ADD-ONS:
 
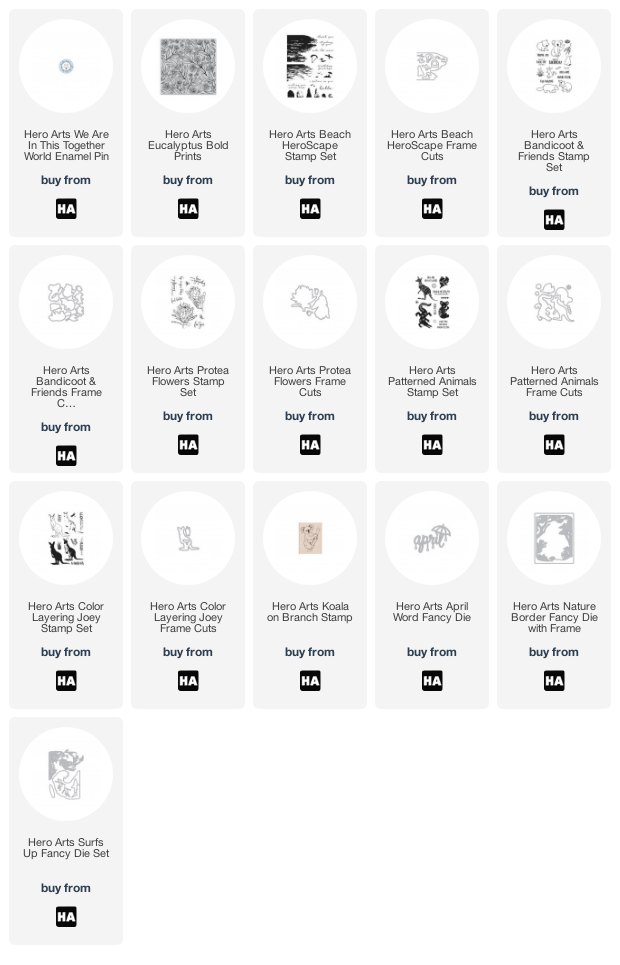
There are lots of fabulous add-on products this month that compliment the main kit (or can work separately). These are not limited edition and can be purchased separately from your favourite Hero Arts retailer or in the Hero Store, along with your kit.
 
 
Hero Arts will donate 100% of net profits from the sale of the We Are In This Together World Enamel Pin to support the COVID-19 disaster relief.
 

BLOG HOP:

Here is the full list of participants in the hop today:

 Michelle Short - you are here!

GIVEAWAY:
 
Hero Arts are giving away a $50 gift card to spend in the Hero Store to one lucky blog hop winner. The winner will be chosen from all of the comments left across all of the stops in the hop. The more you comment, the more chances you have to win! The giveaway closes Sunday 12th April 2020 at 11.59pm PDT. The winner will be announced on the Hero Arts Blog the following week. Good luck!
 
Next on the hop is the amazing Jessica. Thanks so much for stopping by today, I hope you enjoy the rest of the hop and take care.
End of code