30 June 2018

My Monthly Hero Countdown | Hello There

Hello there, today I am over on the Hero Arts Blog sharing a look at the new My Monthly Hero Kit for July 2018. It has a wonderful funfair theme to it but I loved the look of this plane image so went with a simple hello card.


SUPPLIES:

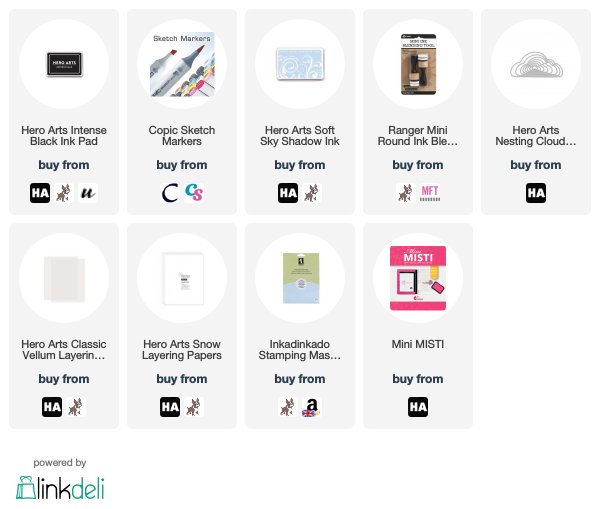
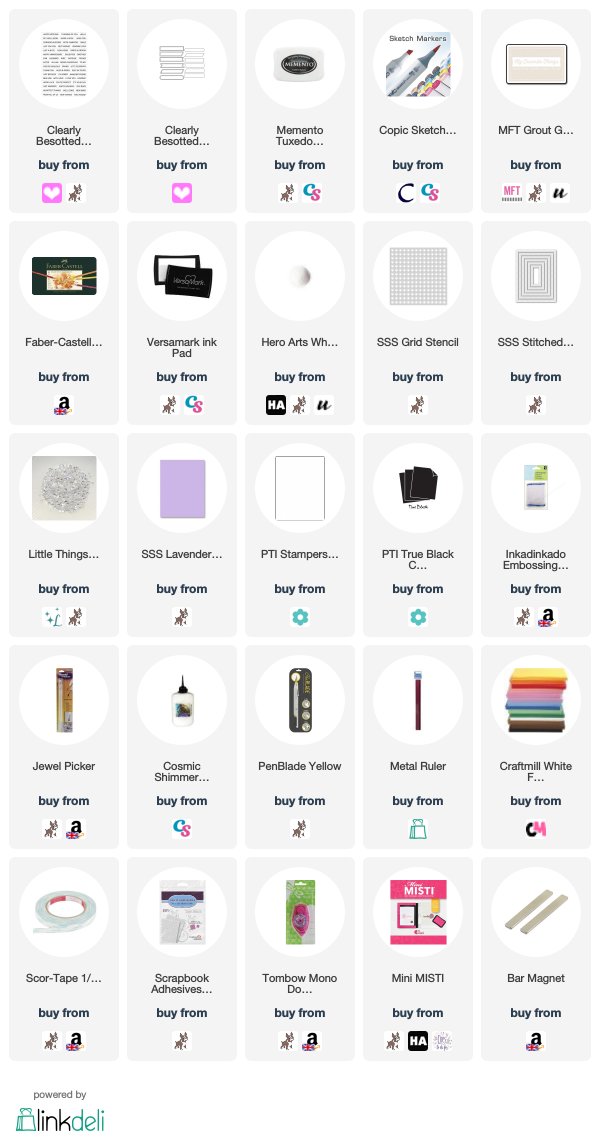
Here are the links to what I have used on the card. Affiliate links are used on some products. This means that if you make a purchase after clicking on my link, I receive a small commission with no extra cost to you. I truly appreciate your support when using these links. Please click on the logo below the product to shop at your favourite store. Products marked with an asterisk (*) were kindly sent to me to use.
 
 
COPIC MARKERS: R89, R37, R27, R24, R14.
 
For more details on how I made the card, please head over to the blog post and remember to leave a comment over there for a chance to win a kit! Thank you so much for stopping by, hope you have a great rest of the day!

Clearly Besotted Teasers | Monkey Business

Hello there and welcome to day four of the Clearly Besotted Teasers for the July 2018 release. All of the new products release tomorrow at 8pm BST. I have one last teaser to share with you today, using the new Wild Times stamp set. This is a fun animal themed set that is a stamp layering set.
 

I started off by stamping the monkey from the Wild Times stamp set. I used PTI Fine Linen ink for the bottom layer and Dark Chocolate for the top layer. I then fussy cut him out with scissors, but don't worry, there is a coordinating die set available, and set him aside.
 
 
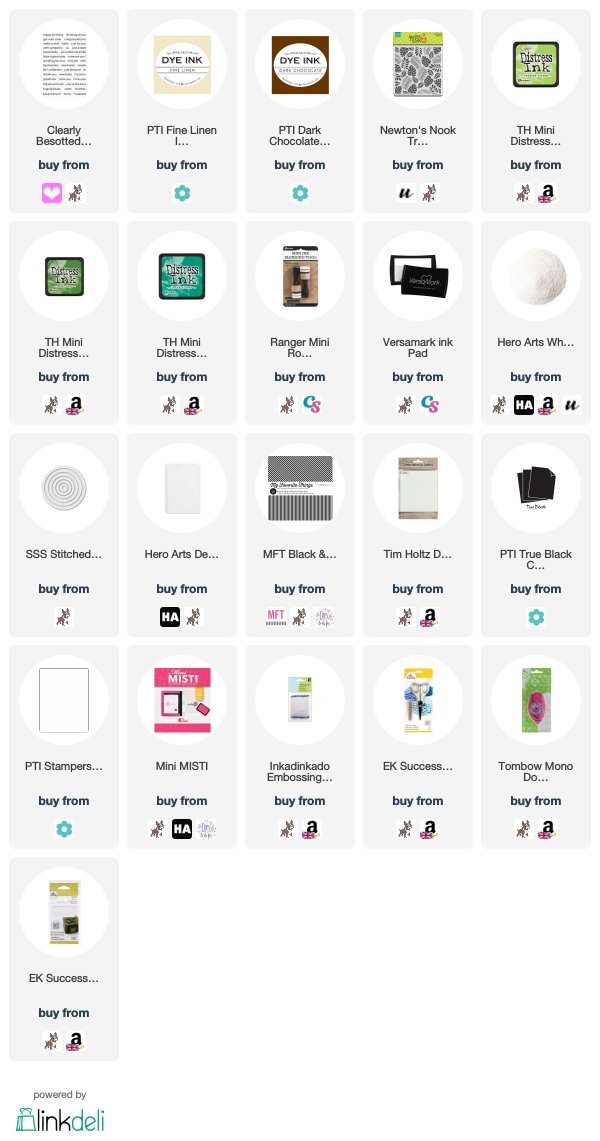
I took a circle of watercolour paper that has been cut with a SSS Stitched Circle Die and blended over Twisted Citron and Mowed Lawn Distress Inks on to it. I then placed the Tropical Leaves stencil from Newton's Nook and secured in place with low-tack tape. I blended the same colours of Distress Inks on top, adding in some Lucky Clover to the edges. The side was then cut down with a guillotine. This was added to a white A2 card base that has a layer of woodgrain cardstock on the front, as well as a strip of black and white patterned paper to the side.
 
 
I took the sentiment from the A Little Sentimental set and stamped this on to black cardstock with Versamark Ink. I applied white embossing powder and heat set. This was cut in to a strip and added to the card with thin foam tape. The monkey was then added on top with more thin foam tape.
 
SUPPLIES:

Here are the links to what I have used on the card. Affiliate links are used on some products. This means that if you make a purchase after clicking on my link, I receive a small commission with no extra cost to you. I truly appreciate your support when using these links. Please click on the logo below the product to shop at your favourite store. Products marked with an asterisk (*) were kindly sent to me to use.
 
 
Doesn't he look like a cheeky monkey?! I thought this card would be sure to brighten up someone's day! For more inspiration using more of the new release, please head over to my teamies Stephanie, Keren and Lisa. Thanks so much for stopping by today, see you tomorrow for release day! Have a great weekend!

29 June 2018

Clearly Besotted Teasers | Sweet Berries

Hello there and welcome to day three of the Clearly Besotted teasers. All the new sets will release on Sunday, July 1st so not long to wait now! For my project today, I thought I would make a tag using the new Sweet Berries stamp set. It is a wonderful set with two berry clusters and today, I thought I would go with the strawberries.
 

First of all, I die cut a tag from white cardstock using the Tag Along Die Collection. I stamped the strawberries on to it using Memento Tuxedo Black Ink. I the coloured the image using Copic Markers, adding a little shading around the image with blues. The colours I used are listed below the supplies section. I also added a little red Spica pen to the pips on the strawberries for some added sparkle (although sadly, it does not show up well in the photos).
 
 
I took the sentiment from the Sweet Berries set and stamped it on to black cardstock using Versamark Ink. I applied white embossing powder and heat set. This was cut in to a strip and added to the tag with thin foam tape. To finish off, I added twine through the top of the tag.
 
SUPPLIES:

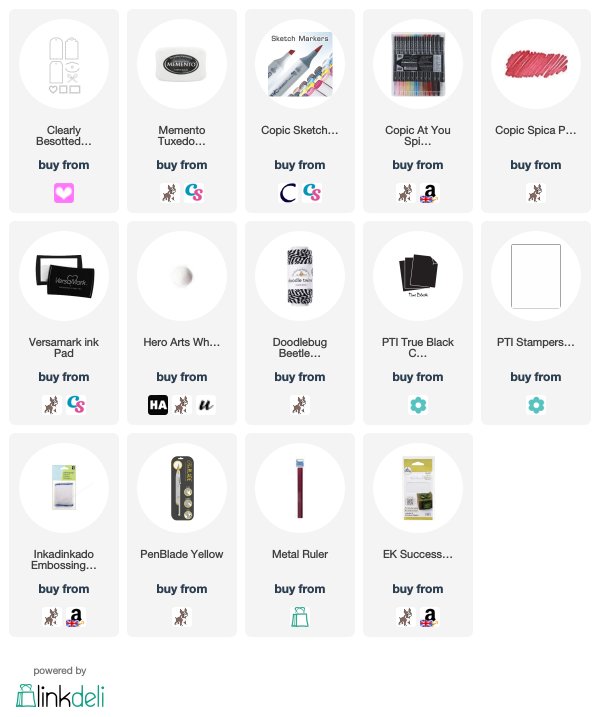
Here are the links to what I have used on the card. Affiliate links are used on some products. This means that if you make a purchase after clicking on my link, I receive a small commission with no extra cost to you. I truly appreciate your support when using these links. Please click on the logo below the product to shop at your favourite store. Products marked with an asterisk (*) were kindly sent to me to use.
 
 
COPIC MARKERS: Strawberries - R89, R37, R24, R14, Spica 21 Lipstick. Leaves - YG67, YG17, YG23, YG03, YG01. Flowers - Y13, Y11, Y000. Shadow - B00, B0000, 0.
 
I really love making tags and I thought this would be nice to send to someone as a little pick me up or a thank you, but could be added to a card too. For more inspiration using the new release, please head over to my teamies Stephanie, Keren and Lisa. Thanks so much for stopping by to see me today! Have a great day!

28 June 2018

Clearly Besotted Teasers | Rainbow Wishes

Hello there and welcome to day two of the July 2018 Clearly Besotted Teasers. My card today uses the new Over The Rainbow stamp set. All of the layers of the rainbow are separate stamps so you can line them up easily and use different colours for each layer. The ends of the rainbow have brushstroke ends so they do not stop abruptly, which is nice.
 

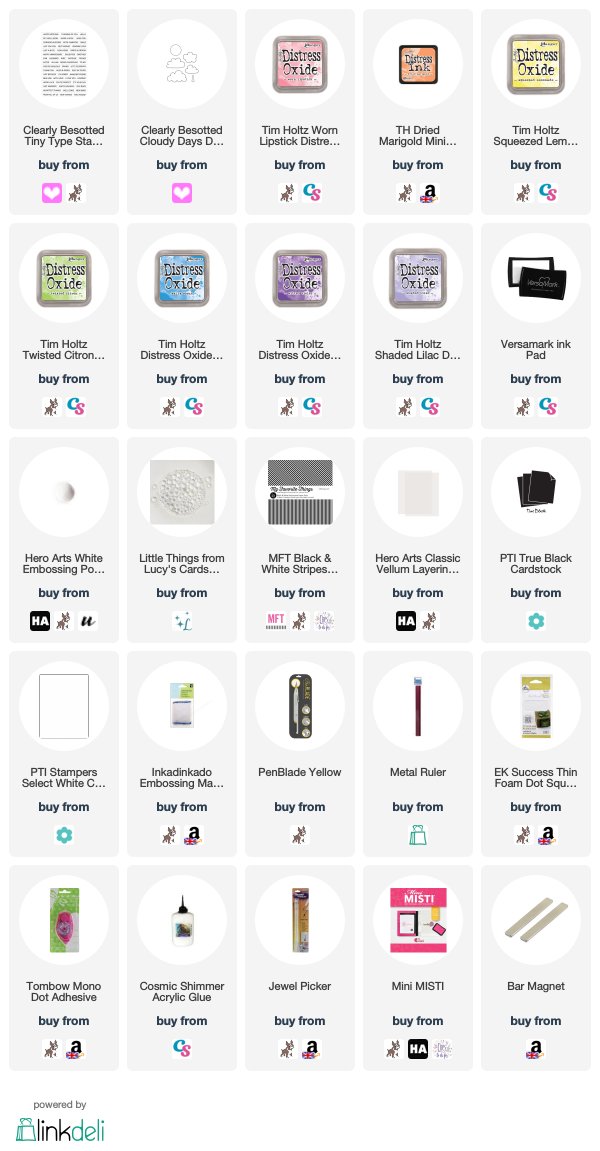
I started off by taking a panel of white cardstock and stamping the rainbow on to it using various shades of Distress Oxide ink plus the normal Distress ink for the orange, as I do not have an Oxide in this colour. The Oxide inks stamp beautifully, though. I used the Mini MISTI to help line up the different layers. I took a strip of paper from the MFT Black & White Striped Paper Pad and added this to the side of an A2 card base. The rainbow panel was then added on top with tape runner.
 
 
I die cut some clouds using the Cloudy Days Die Collection (which is soon retiring, so grab it while you can!) from white cardstock, as well as vellum. These were layered up with thin foam tape and tape runner for the vellum cloud. The sentiment from the Tiny Type set was stamped in Versamark Ink on to black cardstock. I applied white embossing powder and heat set. This was cut in to a strip and added to the card with more thin foam tape. To finish off, I added a few Raindrops with liquid glue.
 
SUPPLIES:

Here are the links to what I have used on the card. Affiliate links are used on some products. This means that if you make a purchase after clicking on my link, I receive a small commission with no extra cost to you. I truly appreciate your support when using these links. Please click on the logo below the product to shop at your favourite store. Products marked with an asterisk (*) were kindly sent to me to use.
 
 
I thought this card could be used for lots of different occasions. Rainbows always seem uplifting to me! Please do head over to see what my teamies Stephanie, Keren and Lisa have been up to. Thank you so much for visiting me today, I really do appreciate it. See you tomorrow!

27 June 2018

Clearly Besotted Teasers | Copics vs Pencils

Hello there and welcome to day one of the Clearly Besotted Teasers for the July 2018 Release. The new products release at 8pm BST on the 1st July. From now until then, the Design Team will be sharing teasers with you. My cards today use the beautiful new My Mother Stamp Set. I couldn't decide how to colour the flowers so I went with both Copic Markers and Colour Pencils and I will let you decide which you like best!
 

For the Copic Marker one, I stamped the image with Memento Tuxedo Black on to a panel of white cardstock, die cut using a SSS Stitched Rectangle Die. I coloured the image using Copic Markers (the colours I used are listed below the supplies section), adding a little blue sharing around the image. I then took the panel and die cut this again with a smaller stitched rectangle die.
 
 
I added the frame piece flat to a white A2 white card base with tape runner. I then added the inside rectangle using foam sheet and DST to give it some dimension. I took the sentiment from the Tiny Type set and stamped this on to black cardstock with Versamark Ink. I applied white embossing powder and heat set. This was cut in to a strip and added to the card with thin foam tape.
 
 
For the pencil one, I stamped the image on to another stitched rectangle panel but this time with MFT Grout Gray Hybrid Ink. I coloured the flowers with Polychromos Pencils (the colours used are listed below the supplies section) for a no-line look. I took a purple A2 card base and embossed the SSS Grid Stencil on to the front. The image panel was then added on top with thin foam tape.
 
 
I took the same sentiment and stamped and heat embossed this. This time I cut it out using one of the banner dies from the Flag It Die Collection. This was added to the card with more thin foam tape and then I embellished it with Lucy's Ice Cube Jewels.
 
SUPPLIES:

Here are the links to what I have used on the card. Affiliate links are used on some products. This means that if you make a purchase after clicking on my link, I receive a small commission with no extra cost to you. I truly appreciate your support when using these links. Please click on the logo below the product to shop at your favourite store. Products marked with an asterisk (*) were kindly sent to me to use.
 
 
COPIC MARKERS: V17, V15, V01, YG67, YG17, YG23, YG03, BG000, BG0000, 0.
POLYCHROMOS: 168, 174, 267, 141, 249, 136.
 
The colour pencils definitely give a softer look but I am partial to a black outline. I do like them both though! I know the rest of the team will have lots of share with you too. Please head over to my teamies Stephanie, Lisa and Keren. Thank you so much for visiting me today. See you tomorrow! Have a great day!

26 June 2018

Rainbow Stencilling

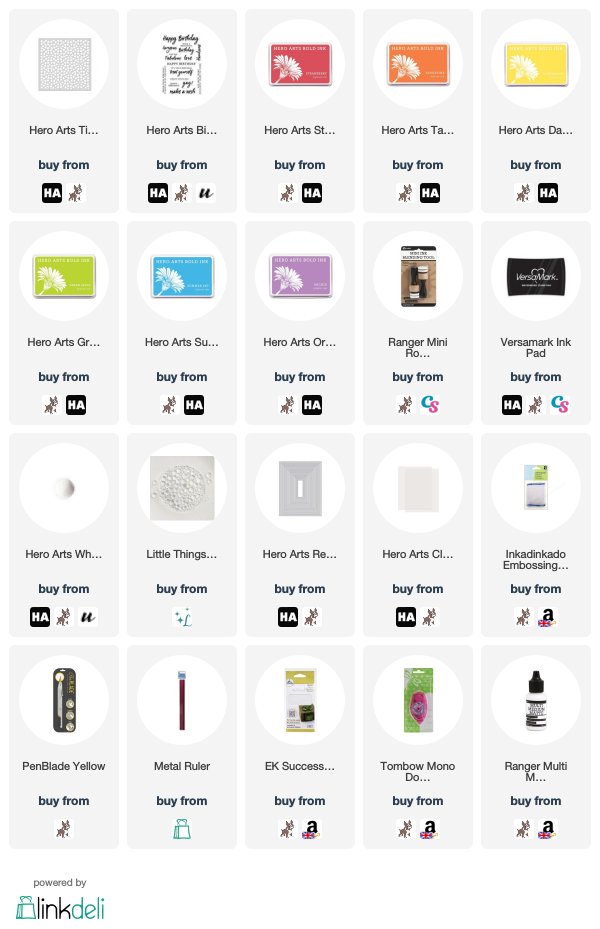
Hello there, today I am over on the Hero Arts Blog sharing a card I have made using the Tile Pattern Stencil. I decided to do some ink blending with it in rainbow colours because who doesn't love rainbows?!


SUPPLIES:

Here are the links to what I have used on the card. Affiliate links are used on some products. This means that if you make a purchase after clicking on my link, I receive a small commission with no extra cost to you. I truly appreciate your support when using these links. Please click on the logo below the product to shop at your favourite store. Products marked with an asterisk (*) were kindly sent to me to use.
 
 
I wanted to keep the rest of the card simple to show off the ink blending but muted it slightly with a panel of vellum. For more details on how I made the card, please head over to the blog post. Thank you so much for visiting me today. I really do appreciate it. Have a great day!

25 June 2018

VIDEO | Card Making Haul - June 2018

Hello there, I am back today with a haul video. Most of this stuff was purchased in June but there were a few orders back at the end of May too.
 
  
I purchased a lot of stamps, dies and stencils this month. Do you find that you purchased more of some items one month than the other? Here is a look at what I purchased:


 (If you are seeing this post via my newsletter, you can watch the video over on YouTube here)

SUPPLIES:

Here are the links to what I shared in the video. Affiliate links are used on some products. This means that if you make a purchase after clicking on my link, I receive a small commission with no extra cost to you. I truly appreciate your support when using these links. Please click on the logo below the product to shop at your favourite store. Products marked with an asterisk (*) were kindly sent to me to use.
 
 
Thank you so much for stopping by today, I do really appreciate it. It is very hot here in London today so I am off to get an ice lolly! Have a great day!

23 June 2018

Get Well Soon

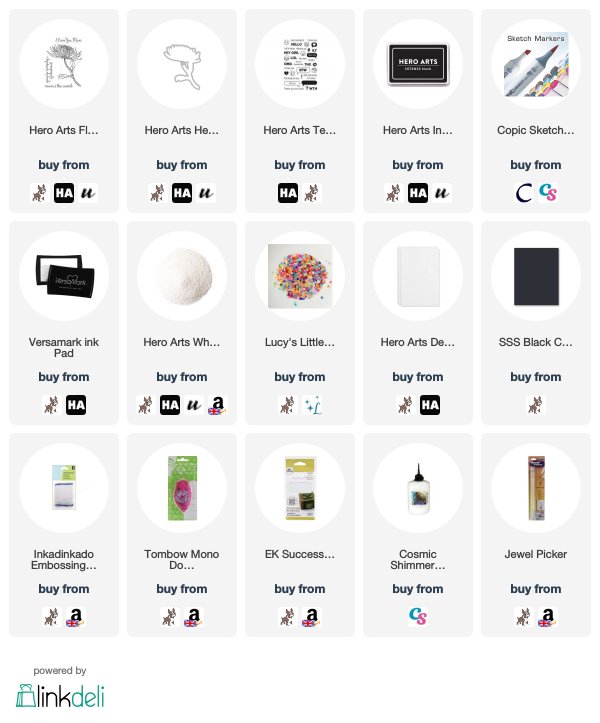
Hello there, today I have a simple get well card to share using the Hero Arts Hero Florals Mum Stem stamp set that was released in the latest catalogue.
 

I started off by stamping the image on to white cardstock using Intense Black Ink. I coloured the image using Copic Markers (the colours used are listed below). It was then die-cut out using the coordinating die. I took the sentiment from the Text Me stamp set and stamped it on to black cardstock using Versamark Ink. I applied white embossing powder and heat set. This was then cut in to a strip.
 
 
I added a panel of Decorative Woodgrain Cardstock on to the front of an A2 white card base with tape runner. I then added the flower on top with thin foam tape, as well as the sentiment. To finish off, I added a few yellow jewels from Lucy's Rainbow Sparkle Jewel Mix with liquid glue.
 
SUPPLIES:

Here are the links to what I have used on the card. Affiliate links are used on some products. This means that if you make a purchase after clicking on my link, I receive a small commission with no extra cost to you. I truly appreciate your support when using these links. Please click on the logo below the product to shop at your favourite store. Products marked with an asterisk (*) were kindly sent to me to use.
 
 
COPIC MARKERS: Y17, Y15, Y13, Y11, G46, G43, G40.
 
I just love that woodgrain cardstock! It seems to go with everything! Thank you so much for popping in to see me today. I hope you have a wonderful weekend!

20 June 2018

Alcohol Ink Inlay Hibiscus

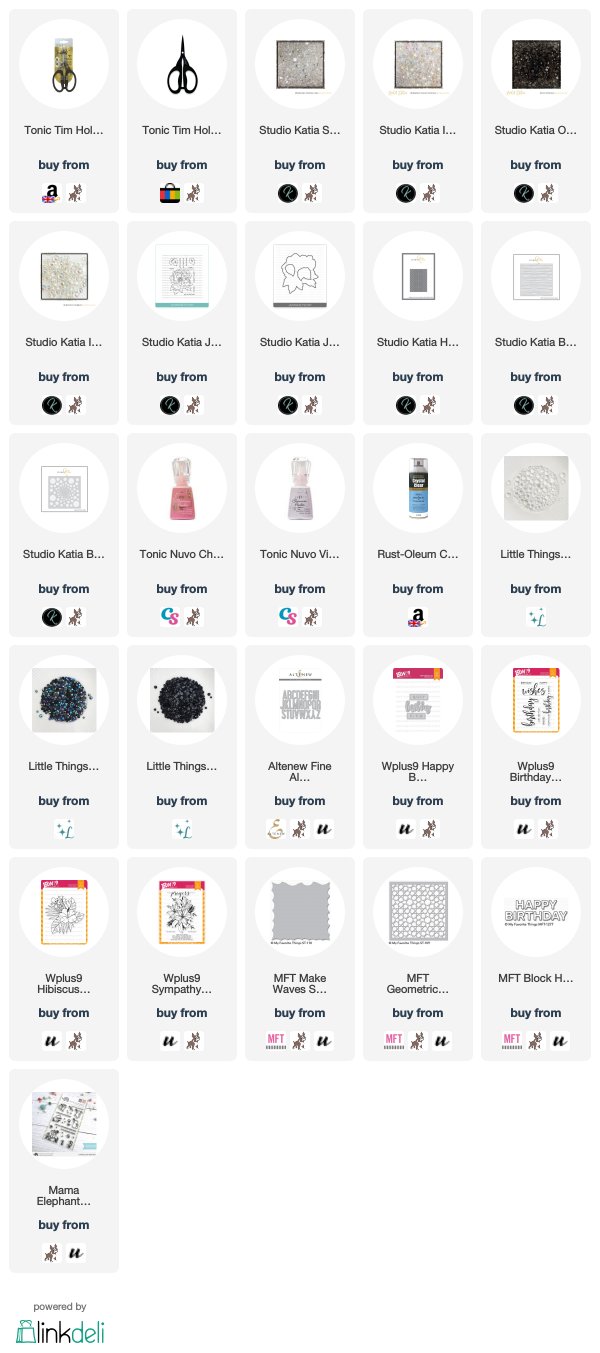
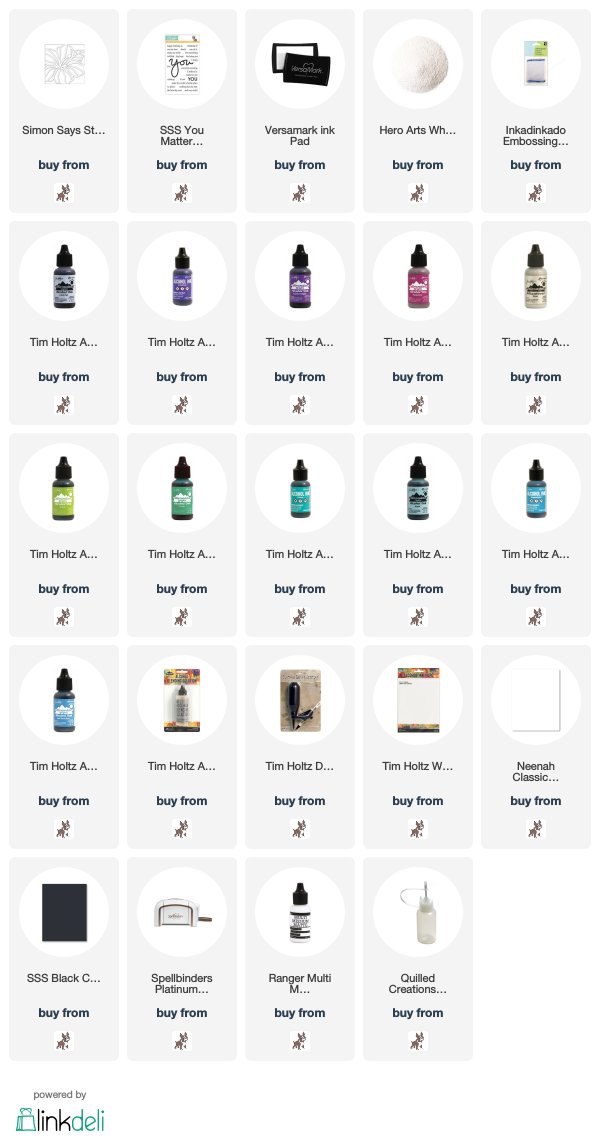
Hello there, today I have a card to share using the new Hibiscus Frame die from Simon Says Stamp. It is part of the new Good Vibes collection which is released today.
 

I decided to do an alcohol ink die cut inlay technique for this card, which did take me quite some time but I really like the effect I got. I started off by die cutting the Hibiscus Frame die from white cardstock panels 4 times. These were layered up with liquid glue and added to a white A2 card base.
 
 
I then took alcohol ink panels that I had made previously and die cut these using the same Hibiscus Frame die. I used a purple/pink/silver piece for the flower itself, a green piece for the leaf and aqua/blue for the background. Glue was added to the centres of the white frame and the alcohol pieces added in with more liquid glue. They fit in just like a puzzle piece!
 
 
I took the stamen and cut this from white cardstock and added this on top of the hibiscus. I took the 'happy birthday to you' sentiment from the You Matter stamp set, masked off the 'to you' part and stamped this in Versamark Ink on to black cardstock. I applied white embossing powder and heat set. It was cut in to a strip and added to the card with more liquid glue.
 
SUPPLIES:

Here are the links to what I have used on the card. Affiliate links are used on some products. This means that if you make a purchase after clicking on my link, I receive a small commission with no extra cost to you. I truly appreciate your support when using these links. Please click on the logo below the product to shop at your favourite store. Products marked with an asterisk (*) were kindly sent to me to use.
 
 
Do head over to see what else is part of the Good Vibes release. It is a good one! :) Thank you so much for visiting me today, I really do appreciate it. Have a great day!

19 June 2018

Hero Arts + Scrapbook Adhesives Blog Hop

Hello there, Hero Arts and Scrapbook Adhesives by 3L are collaborating today to bring you a fun blog hop full of inspiration! Scrapbook Adhesives by 3L sell lots of wonderful adhesives but also a few more fun products that can be used in different ways, like the 3D Foam Creative Embellishment Kit that I am using today. For the hop, you should have arrived here from Margie Higuchi, but if you get lost along the way, the full list of participants are below. 
 

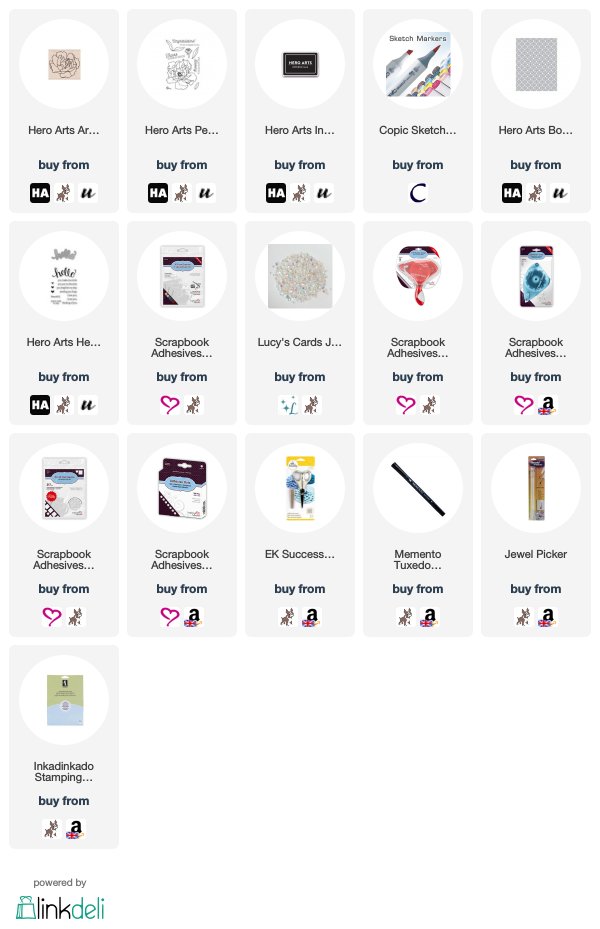
For my card I started off by creating the embossed background. I ran the Bold Graphic Confetti Die through my die cutting machine with an embossing pad to get a subtle pattern on a panel of white cardstock. This was adhered to an A2 white card base with the EZ Runner Grand Refillable Dispenser with the EZ Runner Grand Permanent Dots Refill. Despite this being a bigger sized tape runner, it is really easy and comfortable to use.
 
 
Next, I stamped the Artistic Peony stamp on to some white cardstock with Intense Black Ink. I masked the flower and then stamped a few leaves from the Peonies Stamp Set around it. The mask was removed and then the flower coloured using Copic Markers. The image was fussy cut out with scissors and I went around the edges of the cardstock with a black pen to neaten the edges. This was added to the card with a combination of Thin 3D Foam Squares (white), on the edges, and Adhesive Dots Mini in the middle.
 
 
I took the Hello die from the Hello Stamp & Cut set and die cut this from the adhesive foam in the 3D Foam Creative Embellishment Kit. I removed the backing sheet and adhered it to my card. I then took the top backing paper off and pressed the blue foil in to it. I rubbed the top of the foil to help it stick and then removed the foil to create a foiled 3D foam word. To finish off, I added a few Iridescent Jewels around the flower.
 

SUPPLIES:

Here are the links to what I have used on the card. Affiliate links are used on some products. This means that if you make a purchase after clicking on my link, I receive a small commission with no extra cost to you. I truly appreciate your support when using these links. Please click on the logo below the product to shop at your favourite store. Products marked with an asterisk (*) were kindly sent to me to use.
 
 
COPIC MARKERS: B26, B24, B23, B21, G46, G43, G40.


BLOG HOP:


Here is the full list of participants for the hop:

Michelle Short - you are here!

GIVEAWAY:

There are two prize packs to be won worth $35. One from Hero Arts and one from Scrapbook Adhesives by 3L. Two winners will be picked from the entries over on Rafflecopter. Please head over to the Rafflecopter widget here, as well as leaving a comment on each stop on the hop. Entries close on 24th June 2018 at 11.59pm CST. Good luck!
 
Thank you so much for visiting me today, I really do appreciate it. The next stop on the hop is Shannon Morgan. I hope you enjoy the rest of the hop and have a great day!

17 June 2018

Sunny Studio Guest Designer | Simple Scene Cards

Hello there, I am delighted to be guest designing with Sunny Studio Stamps today. I am using some sets from their latest release and combining a couple with older sets too. So let's get on to the cards:
 
LIFE WITH YOU IS AN ADVENTURE

My first card uses the Critter Campout stamp set, along with the coordinating dies, as well as the Cascading Stars stamp. I started off by creating the background. I took a panel of watercolour paper and stamped the Cascading Stars stamp on to it twice (to cover the width of the panel) using Versamark Ink. I applied clear embossing powder and then heat set.
 

I took Distress Inks in Faded Jeans, Chipped Sapphire, Dusty Concord, as well as a little Black Soot and blended these on to the panel with an ink blending tool. I focussed the darkest colour at the top, getting lighter towards the bottom of the panel. I then blended Antique Linen and Gathered Twigs up from the bottom to meet the blues, for the ground. I took the sentiment from the Critter Campout set and stamped this at the bottom of the panel with black ink.
 
 
I took the skunk, fox, fire, marshmallows and snail from the set and stamped these on to white cardstock with black ink. I coloured them using Copic Markers adding some yellow glow to the critters from the fire (the colours I used are listed below the supplies section). These were then die cut out using the coordinating dies. I added the background piece flat to a white A2 card base with tape runner and then added the images on top with foam squares.
 
YOU’RE FINSTASTIC

My next card uses the Background Basics set, along with the older Magical Mermaids set. I really like how the black and white stripes work along with the more colourful images on top, to help ground the scene. I first took the stripes background piece from the Background Basics set and stamped this with black ink on to a white A2 card base and set aside to dry.
 

I took a panel of watercolour paper and blended over Distress Inks in Broken China, Mermaid Lagoon and Chipped Sapphire, keeping the layers fairly light. I then flicked some water on it, let sit for a little while and picked up any excess water and ink with a paper towel. Once the piece was dry, I stamped the sentiment on, using black ink.
 
 
I took one of the mermaids, the rock and seaweed from the Magical Mermaids set, and stamped these on to white cardstock with black ink. I coloured them using Copic Markers (colours listed below the supplies section) and die cut them out with the coordinating dies. The background panel was added to the card with foam sheet and DST and then the images added on top with tape runner and thin foam squares.
 
SEA YOU SOON

My last card isn't really a scene card but it does have a cute critter on it! I used the Background Basics set to create a whole panelled background this time and combined it with the Hello die, along with the Oceans of Joy set. I started off by creating the background piece. I stamped the polka dot background repeatedly across a panel of watercolour paper using Versamark Ink. I applied white embossing powder and heat set.
 

I took Distress Inks in Picked Raspberry, Dried Marigold, Squeezed Lemonade, Peacock Feathers, Mermaid Lagoon and Wilted Violet and blended these over the panel with an ink blending tool. I removed any excess ink from the embossing powder with a dry cloth. This was cut down and added to a white A2 card base at an angle.
 
 
I took the Hello die and die cut this three times from black cardstock. They were layered up with spray adhesive and then added to the card base. I took the 'sea you soon' sentiment from the Oceans of Joy stamp set and stamped this with Versamark Ink on to black cardstock. I applied white embossing powder and heat set. This was cut in to strip and added below the hello using thin foam tape. I then stamped the turtle from the set using black ink on to white cardstock and coloured him using Copic Markers (the colours used listed below the supplies section) and die cut him out with the coordinating dies. I added him above the hello with foam tape.
 
SUPPLIES:

Here are the links to what I have used on the card. Affiliate links are used on some products. This means that if you make a purchase after clicking on my link, I receive a small commission with no extra cost to you. I truly appreciate your support when using these links. Please click on the logo below the product to shop at your favourite store. Products marked with an asterisk (*) were kindly sent to me to use.
 
 
COPIC MARKERS: Skunk - N9, N6, N5, N3, N1, N0, Y13, Y11. Fox - E09, E07, E13, E11, E31, E30, C1, R12, R00, Y13, Y11. Guitar - E27, E23. Marshmallows - E57, E55, E53, E50, Y00. Snail - W5, W3, W0, BG96, BG93, BG90, Y11, Y00. Fire - E57, E55, YR18, YR16, YR12, Y15, Y13, Y11. Mermaid skin - E13, E11, E00, E000, E50. Mermaid hair - E57, E27, E35, E23. Mermaid top & hair clip - V17, V15, V12. Mermaid tail - BG18, BG23, BG13, BG11, Spica Turquoise 08. Rocks - T5, T3, T1. Seaweed - YG17, YG23, YG01. Turtle - BG78, BG57, BG53, G46, G43, YG01.
 
A big thank you goes to Mendi for having me guest design with Sunny Studio today. For more inspiration using the sets, please head over to the Sunny Studio Blog. Thank you so much for visiting me today. I hope you have a great rest of the weekend!

15 June 2018

Birthday Bear Hugs

Hello there, today I have a card to share that I made for my friend Sarah for her 40th Birthday. She likes bears, so I wanted to incorporate one into her card, and I thought the Beary Special Birthday set from MFT was perfect.
 

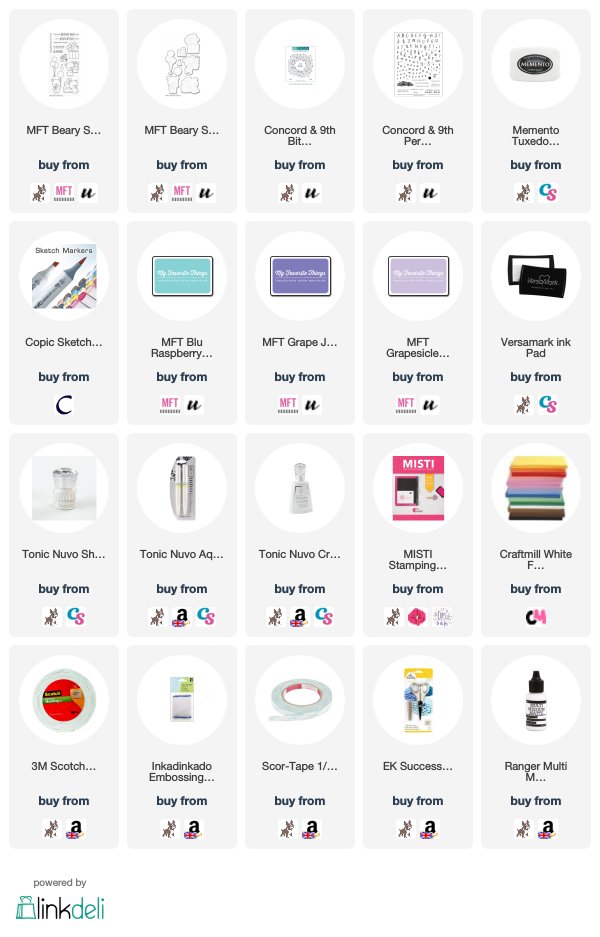
I started off by stamping the bear using Memento Tuxedo Black Ink on to white cardstock. I coloured it using Copic Markers and stamped the 40 from the Concord & 9th Perfectly Penned stamp set inside of the balloon. I die cut him out using the coordinating dies, as well as a piece of foam sheet. The cardstock piece was added to the foam piece with liquid glue and then I added a good coating of Aqua Shimmer Pen and Crystal Glaze to the balloon and set aside.
 
 
Next, I took a panel of white cardstock and stamped the Concord & 9th Bitty Burst Turnabout stamp on to it. I thought it worked perfectly with the birthday theme. I used MFT inks in Blu Raspberry, Grapesicle, Grape Jelly and for my last layer, I stamped it in Versamark Ink and applied Nuvo Shimmering Pearl Embossing Powder and heat set. This gives a lovely sparkle in real life (although a little difficult to see in the photos!).
 
 
I adhered the background piece to a square 5.25" x 5.25" card base with foam tape and DST. I then stamped the sentiment from the Beary Special Birthday set on to white cardstock and cut this in to a strip with banner ends. This was added to the card with foam tape and then the bear added in the centre.
 
SUPPLIES:

Here are the links to what I have used on the card. Affiliate links are used on some products. This means that if you make a purchase after clicking on my link, I receive a small commission with no extra cost to you. I truly appreciate your support when using these links. Please click on the logo below the product to shop at your favourite store. Products marked with an asterisk (*) were kindly sent to me to use.
 
 
COPIC MARKERS: Bear - E57, E55, E53, E51, R20, R00, R000. Present - V17, V15, V12, BG13, BG11. Balloon - V17, V15, V12.
 
I am not sure if I managed to correctly line up the stamps for the Bitty Turnabout set, I think I need to have another go but thankfully, with it looking like confetti, I do not think it matters too much. Thank you so much for visiting me today. I hope you have a great day and a fabulous weekend!

13 June 2018

Magical Birthday

Hello there, today I am back with another card using the new Spreading Kindness release from Purple Onion Designs. I am using the super cute Goldie (Girl Fairy) along with the Twinkling Stars.


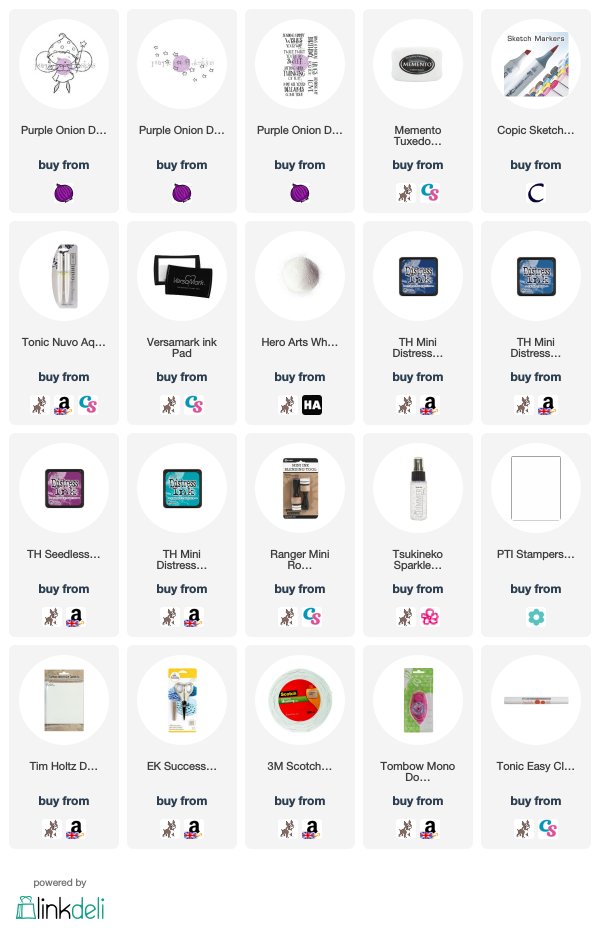
I started off by creating my background piece. I took a panel of watercolour cardstock and stamped the Twinkling Stars on to it twice with Versamark Ink. I applied white embossing powder and heat set. I then blended on various Distress Inks in blues and purples to create the sky. I generously spritzed this with Sheer Shimmer Spritz and set this aside to dry.


I took Goldie and stamped her on to a piece of white cardstock with black ink. I coloured her with Copic Markers and then fussy cut her out with scissors. I applied a few coats of Aqua Shimmer pen to her wings. I added the background piece to a white A2 card base with tape runner and then added panels of white cardstock on top with foam tape. The bottom panel has one of the sentiment from the Essentials Thoughts Sentiments set stamped on to it using black ink. To finish off, I added Goldie on top with more foam tape and tape runner.


SUPPLIES:

Here are the links to what I have used on the card. Affiliate links are used on some products. This means that if you make a purchase after clicking on my link, I receive a small commission with no extra cost to you. I truly appreciate your support when using these links. Please click on the logo below the product to shop at your favourite store. Products marked with an asterisk (*) were kindly sent to me to use.


COPIC MARKERS: Skin - E13, E11, E00, E000. Hair - E23. Hat & skirt - R85, R83, R81. Top and socks/shoes - V17, V15, V12. Wings - BG11, BG10, BG000.

Sadly the shimmer doesn't show up in the photos but let me tell you, there is a lot of it on this card! Thank you so much for visiting me today, I really do appreciate it. I hope you have a great day!

11 June 2018

Hugs For You

Hello there, today I have another card to share with you using the new Spreading Kindness release from Purple Onion Designs. Today I am using the super adorable Bella, along with one of the sentiments from the Essential Thoughts Sentiment Set.
 

I started off by stamping Bella on to a piece of white cardstock using Memento Tuxedo Black Ink. I coloured her using Copic Markers (the colours I used are listed below the supplies section) and fussy cut her out with scissors. I added a little Spica pen to the flower for some added sparkle. I took the 'hugs for you' sentiment and stamped this on to black cardstock with Versamark Ink. I applied white embossing powder and heat set. This was then cut in to two pieces with a craft knife and metal ruler.

 
I took a piece of TH watercolour paper and added sprinkles of Nuvo Shimmer Powders in Atlantis Burst and Blue Blitz. I sprayed over a generous amount of water to get a soft look, and set aside to dry. Once dry, I cut this down in to a circle using a Hero Arts Circle Infinity Die. I used the next size up in the die collection to emboss a bigger circle on to the front of an A2 card base.
 
 
I adhered the background circle to the card base with tape runner and then added Bella and the sentiment on top with foam tape. The shimmer powders give a lovely sparkle in real-life but since I added so much water to this piece, I was left with more of subtle sheen of sparkle which is really pretty. Sadly though, it doesn't show up in the photos.
 
SUPPLIES:

Here are the links to what I have used on the card. Affiliate links are used on some products. This means that if you make a purchase after clicking on my link, I receive a small commission with no extra cost to you. I truly appreciate your support when using these links. Please click on the logo below the product to shop at your favourite store. Products marked with an asterisk (*) were kindly sent to me to use.
 
 
COPIC MARKERS: Bella - N5, N3, N2, N1, N0. Flower - G46, G43, V17, V15, V12, Spica Lavender 01, Spica Lilac 13.
 
For more inspiration using the new release, please head over to the Purple Onion Designs Blog. Thank you so much for stopping by today. I really do appreciate it. I hope you have a great day and a wonderful week!
End of code