30 July 2017

VIDEO | Card Making Haul - July 2017

Hello there, I am popping in quickly this afternoon to share what I bought this month. If you saw my post previously, I mentioned that I wasn't crafting much as I had a lot of nursing work/stuff to do. Well, although I wasn't physically crafting, it didn't stop me from purchasing! ;)
 
 
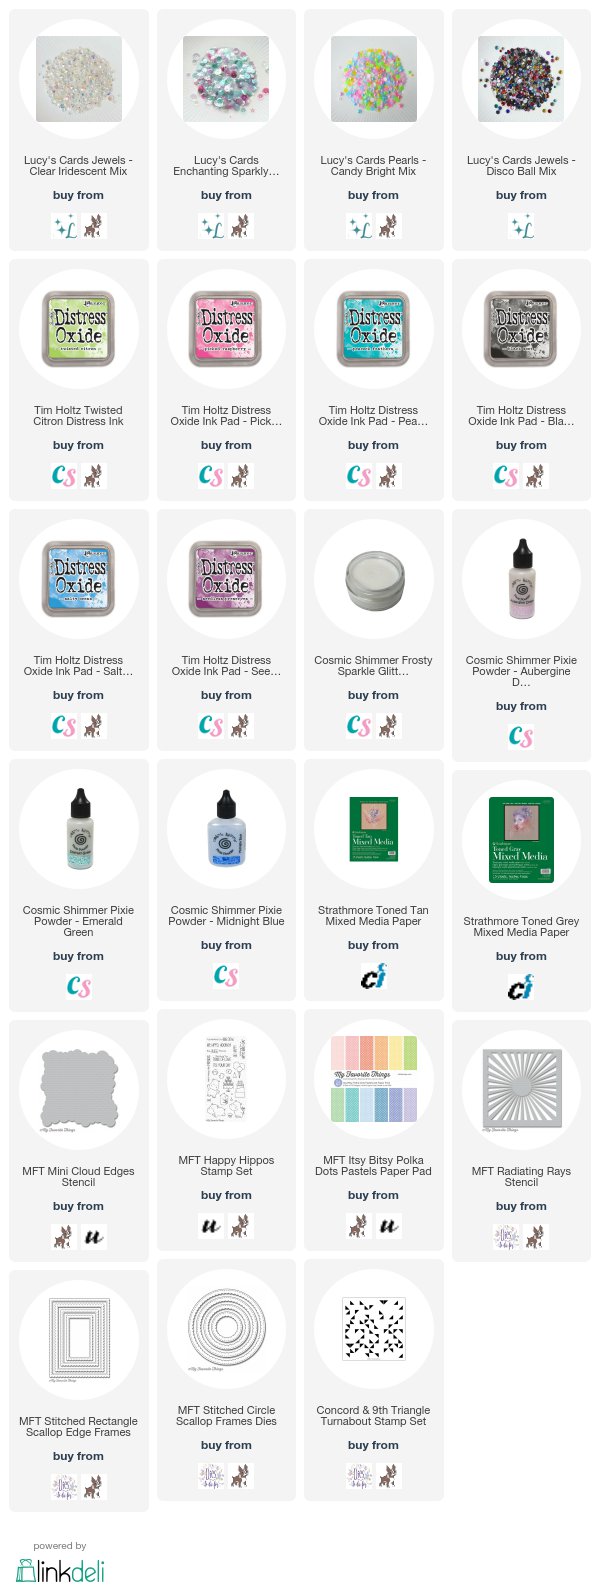
I bought a few different things this month - some MFT, some mediums, embellishments, paper and a few other bits. You can see them all in the video here:


SUPPLIES:

Here are the links to what I have shared in the video. Affiliate links are used on some products. This means that if you make a purchase after clicking on my link, I receive a small commission with no extra cost to you. I truly appreciate your support when using these links. Please click on the shop logo below the product to shop at your favourite store.
 
 
Thanks so much for popping by today. I'll be back tomorrow to share the winner of my embellishment giveaway. I hope you are having a great weekend!

25 July 2017

One Layer Watercolour Wash

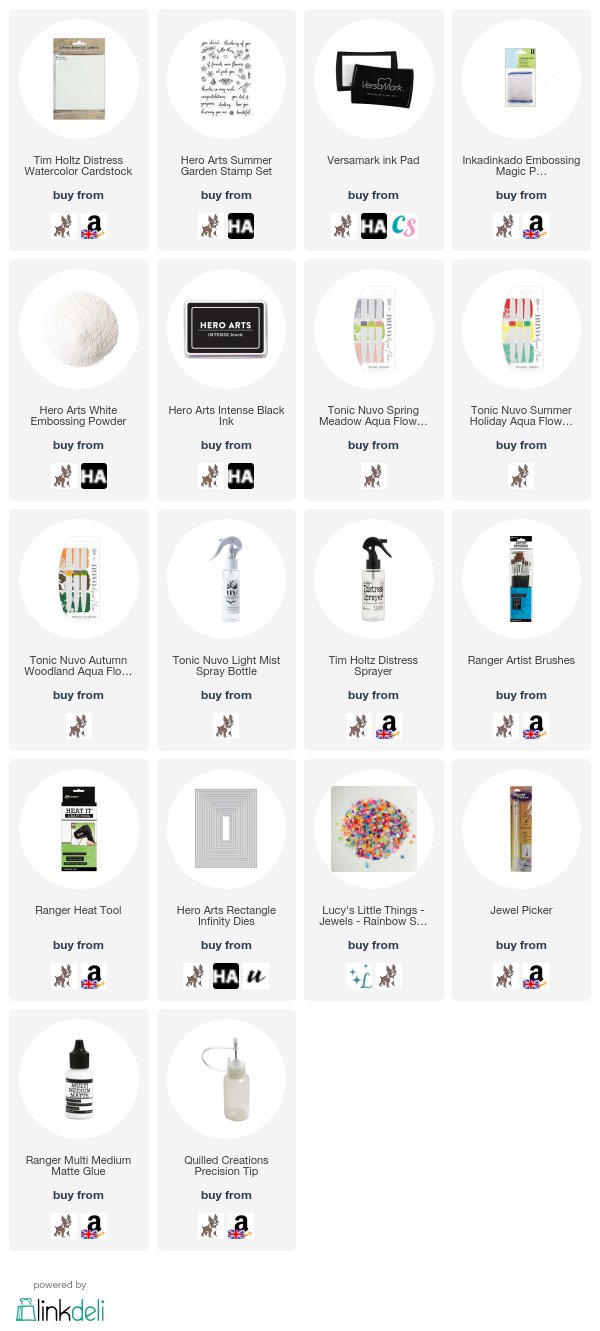
Hello there, today I am over on the Hero Arts Blog sharing a card I have made with the Summer Garden Stamp Set. This beautiful set was released as an add-on for the July MMH kit. It is such a pretty set filled with lots of little images and fabulous sentiments. I wanted to use a lot of the images on my card today, so I used them as a background and did some emboss resist with the Tonic Nuvo Aqua Flow Pens.
 
SUPPLIES:
Here are the links to what I have used on the card. Please click on the picture or wording to be taken to where I purchased it. Affiliate links are used on some products. This means that if you make a purchase after clicking on my link, I receive a small commission with no extra cost to you. I truly appreciate your support when using these links. Please click on the shop logo below the product to shop at your favourite store. Products marked with an asterisk (*) were kindly sent to me to use.
 
 
TONIC NUVO AQUA FLOW PENS: Red Apple, Soft Rose, Spiced Ginger, Lemon Zest.
 
For details on how I made the card, please see the blog post over on the Hero Arts Blog. Thanks so much for visiting me today. I hope you have a great day!

22 July 2017

It's Giveaway Time!

Hello there, sorry I have been absent from my blog for a little while. I have been really busy with my nursing job. Every three years (at least here in the UK) nurses have to revalidate their/our profession. To do this we have to produce a portfolio of evidence to show we remain capable of doing our job properly. This is a good thing for the profession but it does take a little while to do. My three year revalidation is coming up next month so I am spending some time getting it all ready, hence my absence.
 
 
So, to thank you for your patience, I have a little giveaway for you. I have four packs of embellishments from Little Things from Lucy's Cards to give away. They are the  Pearls - Glossy Eggshell Mix, Sweet Shop Sparkly Shaker Selection, Jewels - Rainbow Sparkle Mix and the Clear Iridescent Sequin Mix. Let me tell you, they are beautiful!
 
To enter the giveaway, all you have to do is leave me a comment telling me what craft product you are excited by/loving at the moment (mine would be the jewels from Lucy - I love them! I am also looking forward to getting my hands on some of the new Distress Oxide colours). You need to leave me a comment by Sunday 30th July 2017 at 13:00hrs BST. The giveaway is open worldwide. I will announce the winner on Monday 31st July 2017. Good luck!
 
** THE GIVEAWAY IS NOW CLOSED **

10 July 2017

VIDEO | A Bit Of Kindness Emboss Resist Background

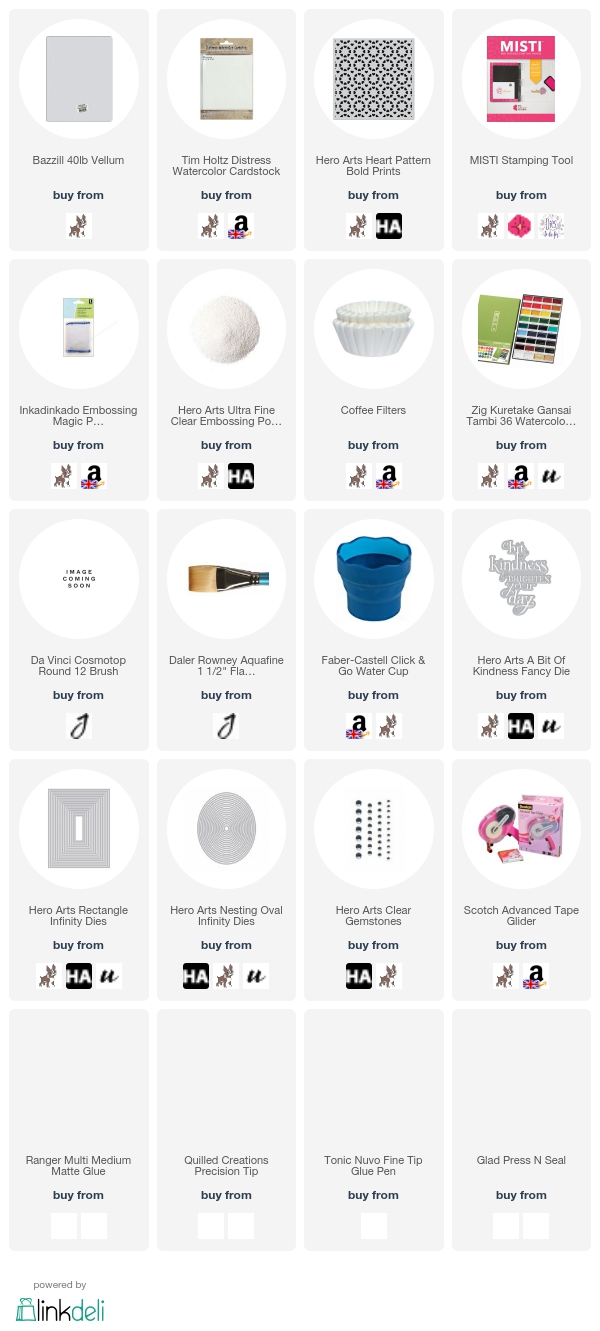
Hello there, today I am over on the Hero Arts Blog and You Tube Channel sharing a card using the A Bit Of Kindness Fancy Die. I paired it up with the Heart Pattern Bold Prints to make a fun background for the wording.
 
 
SUPPLIES:
Here are the links to what I have used on the card. Affiliate links are used on some products. This means that if you make a purchase after clicking on my link, I receive a small commission with no extra cost to you. I truly appreciate your support when using these links. Please click on the letters below the product to shop at your favourite store - Simon Says Stamp (SSS), Hero Arts (HA), Seven Hills Crafts (SHC) Amazon (AZ) etc.


You can see the details of how I made the card over on the Hero Arts Blog and you can see the video directly over on You Tube HERE. If you buy any of the kindness products, not only are you buying a great product, you are also doing some good. Hero Arts donates 25% of profits from these products to the Kind Campaign which aims to prevent bullying. Thanks so much for popping by today, I hope you have a great week!

7 July 2017

VIDEO | Craft Room Tour 2017

Hello there, today I have my craft room tour of 2017 to share with you. Since I redecorated a month or so ago, I have had requests to make a new tour. Well of course, that's what I did!
 
Before we get started, like I mention in the video, I make these tours because people like to watch them. I am no way doing it to share what products I have or anything like that. That is just not who I am. I enjoy watching craft room tours myself so that I can gets tips on how people are storing and organising their products. I am always on the look out for how people organise things.


I have a fairly small room (it looks bigger on camera than it is in real life!) but I am incredibly grateful to have it. I like to keep it neat and tidy and as you will see in the video, I have a place for everything. I also find it important to have some space to grow too. This kind of organisation will not be right for everyone so please find what works for you. Some people like to have things out so that they remember to use it, some people like to have everything behind cabinets. Do what works for you! I myself like to have a combination of both.

So let's get straight into the videos. I had so much footage that I split it up into two parts. I hope that is ok with you. Although two 30 minute videos are long, I didn't think anyone would want to watch an hour video either!


So for those who like writing and photos too, I have some details below:


I have two large desks taking up the length of one side of the room. I use one for more office/computer needs and the other for crafting purposes, although when crafting I do often use the space in front of my computer for my guillotine or for just extra room.

Under the desks are Helmer units from Ikea. I love these little units. they are metal and look a lot like mini filing cabinets. I like them because they are narrow but deep so I can fit  a lot in them.


Above my desk, attached to the wall is my filming set up. I use a Manfrotto Magic Arm to film from above. Links to the set up and products are over on my FAQ page.
 
 
I also recently bought an Alex unit. I wanted some taller (height wise) drawers so that I can fit taller items in them. mainly envelopes (standing up), spray bottles and then my new storage of my Distress Ink Blending tools.


I believe Ardyth came up with the solution of storing ink blending tools in nail polish holders. I searched everywhere to get some but none of them fitted (the gap was too small). My friend Stephanie kindly sent me two over from Canada and I am absolutely love them! I have my most used colours in there, plus some extras (blank ones) for the colours that I do not use as much. I haven't filled up completely yet, I still need to buy more tools but I absolutely love it. The tops of the tools have labels on them from the Ranger website (I just printed them on to removable label paper and punched them out with a 0.5" circle punch). I also printed larger labels to go into the nail polish holder itself (I punched them out with a 3/4" inch circle punch) so that I know where the tools go. A big thank you goes to Stephanie and Ardyth for this fabulous solution!


Next up are some shelves above my computer desk. These are Mosslanda Picture Ledges and they are great! I love that they are not very deep. The top shelf hold my Clarity Stencil Brushes, along with cords and cables that I like to keep in pretty tins. The next two shelves hold my growing collection of Dr Ph. Martin's products. I have really been enjoying the liquid watercolours and don't they look so pretty on the shelves? :)


My Raskog is next. Boy, do I love this thing! It holds a lot of stuff! In my case, I have lost of Ikea Skurar pots on the top. These hold pencils and pens. I like them in the pots as they are easy to grab. I also have my swatch folders on the top shelf. You can see a post about those here. Next up is more pen storage, along with my Alcohol Inks. Finally, my Cuttlebug lives on the bottom shelf, along with it's cutting pads and some other tools.


Another new addition to my room this year is this Hemnes unit. I got the one with the doors on and I love it! It holds a lot of stuff! In it I have all of my stamps, cardstock, paper pads, dies and extra tools.


I storage my stamps in Avery Elle stamp pockets. I use both the large size (for 4" x 6" stamp sets) and the extra large size for all larger sets. I add a piece of inexpensive cardstock inside, followed by the stamp set. If I have a coordinating stamp set, I add this in the back on magnetic sheet. The stamps themselves are store in either Muji Acrlic DVD boxes (sadly now discontinued) or Kvarnvik boxes from Ikea. I have made dividers for them by cutting up swing clip folders. I rounded the top corners and simply labelled them using my Label Maker.

For stand alone dies, I keep them in EZ Mount Binders. Although the post is old now, I will link to the one I did a few years back which you can see here. I still store them in this way. I store my stencils in a binder too. Again, I have a post and video about this here.


I have all of my 8.5" x 11" cardstock in magazine files. I then have the cardstock in 9" x 12" zip/grip lock pockets. I just cut the top off the pocket and popped the cardstock inside. I got the pockets that were the thickest. They are not really sturdy but they do the job. I also have dividers in between the cardstock so I know what colour is what, you can see how I made them in a video here. My 6" x 6" paper pads are stacked up and store in Interdesign containers. I also have some 12" x 12" paper that are in Cropper Hopper Magazine Files.


Nest up is my ink pad storage. I have them stored in drawers in my Stackables/The Best Organizer cabinet. The first few drawers are for smaller ink cubes and then I have the larger ink pads up on their sides. This way I can fit more in a drawer and I can easily grab the one I need. I have had no problem standing my ink pads up on their sides.
 
 
My embellishments are also in a Stackables/The Best Organizer unit. I keep smaller embellishments in here, along with stickers, ribbon, twine and glitter. I have a post and video about my sequin storage here.


SUPPLIES:

Here are the links to what I have shared in the post and video. Affiliate links are used on some products. This means that if you make a purchase after clicking on my link, I receive a small commission with no extra cost to you. I truly appreciate your support when using these links. Please click on the shop logo below the product to shop at your favourite store.


Wow! Wasn't that along post! I hope you enjoyed looking around my room. If you have any further questions, please leave them below and I will try my best to answer them. thank you so much for visiting me today. I hope you have a great day!

5 July 2017

Fresh Cut Sunflower

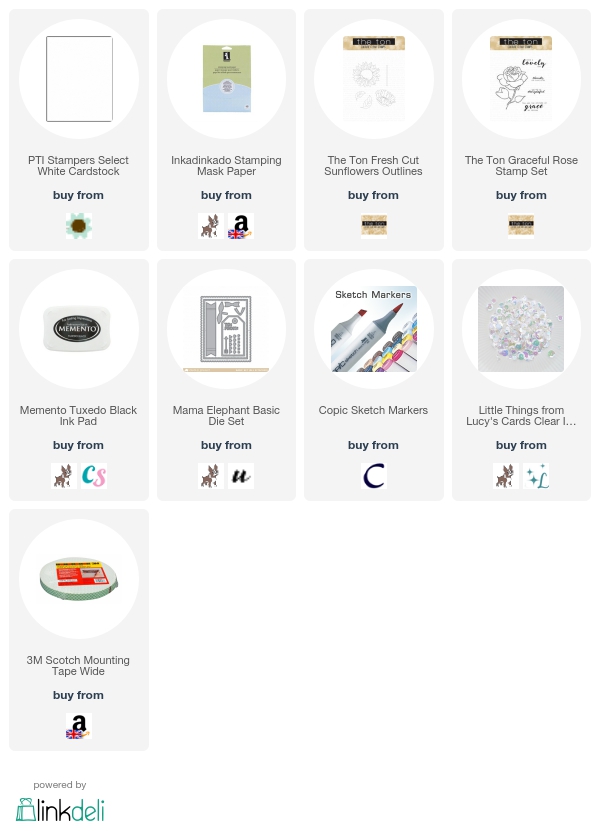
Hello there, today I have a card to share using the beautiful Fresh Cut Sunflower (outlines) stamp set from The Ton. I kept debating on what medium to colour it with, I went with Copic Markers I the end and created a whole coloured panel.
 

I started off by stamping the sunflower on to a panel of white cardstock, which was cut using the ME femme frame rectangle die. The sunflower pieces are separate, so I masked off as I went to create the image I was after. I then took the sentiment from the Graceful Rose set and stamped this beside the sunflower.
 
 
I first coloured the sunflower stem and head with Copics and then coloured the background. I used various shades of blues for the background, making the colour slightly darker towards the sunflower itself. Once the background was coloured I went in with the colourless blender and added dots to it. I think this gives a nice texture and adds some interest. The panel was then simply adhered to a white A2 card base with foam tape.


I snapped a photo on my phone while I was working on the background and since it doesn't show up well on my brighter photographs, I thought I would show you this one too. It shows the effect on the background much better.
 
SUPPLIES:

Here are the links to what I have used on the card. Affiliate links are used on some products. This means that if you make a purchase after clicking on my link, I receive a small commission with no extra cost to you. I truly appreciate your support when using these links. Please click on the letters below the product to shop at your favourite store - Simon Says Stamp (SSS), Hero Arts (HA), Seven Hills Crafts (SHC) Amazon (AZ) etc. Products marked with an asterisk (*) were kindly sent to me to use.
 
 
COPIC MARKERS: Sunflower head - YR15, Y17, Y15, Y13, Y11, Y00, E49, E79, E77, E74, E71. Stem & leaf - G28, G24, G21. Background - B02, B01, B00, B000, B0000, 0.
 
Thanks so much for visiting me today. I hope you are having a great week so far. I'm off to refill my blue Copic Markers now ;)

3 July 2017

Hero Arts My Monthly July 2017 Blog Hop + Giveaway

Hello there, today we are celebrating the release of the My Monthly Hero Kit from Hero Arts for July. The kit has a beautiful floral and gardening theme to it. You get two stamp sets in the kit and they contain lots of flowers, as well as the containers to put them in, as well as some fabulous accompanying sentiments.
 
For the hop, you should have arrived here from the amazing Amy, but of you get lost along the way, I have the full list of participants below.
 

For my card, I started off with a piece of watercolour paper (this is not the same paper as you get in the kit but I think the texture is pretty similar) and cut this using one of the Rectangle Infinity Dies. I stamped the jug on to it using Intense Black Ink. I made a mask for this and added it on top. I then stamped the sweet peas image so that the flower stems were inside the jug. I removed the mask and then water coloured the image.
 
 
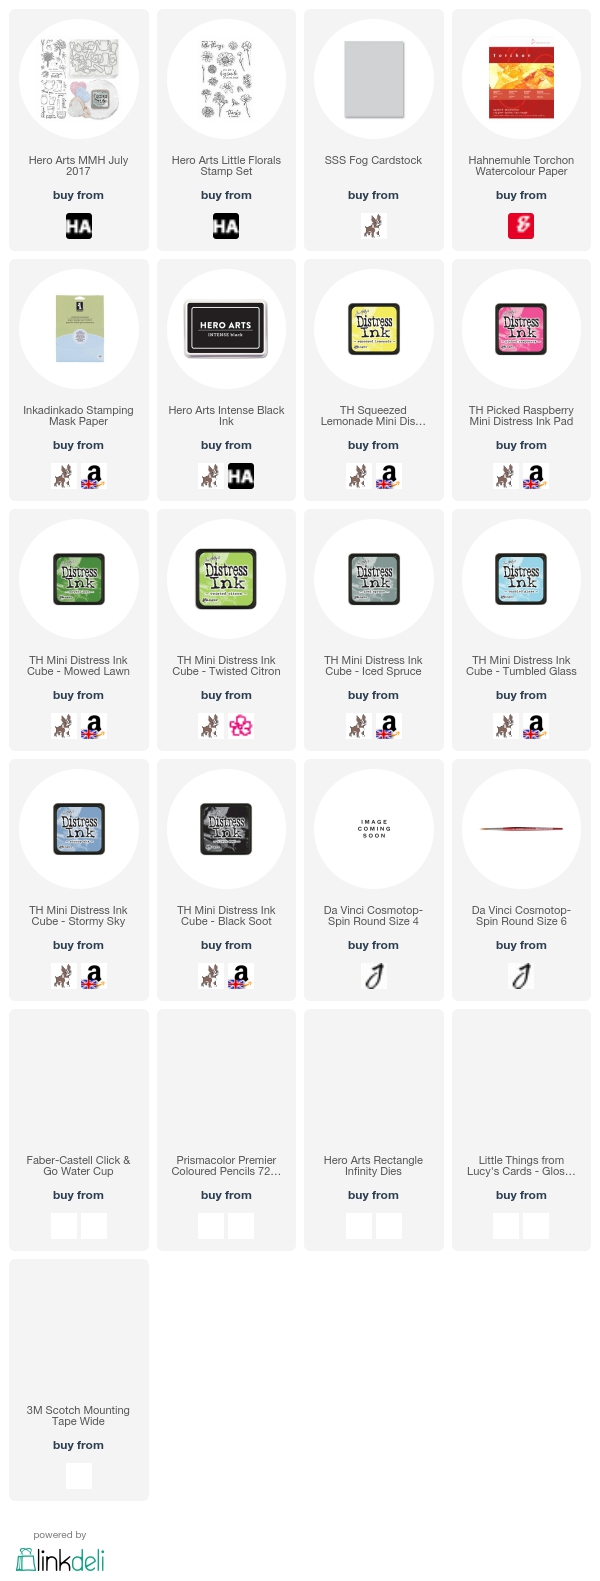
I used Distress Ink along with water and a paint brush to colour the flowers and the jug first. The Iced Spruce Distress Oxide Ink would work perfectly for the jug to give an aged metal look but since I do not have it (yet!), I just used the regular Distress one. I then added in some ground and a light blue background (The inks I used are linked below in the supplies section). After this had dried, I added a little bit of extra pink on to the flowers using a Prismacolor Pencil. The sentiment is from the Little Florals add-on set. I thought it went so well with the flowers. The panel was adhered to an A2 Fog card base with foam tape. To finish off, I added three tiny pearls to the jug.


SUPPLIES:

Here are the links to what I have used on the card. Affiliate links are used on some products. This means that if you make a purchase after clicking on my link, I receive a small commission with no extra cost to you. I truly appreciate your support when using these links. Please click on the letters below the product to shop at your favourite store - Simon Says Stamp (SSS), Hero Arts (HA), Seven Hills Crafts (SHC) Amazon (AZ) etc. Products marked with an asterisk (*) were kindly sent to me to use.


THE KIT:

 
 The July MMH Kit contains:

2 4" x 6" Clear stamp sets
17 Coordinating Frame Cuts
5 Recycled paper heart large confetti pieces (assorted colours)
Ranger Distress Oxide Ink Pad in Iced Spruce
Handmade Cold Press 100% recycled watercolour paper (1 6" x 6" circle with deckled edges, 3 5" x 7" sheets both 140lb)
 
That is an amazing $74 worth of products for only $34.99 (approx. £28.00). Remember that the kits are limited edition and often sell out quickly. There is a subscription service and you can find out all about that here and you can subscribe here so that you never miss a kit. If you are an international subscriber you get reduced shipping price too!

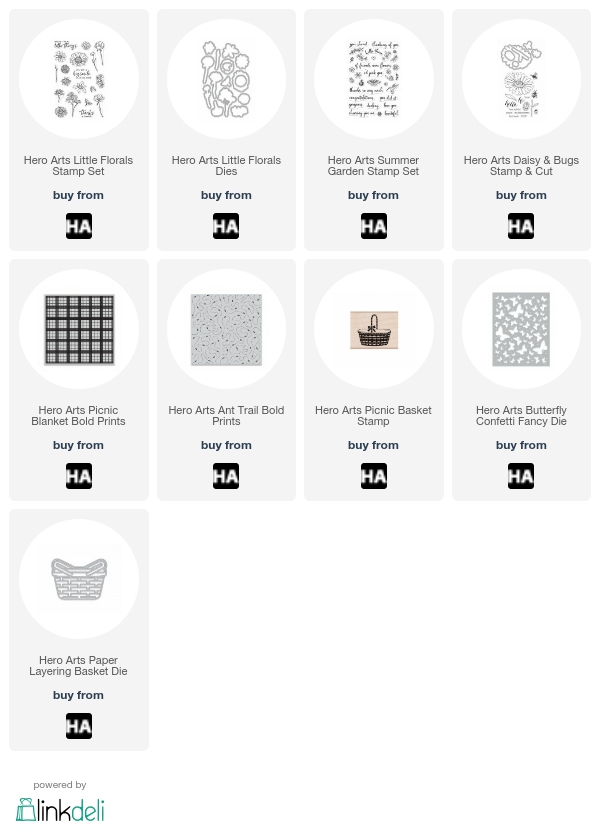
As always, there are some fabulous add-on products this month as well. Remember these are not limited edition and can be purchased from any of your favourite Hero Arts retailers, as well as the Hero Arts shop. Here is a look at them:


BLOG HOP:

Here is the full list of participants in the hop:
 
 
GIVEAWAY:

Hero Arts are giving away one kit as a prize to one blog reader. The winner will be selected from all of the comments left along all the blogs in the hop. So the more you comment, the more chances you have to win the kit. If the winner has already bought the kit, they will be reimbursed for it. Giveaway closes Sunday, July 9th at 11.59pm EST, and the winner will be announced the following week.
 
Next on the hop is the amazing Libby. Thanks so much for visiting me today. I hope you have a great time on the rest of the hop and a great day! 
End of code