31 May 2020

Clearly Besotted Teasers | Little Note

Hello there and welcome to day four of the Clearly Besotted June 2020 Teasers. Release day is tomorrow but I have one last teaser to share with you today, before the big reveal tomorrow. I am using the super cute Little Notes set. There are lots of adorable elephants in the set using writing implements to send notes to their loved ones - so cute!
 

I started off my card by stamping the elephant with the quill, as well as the ink jar from the Clearly Besotted Little Notes Stamp Set on to white cardstock with Memento Tuxedo Black Ink. I coloured them with Copic Markers, adding a little coloured pencil lines on the feather (the colours that I used are listed below the supplies area). They were then fussy cut out with scissors and set aside.
 
 
I took pieces of black and aqua paper from the Doodlebug Swiss Dots Rainbow Petite Prints Paper Pad and die cut them using the WPlus9 Clear Cut Stackers Hexagon Dies. I cut the black piece down further using the edge of a SSS Stitched Rectangle Die. The black piece was adhered on to the aqua piece and then the aqua piece adhered to a white piece cut from the next largest hexagon die.
 
 
The hexagons were added to an A2 white card base with foam tape. I then added the ink pot with tape runner, followed by the elephant with more foam tape. I took the sentiment from the Clearly Besotted Tiny Type Stamp Set and stamped it on to black cardstock with Versamark Ink. I applied white embossing powder and heat set. It was cut in to a strip and added to the card with more foam tape. To finish off, I added a few Lucy's Raindrops around the sentiment.
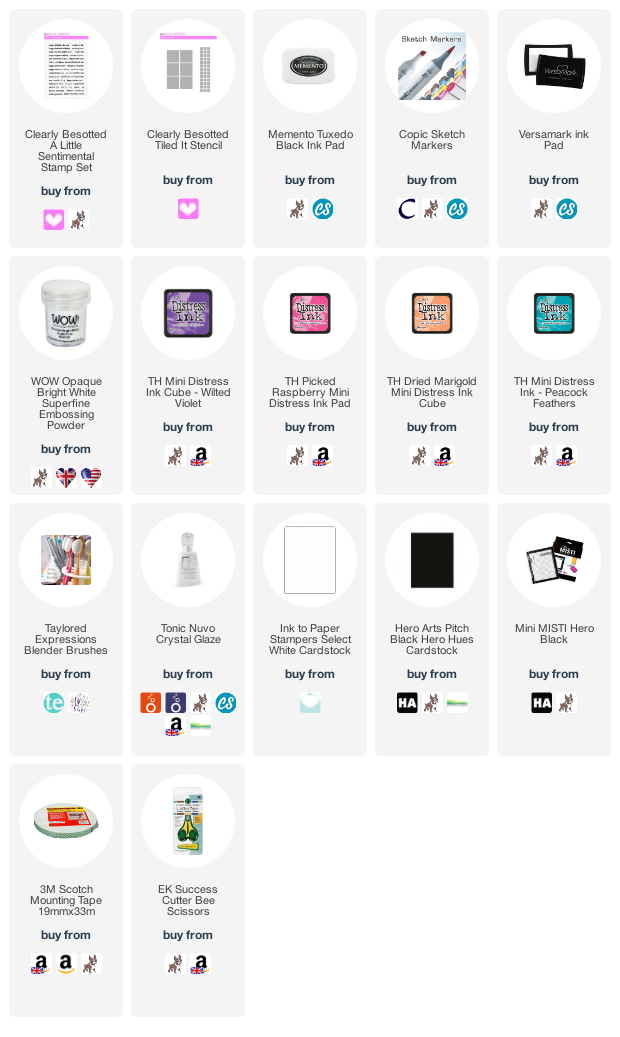
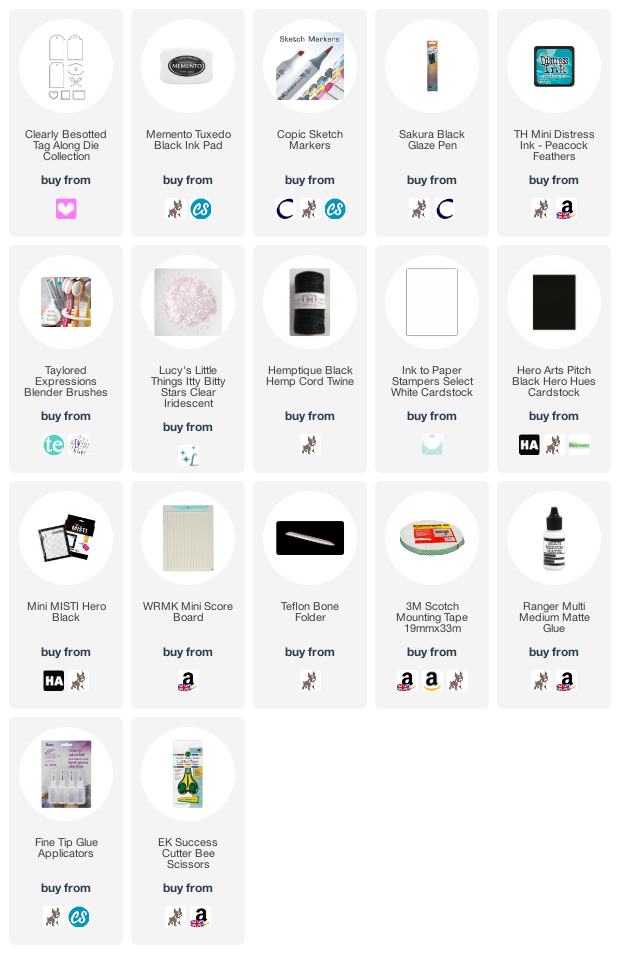
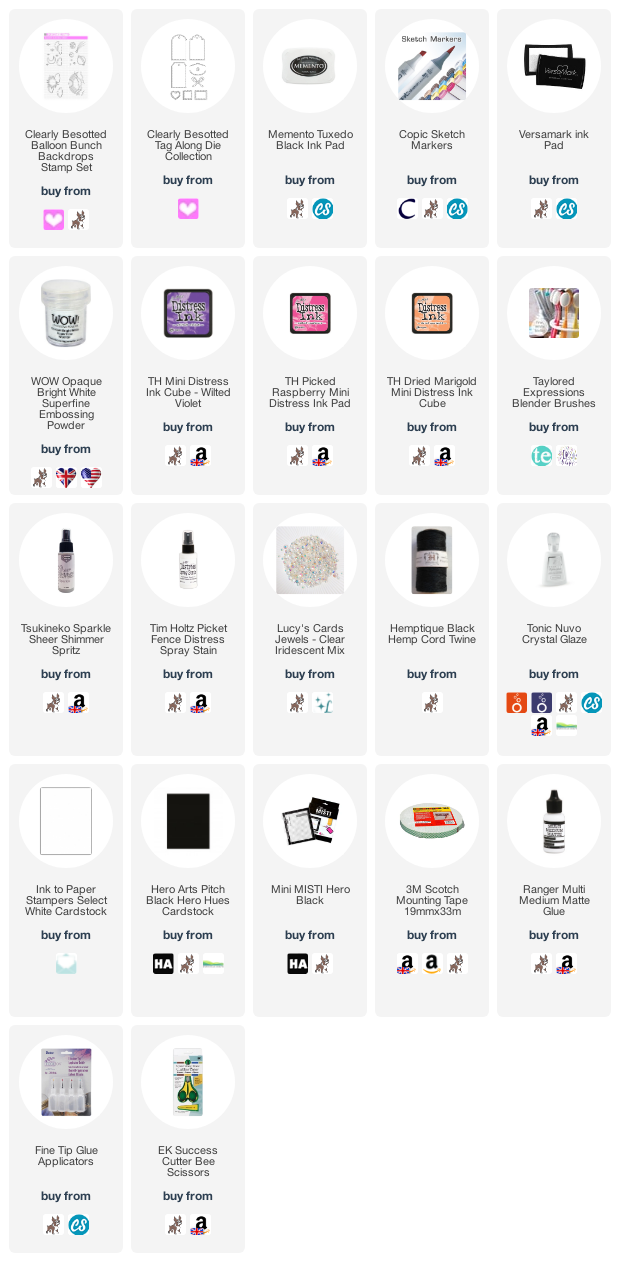
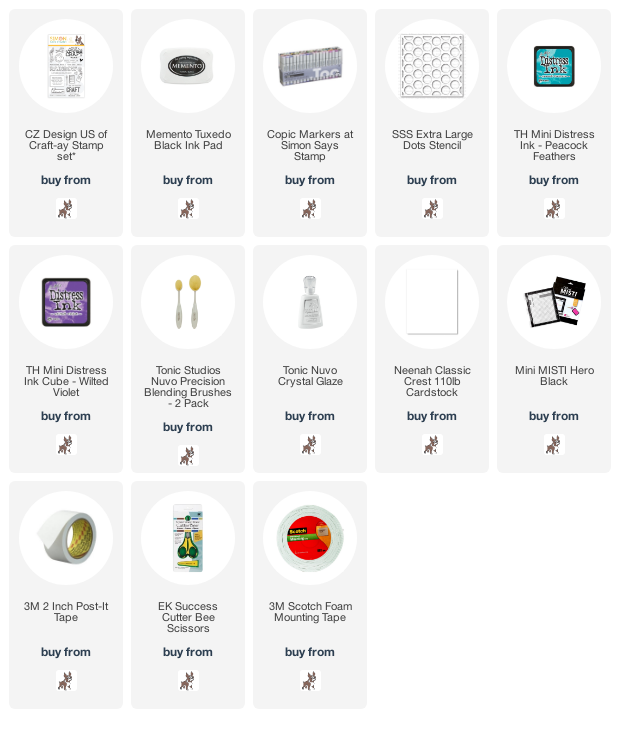
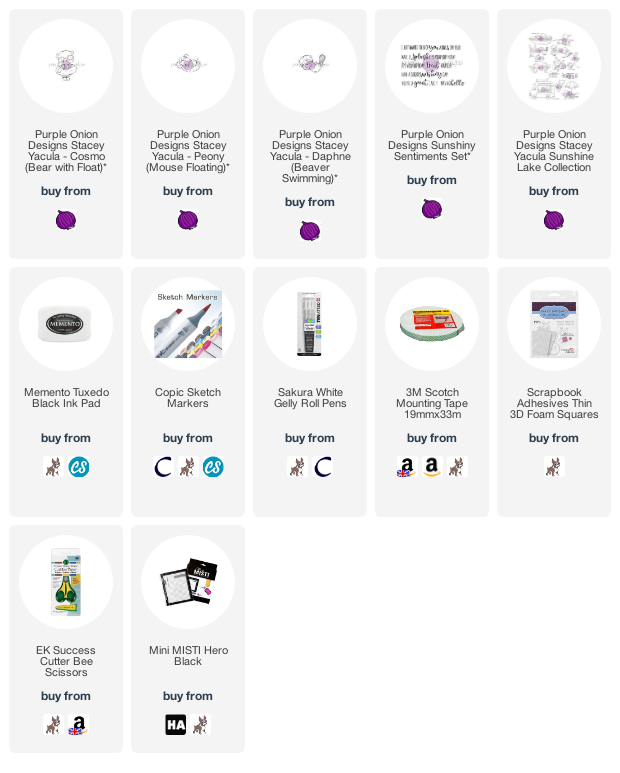
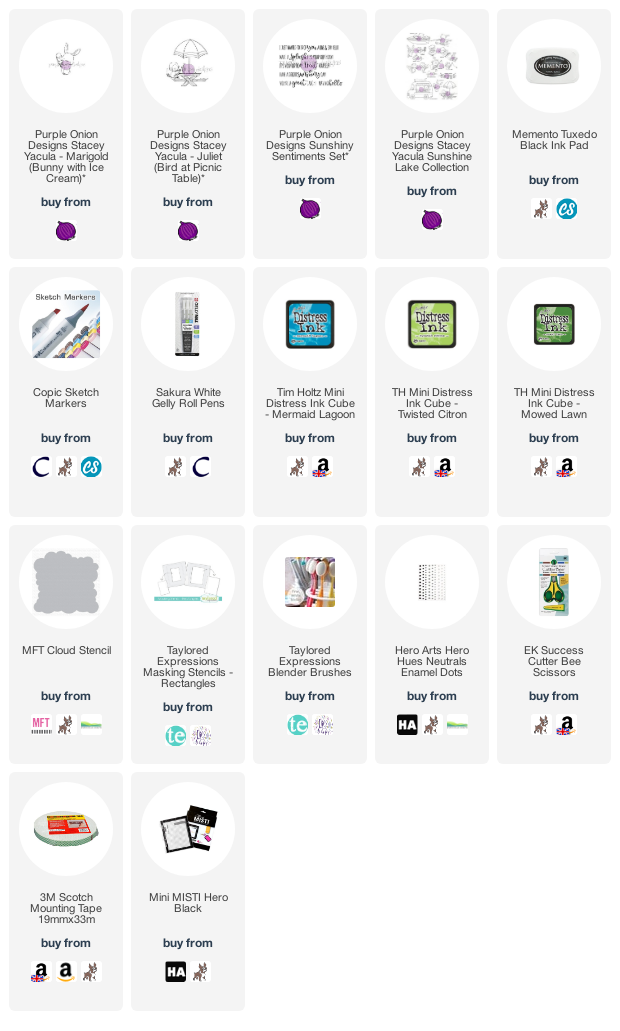
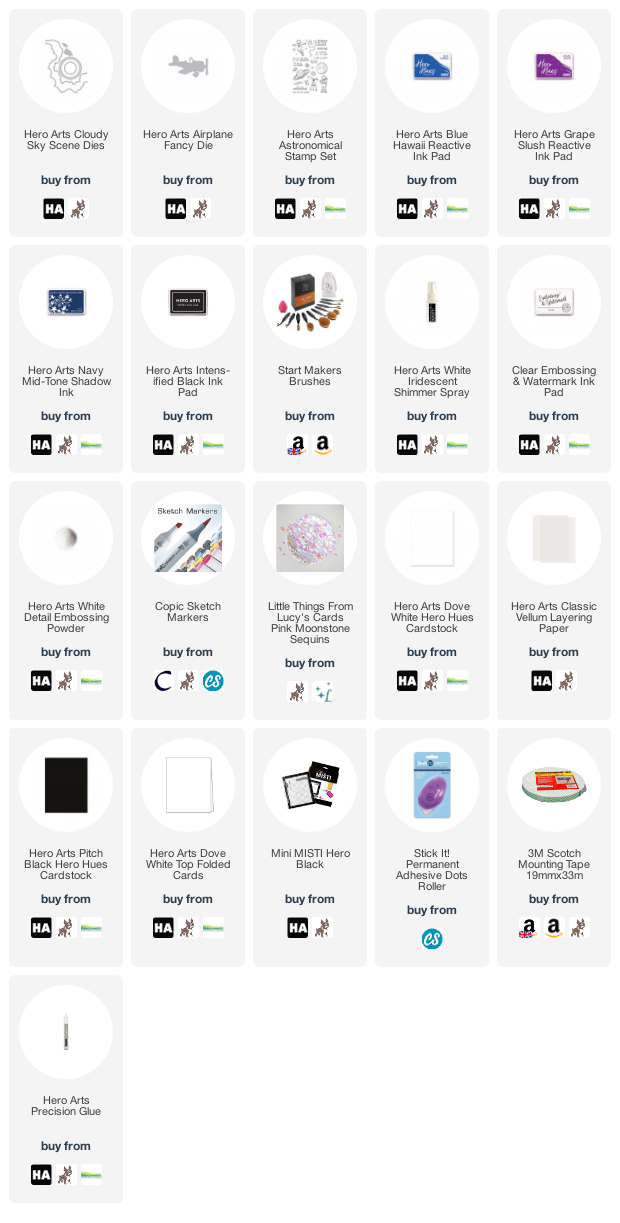
 
SUPPLIES:

Here are the links to what I have used on the card. Affiliate links are used on some products. This means that if you make a purchase after clicking on my link, I receive a small commission with no extra cost to you. I truly appreciate your support when using these links. Please click on the logo below the product to shop at your favourite store. All products were personally purchased except those from Clearly Besotted, Hero Arts or those marked with an asterisk (*) which were kindly sent to me to use. You can read my full disclosure here.
 
 
COPIC MARKERS: Elephant - W7, W5, W3, W1. Quill - E53, E50, BG11, BG10, Polychromos 156. Ink - C10, C8, C6, C5, C3, C1.
 
I hope you have enjoyed seeing my teasers this month, I certainly enjoyed making them! For more inspiration, please head over to the Clearly Besotted Blog, as well as Keren and Lisa. Thanks so much for joining me today, I will be back tomorrow with a look at the whole release. I hope you have a lovely rest of the weekend!

30 May 2020

Clearly Besotted Teasers | As Cute As Can Be

Hello there and welcome to day three of the Clearly Besotted June 2020 Teasers. Not long to wait now, the new sets release on Monday, 1st June. For my card today, I am using the new As Cute As Can Be set. Let me tell you, this set really is as cute cute as can be! It consists of adorable little critters and images for lots of different occasions all year round - birthdays, Christmas, Halloween, Easter, Graduation .. the list is endless! I thought I would make a birthday card today with the adorable kittens!
 

I started off my card by stamping the kitten with cake, separate kittens (plus one that I did a bit of masking on) and the present image from the Clearly Besotted As Cute As Can Be Stamp Set on to white cardstock with Memento Tuxedo Black Ink. I then coloured them with Copic Markers (the colours that I used are listed below the supplies area) and fussy cut out with scissors.
 
 
I then took an A2 white card base and placed the Clearly Besotted Tiled It Stencil on top, securing in place with memo tape. I blended Distress Inks through four of the squares. I used  Peacock Feathers, Picked Raspberry, Wilted Violet and Dried Marigold
 
 
I took the sentiment from the Clearly Besotted A Little Sentimental Stamp Set and stamped it on to black cardstock with Versamark Ink. I applied white embossing powder and heat set. It was cut in to a strip and added to the card with foam tape. I then added all the kitten images and present with foam tape too. To finish off, I added Tonic Nuvo Crystal Glaze to the flames on the candles.
 
SUPPLIES:

Here are the links to what I have used on the card. Affiliate links are used on some products. This means that if you make a purchase after clicking on my link, I receive a small commission with no extra cost to you. I truly appreciate your support when using these links. Please click on the logo below the product to shop at your favourite store. All products were personally purchased except those from Clearly Besotted, Hero Arts or those marked with an asterisk (*) which were kindly sent to me to use. You can read my full disclosure here.
 
 
COPIC MARKERS: Kittens - W7, W5, W3, W1. Cake - E55, E53, E51, E50, R00, R000, R000, BG13, BG11, BG10, Y15, Y11. Present - RV19, RV55, RV52, V15, V12, V01.
 
I cannot wait to use the other critters in the set! For more inspiration using the new release, please head over to the Clearly Besotted Blog, as well as Keren and Lisa. Thanks so much for stopping by, I really do appreciate it. I hope you have a lovely day!

29 May 2020

VIDEO | Nuvo Glacier Paste Techniques

Hello there, today I am over on the Tonic Studios Craft Room Blog today sharing three techniques using Nuvo Glacier Paste. If you haven't used Glacier Paste before, it is an embossing/texture paste filled with tons of mica flakes which give a lovey metallic/pearlescent finish.
 
 
I am sharing lots of information about the pastes over on the blog post but I also wanted to share the techniques over here on my blog too. Here is the video showing the techniques:


If you are viewing this post via email subscription, you can watch the video HERE on YouTube.
 
 
NUVO GLACIER PASTE WITH STENCILS
 
 
My first technique is a simple one, using Glacier Paste with stencils. Because Glacier Paste is different than other pastes, it does give a different look depending on what surface you add it to. In the video, I show an example on black cardstock. You get a completely different look!
 

For this tag, I used Nuvo Frostbite Glacier Paste with the Tonic Studios Linking Rings Stencil on white cardstock. As you can see, it gives a lovely metallic finish. I took the small peony from the Tonic Studios Peony Blooms Stamp Set, stamped it in black and coloured it using markers and pencils. I then fussy cut out and added it to the tag with foam tape.
 
 
The sentiment from the Tonic Studios Celebrate Sentiments Stamp Set was heat embossed in white on to black cardstock. To finish off, I added Diamond sequins from the Nuvo Golden Years Pure Sheen Sequins Collection.
 

NUVO GLACIER PASTE WITH INK BLENDING
 
 
The next technique also uses stencils but can be used without too. It can also be used without ink blending too, you can see that in the video above. The technique is to apply the Glacier Paste with a Blending Dauber. You cannot see much of the colour with this application, but those mica flakes really shine!
 

For the card, I first added a layer of Laguna Bay ink from the Nuvo Sea Siren Diamond Hybrid Ink Pads collection using a Nuvo Blending Dauber, through the Tonic Studios Petal Patten Stencil. Using the same dauber sponge, I applied Nuvo Sea Sprite Glacier Paste. Once the panel was dry it was added to an A2 white card base with foam tape.
 

I took the leaf image from the Tonic Studios Peony Bloom Stamp Set and heat embossed that on to vellum. It was fussy cut out and added to the card using the sentiment from the You're The Best Floral Frame Die Set to hold it in place. To finish off, I added Nuvo Ebony Gloss Crystal Drops.
 

DIE CUTTING WITH NUVO GLACIER PASTE
 

You can also paint Glacier Paste on to surfaces to give a different look. This works really well if you want to add Glacier Paste to die cuts. I found the best way to do it was to add a layer first, let it dry (or heat set it) and then add another on top. You do need to leave it for 24 hours to properly dry but then it die cuts beautifully!
 

For this card, I added two layers of Nuvo Golden Era Glacier Paste to white cardstock using a Nuvo Paint Brush. I then die cut it out using the two inside layers of the Tonic Studios Delicate Butterfly Silhouettes Die Set. This was simply added to a white card base, with scoring lines on, with small dabs of Nuvo Deluxe Adhesive.
 
 
The sentiment from the Tonic Studios Celebrate Sentiments Stamp Set was heat embossed in white on to black cardstock and added to the card with foam tape. To finish off, I added Nuvo Ebony Black Crystal Drops.  
 

SUPPLIES:

Here are the links to what I have used on the card. Affiliate links are used on some products. This means that if you make a purchase after clicking on my link, I receive a small commission with no extra cost to you. I truly appreciate your support when using these links. Please click on the logo below the product to shop at your favourite store. All products were personally purchased except those from Clearly Besotted, Hero Arts or those marked with an asterisk (*) which were kindly sent to me to use. You can read my full disclosure here.
 
 
Nuvo Glacier paste is currently part of the weekend saver bundle over at Tonic Studios. You can purchase the bundles here in the UK and here in the US.

Thank you so much for visiting me today. I hope you will check out the new Tonic Studios Craft Room Blog, it is full of information and inspiration! Have a wonderful day!

Clearly Besotted Teasers | As Cute As ABC, 123

Hello there and welcome to day two of the June 2020 Clearly Besotted Teasers. Today I have a card and tag to share with you using the new As Cute As ABC and 123 sets. These are such fun sets! There are two alphabet sets - bubble letters with cute critters attached, and a number set too. There is also the As Cute As Additions set which contains sentiments that you can mix and match with the other sets. That is a free gift with the release bundle.
 
 
For the card, I stamped out the letters from the Clearly Besotted As Cute As ABC Set 1 and Clearly Besotted As Cute As ABC Set 2 Stamp Sets on to white cardstock with Memento Tuxedo Black Ink.
 
 
I then coloured them with Copic Markers (the colours that I used are listed below the supplies area) and fussy cut them out with scissors, leaving a small white border.
 
 
I took a 3 7/8" x 8 7/8" white card base and using  a score board and bone folder, scored horizontal lines on to it for some added interest. I then added the letters on top using foam tape. To finish off, I added black glaze pen to the critters' eyes. The card is very simple, but I think the letters make a big impact!
 
 
For the tag, I took the tag die from the Clearly Besotted Tag Along Die Collection and cut it from white cardstock. Using a blending brush, I blended on Peacock Feathers Distress Ink at the bottom of the tag, blending to white at the top. I then took the happy and birthday sentiments from the Clearly Besotted As Cute As Additions Stamp Set (free gift with the Clearly Besotted June 2020 Release Bundle) and stamped these on the tag using Memento Tuxedo Black Ink.
 
 
I stamped the 4 and the 'th' from the Clearly Besotted As Cute As 123 Stamp Set, coloured them with Copic Markers and fussy cut out. They were added to the tag with foam tape. To finish off, I added twine through the top of the tag as well as a few Lucy's Itty Bitty Stars.
 
SUPPLIES:

Here are the links to what I have used on the card. Affiliate links are used on some products. This means that if you make a purchase after clicking on my link, I receive a small commission with no extra cost to you. I truly appreciate your support when using these links. Please click on the logo below the product to shop at your favourite store. All products were personally purchased except those from Clearly Besotted, Hero Arts or those marked with an asterisk (*) which were kindly sent to me to use. You can read my full disclosure here.
 
COPIC MARKERS: Pink letters - R85, R83, R81. Orange letters - YR18, YR16, YR15, YR12. Yellow letters - Y17, Y15, Y13, Y11. Green letters - YG17, YG25, YG03, YG01. Blue letters - B04, B02, B01, B00. Purple letters - V17, V15, V12, V01. Dogs - E59, E57, E55, E53. Chicks - Y17, Y15, Y11, YR21. Bunnies - W7, W5, W3, W1. Aqua number/letters - BG49, BG15, BG13, BG11. Kitty - W7, W5, W3, W1.
 
These sets remind me of when I was at school, I used to draw bubble letters all the time! :) For more inspiration using the new release, please head over to the Clearly Besotted Blog, Keren and Lisa. Thanks so much for visiting me today. I hope you have a lovely day. Take care.

28 May 2020

Clearly Besotted Teasers | To The Moon & Back

Hello there and welcome to the start of the Clearly Besotted June 2020 Teasers. The new stamps release on the 1st June 2020 and from now until then, we will be sharing teasers with you using the new release. For my projects today, I am using the new To the Moon & Back and Picture It Space sets.
 

For my card, I started off by stamping the bunny from the Clearly Besotted Top The Moon & Back Stamp Set on to white cardstock with Memento Tuxedo Black Ink. I then  made a mask for her and stamped the moon on top so that when you remove the mask, it looks like she is sitting on the moon. I then stamped some clouds from the Clearly Besotted Balloon Bunch Backdrops Set.
 
 
The images were coloured using Copic Markers (the colours that I used are listed below the supplies area) and fussy cut out with scissors. I then took a panel of white cardstock and blended Distress Inks on it for a sky background. I used Wilted Violet, Picked Raspberry and Dried Marigold. I sprayed on Sparkle Sheer Shimmer Spritz, followed by Tim Holtz Picket Fence Spray Stain. I then let it sit to the side to dry.
 
 
Once dry, the panel was adhered flat to an A2 white card base with tape runner. I added the clouds on top with more foam runner, followed by the moon and bunny image with foam tape. I took the sentiment from the Clearly Besotted Picture It Space Stamp Set and stamped it on to black cardstock with Versamark Ink and applied white embossing powder. It was heat set, cut in to a strip and added to the card with more foam tape. To finish off, I added a few Lucy's jewels.
 
 
For my tag, I first die cut the tag from the Clearly Besotted Tag Along Set using white cardstock. I then stamped the main backdrop from the Clearly Besotted Picture It Space Stamp Set on top. It was coloured using Copic Markers (the colours that I used are listed below the supplies area).
 
 
I took the cat image from the Clearly Besotted To The Moon & Back Stamp Set and stamped her on to a separate piece of cardstock. She was coloured using Copic Markers and fussy cut out. I adhered her to the tag with foam tape and then added a generous amount of Tonic Nuvo Crystal Glaze on to her helmet. To finish off, I tied twine at the top of the tag.
 
SUPPLIES:

Here are the links to what I have used on the card. Affiliate links are used on some products. This means that if you make a purchase after clicking on my link, I receive a small commission with no extra cost to you. I truly appreciate your support when using these links. Please click on the logo below the product to shop at your favourite store. All products were personally purchased except those from Clearly Besotted, Hero Arts or those marked with an asterisk (*) which were kindly sent to me to use. You can read my full disclosure here.
 
 
COPIC MARKERS: CARD: Bunny - W7, W5, W3, W2, W1, W0, R12. Moon - E51, E50. Star - V17, V15, V12, R85, R83, R81. Clouds - BG11, BG10.  TAG: Kitty - W7, W5, W3, W2, W1, W0, R12. Rocket - V17, V15, V12, V01, BG49, BG15, BG13, BG11, B00, B000. Flag - C5, C3, C1, V17, V15, V12. Moon - E51, E50. Stars - Y11, Y00, Y000. Space - B39, B79, B69, B28, B26.
 
Aren't these little guys just so adorable? There are lots of different animals in the set - all adorable! For more inspiration using the new release, please head over to see Stephanie and Jenny on the Clearly Besotted Blog and Keren and Lisa at their blogs. Thanks so much for visiting me today, I hope you are well and have a lovely day!

Simon Says Stamp | Crafty Friends Rule

Hello there, long time no see! I am so sorry for the break but I am back today to share a few cards using the new CZ Design US of Craft-ay stamp set from the new Crafty Hugs release over at Simon Says Stamp. This is such a fun set, filled with cute art/craft related images and lots of fun sentiments.
 

I have three cards to share with you, all using the same basic design. I really love the cute little ruler in the set and the 'crafty friends rule' sentiment, so I based my design around them.
 
 
For the first two, I first stamped the ruler from the CZ Design US of Craft-ay Stamp Set on to white cardstock using Memento Tuxedo Black Ink and coloured them with Copic Markers (the colours that I used are listed below but the images are so small that not much shading was required). I then fussy cut them out with scissors, leaving a small white border.
 
 
I took A2 white card bases and stamped the sentiment on to the front of them using the Mini MISTI for placement. I then opened the card base up and masked off the top back of the card base using Post-It Tape. I placed the Simon Says Stamp Extra Large Dots Stencil on to the front panel and secured in place with more Post-It Tape.
 
 
I then blended on Distress Inks. For the aqua card, I used Peacock Feathers and for the purple one, I used Wilted Violet. I focussed the colour towards the top of the card bases, blending down to white. I removed the stencil and tape and then adhered the rulers on top with foam tape. To finish off, I added Tonic Nuvo Crystal Glaze to the hearts.  
 
 
While I was making the aqua card, I wasn't sure initially if I wanted the ink blending to only stay in the top portion of the card, or go all the way to the bottom, so I did one of each. For this one I blended the colour all the way to the bottom of the card base, still concentrating the darker colour at the top.
 

Which design do you like best? The first two or the last one? I do like both but being a fan of white space, I think I like the first two a little more!
 
SUPPLIES:

Here are the links to what I have used on the card. Affiliate links are used on some products. This means that if you make a purchase after clicking on my link, I receive a small commission with no extra cost to you. I truly appreciate your support when using these links. Please click on the logo below the product to shop at your favourite store. All products were personally purchased except those from Clearly Besotted, Hero Arts or those marked with an asterisk (*) which were kindly sent to me to use. You can read my full disclosure here.
 
 
COPIC MARKERS: Rulers - C3, C1. Hearts - BG49, BG13, BG11, BG10/V09, V17, V15, V12.
 
I am looking forward to using the set again with a lot of the other craft/art supplies images. I hope that you will check out the rest of the Crafty Hugs release. Thanks so much for stopping by. See you later for my Clearly Besotted Teaser. Have a good day!

22 May 2020

Purple Onion Designs | Make A Splash!

Hello there, I am back to share my last card using the new Sunshine Lake collection from Purple Onion Designs. This is such a fun collection and I have really enjoyed using the images. Today I have a pool scene to share with you using Cosmo, Peony and Daphne. I have to admit, it didn't quite come out as I had planned, but I guess you win some and you lose some, sadly!
 

I started off by stamping Cosmo (Bear with Float), Peony (Mouse Floating) and Daphne (Beaver Swimming) on to white cardstock with Memento Tuxedo Black Ink. I then coloured them with Copic Markers (the colours that I used are listed below the supplies area) and cut them out with scissors. Once cut out, I ran a black pen around the edges to neaten them up.
 
 
I set the images aside while I worked on my background using Copic Markers. I wanted to have them in/by a swimming pool so I first drew a pool in the bottom left hand corner and then drew a line above it where the tiling would end and the grass started. I used the lightest colours of Copics to map out the drawing and then coloured in using the darker shades. I added lines to the area around the pool to create tiles.
 
I had originally planned to stamp the images directly on the background piece and draw the scene around them but forgot and only realised half way through! Hence why they are stamped on to separate pieces. I think it would have worked better stamping and masking but never mind!
 
 
I stamped the sentiment in the top left hand corner from the Sunshiny Sentiments Set and then adhered the background piece to an A2 white card base with foam tape. I then added Peony with tape runner in the pool, Daphne jumping in to the pool with foam tape and Cosmo standing at the side with thin foam tape. To finish off, I added a few white gel pen highlights.
 
SUPPLIES:
 
Here are the links to what I have used on the card. Affiliate links are used on some products. This means that if you make a purchase after clicking on my link, I receive a small commission with no extra cost to you. I truly appreciate your support when using these links. Please click on the logo below the product to shop at your favourite store. All products were personally purchased except those from Clearly Besotted, Hero Arts or those marked with an asterisk (*) which were kindly sent to me to use. You can read my full disclosure here.
 
 
COPIC MARKERS: Mouse - W5, W3, W1, W0, R12, R00. Costume - R85, R83, R81. Rubber rings/floats - V17, V15, V12, Y17, Y15, Y13, Y11. Goggles - V15, B00, B000. Beaver - E49, E29, E27, E25, E23, E21. Outfit - V17, V15, V12, Y17, V15, V13, Y11. Bear - E59, E57, E55, E53, E51, R12, R00. Costume - BG49, BG15, BG13.
 
You can buy the new stamps from the Sunshine Lake release separately, or as a bundle of 27 image stamps and 6 sentiments for a 30% discount. This offer is valid until 31st May 2020.
 
If I get a chance, I would like to remake this card and try and get it to more like I was thinking it would look in my head. I sadly ran out of time though! Thanks so much for stopping by today, I do very much appreciate it. I hope you are doing well and have a lovely day and weekend. Take care.

20 May 2020

Purple Onion Designs | Treat Yourself!

Hello there, today I have another card to share using the new Sunshine Lake collection from Purple Onion Designs. Today I am using the super cute Marigold and Juliet, who are enjoying their ice creams!
 

I started off by stamping Juliet (Bird at Picnic Table) and Marigold (Bunny with Ice Cream) on to white cardstock with Memento Tuxedo Black Ink. I then coloured them using Copic Markers (the colours that I used are listed below the supplies area). I then fussy cut them out using scissors.
 
 
I took an A2 white card base and placed the Taylored Expressions Rectangle Masking Stencil over the top. I then blended green ink at the bottom for grass. I used Twisted Citron and Mowed Lawn Distress Inks. I then took the MFT Cloud Stencil and placed this towards the top. Using Mermaid Lagoon Distress Ink, I blended on clouds, moving the stencil down as I went.
 
 
The stencils were removed and the sentiment from the Sunshiny Sentiments Set stamped in the top right hand corner. I then added the images on top with foam tape. To finish off, I added a few Hero Hues Enamel Dots and white gel pen highlights to the images.
 
SUPPLIES:

Here are the links to what I have used on the card. Affiliate links are used on some products. This means that if you make a purchase after clicking on my link, I receive a small commission with no extra cost to you. I truly appreciate your support when using these links. Please click on the logo below the product to shop at your favourite store. All products were personally purchased except those from Clearly Besotted, Hero Arts or those marked with an asterisk (*) which were kindly sent to me to use. You can read my full disclosure here.
 
 
COPIC MARKERS: Bird - N5, N3, N1, N00, Y26. Picnic Table - E59, E57, E55, E53. Umbrella - C5, C3, C1, BV09, V17, V15, V12, V01. Bunny - W5, W3, W1, W0, R12, R00. Ice creams - E51, E50, BG11, BG10, R83, R81.
 
You can buy the new stamps from the Sunshine Lake release separately, or as a bundle of 27 image stamps and 6 sentiments for a 30% discount. This offer is valid until 31st May 2020.
 
Thanks so much for stopping by today, I really do appreciate it. I hope you have a wonderful day!

18 May 2020

VIDEO | Creating a Night Sky with Ink Blending and Die Cutting

Hello there, today I am over on the Hero Arts Blog and YouTube channel sharing a night sky scene using the Cloudy Sky Scene Dies. When I initially saw them, I thought of nice bright sunny scenes but I wanted to do something a bit different so I decided to create a night sky using the circle die as a moon.
 
 
I created a night sky using ink blending and then splattered on some White Iridescent Shimmer Spray for stars. I cut down panels of white cardstock using the cloud edges in the Cloudy Sky Scene Dies and layered these up on top of the sky, along with a vellum layer. I cut the moon from white cardstock and added a little Copic colour for some added interest.
 
 
I then cut the Airplane Fancy Die from white also and added a little Copic Marker to this too. It was added to the card with foam tape. To finish off, I white heat embossed the sentiment from the Astronomical Stamp Set and then added  a few Lucy's Sequins.
 

VIDEO:
 
Here is the video showing how I made the card:


If you are viewing this blog post via email subscription, you can watch the video HERE on YouTube.
 
SUPPLIES:

Here are the links to what I have used on the card. Affiliate links are used on some products. This means that if you make a purchase after clicking on my link, I receive a small commission with no extra cost to you. I truly appreciate your support when using these links. Please click on the logo below the product to shop at your favourite store. All products were personally purchased except those from Clearly Besotted, Hero Arts or those marked with an asterisk (*) which were kindly sent to me to use. You can read my full disclosure here.
 
 
For more information on how I made the card, please head over to the Hero Arts blog post here. Thanks so much for visiting me today. I hope you are well and have a lovely week!

15 May 2020

Purple Onion Designs | Waving Hello

Hello there, I am delighted to share the new Stacey Yacula release from Purple Onion Designs with you! The new Sunshine Lake release is on sale today and for my first card I am using the super cute Maverick, Miki and Gladys who are having fun on the water!
 

I started off by taking a panel of white cardstock. I first stamped the Dock using Memento Tuxedo Black Ink and then made a mask for it using mask paper and added it on top. I then stamped the Grassy Shore on either side. I then took Maverick & Miki and stamped them towards the left of the panel. Made a mask for them and then stamped Gladys to the right. The masks were then all removed.
 
 
The panel was coloured using Copic Markers (the colours that I used are listed below the supplies area). I first drew in a big rock/land to the left. I started colouring this with cool grey markers, then changed to warm grey markers. In the end, I added in brown shades, so the colour does look a bit odd! I then coloured the sky followed by the boat and critters, the sea and then the grass and dock. I added sparkles, dots and highlights to the sea using a white gel pen.
 
 
I adhered the panel to a 8 7/8" x 3 7/8" card base with foam tape. I took the sentiment from the Sunshiny Sentiments Set and stamped it on to black cardstock with Versamark Ink. I applied white embossing powder and heat set. It was cut in to a strip with a banner end and then added to the right bottom corner with more foam tape.
 
SUPPLIES:

Here are the links to what I have used on the card. Affiliate links are used on some products. This means that if you make a purchase after clicking on my link, I receive a small commission with no extra cost to you. I truly appreciate your support when using these links. Please click on the logo below the product to shop at your favourite store. All products were personally purchased except those from Clearly Besotted, Hero Arts or those marked with an asterisk (*) which were kindly sent to me to use. You can read my full disclosure here.
 
 
COPIC MARKERS: Sky - B02, B01, B00, B000, B000. Rock/island - C5, C3, C1, W5, W3, W1, E44, E43, E41. Dock - E57, E55, E53. Grass - G46, YG25, YG03. Sea - BG49, BG15, BG13, BG11, BG000. Life jackets - Y17, Y15, Y13, Y11. Boat - C10, C8, C7, C6, C5, C3, C1, C0, B000, V17, V15, V12. Raccoon - W8, W7, W6, W5, W3, W2, W1, R12, R000. Mouse - E37, E35, E34, E31, R12, R000. Fox - E18, E19, E09, E07, E15, E13, E31, E30, E50. Skis - V17, V15, V12.
 
You can buy the new stamps from the Sunshine Lake release separately, or as a bundle of 27 image stamps and 6 sentiments for a 30% discount. This offer is valid until 31st May 2020.

I haven't made a slimline card for a while. I used to make them all the time when I first started crafting. I am glad that they have become popular again! For more inspiration using the new release, please head over to the Purple Onion Designs Blog. Thanks so much for stopping by today, I do very much appreciate it. I hope you have a wonderful day and a great weekend. Take care!
End of code