Showing posts with label Papertrey Ink. Show all posts

11 May 2018

Birthday Wishes

Hello there, today I have a card to share using the Pink & Main Pocket of Sunshine stamp set and dies. Pink & Main kindly sent these to me to play with, and I have to say, I am in love!
 

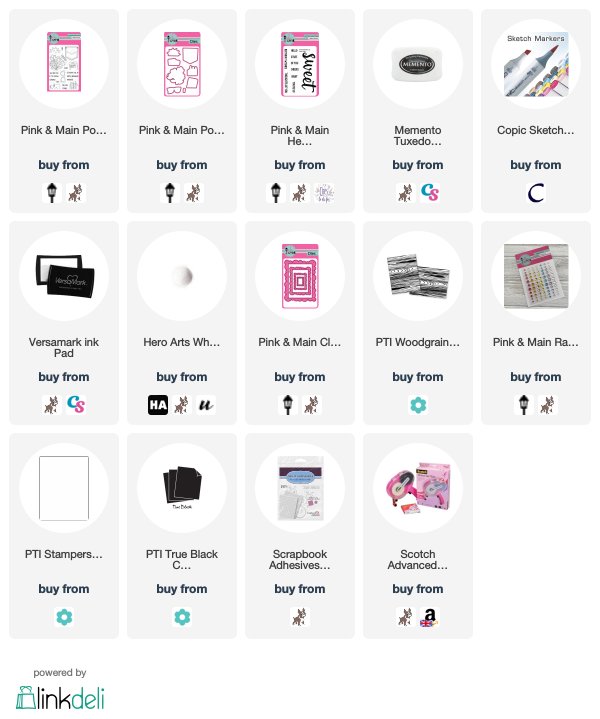
I started off by stamping the flowers from the set on to white cardstock, with Memento Tuxedo Black ink. I coloured them with Copic Markers (the colours I used are listed below the supplies section) and then die cut them out with the coordinating die. I then took the sentiment from the Pink & Main Hello Sweet stamp set and stamped this using Versamark Ink on to black cardstock. I applied white embossing powder and heat set, this was then cut in to a strip.
 
 
I took a panel of white cardstock and embossed this using the PTI Woodgrain Impression Plate. The panel was adhered to a white A2 card base with ATG. I then die cut a Pink & Main Cloudy Frame Die from white cardstock and added this to the card with thin foam squares. The flowers were popped inside with more foam tape. The sentiment was added to the top, again with foam tape. To finish off, I added a few Pink & Main clear/silver Glossy Dots.


SUPPLIES:

Here are the links to what I have used on the card. Affiliate links are used on some products. This means that if you make a purchase after clicking on my link, I receive a small commission with no extra cost to you. I truly appreciate your support when using these links. Please click on the logo below the product to shop at your favourite store. Products marked with an asterisk (*) were kindly sent to me to use.


COPIC MARKERS: Pink flower - R85, R83, R81, YR16, YR12. Purple flower - V17, V15, V12. Yellow flower - Y17, Y15, Y13, Y11. Blue flower - B04, B02, B01, B00. Stems & leaves - YG17, YG23, YG03.

I think these stamps work perfectly for my clean and simple style and I really enjoyed making this card! Thank you so much for visiting me today. I hope you have a great day and a fabulous weekend!

28 April 2018

Clearly Besotted Teasers | Happy Hula

Hello there and welcome to day two of the May Clearly Besotted teasers. Today, I am using the super cute Happy Hula stamp set, along with the Tag Along and Cloudy Days dies.


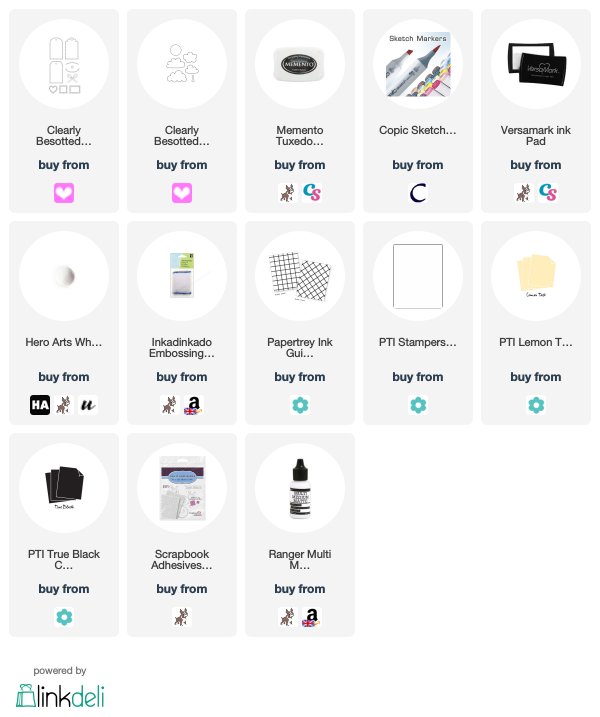
I started off by die cutting a tag from the Tag Along Die Collection with white cardstock. I then stamped one of the girls from the Happy Hula set on to it using Memento Tuxedo Black Ink. I coloured her with Copic Markers and then coloured the rest of the tag with Copic Markers to look like she was standing on sand with sea and sky behind her (the colours I used are listed below the supplies section).
 
 
I then die cut a sun from the Cloudy Days Die Collection with yellow cardstock. I coloured this with Copic Markers too. I cut the edges to match with the tag and then adhered it with liquid glue. The sentiment, from the same Happy Hula set, was stamped on to black cardstock with Versamark Ink. I applied white embossing powder and heat set. This was then cut in to a strip and added to the tag with thin foam tape.
 
 
I took an A2 white card base and embossed the front panel using the PTI Guide Lines Grid Impression Plate. The tag was then added on top with thin foam tape.
 
SUPPLIES:

Here are the links to what I have used on the card. Affiliate links are used on some products. This means that if you make a purchase after clicking on my link, I receive a small commission with no extra cost to you. I truly appreciate your support when using these links. Please click on the logo below the product to shop at your favourite store. Products marked with an asterisk (*) were kindly sent to me to use.
 
 
COPIC MARKERS: Girl skin - E13, E11, E00, E0000, E50, R20. Hair - E49, E29, E27, E25, E23, E21. Top - V17, V15, V12. Skirt - E57, E55, E53, E51. Sand - E44, E43, E42, E41. Sea - B14, B12, BG01, BG23, BG11. Sky - B00, B000, B0000. Sun - Y17, Y15, Y13, Y11.
 
Isn't she just adorable? And I thought the sun worked perfectly with the little scene. For more inspiration, please do head over to see my teamies Stephanie, Keren and Lisa. Thank you so much for visiting me today, I hope you have a wonderful day! See you tomorrow.

28 October 2017

Captain America

Hello there, this is one of my scheduled posts while I am taking some time off. It was my nephew's birthday this week, he is a big fan of super heroes, so I decided to theme his card around Captain America's shield.
 
 
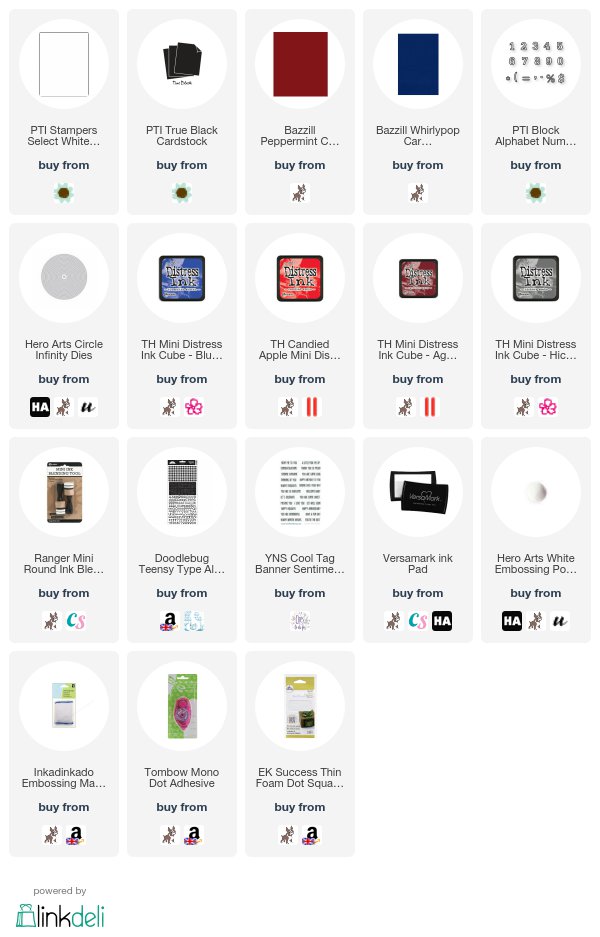
I started off by cutting lots of circles for the shield using the Hero Arts Circle Infinity Dies. I wanted to inlay the design so I first cut a large circle from red cardstock. I then cut this using a smaller circle die to create a frame. I die cut a white circle which would fit inside and repeated the steps to create a frame and then another red circle frame inside. The middle piece is a blue circle which I cut a Nestabilities star from. I then cut the star from white so that I could inlay them together. I went around the edges of the shapes with Distress Ink and an ink blending tool to create a bit of depth. It doesn't look like much in the photos but it does make a difference in real-life!
 
 
I took the seven number from the PTI Block Alphabet Numbers Die Collection and cut this five times from black cardstock. I took a white 5.5" x 5.5" square card base and adhered the shield pieces to it using tape runner. I then added the seven on to the star using liquid glue. I took the sentiment from the YNS Tag Banner Sentiments set and stamped this on to black cardstock with Versamark Ink. I applied white embossing powder and heat set. This was cut in to a strip and added to the card with foam tape. I then took the letters for my nephew's name from the Doodlebug Teensy Type Stickers set, added foam tape on to the back and added these to the card also.
 
SUPPLIES:
Here are the links to what I have used on the card. Affiliate links are used on some products. This means that if you make a purchase after clicking on my link, I receive a small commission with no extra cost to you. I truly appreciate your support when using these links. Please click on the logo below the product to shop at your favourite store. Products marked with an asterisk (*) were kindly sent to me to use.
 
 
It was a lot of fun creating this card. I really like trying to tailor the cards I make for my niece and nephews to their interests. Last year I made my nephew a Lego card, so I am hoping he will like this Captain America one! Thanks so much for visiting me today. I hope you are well and have a fabulous rest of the day!

21 June 2017

Have A Super Birthday

Hello there, today I have a card to share with you that I made for my nephew for his 3rd birthday. He likes the TV programme Paw Patrol, which is a boy with his pack of rescue dogs. The rescue dogs work together to protect the community. From what I believe, one is a firedog, one is a policedog, one is a refuse collector etc. So for my card, I wanted to try and do a Paw Patrol themed card. Thankfully, Clearly Besotted stamps came to the rescue!
 

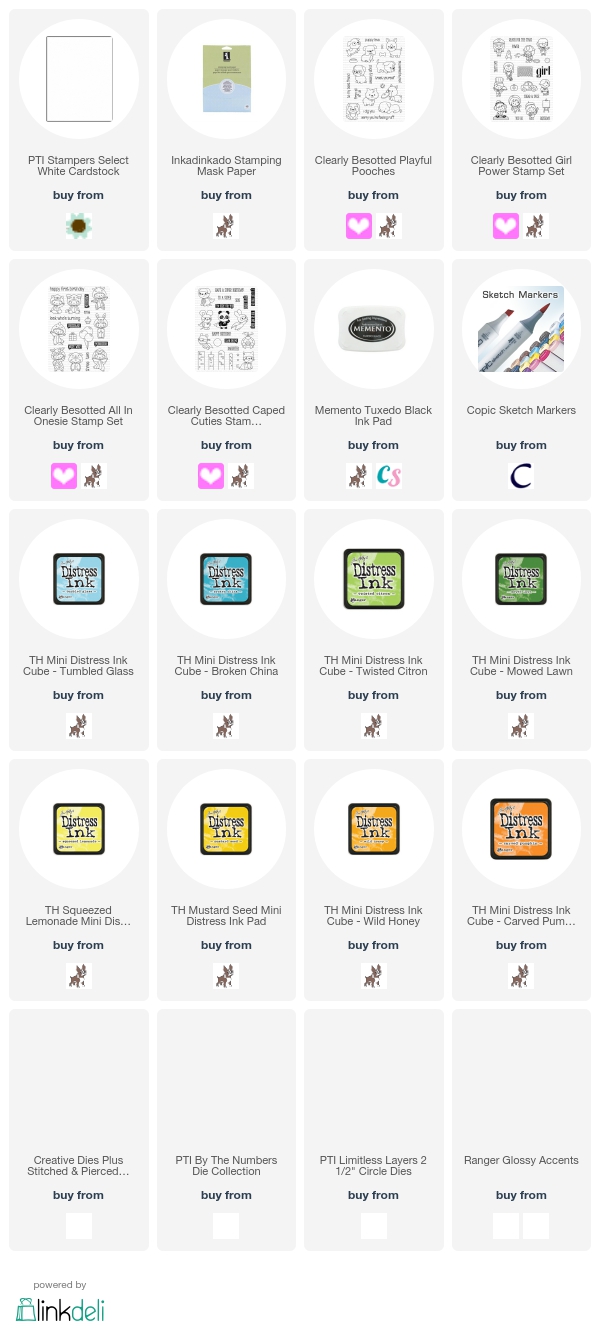
I first took the Girl Power stamp set and masked the bodies of the girls so that I could stamp out just the fire hat and also the police hat. I made paper masks for these and then stamped two of the dogs from the Playful Pooches set on to these so it looks like the dogs are wearing the hats. I did have to do a little adding in of ears and things with a black Copic Multiliner. They were coloured in with Copics and fussy cut out with scissors. I stamped the balloons from the All In Onsie set, coloured and cut out these out also.
 
 
I then took a PTI Limitless Layer Circle die and cut this from white cardstock. I blended over green and blue Distress Inks to create sky and grass. I cut a star from white cardstock and blended over yellow ink for that. The three was cut from the PTI By The Numbers set and I blended over orange ink on to it. I also cut another three from craft foam and layered the inked piece on top of the foam piece for more dimension.
 
 
I stamped the balloon strings on to the sky/grass piece and then added the stamped and cut out piece on top. I then assembled the rest of the elements on to an A2 white card base. The sentiment, from the Caped Cuties set, was stamped in the bottom right. The dogs were adhered with foam tape and then I added Glossy Accents on to the balloons.
 
SUPPLIES:
Here are the links to what I have used on the card. Affiliate links are used on some products. This means that if you make a purchase after clicking on my link, I receive a small commission with no extra cost to you. I truly appreciate your support when using these links. Please click on the shop logo below the product name to shop at your favourite store.
 
 
COPIC MARKERS: Police dog - E27, E25, E23, E33, E31, E30, B99, B97, B93, Y17, Y15, Y13. Fire dog - W2, W0, W00, E25, E23, R89, R37, R29, R27, R24.
 
This card did take quite a long time to put together but hopefully it was worth it in the end! I always enjoy personalising cards to fit the recipient! Thanks so much for visiting me today. I hope you have a great day!

2 March 2017

Hogs & Kisses

Hello there, today I have a little card to share with you using the Reverse Confetti Cured stamp set. It is an adorable set! I gave this card to my mum for Valentine's Day last month.
 

I started off by taking a piece of mask paper and using a Hero Arts Infinity Heart I cut an aperture in the middle. This was placed on to a piece of watercolour paper and then I blended purple Distress Inks in to the heart. To give it a little bit of sparkle, I misted over a mixture of water and Perfect Pearls. The mask was removed and the piece set aside to dry.
 
 
I took the pig from the Cured set and stamped this on to white cardstock. I coloured him with Copic Markers and then fussy cut out using scissors. I die cut a PTI Double Ended Banner and stamped the sentiment on to this using black ink. I added the heart piece on to a 4.5"x4.5" card base made from Royal Velvet cardstock with ATG. The sentiment banner was then added with foam tape, as well as the pig. To finish off, I added a little Doodlebug Heart Sprinkle.
 
SUPPLIES:
Here are the links to what I have used on the card. Please click on the picture or wording to be taken to where I purchased it. Affiliate links are used on some products. This means that if you make a purchase after clicking on my link, I receive a small commission with no extra cost to you. I truly appreciate your support when using these links. Please click on the letters below the product to shop at your favourite store - Simon Says Stamp (SSS), Hero Arts (HA), Seven Hills Crafts (SHC) Amazon (AZ) etc


COPIC MARKERS: R32, R30, R11, R00, R000.
 
Isn't that piggy just so cute?! Thank you so much for visiting me today. I hope you have a great day!

3 December 2016

Merry

Hello there, today I have a cute little tag to share with you. It is using the adorable Merry image from Purple Onion Designs. That must be one of the cutest penguin images ever!
 
 
I started off by stamping Merry on to some white cardstock using black ink. I then coloured him in using Copic Markers and fussy cut him out with scissors. I took the MFT Tag Stax dies and cut one from white cardstock. I then took Peacock Feathers Distress Ink and blended this on to the middle of the tag with a stencil brush. I kept it quite subtle but I think it adds that little extra pop. Merry was added on top with foam tape.
 
 
I took a piece of PTI Plum Pudding satin ribbon and added this to the top of the tag with the Tim Holtz Tiny Attatcher. I coloured the staples purple with a combination of Raspberry and Purple Twilight Alcohol Inks. To finish off, I added clear Wink of Stella to the purple parts on the present and also on the candy cane.
 

SUPPLIES:

Here are the links to what I have used on the card. Please click on the picture or wording to be taken to where I purchased it. Affiliate links are used on some products. This means that if you make a purchase after clicking on my link, I receive a small commission with no extra cost to you. I truly appreciate your support when using these links.


COPIC MARKERS: Penguin - BV29, BV25, BV23, Y11, Y0000, YR16, YR15, YR21, Y13. Candy Cane - R37, R14. Present - V09, V06, V05, V03, V01, R85, R83, R81.
 
I love pinks, blues and purples for Christmas but if you are in to more traditional colours, I coloured this cute with reds and greens last year. You can see that HERE. This guy, along with all of the other stamps, are currently part of the holiday sale until the 7th December. Thanks so much for visiting me today. I hope you have a great day!

10 November 2016

Hedgehugs

Hello there, today I have a card to share using the MFT Happy Hedgehogs stamp set. I love hedgehogs, they are so cute and this set is no exception!
 

I started off with a panel of white cardstock, cut using the rectangle ME Femme Frames die. I stamped the hedgehog first with black ink. I then made a mask for him from mask paper and added this on top. I then stamped the tree stump image below. The mask was then removed so that the hedgehog is standing on the stump. The sentiment was stamped below.
 
 
The image was coloured using Copic Markers. I took an A2 kraft card base and ran this through my Cuttlebug using the PTI Woodgrain Impression plate. I thought it went well with the woodland/hedgehog theme. The image panel was then added on top with foam sheet in-between for some added dimension.
 

SUPPLIES:

Here are the links to what I have used on the card. Please click on the picture or wording to be taken to where I purchased it. Affiliate links are used on some products. This means that if you make a purchase after clicking on my link, I receive a small commission with no extra cost to you. I truly appreciate your support when using these links.


COPIC MARKERS: Hedgehog - E49, E47, E44, E43, E42, E41, E40, R00. Log - E29, E27, E25, E23. Grass - YG17, YG23, YG03, YG01. Sky - B00, B000, B0000.
 
Thank you so much for visiting me today, I really do appreciate you stopping by. I hope you are well and having a great week so far. Have a lovely day!
End of code