Hello there and happy STAMPtember to you! If you haven't heard of STAMPtember before, it's a month long event hosted by Simon Says Stamp that features lots of fun, new products, inspiration and collaborations. Today is the main STAMPtember release for the Simon exclusive products. Tomorrow we are celebrating with a fun party and then after that, the collaborations start with all your favourite craft companies!
PLEASE
NOTE: This post contains affiliate links. Please see below for my full
disclosure.

My first card today uses the new Simon Says Stamp Fall Wreath Die. This set features two semi circle leaf designs that you can put together to create a wreath. I die cut both parts from Spellbinders Brushed Black Cardstock. Using a Blending Tool, I pounced Tim Holtz Distress Oxides in Wilted Violet and Dried Marigold on top.

I then took them to my splat box and spritzed Tim Holtz Wilted Violet and Spiced Marmalade Distress Spritz on top. I felt like I lost a little of the black, so I added Hero Arts Black Acrylic Speckle on top. Whilst it was drying, I die cut my sentiment. I used the new Simon Says Stamp Trick or Treat 2 Die. I die cut it five times from Tim Holtz Distress Black Heavystock and adhered them one on top of another.

I created a US A2 sized card base from the same heavystock cardstock and adhered the wreath pieces on top using black thin foam squares. The sentiment was adhered in the centre. To finish, I added Simon Says Stamp Sea Star Sequins.

My next card uses the new Simon Says Stamp Pumpkin Blessings. There is a stamp set, as well as a stencil set to colour/ink blend the main image in the set. I started off by stamping the image onto white cardstock using Memento Tuxedo Black Ink. I then stamped the sentiments (there are lots of different options) onto the banners.

I coloured the pumpkins and sunflowers using Copic Markers. I then grabbed the Simon Says Stamp Pumpkin Blessings Stencils and used these to colour/ink blend the banners. I started off with a layer of Tim Holtz Gathered Twigs Distress Ink and then to add a little more depth, went in with Ground Espresso Distress Ink. The image was then fussy cut out using scissors.

I die cut the second largest die in the new Simon Says Stamp A2 Postage Rectangles Dies from Neenah Desert Storm Cardstock. I then created a mini card to adhere behind. I adhered the stamped image to the front using thin foam squares. I added a few white gel pen dots and then embellished with Altenew White Enamel Dots.
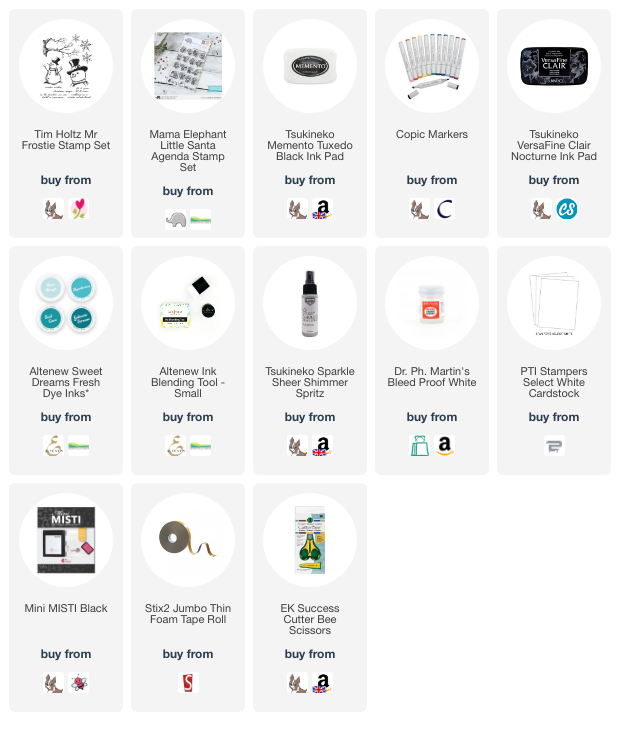
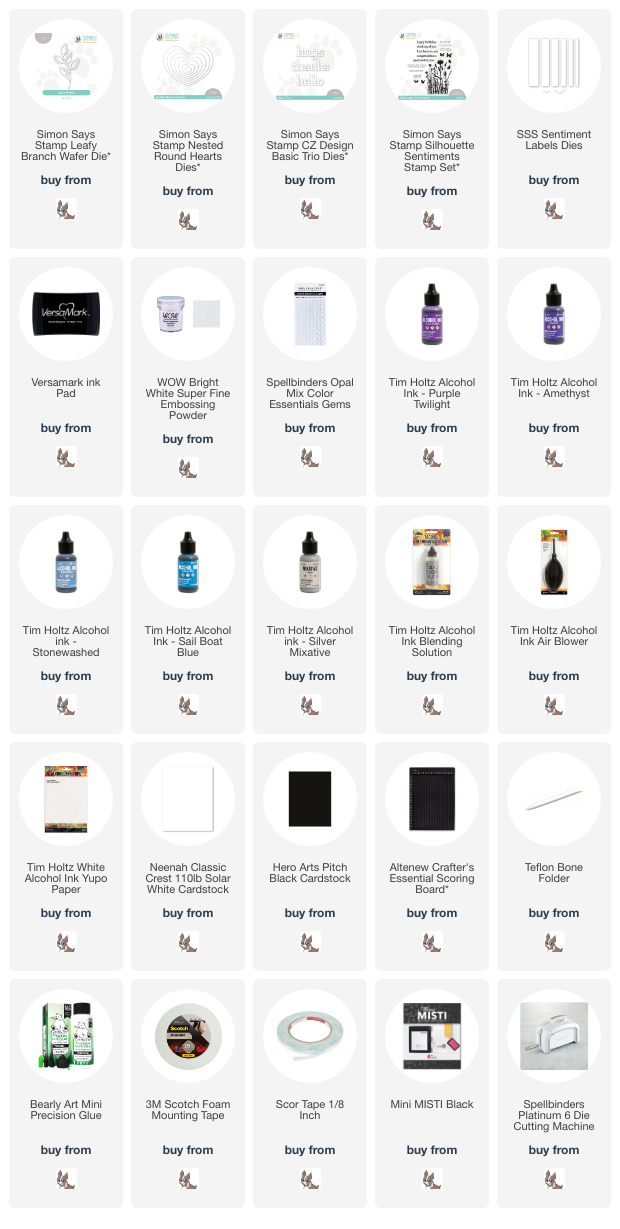
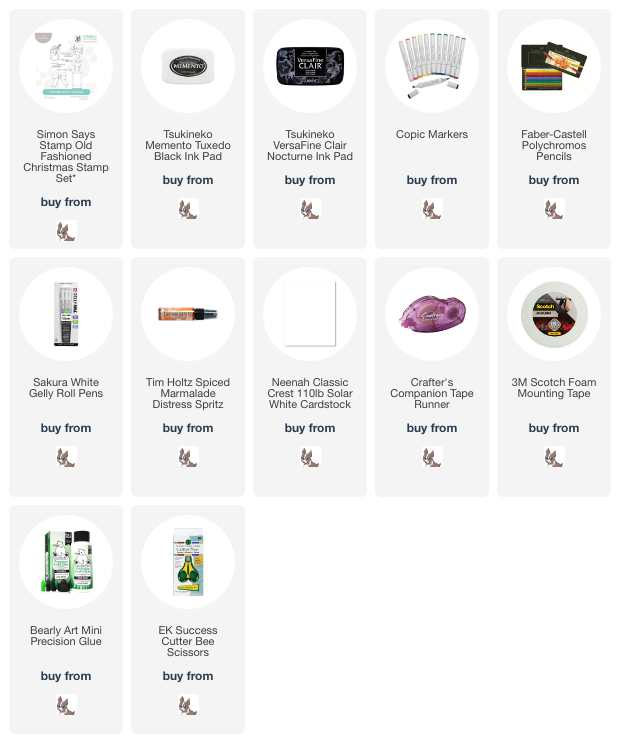
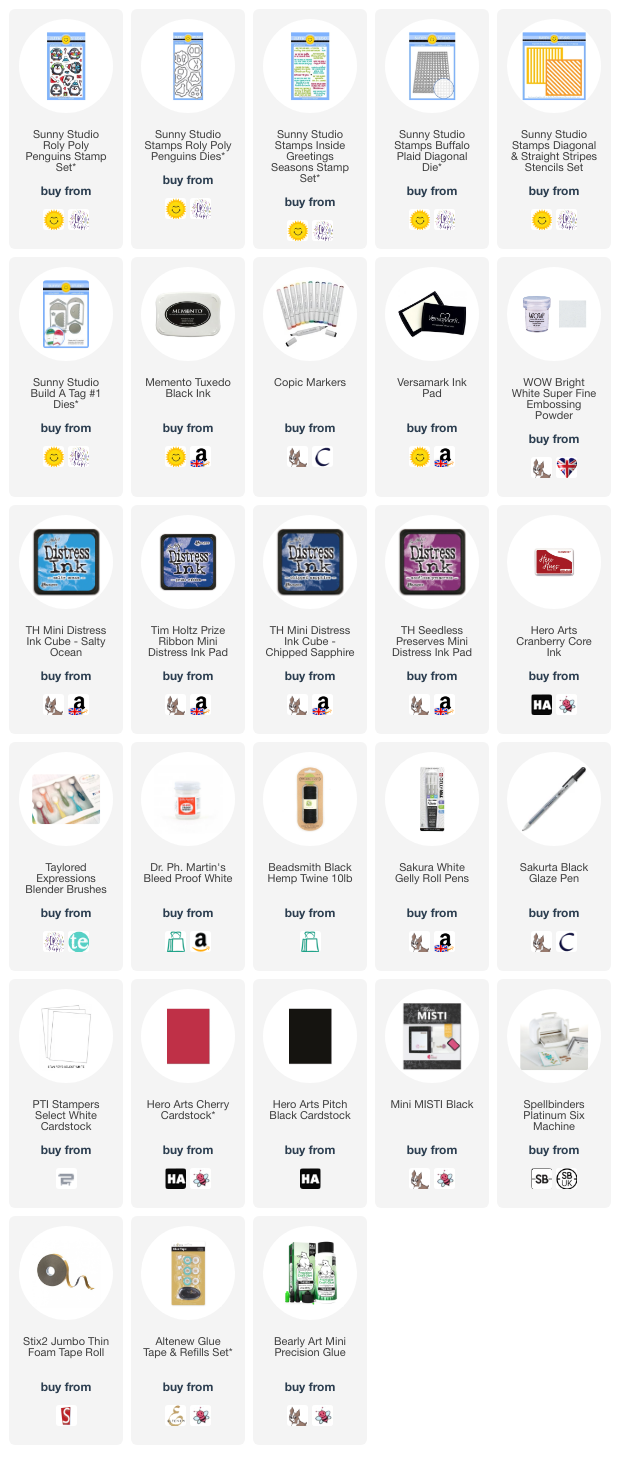
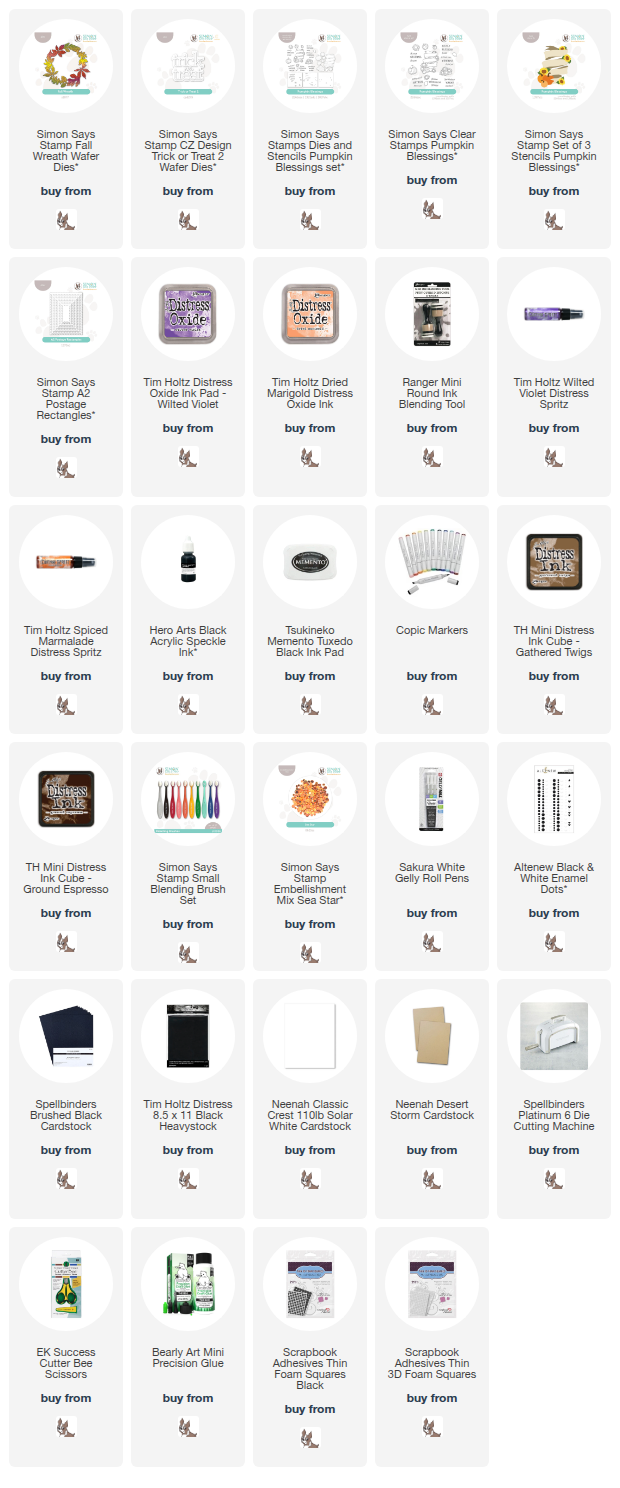
SUPPLIES:
Here are the links to
what I have used on the projects. Affiliate
links are used on some products. This means that if you make a purchase after
clicking on my link, I receive a small commission with no extra cost to you. I
truly appreciate your support when using these links. Please click on the logo below
the product to shop at your favourite store. All products were personally
purchased except marked with an asterisk (*) which were kindly sent to me to
use. You can read my full disclosure here.
A big thank you to Simon Says Stamp for sending me these products to use. I will be back tomorrow to share another card, but until then, thank you so much for stopping by, I really do appreciate it. I hope you have a great day!