
Hello there, I am delighted to be joining Simon Says Stamp for their DieCember 2024 release! If you haven't heard of DieCember before, it is a celebration of all things die cutting for the month of December.
Today we are kicking things off with a fun party to celebrate the release. A bunch of designers have got together to share lots of inspiration with you. You can find links to all the designers sharing today here. Simon Says Stamp kindly sent me the fabulous Leafy Branch Die to play with and this is what I made:
PLEASE
NOTE: This post contains affiliate links. Please see below for my full
disclosure.

I thought it would be fun to do one of my favourite techniques on these cards - die cut inlay. This technique also produces a 2-for-1 as you can use both the outline and the inside pieces/inlay.
I started off by creating the alcohol ink backgrounds. I took a panel of Yupo Paper and added Isopropyl Alcohol to it (to create a base for the alcohol inks to move), I then dropped Tim Holtz Alcohol Inks on top - Purple Twilight, Amethyst, Stonewashed, Sailboat Blue and Silver Mixative (which you need to use Ranger Alcohol Ink Blending Solution with).

I moved the inks around the paper using the Tim Holtz Alcohol Ink Air Blower Tool and then set it aside to dry. Once dry, I die cut it using the Simon Says Stamp Leafy Branch Die. I then cut the die multiple times from white cardstock.

I die cut two hearts using the Simon Says Stamp Nested Round Hearts Dies for the fronts of my card bases. For the die cut inlay card, I adhered one of the outlines of the die cuts on to the heart first using Bearly Art Glue. I cut the excess from the sides using scissors.

I popped in the inside pieces of the leaves (cut from the alcohol inked background) and adhered them with liquid glue. I then adhered two more layers of the outline on top for added dimension. For the outline card, I adhered the white cardstock outlines first (two layers) and then adhered the alcohol inked one on top of that. The excess was cut off the sides at each layer.

For the sentiment on the inlay card, I stamped a sentiment from the Simon Says Stamp Silhouette Sentiments Stamp Set onto black cardstock using Versamark Ink. I applied white embossing powder and heat set. It was cut into a strip using the Simon Says Stamp Sentiment Labels Dies and adhered to the card using foam tape.

For the sentiment on the outline card, I die cut the 'hugs' sentiment from the Simon Says Stamp Basic Trio Dies three times from white cardstock. They were adhered one on top of another and then onto the card using liquid glue.

I then die cut two more hearts from white cardstock and made a score line towards the top to create a hinge. I also cut the point off the bottom of the heart to help the card stand up better. I added adhesive to the hinge part and then adhered them to the back of the card fronts. To finish, I embellished with Spellbinders Opal Color Essentials Gems.
DIECEMBER PROMOTION

If you order $100 or more of DieCember release products, you will receive the Fancy Ornaments Embossing Folder as a free gift! This will be automictically added to eligible carts. Offer valid until 11.59pm ET.
SUPPLIES:
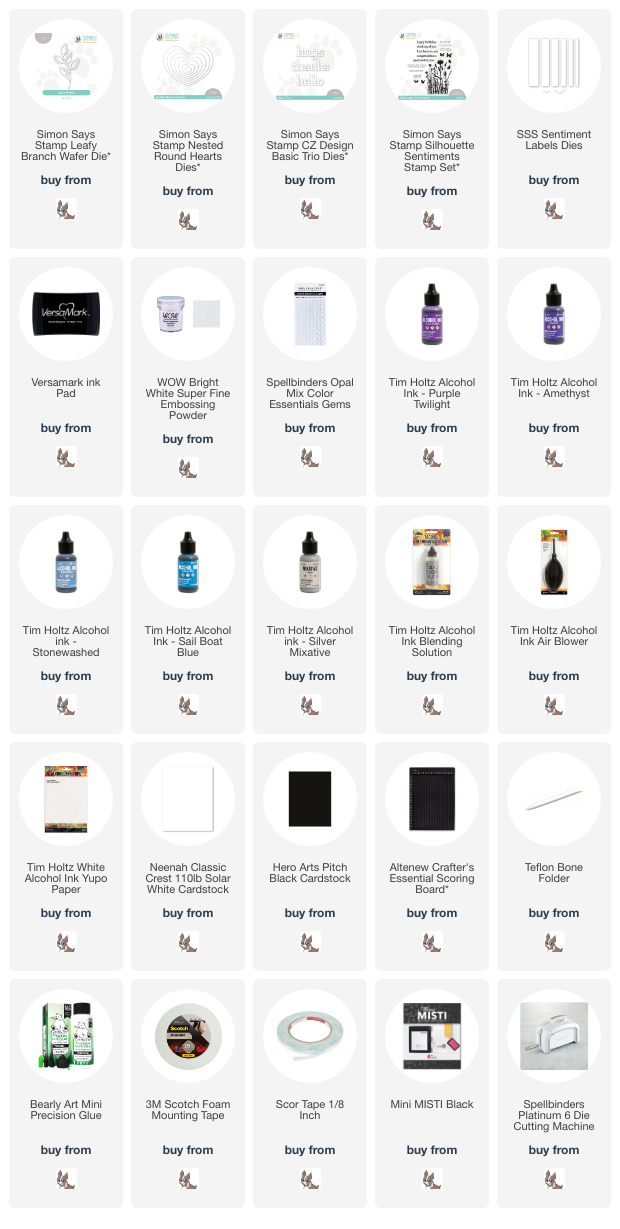
Here are the links to what I have used on the projects. Affiliate links are used on some products. This means that if you make a purchase after clicking on my link, I receive a small commission with no extra cost to you. I truly appreciate your support when using these links. Please click on the logo below the product to shop at your favourite store. All products were personally purchased except those from Clearly Besotted, Hero Arts or those marked with an asterisk (*) which were kindly sent to me to use. You can read my full disclosure here.
Thank you so much for stopping by today, I really do appreciate it. I hope you enjoy seeing all the inspiration today! Take care!
Goodness these are beautiful! I just love the alcohol ink mix of colours and they look beautiful as an inlay as well as an outline. They heart shaped bases are just right to highlight the leafy stem! Totally gorgeous! I want to play and make all the things. You always inspire me!
ReplyDeleteSuper fun! I love the heart shape.
ReplyDeleteSuper fun! I love the unique shape.
ReplyDelete