Showing posts with label Sunny Studio. Show all posts

1 November 2024

Sunny Studio | More Roly Poly Penguins!

Hello there and happy November to you! For my last two projects guest designing for Sunny Studio Stamps, I have used the Roly Poly Penguins set again. They are just too cute not to use! Today I have a tag and card to share.

PLEASE NOTE: This post contains affiliate links. Please see below for my full disclosure.


I thought the penguin poking up from behind something from the Sunny Studio Stamps Roly Poly Penguins Stamp Set would look cute at the bottom of a tag, so I stamped him onto white cardstock using Memento Tuxedo Black Ink. I then coloured him using Copic Markers (the colours that I used are listed below the supplies area for reference). 

He was die cut out using the Sunny Studio Stamps Roly Poly Penguins Dies. For the tag, I die cut the Sunny Studio Stamps Build A Tag #1 Dies from white cardstock. I added ink blending to the base layer with Salty Ocean, Prize Ribbon, Chipped Sapphire and Seedless Preserves Distress Inks. I also added this ink blending to the eyelet piece. I then splatted on Dr. Ph. Martin's Bleed Proof White Paint to the base layer for snow and set it aside to dry. 

Once dry, I adhered the top layer of the tag to the base, followed by the eyelet. I stamped the sentiment from the Sunny Studio Stamps Inside Greetings Seasons Stamp Set onto black cardstock using Versamark Ink. I applied white embossing powder and heat set. It was cut into strips and adhered to the tag with thin foam tape, followed by the penguin. To finish, I added twine through the top of the tag and tied in a bow. 

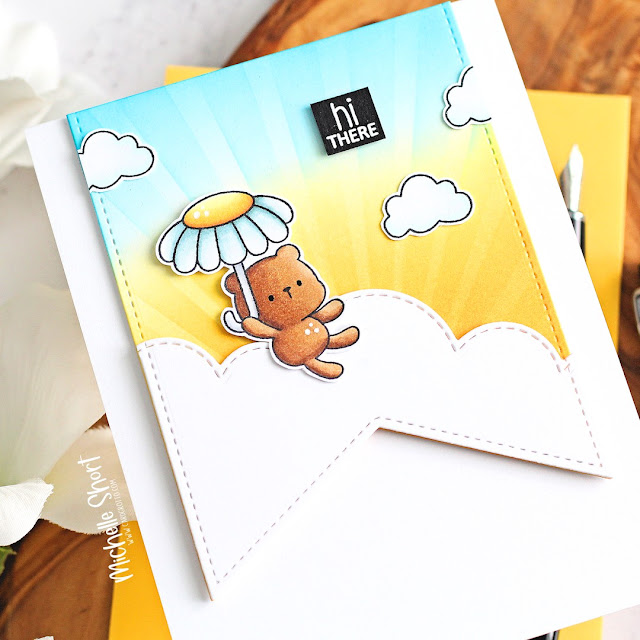
I couldn't resist making one more project using the penguins so stamped another from the Sunny Studio Stamps Roly Poly Penguins Stamp Set onto white cardstock with Memento Tuxedo Black Ink. I coloured him using Copic Markers and then die cut him out using the Sunny Studio Stamps Roly Poly Penguins Dies.

For the card base, I ran a panel of Hero Arts Cherry Cardstock through my die cutting machine with the Sunny Studio Stamps Buffalo Plaid Diagonal Die. I placed the Sunny Studio Stamps Diagonal Stripes Stencil on top and added ink blending with Hero Arts Cranberry Core Ink. I love how this gives a tone-on-tone effect but I am excited to try this with other colour combos in the future! 

The panel was adhered to a US A2 sized card base made from the same Cherry Cardstock and the penguin adhered on top with thin foam tape. The sentiment, from the Sunny Studio Stamps Inside Greetings Seasons Stamp Set, was stamped onto black cardstock and heat embossed in white. It was cut into a strip and adhered to the card with more thin foam tape. To finish, I added white gel pen highlights to the penguin and black glaze pen to his eyes. 
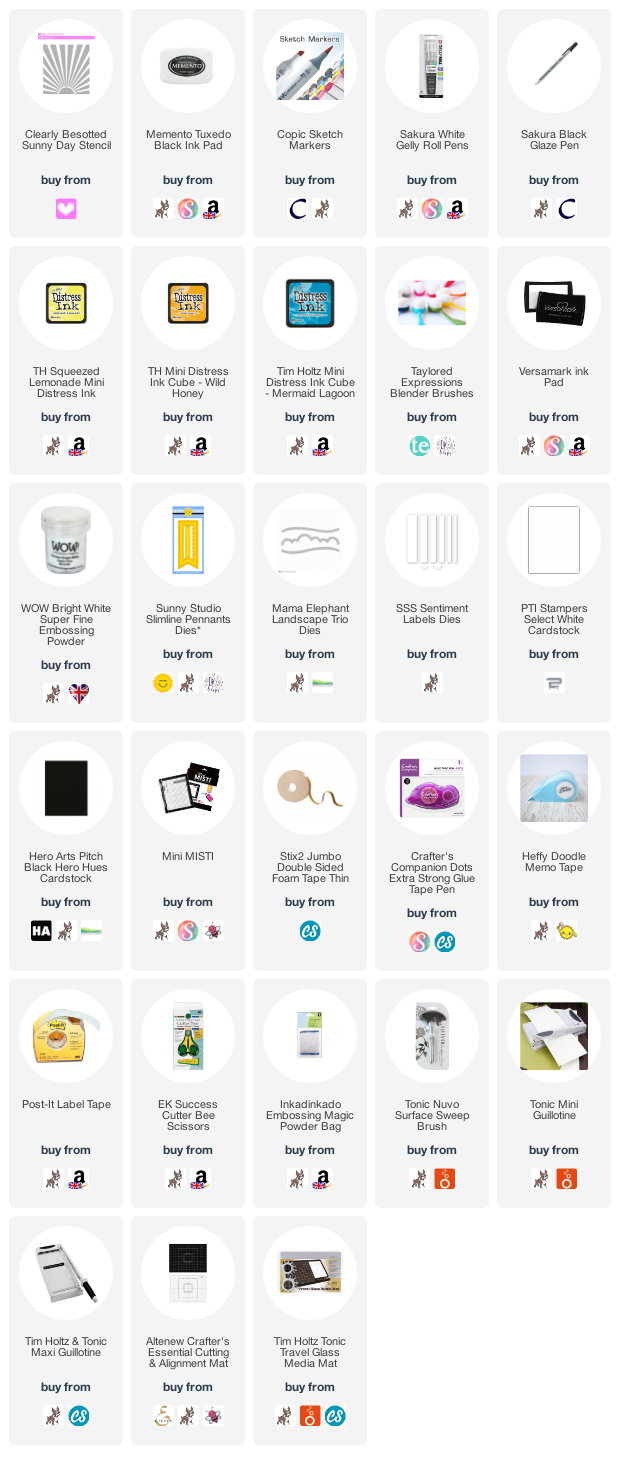
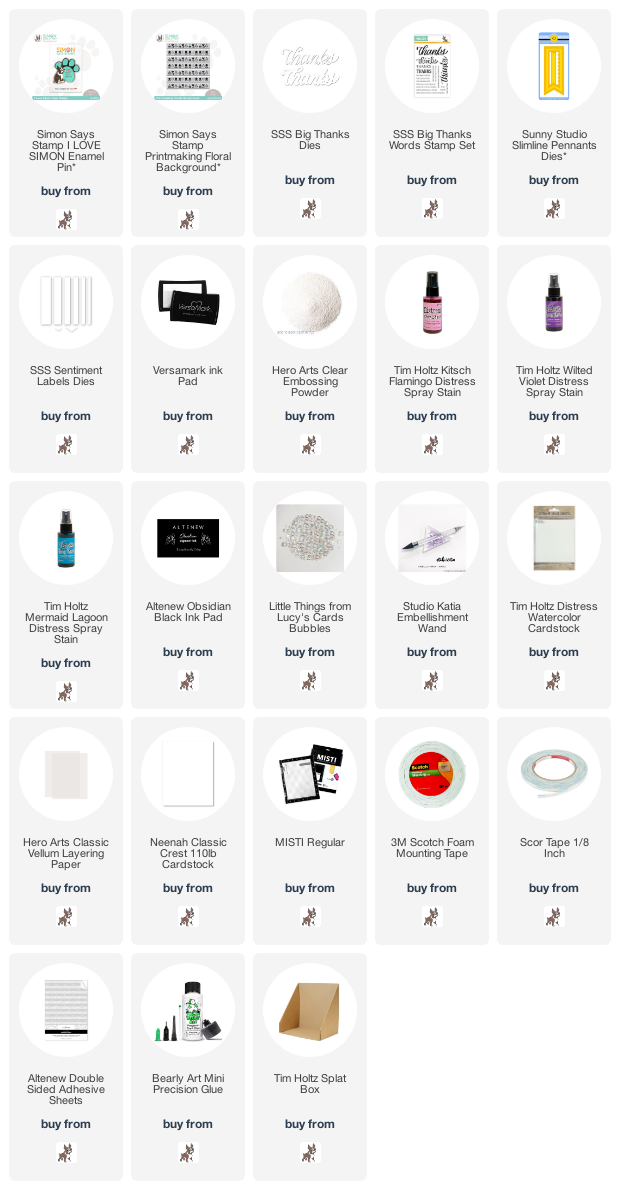
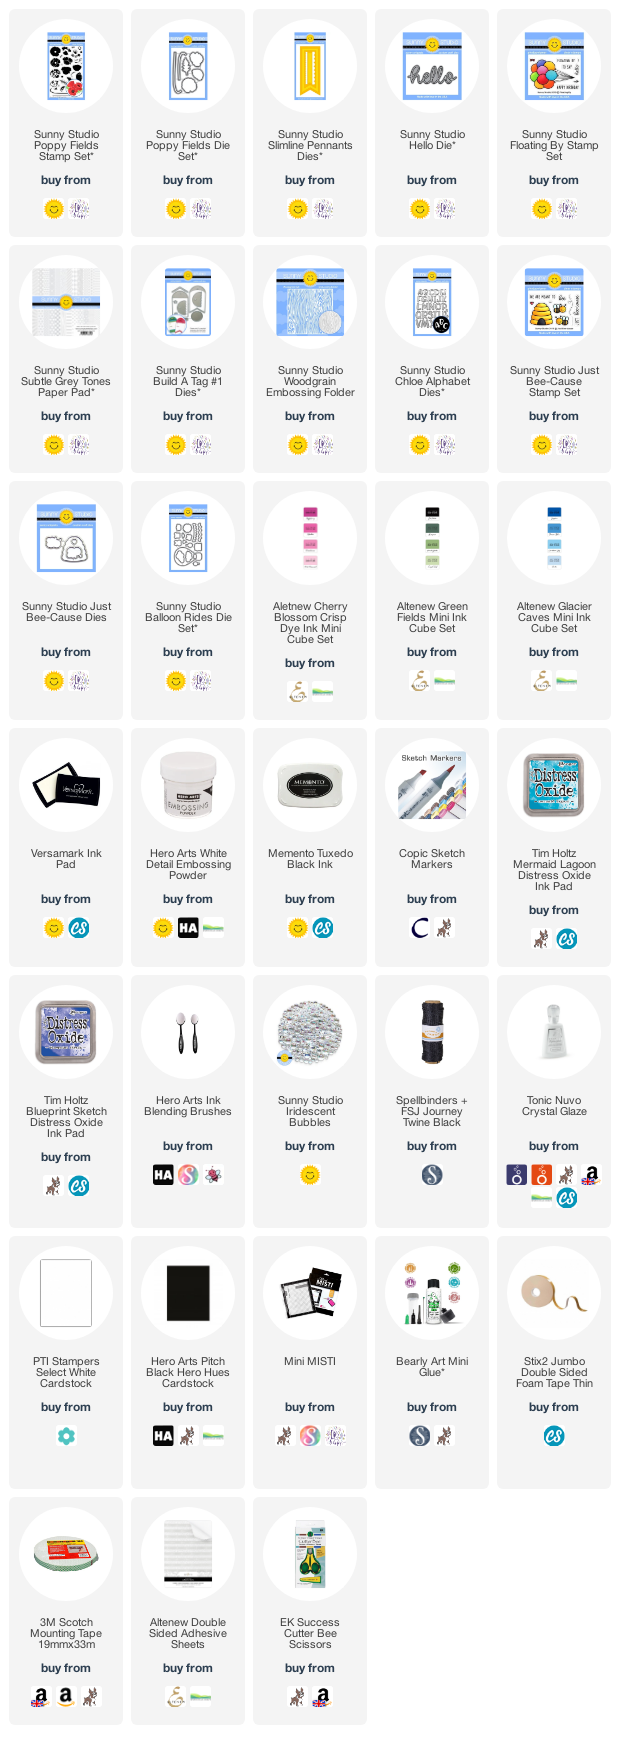
SUPPLIES:


Here are the links to what I have used on the projects. Affiliate links are used on some products. This means that if you make a purchase after clicking on my link, I receive a small commission with no extra cost to you. I truly appreciate your support when using these links. Please click on the logo below the product to shop at your favourite store. All products were personally purchased except those from Clearly Besotted, Hero Arts or those marked with an asterisk (*) which were kindly sent to me to use. You can read my full disclosure here.


As I say, I am hoping to experiment more with the Buffalo Plaid die and stencil, so hopefully you will see that soon! A big thank you goes to Mendi and the Sunny Studio team for having me guest with them and thank you for stopping by, I really do appreciate it. I hope you have a wonderful day! 

29 October 2024

Sunny Studio | Eat, Drink & Be Merry Gift Card Holder

Hello there, today I have a gift card holder to share with you using some more new products from Sunny Studio Stamps. I thought the Merry Mocha set would work perfectly to decorate a gift card holder for a coffee shop gift card. Sunny Studio do sell gift card dies, but I wanted to see if I could create something using products I already had. 

PLEASE NOTE: This post contains affiliate links. Please see below for my full disclosure.


I started off by die cutting the largest of the Sunny Studio Stamps Stitched Scalloped Tag Circle Dies three times from white cardstock. Two I adhered back to back and the third I cut in half. I stamped a sentiment on the one I cut in half from the Sunny Studio Stamps Inside Greetings Stamp Set and adhered it to the back of the other one, only adhering it around the edge to create a pocket for the gift card to sit in. 


I stamped the mug and sentiment from the Sunny Studio Stamps Merry Mocha Stamp Set onto white cardstock using Memento Tuxedo Black Ink. I coloured the mug using Copic Markers and then die cut them both out using the Sunny Studio Stamps Merry Mocha Dies. I cut the sentiment die again three times and layered them up behind the stamped one for added dimension. 


The sentiment was adhered to the tag using liquid glue and the mug with thin foam tape. I tied twine around the top of the tag and tied in a bow. To finish, I added Christmas Red Stickles to the berries on the mug and then embellished with silver gems

SUPPLIES:


Here are the links to what I have used on the project. Affiliate links are used on some products. This means that if you make a purchase after clicking on my link, I receive a small commission with no extra cost to you. I truly appreciate your support when using these links. Please click on the logo below the product to shop at your favourite store. All products were personally purchased except those from Clearly Besotted, Hero Arts or those marked with an asterisk (*) which were kindly sent to me to use. You can read my full disclosure here.


It's always great to find new uses for products, especially dies! For more inspiration, please head over to the Sunny Studio Blog. Thank you so much for stopping by today, I really do appreciate it. I hope you have a wonderful day! 

28 October 2024

Sunny Studio | Roly Poly Penguins

Hello there, I am delighted to be guest designing with Sunny Studio Stamps this week! I have a few projects to share with you over the next few days using the holiday 2024 release. My card today uses the Roly Poly Penguins, which absolutely fell in love with! They are so cute!

PLEASE NOTE: This post contains affiliate links. Please see below for my full disclosure.


I started off by stamping one of the penguins, plus the candy cane, from the Sunny Studio Stamps Roly Poly Penguins Stamp Set onto white cardstock using Memento Tuxedo Black Ink. I also stamped the two trees (I stamped one of them twice) from the Sunny Studio Stamps Snowmen in Sweaters Stamp Set too. The images were coloured using Copic Markers (the colours that I used are listed below the supplies area for reference). 


They were then die cut out using the coordinating dies sets. I die cut a heart from white cardstock and then stamped the sentiment from the Sunny Studio Stamps Inside Greetings Seasons Stamp Set on top right with Versamark Ink. The sentiment is part of a larger one, so I did have to do some masking. I applied white embossing powder and heat set. 

I then made a snow scape mask. I simply cut a hill shape from a piece of printer paper using scissors. I placed it over the bottom of the heart piece and added ink blending above with Distress Inks and blending brushes. I used Salty Ocean, Prize Ribbon, Chipped Sapphire and Seedless Preserves


I then moved the mask down, so that I could create snowbanks using the residual ink from the Seedless Preserves brush, to cover the bottom of the heart. I placed the mask back over the bottom of the heart and splattered on Dr Ph Martin's Bleed Proof White Paint above, before setting it aside to dry. 


I die cut a panel of white cardstock using the Sunny Studio Stamps Buffalo Plaid Diagonal Die and adhered it to the front of a US A2 sized card base with tape runner adhesive. The heart was then adhered on top with thin foam tape, followed by the trees and penguin (holding the candy cane). To finish, I added a few white gel pen highlights to the penguin. 

SUPPLIES:


Here are the links to what I have used on the project. Affiliate links are used on some products. This means that if you make a purchase after clicking on my link, I receive a small commission with no extra cost to you. I truly appreciate your support when using these links. Please click on the logo below the product to shop at your favourite store. All products were personally purchased except those from Clearly Besotted, Hero Arts or those marked with an asterisk (*) which were kindly sent to me to use. You can read my full disclosure here.


COPIC MARKERS: Penguin - BV29, BV25, BV23/C3, C1/Y000/YR18, Y17, Y13. Scarf - R89, R39, R37, R35, R32. Candy cane - R89, R37, R35/C3. Trees - G29, YG17, YG23, YG01/BG11/E59, E57, E55. 

I will be back tomorrow with another project, but in the mean-time, please check out the Sunny Studio Blog for more inspiration. Thank you so much for stopping by today, I really do appreciate it. I hope you have a wonderful week ahead! 

28 January 2023

Clearly Besotted Teasers | Sending Smiles

Hello there and welcome to the start of the Clearly Besotted Teasers for February 2023. Release day is Wednesday, 1st February and from now until then, we will be sharing teasers with you using the new sets. For my card today, I am using the new Oops A Daisy set. This adorable set features lots of ducks/chicks with daisies. 

PLEASE NOTE: This post contains affiliate links. Please see below for my full disclosure.


I started off my card by die cutting a panel of white cardstock using the Sunny Studio Slimline Pennants Dies. I then stamped the daisy scene from the Clearly Besotted Oops A Daisy Stamp Set on top using Memento Tuxedo Black Ink. I also stamped the chick holding the daisies on to a separate piece of cardstock, using the same ink. 


I made a mask for the daisies by stamping the image on to masking paper. I fussy cut it out with scissors and placed it on top of the image. Using Ink Blending Brushes, I blended on Distress Inks. I used Peacock Feathers for the sky and Twisted Citron, Mowed Lawn and Rustic Wilderness for the grass. The masking paper was removed and the daisies coloured using Copic Markers (the colours that I used are listed below the supplies list). 


The panel was adhered to a US A2 sized white card base with thin foam tape. I coloured the chick and daisies image with Copic Markers too, fussy cut out with scissors and adhered to the card with more thin foam tape. I stamped the sentiment from the set on to black cardstock using Versamark Ink. I applied white embossing powder and heat set. It was cut into a strip and adhered to the card. To finish off, I added white gel pen dots to the daisies and Crystal Glaze to the chick's beak. 

SUPPLIES:


Here are the links to what I have used on the project. Affiliate links are used on some products. This means that if you make a purchase after clicking on my link, I receive a small commission with no extra cost to you. I truly appreciate your support when using these links. Please click on the logo below the product to shop at your favourite store. All products were personally purchased except those from Clearly Besotted, Hero Arts or those marked with an asterisk (*) which were kindly sent to me to use. You can read my full disclosure here.


COPIC MARKERS: Chick - YR27, Y17, Y15, Y13, Y11/YR18, YR15, YR12. Daisies - V09, V17, V15, V12/RV19, RV66, RV55, RV52/G29, YG17, YG23, YG01. 

As you can see (although I do think you can get different colour daisies), you can colour the flowers to be any generic flower, which I love. The animal can also be a chick, duck or bird, so there is scope for different designs/possibilities. 

For more inspiration using the new release, please head over to the Clearly Besotted Blog and my amazing teamie Keren. We also have our wonderful resident guests back with us this month - Alberto, Francine and Kitty, so please do check out what they have been up to as well. Thank you so much for stopping by today, I hope you have a wonderful day! 

17 February 2022

Simon Says Stamp | Happy Birthday Cards

Hello there, today I have two cards to share with you using the new Basic Box Card Happy Birthday Die from the new Simon Says Stamp Good Luck Charm Release, which is out today. It is as great release, as always, filled with lots of new products including re-inkers for the Pawsitively Saturated Ink Pads and new colours too! 

PLEASE NOTE: This post contains affiliate links. Please see below for my full disclosure.


As mentioned, I am using the new Basic Box Card Happy Birthday Die today. This is made to work alongside the Basic Box Card Die, which creates a fabulous 3D box card that folds down flat for mailing. As you can see though, the happy birthday die works perfectly for other cards too! I thought I would create a pink/orange card today and also a blue/green one! 


For my first card, I started off by stamping the Simon Says Stamp Hand Lettered Friends Stamp on to a panel of Arches Hot Pressed Watercolour Paper using Versamark Ink. I applied white embossing powder and heat set. I then took it to my splat box and sprayed it liberally with water first, followed by Tim Holtz Distress Spray Stains in Kitsch Flamingo, Picked Raspberry, Squeezed Lemonade and Spiced Marmalade. It was then set aside to dry before die cutting using the Sunny Studio Slimline Pennants Dies


It was adhered to an A2 white card base with foam tape. I then die cut the Simon Says Stamp Basic Box Card Happy Birthday Die three times from white cardstock and layered them up one on top of another using Bearly Art Glue. I cut the shadow from vellum and adhered the words on top. It was added to the card with more liquid glue. 


I took the sentiment from the Simon Says Stamp Big Thanks Stamp Set and stamped it on to white cardstock with Versamark Ink. I applied gold embossing powder and heat set. It was cut in to a strip and added to the card with more liquid glue and foam tape. To finish off, I die cut three Spellbinders So Many Butterflies Etched Dies from Simon Says Stamp Gold Glitter Cardstock and adhered them to the card. 


For my next card, I started off by stamping the Simon Says Stamp Abstract Triangles Stamp on to more Arches watercolour paper using Versamark Ink. I applied white embossing powder and heat set. For this piece, I used Tim Holtz Distress Sprays Stains and Oxide Sprays. 


I used Villainous Potion, Mermaid Lagoon, Peacock Feathers and Salvaged Patina Distress Spray Stains and Salty Ocean and Tumbled Glass Oxide Spray. It was then cut down in to two parts, for some added interest. 


The panels were adhered to an A2 white card base with foam tape. I then die cut the Simon Says Stamp Basic Box Card Happy Birthday Die another three times from white cardstock and the shadow from vellum. They were adhered together and added to the card. To finish off, I added a few enamel dots. 

SUPPLIES:


Here are the links to what I have used on the projects. Affiliate links are used on some products. This means that if you make a purchase after clicking on my link, I receive a small commission with no extra cost to you. I truly appreciate your support when using these links. Please click on the logo below the product to shop at your favourite store. All products were personally purchased except those from Clearly Besotted, Hero Arts or those marked with an asterisk (*) which were kindly sent to me to use. You can read my full disclosure here.


I hope you will check out the Good Luck Charm Release, it really is a great one! Thank you so much for stopping by today, I really do appreciate it. I will be back later with a blog hop but in the mean-time, have a wonderful day! 

30 January 2022

Clearly Besotted Teasers | Hi There

Hello there and welcome to day three of the Clearly Besotted February 2022 Teasers. Not long to go now, release day is Tuesday, 1st February. Today I have a card to share with you using the new Whatever The Weather Fun set. This set is super cute as it has lots of critters flying along on umbrellas. I decided to use the umbrella as a parasol for my card and make more of a spring/summer card. 

PLEASE NOTE: This post contains affiliate links. Please see below for my full disclosure.


I started off by stamping the bear with the flower umbrella and the cloud images from the Clearly Besotted Whatever The Weather Fun Stamp Set on to white cardstock with Memento Tuxedo Black Ink. I then coloured them using Copic Markers (the colours that I used are listed below the supplies section) and fussy cut out with scissors. 


I die cut two panels of cardstock using the Sunny Studio Slimline Pennants Dies. One was then cut down further using the cloud die from the Mama Elephant Landscape Trio Die Set. With the piece intact, I blended Tim Holtz Distress Inks on using Ink Blending Brushes. I used Wild Honey, Squeezed Lemonade and Mermaid Lagoon. I then placed the Clearly Besotted Sunny Day Stencil over the top and blended on more ink before removing the stencil. 


The panel was adhered to an A2 white card base with thin foam tape. I then added the cloud piece on top, followed by the bear, also adhered with thin foam tape. The clouds were added with tape runner, cutting off the excess from the sides. I took the sentiment from the set and stamped it on to black cardstock with Versamark Ink. I applied white embossing powder and heat set. It was cut in to a strip and added to the card with more foam tape. To finish off, I added white gel pen dots to the image and black glaze pen to the bear's eyes. 

SUPPLIES:


Here are the links to what I have used on the project. Affiliate links are used on some products. This means that if you make a purchase after clicking on my link, I receive a small commission with no extra cost to you. I truly appreciate your support when using these links. Please click on the logo below the product to shop at your favourite store. All products were personally purchased except those from Clearly Besotted, Hero Arts or those marked with an asterisk (*) which were kindly sent to me to use. You can read my full disclosure here.


COPIC MARKERS: Bear - E59, E57, E55. Clouds - BG11, BG000. Flower umbrella - BG75, BG72, BG70/YR18, YR16, Y17, Y15, Y13, Y11/C5, C3, C1. 

This set really is fun and you could create so many different scenes with it. For more inspiration using the new sets, please head over to the Clearly Besotted Blog, Keren, Adelle, Francine and Kitty. Thanks so much for stopping by to see me today, I really do appreciate it. I hope you have a wonderful day!

1 September 2021

Simon Says Stamp | STAMPtember 2021

Hello there, today kicks off the start of Simon Says Stamp's STAMPtember and the month long celebration off all things stamping and crafting! There is a wonderful new release out today, we have something fun for tomorrow and then all month long there will be collaborations with companies and lots of other fun stuff going on. 


For my card today, I am using the new Printmaking Florals Background stamp. This is a fun stamp that you can stamp as one whole image, or you can take apart and stamp in layers. I started off by taking a panel of watercolor paper and stamping the Simon Says Stamp Printmaking Florals Background on to it (as a whole) using Versamark Ink. I then applied clear embossing powder and heat set. I took it to my Splat Box and sprayed on Tim Holtz Distress Spray Stains. 


I used Kitsch Flamingo, Mermaid Lagoon and Wilted Violet. The piece was then set aside to dry. Once dry, it was cut down to 3.75" x 5". I took the Sunny Studio Slimline Pennants Dies and cut a piece of vellum with the second largest size. The top piece was wrapped around the top of the background panel and secured at the back. The panel was then adhered to an A2 white card base with foam tape. I took the Simon Says Stamp Big Thanks Die and cut it from white cardstock three times with double-sided adhesive sheet on the back. 


They were adhered one on top of another and then added to the vellum banner. I took the sentiment from the Simon Says Stamp Big Thanks Words Stamp Set and stamped it on to more white cardstock with Obsidian Black Ink. It was cut in to a strip and added to the banner with foam tape. I then added a thin strip of double sided tape behind the sentiment strip on the back of the banner, as well as small dabs of glue behind the thanks word to adhere it to the card. To finish off, I added a few Lucy's Bubbles


Before I go, I had to share this adorable pin that Simon Says Stamp kindly sent me too. It is the I Love Simon Says Stamp Enamel Pin and is out today as well. It will look great on my pin flag :) 

SUPPLIES:


Here are the links to what I have used on the project. Affiliate links are used on some products. This means that if you make a purchase after clicking on my link, I receive a small commission with no extra cost to you. I truly appreciate your support when using these links. Please click on the logo below the product to shop at your favourite store. All products were personally purchased except those from Clearly Besotted, Hero Arts or those marked with an asterisk (*) which were kindly sent to me to use. You can read my full disclosure here.


I love how those sprays blended in the background! I will have another two projects tomorrow sharing how to use the background stamp in a different way, so I hope you will join me for that. Thank you so much for stopping by. I apologise in advance, but I have three blog posts going up today, so see you soon for the next one! 

14 August 2021

Sunny Studio | Poppies & Bees

Hello there, I am delighted to be back guest designing with Sunny Studio today. I love that they have so much variety to their products - cute, beautiful, fun, useful ... something for everyone! My projects today use the Poppy Fields set, as well as the Chloe Alphabet set, as I fell in love with them when I used them the first time


My first projects use the Poppy Fields stamps and dies. These poppies are so pretty! I love how realistic they look when they are all stamped up. I think they look great stamped in the traditional red, but for my projects, I went with pink and blue for something a little different.


I started off the card by stamping the Sunny Studio Poppy Fields Stamp Set poppies and leaves using four shades of pink ink (Altenew Cherry Blossom Inks) for the poppies and two shades of green for the leaves (Altenew Green Fields Inks). I used black and greys for the middles. They were die cut out using the Sunny Studio Poppy Fields Dies and then set aside while I worked on my background. 


I took one of the Sunny Studio Slimline Pennants Dies and die cut it from Sunny Studio Subtle Grey Tones Paper. It was cut down and adhered to an A2 white card base with thin foam tape. I then adhered the poppies and leaves on top with liquid glue.
 
 
I took the Sunny Studio Hello Word Die and die cut it three times from white cardstock with adhesive sheet on the back. They were layered up and adhered to the card. I wanted an accompanying sentiment, so I stamped the ‘happy birthday’ from the Sunny Studio Floating By Stamp Set on to black cardstock with Versamark Ink and heat embossed with Detail White Embossing Powder. It was cut into a strip and added to the card with thin foam tape. To finish off the card, I added a few Iridescent Bubbles.

 
I thought it would be fun to create a little tag too! I stamped the poppies in four shades of blue (Altenew Glacier Caves Inks) and die cut them out. I cut a tag using the Sunny Studio Build A Tag 1 Die Set from white cardstock and then ran it through my die cutting machine with the Sunny Studio Woodgrain EmbossingFolder. The poppies, stems and leaves were adhered on top, and I simply finished off with a twine bow and a few Iridescent Bubbles
 

For my final project, I started off by die cutting a panel of white cardstock using a Sunny Studio Slimline Pennants Die and added ink blending to it using Distress Oxide Inks (Mermaid Lagoon and Blueprint Sketch). I then cut the clouds from the Sunny Studio Balloon Rides Dies and adhered them on top, cutting the excess off the sides with scissors. The panel was adhered to an A2 white card base with foam tape.
 

I took the Sunny Studio Chloe Alphabet Dies and die cut the letters from black cardstock three times for each letter so that I could stack them up for some dimension. They were adhered to the card with liquid glue. I then stamped the bees and hearts from the Sunny Studio Just Bee-Cause Stamp Set with Memento Tuxedo Black Ink on to white cardstock. 


They were coloured with Copic Markers and die cut out with the coordinating dies. I adhered the bees to the card with foam tape and the hearts with liquid glue. To finish off, I added Nuvo Crystal Glaze to the hearts for some shine.
 

SUPPLIES:


Here are the links to what I have used on the project. Affiliate links are used on some products. This means that if you make a purchase after clicking on my link, I receive a small commission with no extra cost to you. I truly appreciate your support when using these links. Please click on the logo below the product to shop at your favourite store. All products were personally purchased except those from Clearly Besotted, Hero Arts or those marked with an asterisk (*) which were kindly sent to me to use. You can read my full disclosure here.


A big thank you goes to Mendi and her team for having me back guesting with them. It is always a pleasure! Thank you so much for stopping by to see me today. I really do appreciate it. I hope you have a great rest of the day and weekend! Take care!

31 July 2021

Sunny Studio | Birthday Cupcake & Cactus

Hello there, I am delighted to be back guesting over on the Sunny Studio Blog today. When I saw the latest release, I fell in love with everything! What an amazing release! I had to narrow down what I wanted to use, so for today’s cards, I am using the fabulous Cupcake Shape Dies, Chloe Alphabet Dies and Looking Sharp. Perfect for Birthday cards, which is what I am sharing with you today.


My first card uses the fabulous Sunny Studio Cupcake Shape Dies. I started off my card by die cutting the cupcake base card twice from white cardstock, as well as the frosting, candle and sprinkles. I then cut the cake and the cupcake wrapper from a kraft cardstock. Using Copic Markers, I coloured the elements to add texture, depth and shading (the colours that I used are listed below the supplies area). I also added highlights with a white gel pen.
 

Although you can adhere the elements directly to the cupcake card base (or leave it off, if you want to add the cupcake to a traditional card base), I decided to piece the elements together first and add tape to the back to hold them in place. I then added foam tape and adhered the pieces, as one, to the cupcake card base. I took the back portion of the card base and made a score line a quarter of the way down. I adhered this piece to the back of the front base, so that the card can stand up and open easily.
 

I took the sentiment from the Sunny Studio Looking Sharp  Stamp Set, masked it off so that only ‘birthday’ would stamp and stamped it on to white cardstock with black ink. I coloured the piece with a matching Copic Marker (V12) that I used on the cupcake and cut it in to a strip. It was added to the card with foam tape. I took the Sunny Studio Chloe Alphabet Dies and cut them from white cardstock, as well as Tonic Crystal Glitter Cardstock. The letters for ‘wishes’ were layered up so that the glitter letter was adhered to the white cardstock one (for extra dimension) and then added them to the card. 
 

My next card uses the Sunny Looking Sharp Stamp Set. This is another really fun set! I love that the set has faces that you can stamp on to the cacti. You can stamp them on the cactus themselves, on to the pots like I have or not at all. So versatile! I started off my card by stamping three of the cacti on to white cardstock with black ink. I also stamped the party hat and bow.


They were coloured with Copic Markers and die cut out using the Sunny Studio Looking Sharp Dies. I set them aside while I worked on my background. I took an A2 white card base and masked off the edges. Using ink blending brushes, I blended on Tim Holtz Black Soot Distress Ink at the bottom and Peacock Feathers at the top. I removed the masks and then stamped the sentiment from the set at the top, using more black ink.
 
 
The cacti were adhered with foam tape at the bottom. I felt like the scene was missing something, so I took the balloon image from the Sunny Studios Oceans of Joy Stamp Set and stamped, coloured and die cut it. I drew a line from the cactus with a Copic Multiliner and then adhered the balloon on top with foam tape. To finish off, I added white gel pen highlights.
 

SUPPLIES:


Here are the links to what I have used on the project. Affiliate links are used on some products. This means that if you make a purchase after clicking on my link, I receive a small commission with no extra cost to you. I truly appreciate your support when using these links. Please click on the logo below the product to shop at your favourite store. All products were personally purchased except those from Clearly Besotted, Hero Arts or those marked with an asterisk (*) which were kindly sent to me to use. You can read my full disclosure here.


COPIC MARKERS: Cupcake wrapper - E59, E57, E55, E53, E51. Cupcake cake - E59, E57, E55. Cupcake frosting - V12, V01, V000, V0000. Sprinkles - V17, V15. Candle - V17, V15, V12, Y17, Y15, Y11. Left hand side cactus - G28, YG17, YG25, YG03, YG01, V17, V15, V12. Middle cactus - G28, YG67, YG63, G82. Right cactus - G28, G17, G09, YG09, YG07, YG01, V17, V15, V12. Pots & party hat - BG49, BG15, BG13, BG11. Balloon - V17, V15, V12. 

That cupcake frosting looks so yummy ... good enough to eat! ;) Although I coloured mine with markers, I think it would look great ink blended or cut from patterned paper too. This die does fit in to a an A2 sized envelope, as long as you place the candle low enough down. For more inspiration using the sets, please head over to the Sunny Studio Blog. Thank you so much for stopping by today, I really do appreciate it. I hope you have a wonderful weekend! 
End of code