30 June 2017

Thanks A Bunch | MMH July 2016

Hello there, today I am over on the Hero Arts blog sharing a peek at the July My Monthly Hero Kit. It's a really pretty one with a floral theme. My card uses the main stamp set, as well as the Little Florals set (which is an add-on set) for the sentiment. The background was embossed using a stencil for some added interest.
 
 
SUPPLIES:
Here are the links to what I have used on the card. Affiliate links are used on some products. This means that if you make a purchase after clicking on my link, I receive a small commission with no extra cost to you. I truly appreciate your support when using these links. Please click on the letters below the product to shop at your favourite store - Simon Says Stamp (SSS), Hero Arts (HA), Seven Hills Crafts (SHC) Amazon (AZ) etc. The new Hero Arts products will be added upon release.
 
 
COPIC MARKERS: Flowers - R85, R81, V15, V04, V22. Leaves and stems - G46, G43, G40. Bow - V09, V06, V04.
 
I also made a matching envelope. Please do head over to the blog post for more details and to enter for a chance to win a kit! Thanks so much for popping by today, see you on Monday for the July MMH Blog Hop! Have a great weekend!

28 June 2017

VIDEO | The Ton Mini Haul

Hello there, I recently made an order from The Ton. I didn't get much but I thought I would still share with you what I got. I have been using a lot of critter images recently and I really wanted to get some new floral images.
 
 
I saw that The Ton released some gorgeous new ones so I decided to put in a little order. As you will see in the video, I went with outline images. I love the colour/stamp layering ones but I really wanted to do some colouring with them. Here is what I got:


SUPPLIES:

Here are the links to what I shared in the video. Affiliate links are not used in the product list.
 
 
Great customer service from The Ton. Shipping to the UK wasn't too bad and it arrived really quickly. Do you like The Ton stamps? I would love to hear your thoughts! Thanks so much for popping by today. I hope you are having a great week so far!

26 June 2017

Fluffy Flamingos

Hello there, today I have a card to share using the new Fluffy Flamingos Stamp Set from Clearly Besotted. Aren't those flamingos just adorable?
 

I started off by taking an A2 white card base, using the MFT Cloud Stencil and Tumbled Glass Distress Ink, I added in some clouds. These do not show up that well in the photos (although a bit better in the close up) but in real life you can see them quite well! I masked off the bottom of the clouds with a piece of Post-It tape and blended over Twisted Citron and Mowed Lawn Distress Inks to create a ground for the flamingos to stand on.
 
 
I stamped the sentiment, from the Fluffy Flamingos set, towards the bottom right hand side of the card. I took two of the flamingos from the set and stamped these with Memento Tuxedo Black Ink. I coloured them with Copic Markers and then fussy cut them out with scissors. These were added to the card with foam tape.


SUPPLIES:
Here are the links to what I have used on the card. Affiliate links are used on some products. This means that if you make a purchase after clicking on my link, I receive a small commission with no extra cost to you. I truly appreciate your support when using these links. Please click on the shop logo below the product to shop at your favourite store.
 
 
COPIC MARKERS: R35, R32, R20, R30, E30, E01.

Isn't this such a cute set? I know Stephanie has made a few cards with it too, so do head on over to her blog to have a look. Thanks so much for popping by today, I hope you have a great day!

24 June 2017

Sending Prayers

Hello there, today I have a sympathy card to share. They are always so difficult to make. I wanted to keep this one gender neutral and I was inspired by Jennifer McGuire and Jana Millen.
 

I started off by taking a piece of Fog cardstock and stamping the Hero Arts Tropical Foliage Bold Prints on to it using Wet Cement Ink. I then cut this out using one of the Hero Arts Nesting Hearts Dies. I prepped the area with anti-static powder and then stamped the 'sending you' sentiment from the Hero Arts Prayers Stamp & Cut set. I stamped it with Versamark Ink, applied white embossing powder and then heat set it.
 
 
I took three pieces of white cardstock and die cut these using the prayers die from the same Prayers Stamp & Cut set. I stacked these up to create some dimension. I took a white A2 card base and using one of the Hero Arts Rectangle Infinity Dies, I embossed the front. I added the heart piece on to it with tape runner and then added the prayers die cut with liquid glue. To finish off, I added Nuvo Jewel Drops in Grey Mist.
 
SUPPLIES:
Here are the links to what I have used on the card. Please click on the picture or wording to be taken to where I purchased it. Affiliate links are used on some products. This means that if you make a purchase after clicking on my link, I receive a small commission with no extra cost to you. I truly appreciate your support when using these links. Please click on the shop logo below the product to shop at your favourite store. Products marked with an asterisk (*) were kindly sent to me to use. 

 
Like I said, I do find sympathy card difficult to make but I really think that the recipients appreciate them. Thank you so much for visiting me today. I hope you have a lovely day and a fabulous weekend!

22 June 2017

Let's Pack Up & Go

Hello there, today I am over on the Hero Arts Blog sharing a card I have made with the new Go On A Safari Stamp set. I have also combined it with the fabulous Mud Cloth Bold Prints stamp for the background. These were both add-ons for the June My Monthly Hero kit but can be bought at any time from your favourite Hero Arts retailer.
 
 
SUPPLIES:
Here are the links to what I have used on the card. Please click on the picture or wording to be taken to where I purchased it. Affiliate links are used on some products. This means that if you make a purchase after clicking on my link, I receive a small commission with no extra cost to you. I truly appreciate your support when using these links. Please click on the shop logo below the product to shop at your favourite store.
 
 
COPIC MARKERS: Hat - E44, E43, E42, E41. Suitcases - YG97, YG95, YG93.
 
For more details on how I made the card, please head over to the blog post. Thanks so much for popping by today, I hope you have a great rest of the day!

21 June 2017

Have A Super Birthday

Hello there, today I have a card to share with you that I made for my nephew for his 3rd birthday. He likes the TV programme Paw Patrol, which is a boy with his pack of rescue dogs. The rescue dogs work together to protect the community. From what I believe, one is a firedog, one is a policedog, one is a refuse collector etc. So for my card, I wanted to try and do a Paw Patrol themed card. Thankfully, Clearly Besotted stamps came to the rescue!
 

I first took the Girl Power stamp set and masked the bodies of the girls so that I could stamp out just the fire hat and also the police hat. I made paper masks for these and then stamped two of the dogs from the Playful Pooches set on to these so it looks like the dogs are wearing the hats. I did have to do a little adding in of ears and things with a black Copic Multiliner. They were coloured in with Copics and fussy cut out with scissors. I stamped the balloons from the All In Onsie set, coloured and cut out these out also.
 
 
I then took a PTI Limitless Layer Circle die and cut this from white cardstock. I blended over green and blue Distress Inks to create sky and grass. I cut a star from white cardstock and blended over yellow ink for that. The three was cut from the PTI By The Numbers set and I blended over orange ink on to it. I also cut another three from craft foam and layered the inked piece on top of the foam piece for more dimension.
 
 
I stamped the balloon strings on to the sky/grass piece and then added the stamped and cut out piece on top. I then assembled the rest of the elements on to an A2 white card base. The sentiment, from the Caped Cuties set, was stamped in the bottom right. The dogs were adhered with foam tape and then I added Glossy Accents on to the balloons.
 
SUPPLIES:
Here are the links to what I have used on the card. Affiliate links are used on some products. This means that if you make a purchase after clicking on my link, I receive a small commission with no extra cost to you. I truly appreciate your support when using these links. Please click on the shop logo below the product name to shop at your favourite store.
 
 
COPIC MARKERS: Police dog - E27, E25, E23, E33, E31, E30, B99, B97, B93, Y17, Y15, Y13. Fire dog - W2, W0, W00, E25, E23, R89, R37, R29, R27, R24.
 
This card did take quite a long time to put together but hopefully it was worth it in the end! I always enjoy personalising cards to fit the recipient! Thanks so much for visiting me today. I hope you have a great day!

19 June 2017

VIDEO | Card Making Haul May & June 2017

Hello there, I have just noticed that I haven't had a haul video up since February. I know a lot of people love them so I am so sorry about that. I am planning on doing them more frequently now my room is back up and running. Today I combined items that I had bought in both May and June.
 
 
I got a few different bits recently - some new paintbrushes, dies, stickers, embellishments, stencils, stamps, foiling supplies and some fun Pixie Powders. Here is a look at what I purchased:


SUPPLIES:
Here are the links to what I shared in the video. Please click on the picture or wording to be taken to where I purchased it. Affiliate links are used on some products. This means that if you make a purchase after clicking on my link, I receive a small commission with no extra cost to you. I truly appreciate your support when using these links.


I can't wait to get playing with all these yummy goodies and I hope to share some projects with you soon. Thanks so much for visiting me today. I hope you have a great week!

18 June 2017

Happy Father's Day

Hello there, today I have a card to share that I made for my Dad for Father's Day. I used Hero Arts products for this one, I kept it simple but I do like how it turned out.
 

I started off by creating my background. I stamped the Irregular Grid Bold Prints on to a piece of watercolour paper using Versamark Ink. I then applied clear embossing powder and heat set. I took various shades of blue and green Dr Ph Martin's Hydrus Watercolor and added them to the panel. I mixed them together on the panel with water and then set it aside to dry.
 
 
I took the Father's Day sentiment from the Best dad wood block stamp set and stamped this on to blue cardstock using Versamark Ink. I applied white embossing powder and then heat set. I cut this in to a strip and then cut banner edges on to the sides. I took the Luggage Tag Alphabet Frame Cuts and cut the letter A three times and the D six times. I stacked these up so that they were three layers high each, using liquid glue.
 
 
Once the background piece was dry, I die cut it using one of the Nesting Postage Stamps Infinity Dies. I added this on to a white A2 card base with foam tape. I then added the DAD letters with liquid glue and the banner piece with more foam tape.
 
SUPPLIES:
Here are the links to what I have used on the card. Please click on the picture or wording to be taken to where I purchased it. Affiliate links are used on some products. This means that if you make a purchase after clicking on my link, I receive a small commission with no extra cost to you. I truly appreciate your support when using these links. Please click on the shop logo below the product to shop at your favourite store.
 
 
Thank you so much for visiting me today. We seem to be having a bit of heat wave here in London at the moment. I know I shouldn't complain since it is usually raining (haha!) but I am not good with the heat. Where are those ice lollies?! I hope you have a great rest of the weekend!

16 June 2017

Funky Pineapples

Hello there, today I am back with my second guest post for Krumspring. Today I am using the Funky Pineapples set and it is so much fun! The set is filled with fun pineapple images as well as some great sentiments (although I decided to use a sentiment from the Monkey Madness set for my card today).
 

I started off by stamping one of the pineapples on to some white cardstock, using black ink. It was simply coloured with Copic Markers and then fussy cut out. I then added black pen around the cut lines to neaten up the edges. I took a piece of Bristol Smooth paper and blended over Squeezed Lemonade Distress Ink. I spritzed on some water, lifted the colour off with paper towels and then set aside to dry.
 
 
Once dry, I cut the piece down using one of the SSS Stitched Squares Dies. This was added on to a yellow 4.25" square card base with tape runner. I stamped the 'hello there' sentiment from the Monkey Madness set on to some black cardstock with Versamark Ink. I applied white embossing powder and then heat set. The sentiment was cut apart in to strips using a craft knife.
 
 
I adhered the sentiment on to the card base with foam tape and then added the pineapple on with a mini action wobble. To finish off, I added googly eyes to the pineapple.
 
SUPPLIES:
Here are the links to what I have used on the card. Please click on the picture or wording to be taken to where I purchased it. Affiliate links are used on some products. This means that if you make a purchase after clicking on my link, I receive a small commission with no extra cost to you. I truly appreciate your support when using these links. Please click on the shop logo below the product to shop at your favourite store.
 
 
COPIC MARKERS: Y38, Y35, Y17, Y15, Y13, Y11, YG07, YG05, YG03, YG01.
 
It is difficult to see in the photos but the pineapple, on the action wobbler, is quite dimensional and so fun when you wobble it! The great thing is, the action wobble folds down a lot so you can still add it in to a normal envelope. For more inspiration using Krumspring stamps, please head over to their blog. A big thank you goes to Maria for having me guest with Krumspring and thank you for visiting me today! I hope you have a great rest of the day!

14 June 2017

VIDEO | Magical Mermaids with Copic Markers

Hello there, today I am back with another post for Sunny Studio. I am using the super cute Magical Mermaids set. It is filed with cute mermaids and sea creatures, as well as fabulous sentiments and accessory images. Today I kept it really simple and just used one of the mermaids and a sentiment.
 

I started off by stamping the mermaid and sentiment on to a panel of white cardstock, which was cut using the ME rectangle Femme Frames die. I made a mask for the mermaid from mask paper, cut this out and added it on top of the stamped image. I then coloured the background using Copic Markers. I removed the mask and then coloured the mermaid with Copic Markers also.
 
 
I added a sheet of paper from the Doodlebug Swiss Dot Rainbow Petite Prints paper pad, on to a white A2 card base. I then added the image panel on top with foam sheet and DST. I added little dots of Copic Spica glitter pen to the mermaid's crown, top and tail. To finish off, I added Clear Iridescent Sequins.
 
VIDEO:

To see how I coloured the image, please watch the video below:


SUPPLIES:
Here are the links to what I have used on the card. Please click on the picture or wording to be taken to where I purchased it. Affiliate links are used on some products. This means that if you make a purchase after clicking on my link, I receive a small commission with no extra cost to you. I truly appreciate your support when using these links. Please click on the shop logo below the product to shop at your favourite store. Products marked with an asterisk (*) were kindly sent to me to use.
 
 
COPIC MARKERS: Sea - B66, B63, B12, B00, B000, B0000, 0. Mermaid - Skin: E13, E11, E50. Hair: E49, E59, E25, E23. Top & crown: V17, V15, V12, Spica 13 Lilac. BG49, BG57, BG53, Spica 08 Turquoise.
 
A huge thank you to Mendi and the team at Sunny Studio for having me guest design. I love these stamps and cannot wait to use them again! For more inspiration using Sunny Studio stamps, please head over to their blog. Thanks so much for visiting me today. I hope you have a great day!

12 June 2017

Baking Birthday Bunnies

Hello there, today I have a card to share using the Baking Bunnies stamp set from Clearly Besotted. As soon as I saw this set, I thought it would be perfect to use on a birthday card for my friend Sarah, who enjoys baking. It is such a cute set!
 

I started off by taking a panel of white cardstock. I cut the SSS Tri Square die from this and then stamped the sentiment, from the Playful Pair stamp set, on to it. I masked off the 'belated' part from the sentiment and stamped it with Memento Tuxedo Black Ink. I took another piece of white cardstock and placed this behind the windows, I drew lines to show where the windows were. I then stamped the bunnies inside the windows and erased the pencil lines.
 
 
I coloured the bunnies using Copic Markers, adding a little shadow behind them. I took a white A2 card base and added a sheet of purple polka dot paper from the Doodlebug Swiss Dot Rainbow Petite Print paper pad on to the front panel. I then added the image panel on top with tape runner, followed by the window piece using foam tape. To finish off, I added clear Wink of Stella to the purple areas on the bunnies.
 

SUPPLIES:
Here are the links to what I have used on the card. Please click on the picture or wording to be taken to where I purchased it. Affiliate links are used on some products. This means that if you make a purchase after clicking on my link, I receive a small commission with no extra cost to you. I truly appreciate your support when using these links. Please click on the shop logo below the product to shop at your favourite store.
 
 
COPIC MARKERS: Bunnies - E59, E57, E55, E53, E50. Clothes - B01, B00, B000. Hair bands and aprons - V17, V15, V12. Hats - C2, C00. Bowl & spoon - C3, C00, E27. Cake board - E43, E42, E41. Cakes - E34, E33, E31, R83, R81, E40. Shadow - V01, V000, V0000, 0.
 
Have you been following my Clearly Besotted teamies Stephanie, Keren and Debby? They have been sharing inspiration using the new sets from Clearly Besotted too. Thanks so much for stopping by to see me today, I hope you have a great day and a fabulous week!

10 June 2017

VIDEO | Underwater Scene with Sunny Studio

Hello there, I am super excited today as I am guest designing with Sunny Studio. They make some of the cutest ever stamps and today I am using the adorable Oceans of Joy set, along with the new Stitched Scallop Dies which make fabulous waves.
 

I started off by stamping the images from the Oceans of Joy set with Memento Tuxedo Black ink and coloured them using Copic Markers. They were die cut using the coordinating dies. I then created a background for my sea by taking  a piece of watercolour paper and blending over Broken China Distress Oxide Ink. I sprayed this quite liberally with water and then removed some of the colour with a paper towel. This gave a nice mottled effect which is what I was after. I stamped the sentiment, included in the set, towards the top of this panel.
 
 
I die cut a frame from white cardstock and also some waves using the Stitched Scallop Dies and some blue vellum. I used blue vellum from one of the Hero Arts MMH kit, so I apologise that I do not have a link for it but you could always use normal vellum and swipe some ink over it to create the colour. I varied the height of these waves and then adhered them to the base with glue tape around the edges.
 
 
I then added the frame piece on top with foam tape. I sewed in some strings for the balloons with white embroidery floss and then added the critters and balloons with a combination of tape runner and foam tape. To finish off, I added glossy accents to the purple and green balloons.
 
VIDEO:
To see how I created the card, you can watch the video below:


SUPPLIES:
Here are the links to what I have used on the card. Please click on the picture or wording to be taken to where I purchased it. Affiliate links are used on some products. This means that if you make a purchase after clicking on my link, I receive a small commission with no extra cost to you. I truly appreciate your support when using these links. Please click on the shop logo below the product to shop at your favourite store.
 
 
COPIC MARKERS: Whale - T6, T4, T3, T2, T1, T0, R22, R00. Turtle - BG96, BG93, YG61, G43, G40. Fish - Y17, Y15, Y13, Y11. Green Balloon - YG06, YG05, YG03, YG01. Purple Balloon - V25, V22, V20. Blue Balloon - BG57, BG53, BG01.
 
For more inspiration using the set, as well as all the latest releases and much more, please head over to the Sunny Studio Blog. Thank you so much for visiting me today. I hope you have a great weekend!

9 June 2017

Monkey Madness

Hello there, I am delighted to be Guest Designing for Krumspring Stamps this month and let me tell you the new release is fabulous! Today I am using the new Monkey Madness stamp set along with the Awesome Triangle Wizard background.
 

I started off my card by creating the background piece. I took a piece of Bristol cardstock and stamped the Awesome Triangle Wizard stamp (how fabulous is the name of that stamp?!) on to it using Versamark Ink. I applied Hero Arts white embossing powder and then heat set. I blended over various shades of pink and red Distress Inks on to this and then spritzed with water. Once dry, I die cut this piece using one of the SSS Stitched Rectangle dies.
 
 
I stamped one of the monkeys from the Monkey Madness set on to white cardstock with Memento Tuxedo Black Ink. I added the sentiment (which comes as a separate stamp) in to the heart and then coloured him with Copic Markers. He was then fussy cut out with scissors.


I added the background piece to a black A2 card base with foam tape and then added a circle of vellum, followed by the monkey (again added with foam tape). To finish off, I added Nuvo Crystal Drops in Ebony Black. I created these beforehand, let them dry and then added them to the card with Multi Medium Matte.
 
SUPPLIES:
Here are the links to what I have used on the card. Please click on the picture or wording to be taken to where I purchased it. Affiliate links are used on some products. This means that if you make a purchase after clicking on my link, I receive a small commission with no extra cost to you. I truly appreciate your support when using these links. Please click on the shop logo below the product to shop at your favourite store.
 
 
COPIC MARKERS: Monkey - E59, E57, E55, E53, E50. Heart - R89, R37, R29, R27, R24.
 
I absolutely love that background and I see myself using it often. You can see my blog post over on the Krumspring Blog HERE. While you are there, check out the other inspiration using their stamps, they have a fabulous DT! Thanks so much for visiting me today. I hope you have a great day!

8 June 2017

Sending You Birthday Fishes

Hello there, today I am over on the Hero Arts blog sharing card I have made with the new I'm A Puffer For You stamp set. It's such a fun set! I went with a masculine themed birthday card for my project today.


SUPPLIES:
Here are the links to what I have used on the card. Please click on the picture or wording to be taken to where I purchased it. Affiliate links are used on some products. This means that if you make a purchase after clicking on my link, I receive a small commission with no extra cost to you. I truly appreciate your support when using these links. Please click on the shop logo below the product to shop at your favourite store.
 
 
COPIC MARKERS: BV25, BV23, BV20, E53, E50.
 
For more details on how I made the card, please head over to the Hero Arts Blog post. Thanks so much for stopping by today. I hope you have a great rest of the day!

7 June 2017

Birthday Fresh Flowers

Hello there, today I have card to share using the beautiful Fresh Flowers set from Clearly Besotted. It is an older set but I absolutely love it and I was getting flower withdrawal, so I just had to ink it up!
 

I started off by stamping the Orange Blossoms image on to a piece of white cardstock. I coloured it with Copic Markers, adding a little shadow behind to help the image pop. I used a bit of artistic licence here as Orange Blossom flowers are in fact white in colour. I do love them in peach though for this card! I stamped the sentiment, from the A Little Sentimental set, on to some black cardstock using Versamark Ink. I applied white embossing powder and heat set. I then cut this in to a strip.
 
 
I added a piece of paper from the MFT Calm & Cozy Chevron Paper Pad to a white A2 card base and then added a strip of black cardstock beside it. The image panel was then added with tape runner. The sentiment was adhered with foam tape and then I added Sweet Shop sequins from Lucy's Cards to finish it off.
 
SUPPLIES:
Here are the links to what I have used on the card. Please click on the picture or wording to be taken to where I purchased it. Affiliate links are used on some products. This means that if you make a purchase after clicking on my link, I receive a small commission with no extra cost to you. I truly appreciate your support when using these links. Please click on the shop logo below the product to shop at your favourite store. Products marked with an asterisk (*) were kindly sent to me to use.
 
 
COPIC MARKERS: Flowers - R12, R00, R000, R0000. Leaves and stem - G46, G43, G40. Shadow - B00, B000, B0000, 0.
 
Thank you so much for popping by today. I hope you are all having a good week so far and you have a great day!

5 June 2017

Hero Arts My Monthly Hero June 2017 Blog Hop + Giveaway

Hello there, today we are celebrating the release of the June MMH Kit. Let me tell you, it is fabulous! Like I mentioned in my post on Saturday, it is safari themed and boy, it is stunning! I loved creating my tag so much, that I have decided to share a similar project with you today, but this time a card. I apologise that it is so similar to the tag, but I am in love with the look of these stunning stamps against the sunset.

For the hop, you should have arrived here from the amazing, Ilina but if you get lost along the way, I have a full list of participants below.


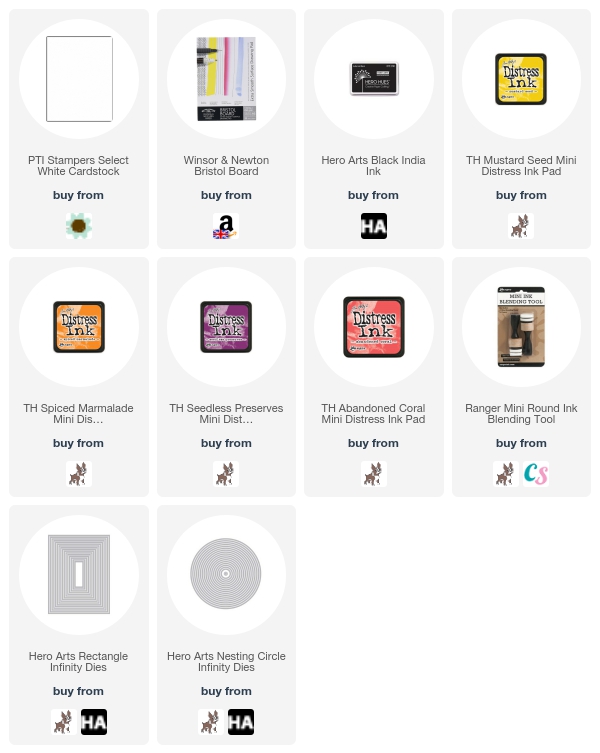
For my card, I started off with a panel of Bristol Smooth cardstock. I took one of the circle dies from the Circles Infinity Die collection and cut this from some masking paper. I added the mask paper to the panel and then blended ink inside. I used Mustard Seed, Spiced Marmalade, Abandoned Coral and Seedless Preserves Distress inks. As you can see I started with the lighter shade at the top and blended up to the darkest. The added Seedless Preserves just darkens the top slightly.


Using a MISTI,  I stamped the hippo, tree, grass and birds on to the sunset using black ink. I double stamped these to get a really dark impression. This panel was added to a white A2 card base with tape. I then took one of the Rectangle Infinity Dies and die cut this from more white cardstock. I then cut another circle in to this to create a window. I stamped the sentiment, from the same main stamp set that you get in the kit, to the bottom right. This panel was then added to the card with foam tape. A really simple design but I have to say, I love how it turned out!
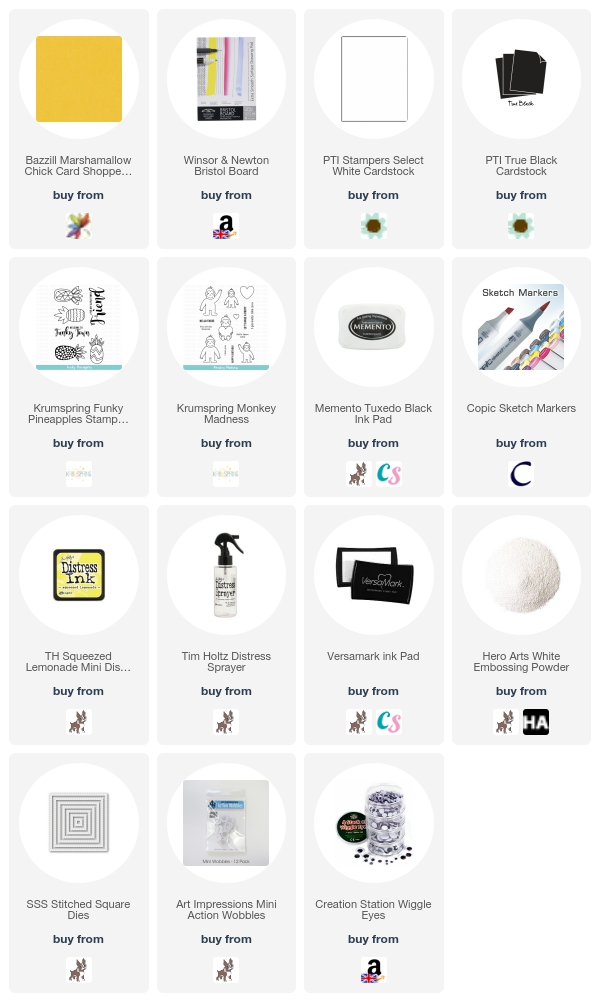
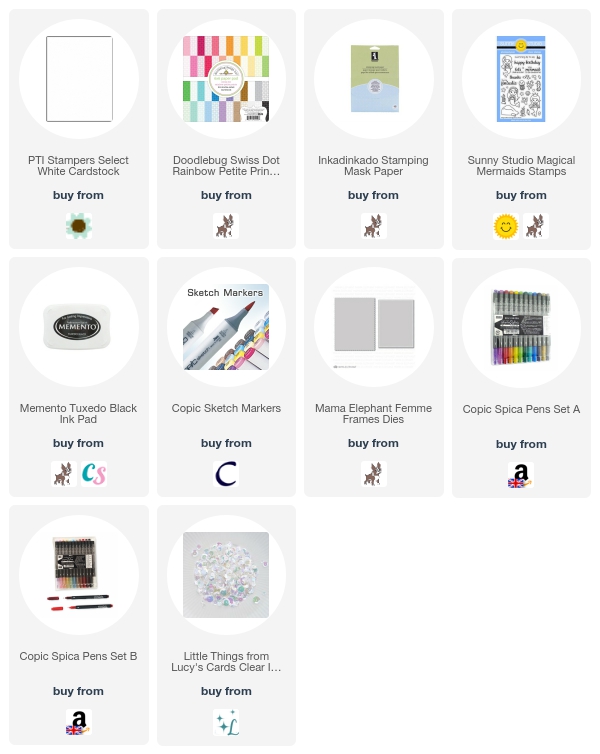
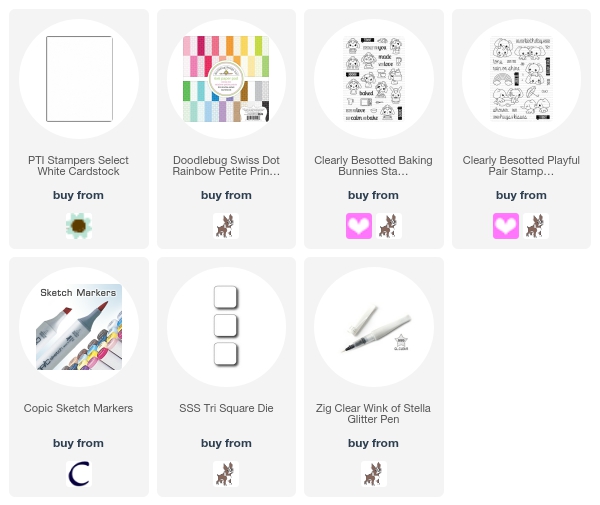
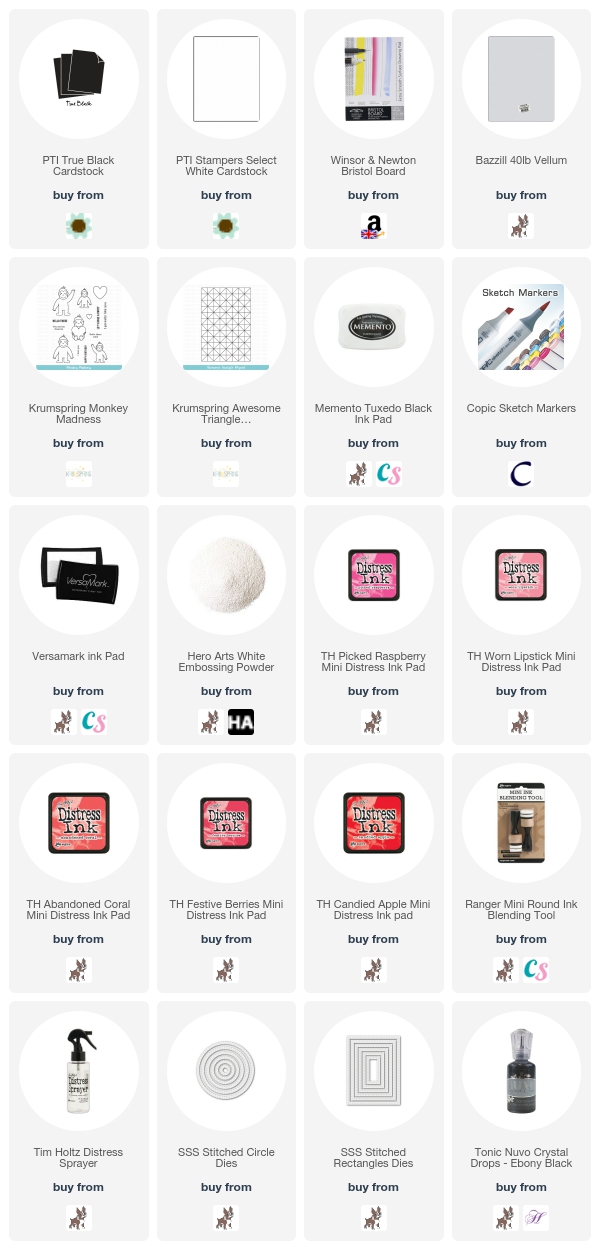
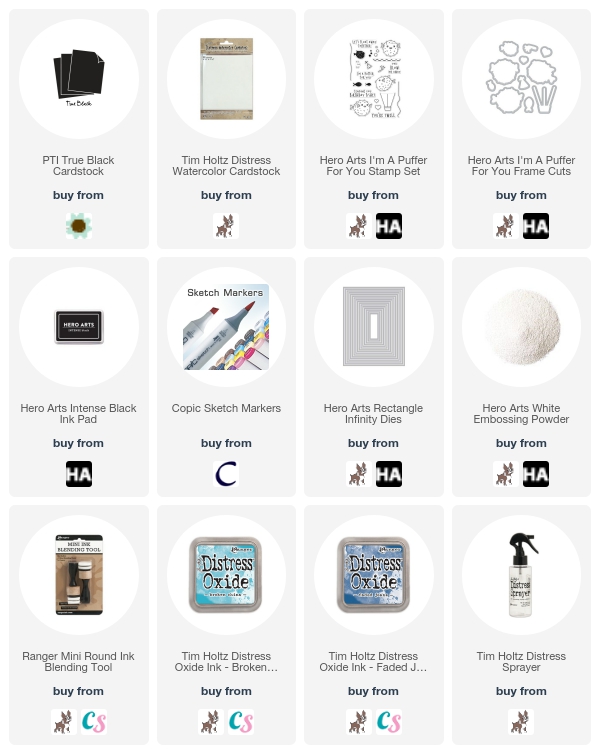
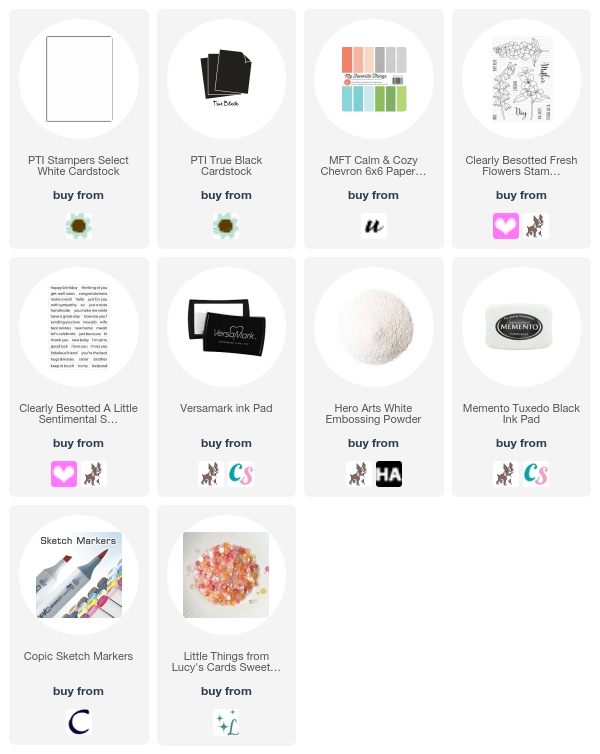

SUPPLIES:

Here are the links to what I have used on the card. Please click on the picture or wording to be taken to where I purchased it. Affiliate links are used on some products. This means that if you make a purchase after clicking on my link, I receive a small commission with no extra cost to you. I truly appreciate your support when using these links. Please click on the shop logo below the product to shop at your favourite store.

 
THE KIT:


The June MMH kit contains:
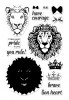
1 6" x 8" clear stamp set
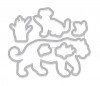
9 coordinating Frame Cuts
1 Fancy Die
3 ink cubes (Just Rust, Mulled Wine, Moss)
0.5oz black embossing powder
2 4" x 6" Portuguese eco-friendly cork sheets
2 sheets of 5.5" x 8.5" metallic bronze paper
2 sheets of 5.5" x 8.5" metallic quartz cardstock

That is an amazing $73 worth of products for only $34.99 (approx. £28.00) Remember that the kit is limited edition and they often sell out really quickly, so grab one while you can. You can purchase it HERE. You can also subscribe to the kit so that you never miss out on one.

There are also some fabulous add-on products this month. Since I haven't used them yet (I try and stick to the main kit for the hop and then use the add-ons later in the month), I thought you may like to see them:


BLOG HOP:

Here is the full list of participants in the hop:

Michelle Short - you are here!


GIVEAWAY:

Hero Arts are giving away one kit as a prize to one blog reader. The winner will be selected from the comments across all of the blogs in the hop. So the more you comment, the better the chance of winning! (If the winner has already bought the kit, they will be reimbursed for it). Giveaway closes Sunday, June 11th at 23.59 hrs and the winner will be announced the following week.

The next person in the hop is the amazing, Clare. Thanks so much for visiting me today. I hope you have a great rest of the day and have had a great time on the hop so far!
End of code