31 October 2019

Clearly Besotted Teasers | Hugs & Rainbows

Hello there and welcome to day four of the Clearly Besotted November 2019 Teasers. The new sets release tomorrow but I have one last teaser to share with you today. I am back using the Balloon Bunch Buddies and Balloon Bunch Backdrops but this time, adding in the Balloon Bunch set too!
 

I started off my card by taking a panel of white cardstock and stamping the rainbow backdrop from the Clearly Besotted Balloon Bunch Backdrops Stamp Set on to the top middle. I then drew a faint pencil line of a circle around it. The background image was then coloured using Copic Markers (the colours that I used are listed below the supplies area) and then erased the pencil lines.
 
 
I took the balloon from the Clearly Besotted Balloon Bunch Stamp Set and stamped in on to white cardstock with Memento Tuxedo Black Ink. The hippo from the Clearly Besotted Balloon Bunch Buddies Stamp Set was then stamped so that he was attached to the balloon string. They were coloured with Copic Markers and then fussy cut out with scissors.

 
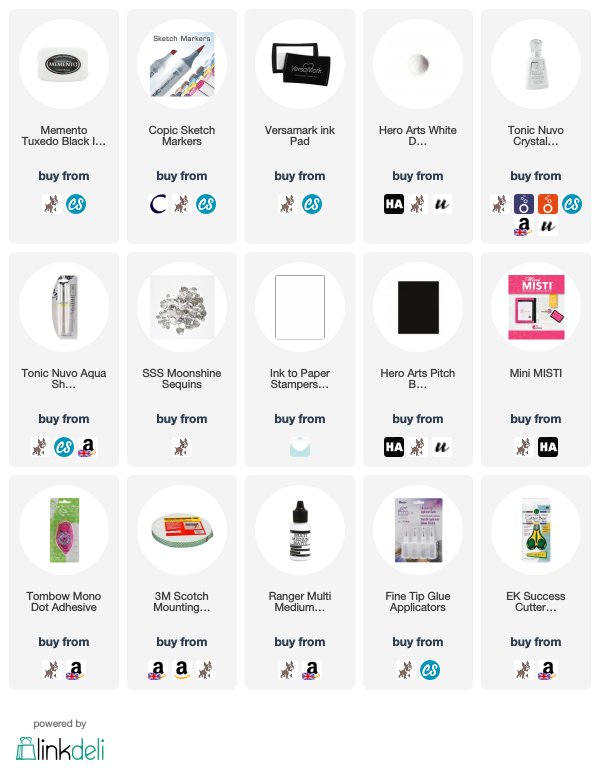
The background panel was adhered to an A2 white card base with tape runner and then the balloon and hippo added with foam tape. I took the sentiment from the Clearly Besotted Balloon Bunch Stamp Set and stamped it on to black cardstock with Versamark Ink. I applied detail white embossing powder and heat set. It was cut in to a strip and added to the card with foam tape. To finish off, I added Nuvo Aqua Shimmer Pen to the rainbow, Nuvo Crystal Glaze to the balloon and added a few Moonshine Sequins.
 
SUPPLIES:

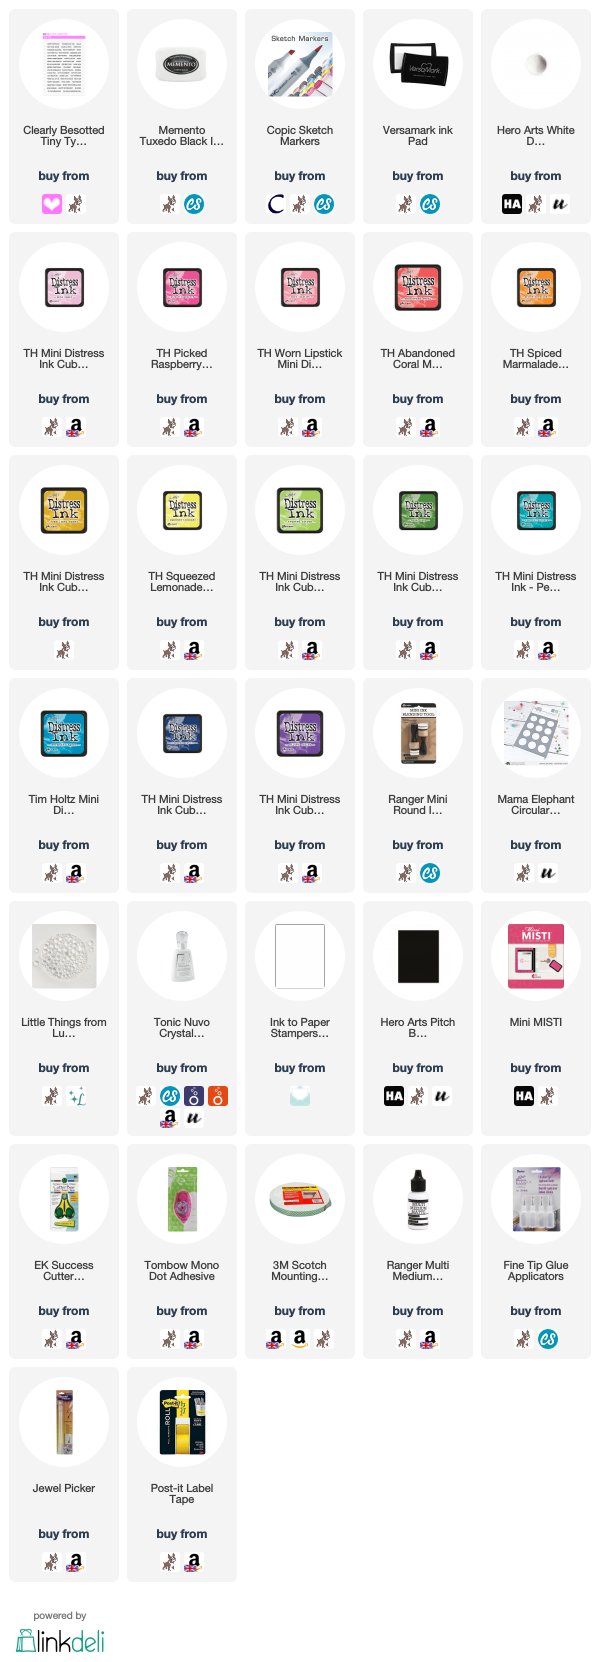
Here are the links to what I have used on the card. Affiliate links are used on some products. This means that if you make a purchase after clicking on my link, I receive a small commission with no extra cost to you. I truly appreciate your support when using these links. Please click on the logo below the product to shop at your favourite store. All products were personally purchased except those from Clearly Besotted, Hero Arts or those marked with an asterisk (*) which were kindly sent to me to use. You can read my full disclosure here.
 
 
COPIC MARKERS: Hippo - W5, W3, W2, W1. Balloon - BG49, BG15, BG11, BG10. Rainbow - V17, V15, V12, B18, B16, B14, BG49, BG15, BG11, RV55, RV52. Clouds - BG11, BG000, BG0000. Sky - B02, B00, B000, B0000.
 
I love how these sets all combine with each other, they is another set that works well with them too but I haven't used it during my teasers. I will share that in my release video tomorrow morning. For more inspiration using the new sets, please head over to the Clearly Besotted Blog, Keren and Lisa. Thank you so much for popping by, see you tomorrow. Have a great day!

30 October 2019

Making Metallics Pop

**This is my second post of the day, please see below for my Clearly Besotted Teaser post**

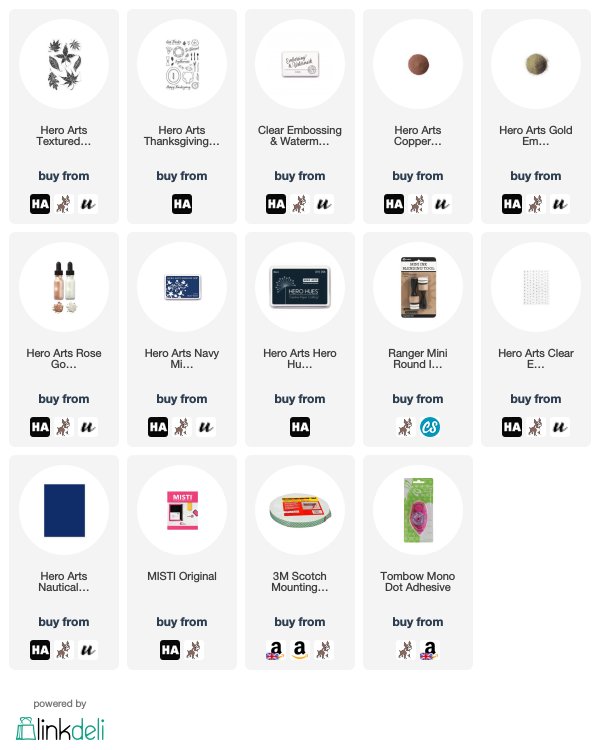
Hello there, I am over on the Hero Arts Blog today, sharing a couple of Thanksgiving cards using metallic embossing powder. Although I love using metallics on lighter coloured cardstock, I think that they really pop against darker colours. I have teamed up the Textured Leaves stamp set, as well as the sentiments from the Thanksgiving Table set with Nautical Cardstock, which is a beautiful dark blue.


SUPPLIES:

Here are the links to what I have used on the card. Affiliate links are used on some products. This means that if you make a purchase after clicking on my link, I receive a small commission with no extra cost to you. I truly appreciate your support when using these links. Please click on the logo below the product to shop at your favourite store. All products were personally purchased except those from Clearly Besotted, Hero Arts or those marked with an asterisk (*) which were kindly sent to me to use. You can read my full disclosure here.
 

I think the gold and copper tones work really nicely with the blue cardstock. I definitely think this design would work well for non-thanksgiving thank you cards too. For more details on how I made the cards, please head over to the blog post here. Thank you so much for popping by today. I hope you have a great rest of the day!

Clearly Besotted Teasers | Teeny Tags

Hello there and welcome to day three of the Clearly Besotted November 2019 Teasers. Not long to wait until you can get your hands on the new sets, they release on the Friday, 1st November. Today I am using the new Teeny Tags set. This is a wonderful set that you can use to decorate parcels but also use on cards for personalisation or as I have done, a sentiment.
 

I started off my card by taking a panel of white cardstock and stamping one of the floral bouquets from the Clearly Besotted Pick A Peony Stamp Set in to the bottom right and top left hand corners with Memento Tuxedo Black Ink. I then took an A2 white card base and added a strip of MFT Black & White Stripes paper at the bottom. The image panel was then adhered on top with tape runner, followed by a thin strip of black cardstock.
 
 
I then took one of the tag images from the Clearly Besotted Teeny Tags Stamp Set and stamped it six times on to white cardstock with black ink. I took the alphabet stamps (in the same set) and stamped these on to the middle of the tags. They were then coloured using Copic Markers (the colours that I used are listed below the supplies area) and fussy cut out with scissors.
 
 
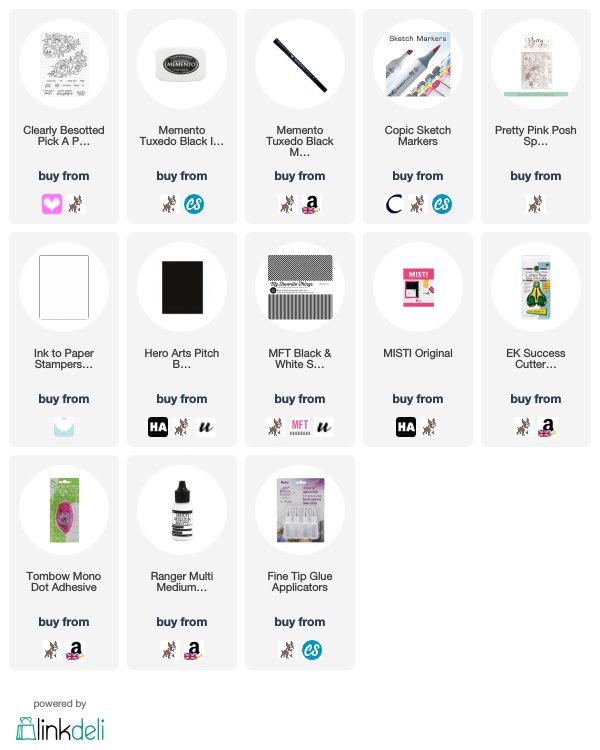
I went around the edges of the tags with a Memento Tuxedo Black Marker, this helped to neaten up the edges. I then punched a small hole in the top of the tags using a handheld circle punch. The tags were added to the card with foam tape. To finish off, I added a few Sparkling Clear Sequins.
 
SUPPLIES:

Here are the links to what I have used on the card. Affiliate links are used on some products. This means that if you make a purchase after clicking on my link, I receive a small commission with no extra cost to you. I truly appreciate your support when using these links. Please click on the logo below the product to shop at your favourite store. All products were personally purchased except those from Clearly Besotted, Hero Arts or those marked with an asterisk (*) which were kindly sent to me to use. You can read my full disclosure here.
 
 
COPIC MARKERS: T - R24, R2, R21, R20. H - YR18, YR16, YR15, YR12. A - Y17, Y15, Y13, Y11. N - YG17, YG25, YG03, YG01. K - B06, B04, B02, B00. S - V17, V15, V12, V01.
 
I really like how the colours pop against the black and white, although in hindsight, I may have preferred not to have punched the holes in the top of the tags but never mind! As mentioned above, I think these tags would work really well to add someone's name on a card or envelope too. For more inspiration using the new sets, please head over to the Clearly Besotted Blog, Keren and Lisa. Thanks so much for stopping by today, I very much appreciate it. I hope you have a great day!

29 October 2019

Clearly Besotted Teasers | Balloon Buddy

Hello there and welcome to day two of the Clearly Besotted November 2019 Teasers. Today I am using two new sets that work perfectly together - Balloon Bunch Buddies and Balloon Bunch Backdrops.
 

I started off my card by stamping the balloon and pig from the Clearly Besotted Balloon Bunch Buddies Stamp Set on to white cardstock. I coloured them with Copic Markers (the colours that I used are listed below the supplies area) and fussy cut them out with scissors before setting them aside while I worked on my background.
 
 
I took a panel of watercolour paper and blended Distress Ink on to the top of it. I used Mermaid Lagoon, Blueprint Sketch and Seedless Preserves. I splattered the panel with water and set it aside to dry. I took the clouds from the Clearly Besotted Balloon Bunch Backdrops Stamp Set and stamped these on to more white cardstock. Coloured them with Copic Markers and fussy cut out.
 
 
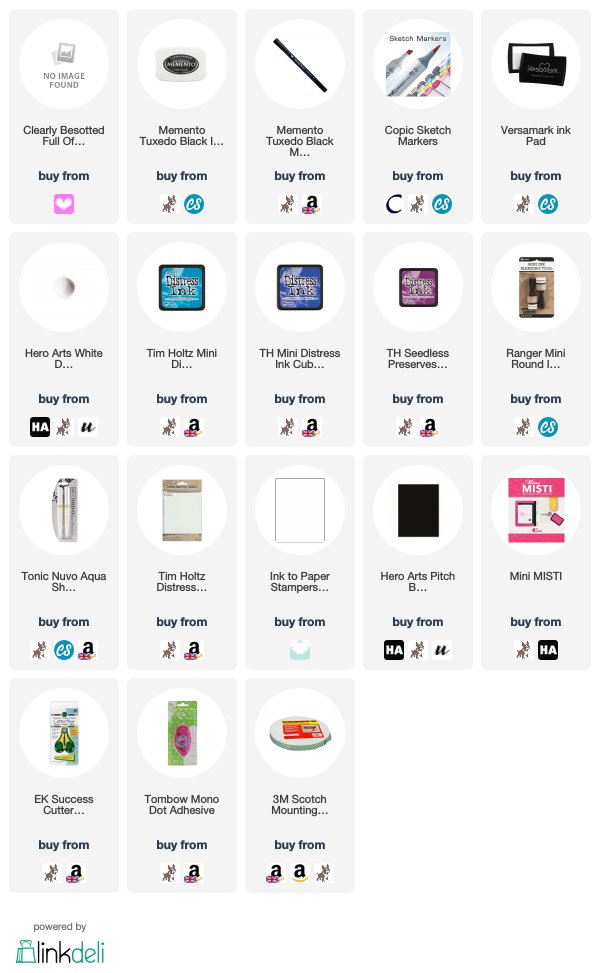
Once the background was dry, it was adhered flat to an A2 white card base with tape runner. I then added the clouds on top with more tape runner. The pig and balloon image were added with foam tape. I took the sentiment from the Clearly Besotted Full Of Sentiment Stamp Set and stamped it on to black cardstock with Versamark Ink. I applied detail white embossing powder and heat set. This was cut in to a strip and added to the card, again with foam tape. To finish off, I added Nuvo Aqua Shimmer Pen to the balloon.
 
SUPPLIES:
Here are the links to what I have used on the card. Affiliate links are used on some products. This means that if you make a purchase after clicking on my link, I receive a small commission with no extra cost to you. I truly appreciate your support when using these links. Please click on the logo below the product to shop at your favourite store. All products were personally purchased except those from Clearly Besotted, Hero Arts or those marked with an asterisk (*) which were kindly sent to me to use. You can read my full disclosure here.
 
 
COPIC MARKERS: Pig - R21, R20, R00. Balloon - V17, V15, V12, V01. Clouds - BG11, BG000, BG0000.
 
There are so many different critters in the Balloon Bunch Buddies set but of course, I had to use the little pig! I am using another one later in the week but they are all adorable. The backdrops set consists of four different backdrops that you can use with the critters. I used the clouds from two of them on my card today but I will be using another later in the week too. For more inspiration using the new sets, please head over to the Clearly Besotted Blog, Keren and Lisa. Thank you so much for visiting me today. I hope you have a wonderful day!

28 October 2019

Clearly Besotted Teasers | Let's Celebrate!

Hello there and welcome to the Clearly Besotted November 2019 Teasers. I know I say this every month but seriously, where has the year gone?! The new sets release on the 1st November 2019 and from now until then, we are sharing teasers with you. My card today uses the new It's A Celebration set.
 

I first took 10 of the hamsters from the Clearly Besotted It's A Celebration Stamp Set and stamped them on to white cardstock with Memento Tuxedo Black Ink. I coloured them using Copic Markers (the colours that I used are listed below the supplies area) and then fussy cut them out using scissors.
 
 
I took a panel of white cardstock and cut it using the Mama Elephant Circle Grid Die. I placed this over an A2 white card base and drew faint pencil lines inside the circles, this is so that I knew where to ink blend. I then masked off each section separately, erased the pencil line and blended on Distress Inks in rainbow colours. The grid piece was adhered on top with foam tape and then the hamsters added to the windows with more foam tape.
 
 
I took the sentiments from the Clearly Besotted Tiny Type Stamp Set and stamped these on to black cardstock with Versamark Ink. I applied white embossing powder and heat set. These were cut in to strips and added to the card across two of the windows. To finish off I added a few Lucy's Raindrops, as well as Nuvo Crystal Glaze to the balloons.
 
SUPPLIES:

Here are the links to what I have used on the card. Affiliate links are used on some products. This means that if you make a purchase after clicking on my link, I receive a small commission with no extra cost to you. I truly appreciate your support when using these links. Please click on the logo below the product to shop at your favourite store. All products were personally purchased except those from Clearly Besotted, Hero Arts or those marked with an asterisk (*) which were kindly sent to me to use. You can read my full disclosure here.
 
 
COPIC MARKERS: Hamsters - E57, E55, E53, E51, E50. Accessory colours L>R: RV11, RV00, R000/RV55, RV52/RV12, RV11, RV10/Y17, Y15, Y13/E23, E21, YG01, YG000/YG17, YG25, YG01/BG49, BG15, BG11/C3, C1, C8, B02, B00/B93/V17, V15, V12.
 
Aren't the hamsters adorable? I love them! I had hamsters as a child but I never remember any of them holding balloons, sadly! You never know what they might get up to at night, though! ;) For more inspiration using the new sets, please head over to the Clearly Besotted Blog, Keren and Lisa. Thank you so much for stopping by today, see you tomorrow for day two. Have a great day!

26 October 2019

Purple Onion Designs | Winter Wishes

Hello there, today I have another card to share with you using the new Pine Cone Trail release from Purple Onion Designs. This time I am using the adorable Ember. Isn't she so cute, skiing down the mountain?
 

I started off my card by stamping Purple Onion Designs Ember (Skiing Bunny) on to white cardstock with Memento Tuxedo Black Ink. I then coloured her with Copic Markers (the colours that I used are listed below the supplies section) and fussy cut her out with scissors. I set her aside while I worked on my background.
 
 
I took a piece of mylar that I had cut using a Hero Arts Nesting Circle Infinity Die and placed this over a panel of white cardstock to use as a mask. I then stamped the Purple Onion Designs Snow Day Hill stamp on top using black ink. Before the mask was removed, I drew a faint pencil line on the inside of the circle so that it gave me a guide of where to colour.
 
 
The background image was then coloured with Copic Markers before erasing the pencil lines. I took the sentiment from the Purple Onion Designs Warming Winter Thoughts Sentiment Set and masked off the top part of the sentiment and stamped out the 'winter' and 'wishes' separately. These were cut in to strips. I adhered the background panel to an A2 white card base and then added the bunny and sentiments on top with foam tape. To finish off, I added Tonic Nuvo Aqua Shimmer Pen to the scarf.
 
SUPPLIES:

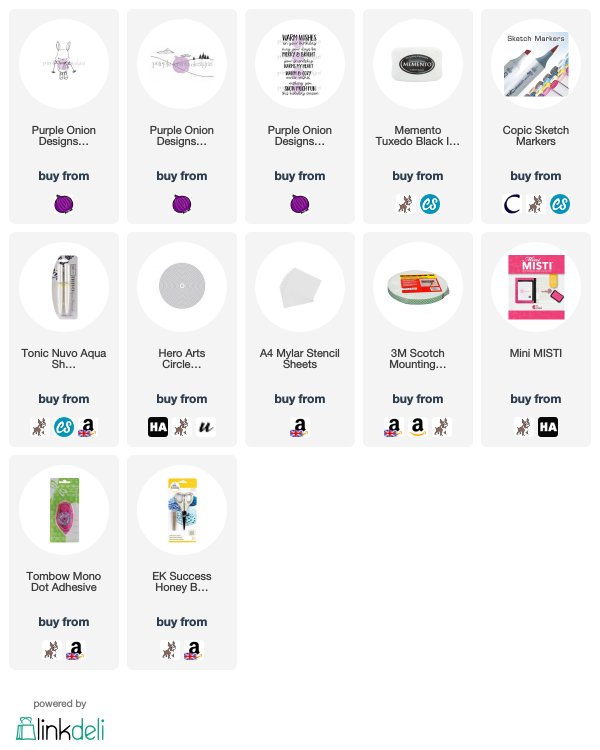
Here are the links to what I have used on the card. Affiliate links are used on some products. This means that if you make a purchase after clicking on my link, I receive a small commission with no extra cost to you. I truly appreciate your support when using these links. Please click on the logo below the product to shop at your favourite store. All products were personally purchased except those from Clearly Besotted, Hero Arts or those marked with an asterisk (*) which were kindly sent to me to use. You can read my full disclosure here.
 
 
COPIC MARKERS: Bunny - W6, W4, W3, W2, W1, W0, R00, R000. Scarf & gloves - V17, V15, V12. Skis - C5, C3, C1. Trees - G21. Sky - B02, B00, B000, B0000. Snow - BG11, BG000, BG000.
 
I love Stacey Yacula's critters, they are just so cute! For more inspiration using the new release, please head over to the Purple Onion Designs Blog. Thank you so much for stopping by today, I really do appreciate it. I hope you have a great weekend!

25 October 2019

Purple Onion Designs | Christmas Snowman

Hello there, I am delighted to be joining Purple Onion Designs for their new Pine Cone Trail release. The wonderful new collection is in the shops now and let me tell you, it is so cute! Today I am using the new Bianca & Neve stamp.
 

For my card today, I started off by creating the background. I took a panel of watercolour paper and blended on Distress Inks in Blueprint Sketch and Seedless Preserves (at the top) to create a sky for my snowman to be in. I then spritzed the piece with water before splattering on some Picket Fence Distress Paint. The piece was then set aside to dry.
 
 
I took the Purple Onion Designs Bianca & Neve (Snowman with Winter Bird) stamp and stamped it on to white cardstock with Memento Tuxedo Black Ink. I then coloured it using Copic Markers (the colours that I used are listed below the supplies area) before fussy cutting out with scissors. I took the Purple Onion Designs Merry Christmas stamp and stamped it on to black cardstock with Versamark Ink. I applied White Embossing Powder and heat set. This was then cut in to a strip.
 
 
Once the background was dry, I adhered it flat to an A2 white card base and then added a strip of MFT Black & White Stripes Paper, as well as a strip of black cardstock to the left of the panel so that my snowman and bird could sit on top. The image was added on with foam tape. I then added the sentiment with more foam tape into the top right hand corner. To finish off, I added Tonic White Blizzard Nuvo Drops to the snowman's hat and Nuvo Crystal Glaze to his buttons.
 
SUPPLIES:

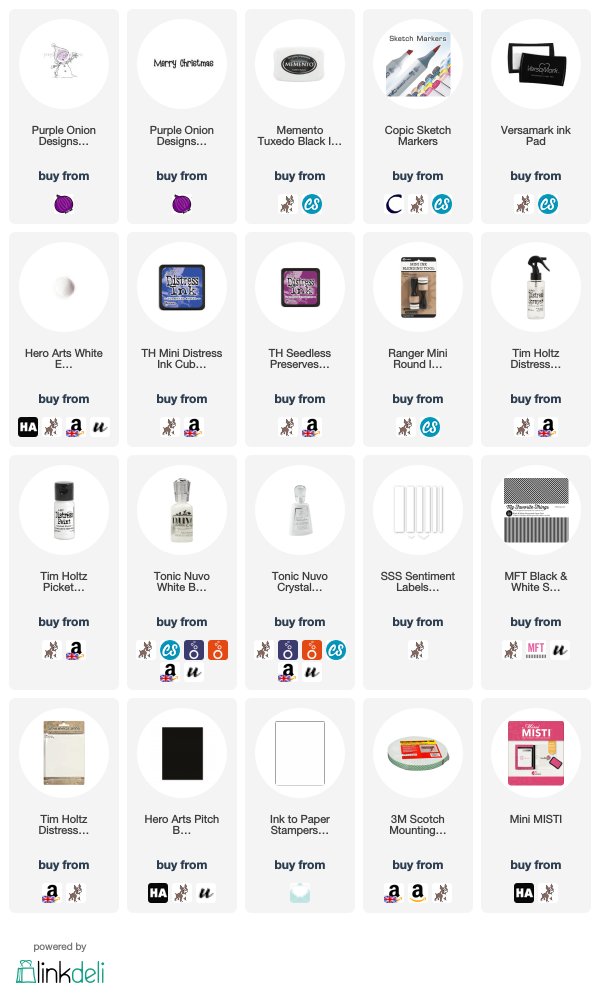
Here are the links to what I have used on the card. Affiliate links are used on some products. This means that if you make a purchase after clicking on my link, I receive a small commission with no extra cost to you. I truly appreciate your support when using these links. Please click on the logo below the product to shop at your favourite store. All products were personally purchased except those from Clearly Besotted, Hero Arts or those marked with an asterisk (*) which were kindly sent to me to use. You can read my full disclosure here.
 
 
COPIC MARKERS: Snowman - BG11, BG000, BG000, E57, E55, E53, YR18, YR16, YR15. Buttons - C8, C5. Scarf & Hat - BV08, BV04, BV02. Bird - E51, E50, B18, B16, B14.
 
I went a bit heavy handed with the paint so my snowman and bird look like they are in a blizzard, poor things, but they are still smiling, so that's ok! :) For more inspiration using the new release, please head over to the Purple Onion Designs Blog. Thanks so much for popping by today, I hope you have a great day!

24 October 2019

Tone-on-Tone Background

Hello there, today I am over on the Hero Arts Blog sharing a card using the Noel Bold Prints stamp. I thought it would work perfectly for a tone-on-tone look as a background to the beautiful Paper Layering Poinsettia Die. I am not a big splatterer (I know that is not a word!), but I thought the gold glimmer ink would work well to add to the poinsettia for some added interest.


SUPPLIES:

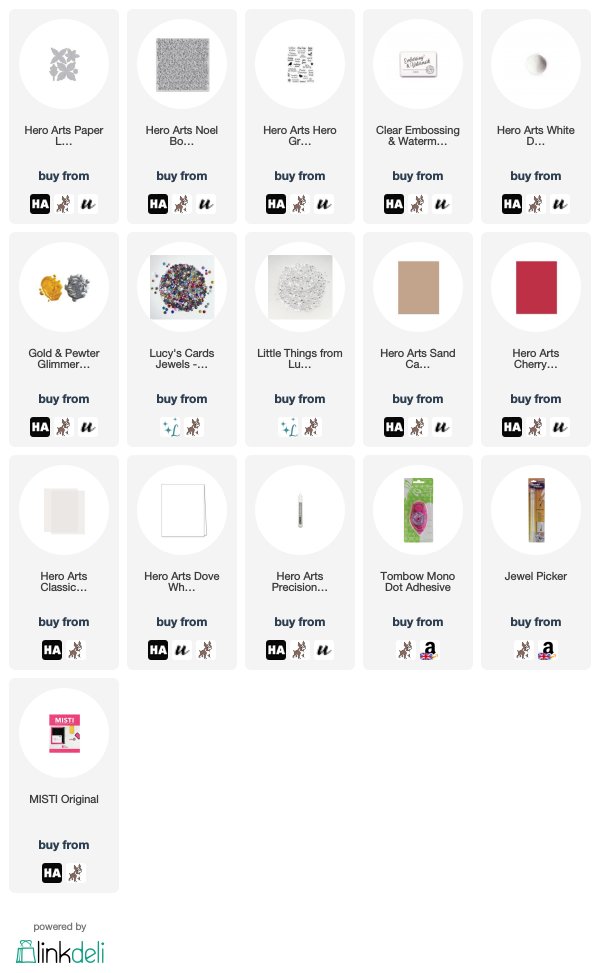
Here are the links to what I have used on the card. Affiliate links are used on some products. This means that if you make a purchase after clicking on my link, I receive a small commission with no extra cost to you. I truly appreciate your support when using these links. Please click on the logo below the product to shop at your favourite store. All products were personally purchased except those from Clearly Besotted, Hero Arts or those marked with an asterisk (*) which were kindly sent to me to use. You can read my full disclosure here.
 

For the details on how I made the card, please head over to the blog post here. Thank you so much for popping by today, I really do appreciate it. I hope you have a great day!

23 October 2019

Hero Arts & Altenew Partnership Blog Hop + Giveaway

Hello there, we are back to celebrate the latest (and last) collaboration celebrating Hero Arts 45 years in the crafting industry. This month we have teamed up with Altenew to bring you the Bloom & Grow Stamp Set. It is such a beautiful set that has a gorgeous large flower, as well as a leaf image plus lots of beautiful sentiments. To celebrate the release of the set, we are having a fun blog hop full of inspiration and prizes (more on that below).
 

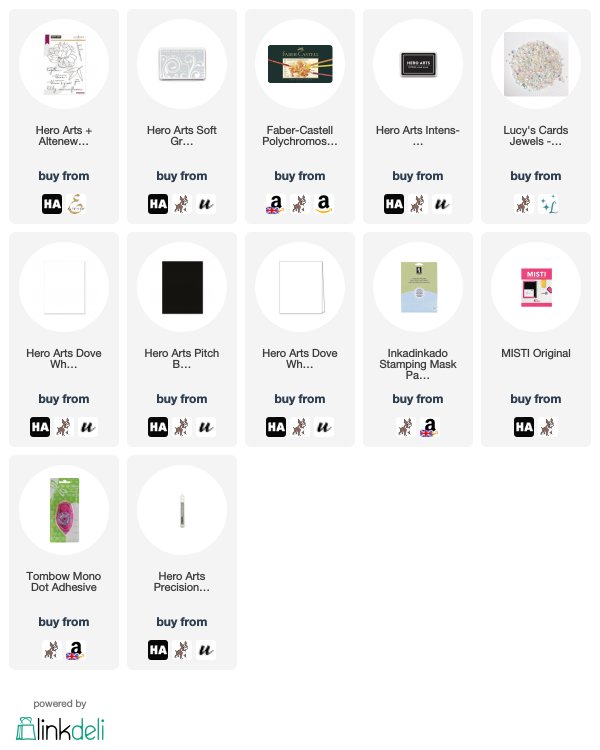
For my card, I started off with a panel of Hero Arts Dove White Cardstock. I then took the flower image from the Hero Arts + Altenew Bloom & Grow Stamp Set and stamped this on to the panel using Hero Arts Soft Granite Ink Shadow Ink (I stamped this off first, to get an even lighter coverage before stamping it on to my panel). I made a mask for the flower and then stamped the leaf image repeatedly around the flower.
 
 
Using the no-line technique, I coloured the flower and leaves using Polychromos Pencils (the colours that I used are listed below the suppliers area). Although not true to life, I love colouring flowers in blue shades! The cardstock I am using is quite smooth so the colouring isn't as blended as I had hoped, I would suggest using one with a bit more tooth, but it did still work well.
 
 
I then took one of the sentiments from the set and stamped this using Hero Arts Intens-ified Black Ink. I did leave it to dry for some time but also heat set it, just to be on the safe side! I took a Hero Arts Top Folding Card base and then added a strip of Hero Arts Pitch Black Cardstock down the side. The image panel was then adhered on top with tape runner. To finish off, I added a few Iridescent Jewels using Precision Glue.
 
SUPPLIES:

Here are the links to what I have used on the card. Affiliate links are used on some products. This means that if you make a purchase after clicking on my link, I receive a small commission with no extra cost to you. I truly appreciate your support when using these links. Please click on the logo below the product to shop at your favourite store. All products were personally purchased except those from Clearly Besotted, Hero Arts or those marked with an asterisk (*) which were kindly sent to me to use. You can read my full disclosure here.
 
 
POLYCHROMOS: Flower - 157, 247, 151, 110. Leaves - 199, 267, 168, 112, 171.
 
BLOG HOP:


For the blog hop you should have arrived here from the blog of Maryam Perez. Next on the hop is the blog of Nathalie DeSousa. If you get lost along the way, the full list of participants are over on the Hero Arts Blog.
 
GIVEAWAY:
 
There are three prizes to be won today:
 
- one winner will receive the stamp set
- one winner will receive a $25 shopping spree at Altenew
- one winner will receive a $25 shopping spree at Hero Arts
 
The winners will be drawn from all of the comments left across all the stops in the hop. The giveaway closes on 27th October 2019. The winners will be announced on the Hero Arts Blog the following week. Good luck!
 
Thank you so much for stopping by today, I hope you have a great time on the rest of the hop and have a wonderful rest of the day too!

22 October 2019

VIDEO | Craft Room Tour 2019

Hello there, today I have my craft room tour of 2019 to share with you. I tend to do these every year. Not a huge amount has changed since my last one (which is good as it means that my organisational systems ae working for me) but I have moved a few things around and changed a few storage options.
 
 
My craft room is fairly small (although I love it!), it definitely looks bigger on camera than it is in real-life. I recently had a friend come to visit and she mentioned that too, but I try and have the furniture out so that I make the most of the space that I have. I also have two windows in the room, so that helps to keep it fairly bright (depending on the English weather!).

Here is the video showing the tour:


If you are viewing this post via email subscription, you can watch the video on YouTube here.


CRAFT ROOM DETAILS:


I have two large desks that that take up the length of one side of the room. I use one for crafting and one for office work/blogging. Underneath the desks I have Ikea Helmer Drawer Units, as well as one Ikea Alex Unit. The ones on the office side hold stationery and colouring mediums, the ones under my craft desk hold crafting tools, envelopes, Distress Inks and mediums. This is my painting supplies drawer:


I have my watercolour tubes in Tim Holtz Mini Distress Ink Tins, water cups, palettes, reusable cloth, as well as some paints that still need swatching!

 
This is my essentials drawer in the top of my Alex unit. This drawer holds things that I grab for all the time - mini guillotine, mask paper, painters tape, most used embossing powders, coffee filters, embossing bag (in a little Really Useful Box) and my ink blending tools in InterDesign containers.


On my main crafting desk, I have a shelf from Ikea that I added legs to. This helps to raise the things off my desk and gives me a little space underneath to add some bowls (these hold my absorber cloth and things that I might be using whilst making a card). I also have a magnetic one that holds my most used dies in. On top of the shelf I have my Copic Markers (they are in Color Cubbies but sadly the company is no longer in business, you can get something similar at OrganizeMore).
 
A new addition is a Muji Acrylic 5 Drawer unit. This now holds my fine-liners and various other pens. I recently read that Copic Multiliners should be stored horizontally, so moved them to this and I love it! Next to that is my tool carousel. This holds tons of tools and my go-to adhesives as well.


Above my craft desk, I have shelves on the wall. These hold mainly decorative items but I do have washi tape in Ikea Skurar Pots, as well as paint brushes in jars. Above the shelves is my camera mount for filming. You can see more about my filming set up here.


I often get asked about my ink blending tool storage. I keep them in nail polish holders, a tip that I stole from Ardyth. I label the tops of the tools using printed out labels from the Ranger website. I print them on to removable label paper, punch out and stick on. I also have the labels added to pieces of white cardstock and laminated, so that I can put them inside the holder.


Next up is my Raskog. I love this thing! I recently bought a Hogsma Cutting Board to go on the top so that I can have my die cutting machine on top. On the shelves I have more colouring mediums, as well as my Copic Refills. I have a pegboard above that that holds my MISTI tools, as well as stamp cleaner, water spray bottles and some different mediums - Distress Reinkers, Nuvo Glimmer Paste etc.

 
On the other side of the room is my Ikea Hemnes Cabinet. Unfortunately this may not be being sold in the UK currently but I believe that it will come back soon. This holds all my stamps and dies, as well as cardstock, die cutting machines plus much more.

 
My stamps are stored in Ikea Kvarnvik boxes in Avery Elle Stamp & Die Pockets. I do have some acrylic containers that I hold stamps in too, sadly these have been discontinued by Muji. My standalone dies are stored in Crafter's Companion Binders. These do get quite heavy but I find that they do not take up much room, which I like. My cardstock is stored in Grip Seal/Zip Lock Bags that I cut the top off of. These are then stored in magazine files. My manual die cutting machines, as well as patterned paper are stored at the bottom of the cabinet.
 
 
Next to that are The Best Organizer units. These have a wooden exterior and then plastic shelves. You can get different sizes of shelves which is great because you can mix and match and move them around as much as you need to. On the top is my 12"x12" cardstock and paper, as well as my swatch and stencil binders. The drawers hold ink pads as well as felt, foil and embellishments.


Here is one of my ink pad drawers with my Distress Oxides and Hero Arts Reactive Inks in. I store a lot of my dye inks on their sides (I have had no problem storing them this way) but I do store pigment or hybrid inks flat.


This my foiling drawer. I have foils for different things - Deco Foil for using with a laminator or alcohol inks, Gemini FoilPress foil (the machine is stored in my bedroom) and the WRMK Foil Quill to use with my Cricut (which is also stored in my bedroom!).


Last but not least is my computer desk. This is where I write my blog posts and edit photos and videos. Above my desk to the right are Ikea Mosslanda Picture Ledges. These hold my liquid watercolours, as well as some decorative items on the top shelf.
 
As well as my Cricut machines and Gemini FoiPress, I also have some extra items not in the room as well. I have extra adhesives, the cards that I have made, extra cardstock and my Christmas supplies in a cabinet in my hallway.
 

SUPPLIES:

Here are the links to what I have shared in the video and the blog post. Affiliate links are used on some products. This means that if you make a purchase after clicking on my link, I receive a small commission with no extra cost to you. I truly appreciate your support when using these links. Please click on the logo below the product to shop at your favourite store. All products were personally purchased except those from Clearly Besotted, Hero Arts or those marked with an asterisk (*) which were kindly sent to me to use. You can read my full disclosure here.
 
 
If you have made it this far, you deserve a medal! Thank you so much for sticking with me until the end. I love craft room storage and I am always looking for new ways to store things. I hope you have enjoyed taking a look in my happy space today. Thank you so much for visiting. Have a great day!

21 October 2019

Merriest Wishes

Hello there, today I have a card to share with you using the Hero Arts Layering Snow Globe Fancy Die. This is a set of dies to create a snow globe, but I thought that I would use it in a slightly different way and create a clean and simple scene.
 

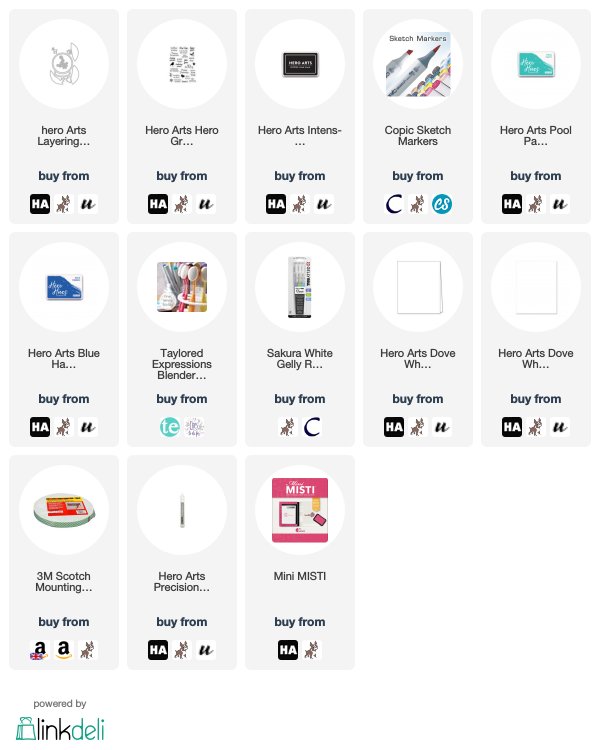
I started off by taking a panel of white cardstock and blending Reactive Inks on to the top middle section. I used Pool Party and Blue Hawaii. I used a light application to add a little colour for the sky. I then took the Hero Arts Layering Snow Globe Fancy Die and cut the layer with the trees, as well as the deer from Hero Hues Dove White Cardstock.
 
 
I coloured the deer using E57, E55 and E53 Copic Markers and set it aside to dry. I took the Hero Arts Hero Greetings Christmas Messages Stamp Set and stamped the sentiment on to the panel using Hero Arts Intens-ified Black Ink.
 

The panel was then adhered flat to a top-folding card base. I added white gel pen dots to the sky and then added the tree piece on top with foam tape. The deer was then added with a combination of foam tape and liquid glue (for the legs).
 
SUPPLIES:

Here are the links to what I have used on the card. Affiliate links are used on some products. This means that if you make a purchase after clicking on my link, I receive a small commission with no extra cost to you. I truly appreciate your support when using these links. Please click on the logo below the product to shop at your favourite store. All products were personally purchased except those from Clearly Besotted, Hero Arts or those marked with an asterisk (*) which were kindly sent to me to use. You can read my full disclosure here.
 
 
A very simple card but I really like the serene feeling of the scene. Thanks so much for popping by to see me today. I very much appreciate it. I hope that you have a great day!
End of code