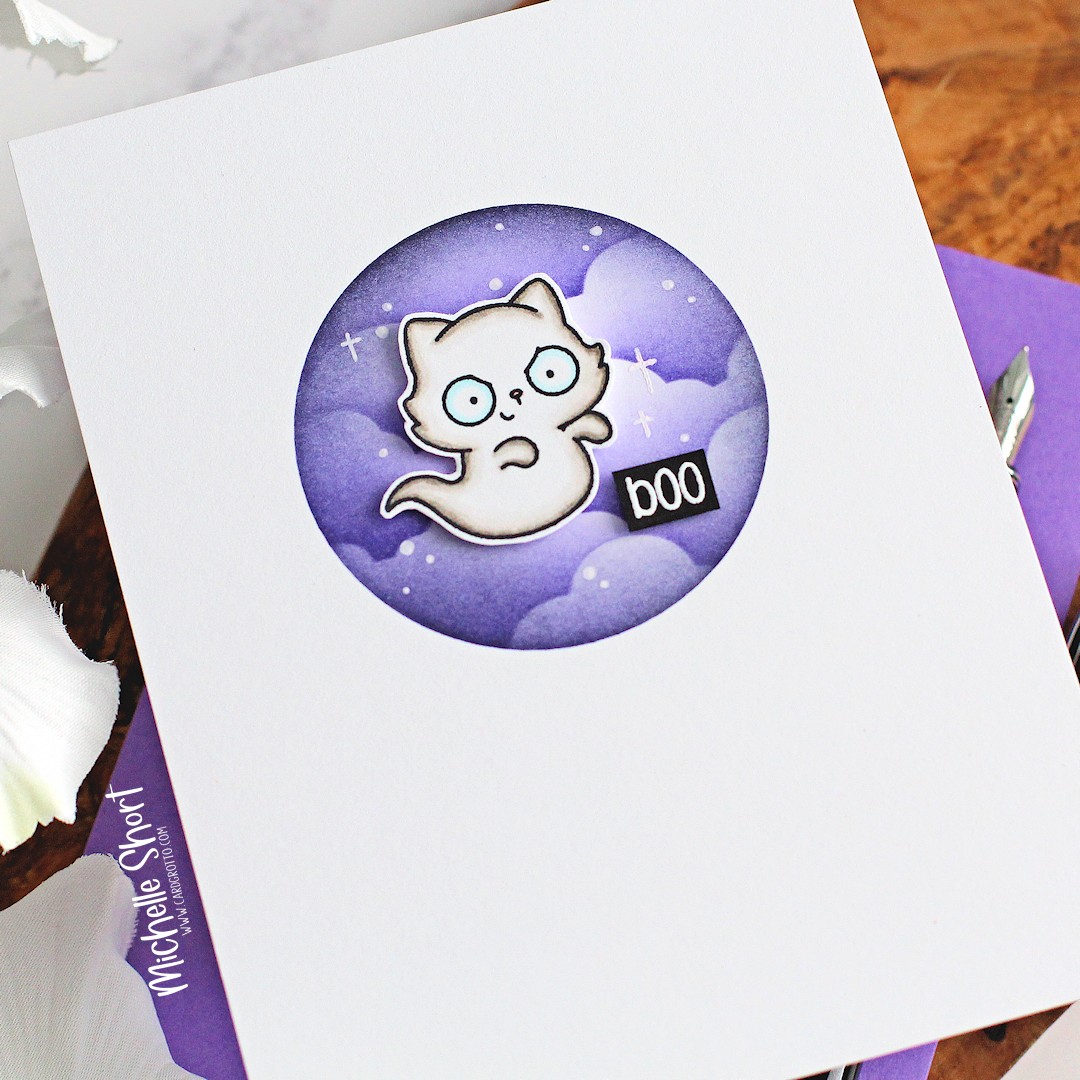
We love celebrating the winter season, and this release includes
everything you need to do just that! Let your holiday cards shine with trendy
typography, classic poinsettias, or a modern tree. A timeless wreath of
mistletoe (with coordinating embossing folder and stencils!), winter florals,
and hot foil plates and dies to finish off the release. 'Tis the season!
PLEASE
NOTE: This post contains affiliate links. Please see below for my full
disclosure.
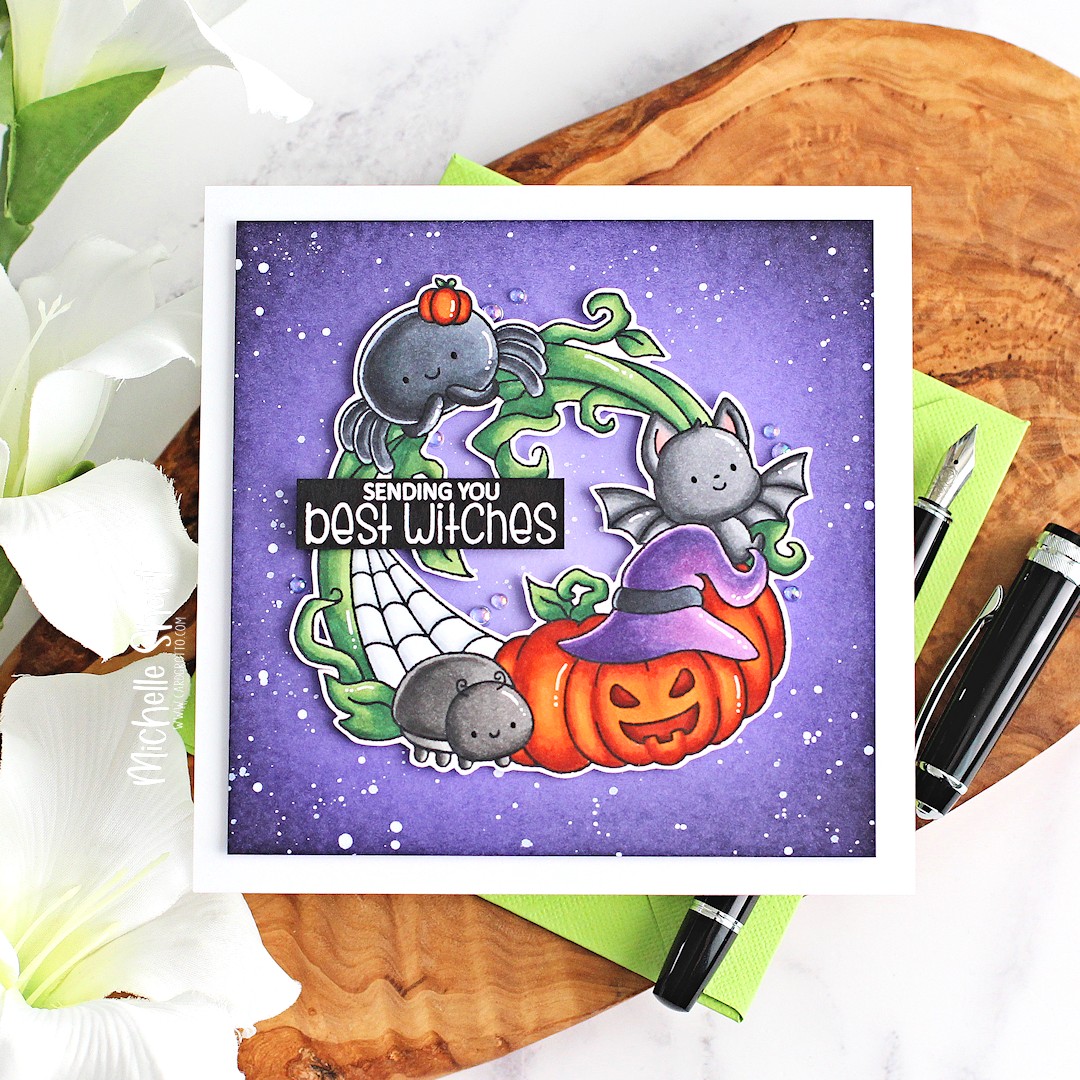
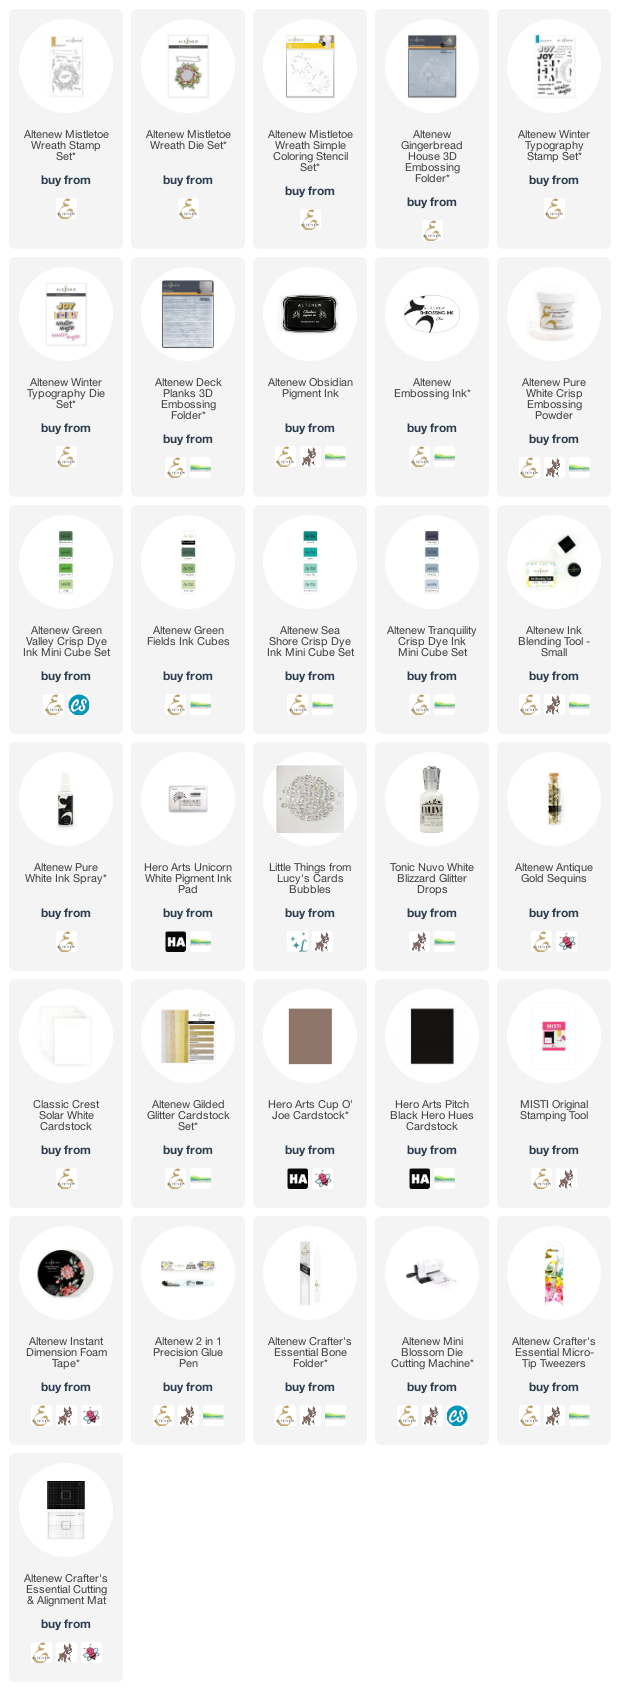
For my first card, I am using the new Mistletoe Wreath set. There is a stamp set, a die set, matching stencils and an embossing folder in the collection, so you can mix and match to your heart's content with this one!

I started off by stamping the wreath from the Altenew Mistletoe Wreath Stamp Set on to white cardstock with Altenew Obsidian Pigment Ink. I set it aside to dry for a few minutes while I grabbed the Altenew Mistletoe Wreath Simple Coloring Stencil Set.
I placed the stencils over the image, one at a time and blended inks on top to colour in the image. I used Altenew Grass Field, Forest Glades and Volcano Lake for the foliage and Misty Morning for the berries. I also added a dot of alcohol marker to the berries for some added interest.

The wreath was die cut out using the Altenew Mistletoe Wreath Die Set. I took a panel of white cardstock and ran it through my die cutting machine with the Altenew Deck Planks 3D Embossing Folder. It was then adhered to the front of a US sized A2 card base with tape runner adhesive.

The wreath was adhered on top with Altenew Instant Dimension Foam Tape. The sentiment from the stamp set was stamped on to black cardstock with Altenew Embossing Ink. I applied Altenew Pure White Crisp Embossing Powder and heat set. It was cut in to a strip and added to the card with more foam tape.
To finish off, I added Nuvo White Blizzard Crystal Drops to some of the berries and embellished with Little Things from Lucy's Cards Bubbles.

My next card uses the new Altenew Gingerbread House 3D Embossing Folder which was run through my die cutting machine with a panel of brown cardstock.
I added white pigment ink to the raised areas and then splattered it with Altenew Pure White Ink Spray before setting it aside to dry.

I took the 'winter' sentiment from the new Altenew Winter Typography Die Set and die cut it three times from white cardstock and once from Altenew Topaz Glitter Cardstock, layering them up with adhesive one on top of another for dimension.
I stamped the 'wishes' from the Altenew Winter Typography Stamp Set using Altenew Embossing Ink and applied Altenew Pure White Crisp Embossing Powder. It was heat set until melted and then cut in to a strip.

I adhered the embossed panel to a US sized A2 white card base with Altenew Instant Dimension Foam Tape. I added the winter on top with liquid glue, followed by the wishes strip below. To finish off, I added a couple Altenew Antique Gold Sequins.
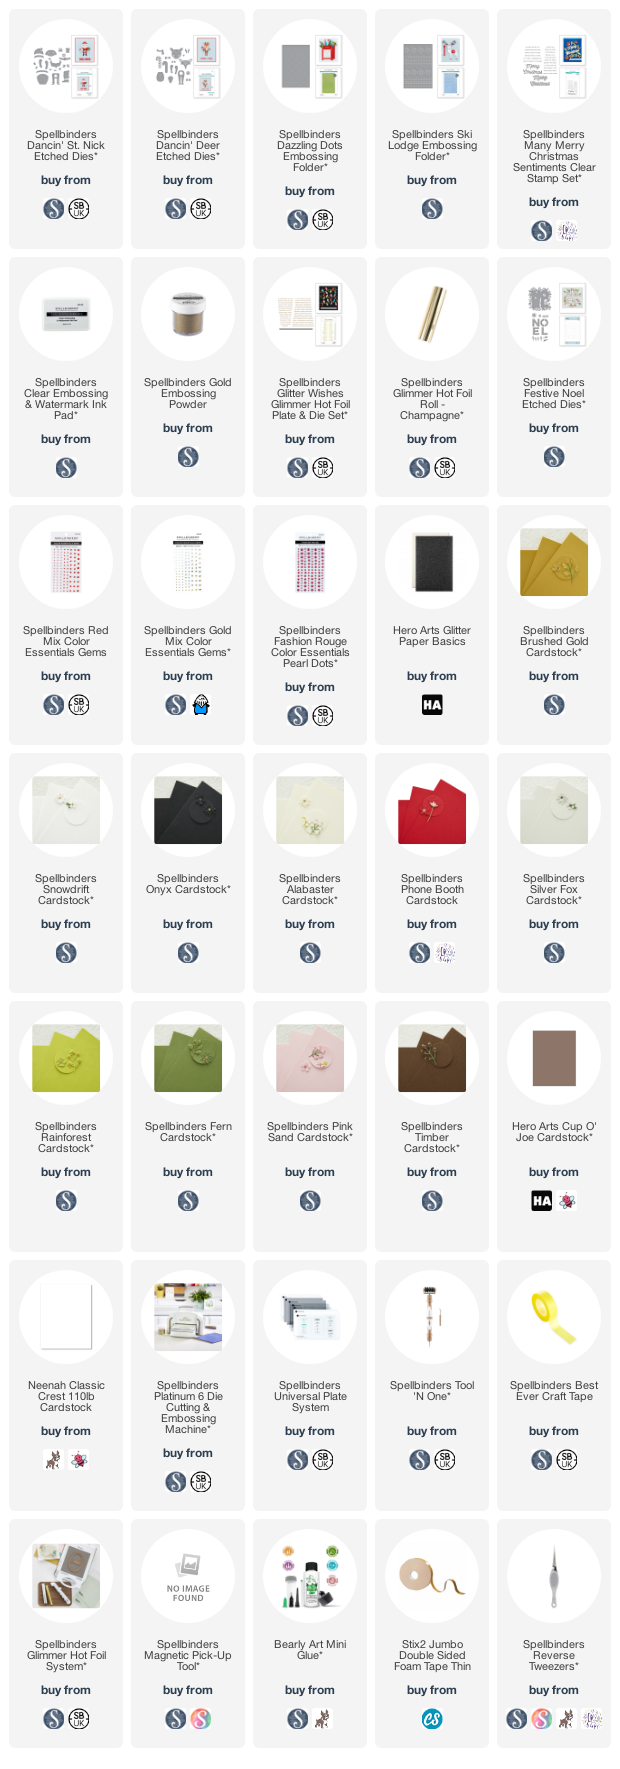
SUPPLIES:
Here are the links to what I have used on the projects. Affiliate links are used on some products. This means that if you make a purchase after clicking on my link, I receive a small commission with no extra cost to you. I truly appreciate your support when using these links. Please click on the logo below the product to shop at your favourite store. All products were personally purchased except those from Clearly Besotted, Hero Arts or those marked with an asterisk (*) which were kindly sent to me to use. You can read my full disclosure here.
BLOG HOP:

FREE GIFTS:
.jpg)
GIVEAWAY: