31 January 2022

Clearly Besotted Teasers | Easter Blessings

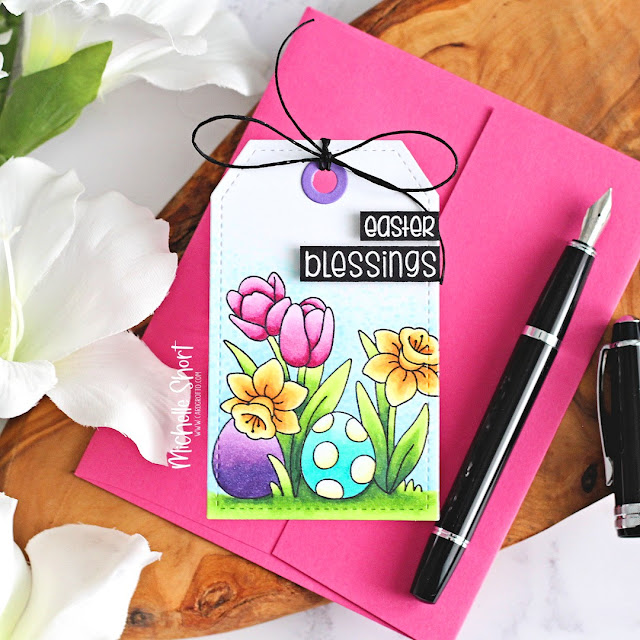
Hello there and welcome to day four of the Clearly Besotted February 2022 Teasers. Release day is tomorrow but I still have two teasers to share with you. Today I am using the new Easter Plushies Stamp Set. As the name suggests, perfect for Easter with lovely flowers and critters. I didn't use the critters today and decided to just use the floral image instead. 

PLEASE NOTE: This post contains affiliate links. Please see below for my full disclosure.


I started off my tag by die cutting two tags from white cardstock using the Clearly Besotted Tag Along Die Set. On one, I stamped the floral image from the Clearly Besotted Easter Plushies Stamp Set with Memento Tuxedo Black Ink


It was coloured using Copic Markers (the colours that I used are listed below the supplies area). I adhered the two tags back to back using tape runner and then die cut the hole reinforcer from Amethyst Cardstock and adhered that on top. 


I took the sentiments from the Easter Plushies set and stamped them on to black cardstock with Versamark Ink. I applied white embossing powder and heat set. They were cut in to a strips and then added to the tag with foam tape. To finish off, I added twine through the top of the tag and tied in a bow at the front. 

SUPPLIES:


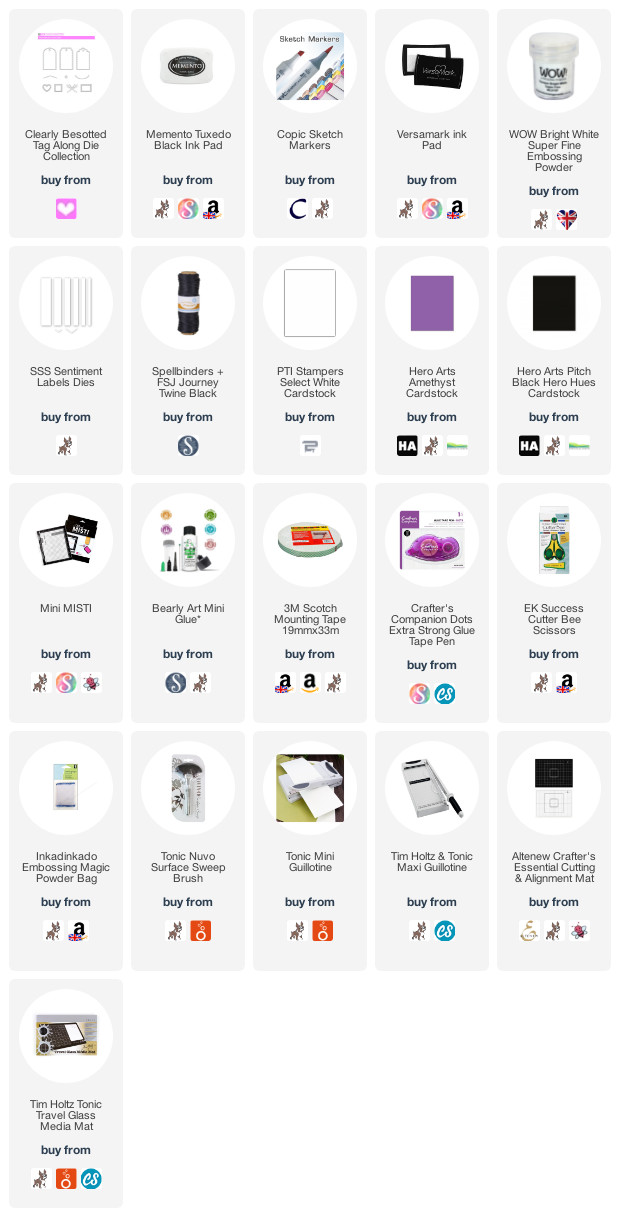
Here are the links to what I have used on the project. Affiliate links are used on some products. This means that if you make a purchase after clicking on my link, I receive a small commission with no extra cost to you. I truly appreciate your support when using these links. Please click on the logo below the product to shop at your favourite store. All products were personally purchased except those from Clearly Besotted, Hero Arts or those marked with an asterisk (*) which were kindly sent to me to use. You can read my full disclosure here.


COPIC MARKERS: Tulips - RV69, RV66, RV55, RV52. Daffodils - YR27, Y17, Y15, Y13, Y11. Stems and leaves - G29, YG17, YG23, YG01. Eggs - V09, V17, V15, V12/BG49, BG15, BG13, BG11, Y02, Y00, Y000. Sky - B02, B01, B00, B000, B0000. 

I had planned on adding a critter amongst the flowers but once I had coloured it, I really liked it as is. So I'll use the bunny that I coloured for another project! For more inspiration using the new sets, please head over to the Clearly Besotted Blog, Keren and our wonderful guests Adelle, Francine and Kitty. Thanks so much for stopping by today, as always, I really do appreciate it and I will see you tomorrow for release day! 

30 January 2022

Clearly Besotted Teasers | Hi There

Hello there and welcome to day three of the Clearly Besotted February 2022 Teasers. Not long to go now, release day is Tuesday, 1st February. Today I have a card to share with you using the new Whatever The Weather Fun set. This set is super cute as it has lots of critters flying along on umbrellas. I decided to use the umbrella as a parasol for my card and make more of a spring/summer card. 

PLEASE NOTE: This post contains affiliate links. Please see below for my full disclosure.


I started off by stamping the bear with the flower umbrella and the cloud images from the Clearly Besotted Whatever The Weather Fun Stamp Set on to white cardstock with Memento Tuxedo Black Ink. I then coloured them using Copic Markers (the colours that I used are listed below the supplies section) and fussy cut out with scissors. 


I die cut two panels of cardstock using the Sunny Studio Slimline Pennants Dies. One was then cut down further using the cloud die from the Mama Elephant Landscape Trio Die Set. With the piece intact, I blended Tim Holtz Distress Inks on using Ink Blending Brushes. I used Wild Honey, Squeezed Lemonade and Mermaid Lagoon. I then placed the Clearly Besotted Sunny Day Stencil over the top and blended on more ink before removing the stencil. 


The panel was adhered to an A2 white card base with thin foam tape. I then added the cloud piece on top, followed by the bear, also adhered with thin foam tape. The clouds were added with tape runner, cutting off the excess from the sides. I took the sentiment from the set and stamped it on to black cardstock with Versamark Ink. I applied white embossing powder and heat set. It was cut in to a strip and added to the card with more foam tape. To finish off, I added white gel pen dots to the image and black glaze pen to the bear's eyes. 

SUPPLIES:


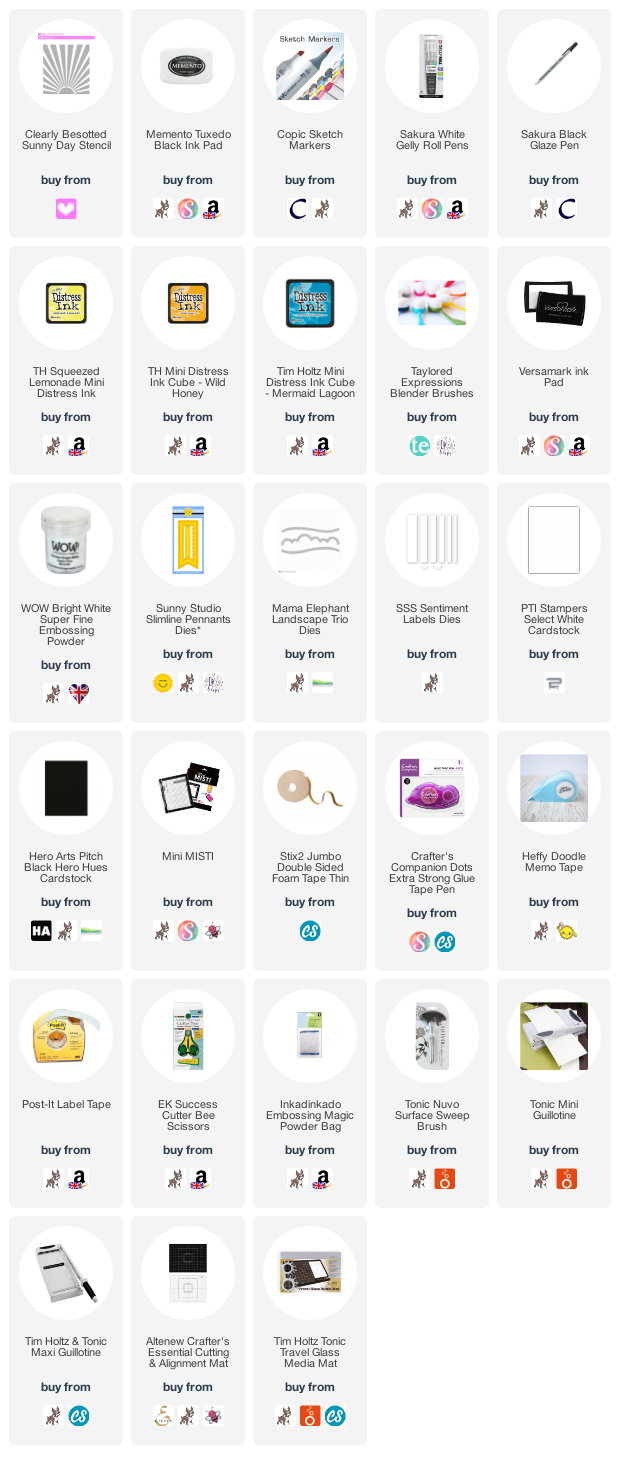
Here are the links to what I have used on the project. Affiliate links are used on some products. This means that if you make a purchase after clicking on my link, I receive a small commission with no extra cost to you. I truly appreciate your support when using these links. Please click on the logo below the product to shop at your favourite store. All products were personally purchased except those from Clearly Besotted, Hero Arts or those marked with an asterisk (*) which were kindly sent to me to use. You can read my full disclosure here.


COPIC MARKERS: Bear - E59, E57, E55. Clouds - BG11, BG000. Flower umbrella - BG75, BG72, BG70/YR18, YR16, Y17, Y15, Y13, Y11/C5, C3, C1. 

This set really is fun and you could create so many different scenes with it. For more inspiration using the new sets, please head over to the Clearly Besotted Blog, Keren, Adelle, Francine and Kitty. Thanks so much for stopping by to see me today, I really do appreciate it. I hope you have a wonderful day!

29 January 2022

Clearly Besotted Teasers | Spring Birthday

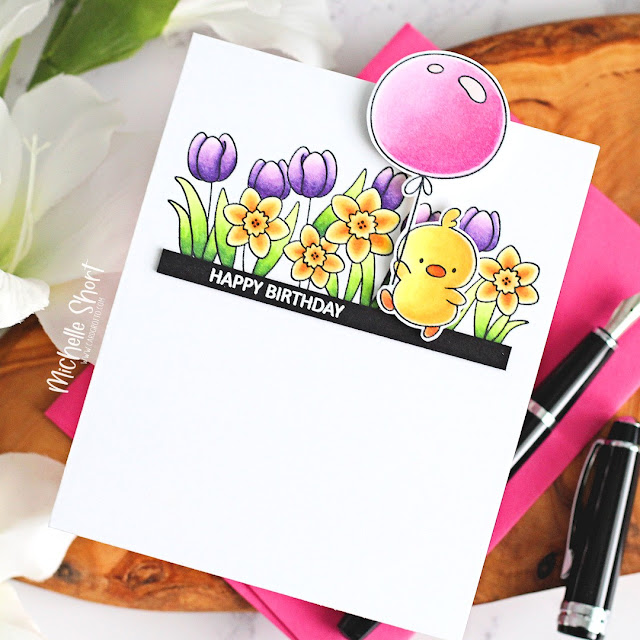
Hello there and welcome to day two of the Clearly Besotted February 2022 Teasers. Today I am using the new Balloon Bunch Easter set. As the name suggests, it is perfect for cute Easter cards but for today's card, I thought it would be nice to create a birthday card with the set. 

PLEASE NOTE: This post contains affiliate links. Please see below for my full disclosure.


I started off by taking a panel of white cardstock and stamping the daffodil and tulip image from the Clearly Besotted Balloon Bunch Easter Stamp Set on to it using Memento Tuxedo Black Ink. The flowers were coloured using Copic Markers (the colours that I used are listed below the supplies section). 


On a separate piece of cardstock, I stamped the chick from the set, along with the balloon (so that it looks like he is holding it) and coloured them both with Copic Markers too and then fussy cut out with scissors. The panel was adhered to a 4.25" x 5" white card base with tape runner. The card is smaller so that I can have the balloon overhanging but it still fit in a standard sized envelope. 


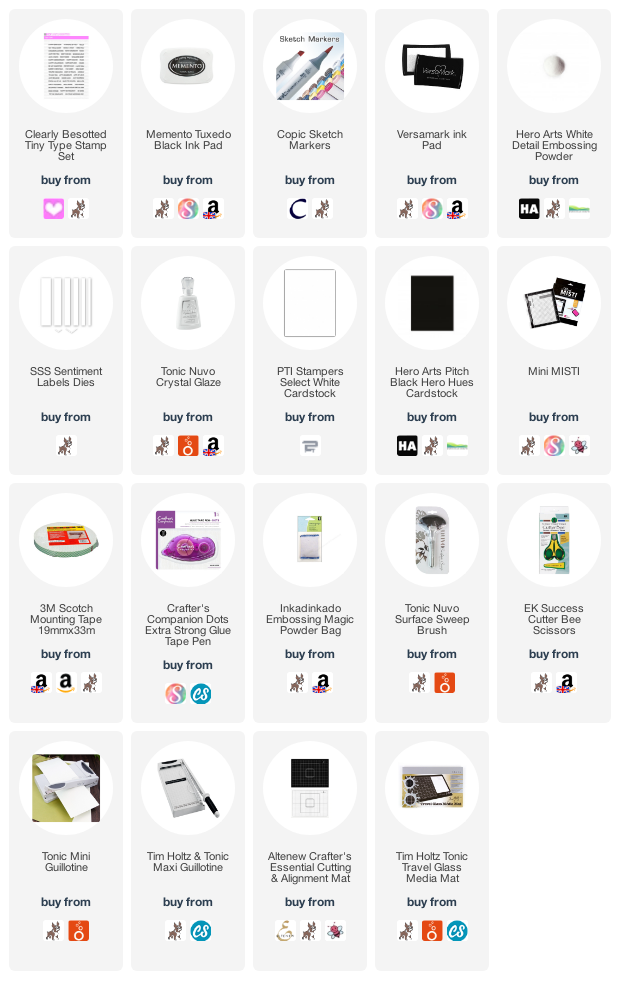
the sentiment, from the Clearly Besotted Tiny Type Stamp Set, was stamped on to black cardstock with Versamark Ink. I applied White Detail Embossing Powder and heat set. It was cut in to a strip using the Simon Says Stamp Sentiment Labels Dies and added to the card below the flowers. The chick and balloon were then added on top with foam tape. To finish off, I added Nuvo Crystal Glaze to the balloon and chick's nose. 

SUPPLIES:


Here are the links to what I have used on the project. Affiliate links are used on some products. This means that if you make a purchase after clicking on my link, I receive a small commission with no extra cost to you. I truly appreciate your support when using these links. Please click on the logo below the product to shop at your favourite store. All products were personally purchased except those from Clearly Besotted, Hero Arts or those marked with an asterisk (*) which were kindly sent to me to use. You can read my full disclosure here.


COPIC MARKERS: Daffodils - YR27, Y17, Y15, Y13, Y11. Tulips - V09, V17, V15, V12, V01, V000. Leaves - G29, YG17, YG23, YG01. Chick - Y17, Y08, Y04, Y11, YR18, YR15, YR12. Balloon - RV66, RV55, RV52, RV00. 

There is also another Easter related set releasing this month, which I will share later in the teasers. I do think they both work well for Easter but also for general spring cards or birthday cards too. For more inspiration using the sets, please head over to the Clearly Besotted Blog, Keren, Adelle, Francine and Kitty. Thank you so much for stopping by, see you tomorrow for day three! Have a wonderful day! 

28 January 2022

Clearly Besotted Teasers | Bon Voyage

Hello there and welcome to day one of the Clearly Besotted February 2022 Teasers. Release day is Tuesday, 1st February 2022 and until then, we will be sharing teasers with you using the new sets. There are six new sets releasing. All perfect for lots of different occasions! 

For my card today, I am using the new Whatever The Weather set, which has four different backdrops in it for four different seasons/weathers. I am also combining it with the new Whatever The Weather Friends which are perfectly sized for the scenes. 

PLEASE NOTE: This post contains affiliate links. Please see below for my full disclosure.


I started off my card by stamping the beach scene from the Clearly Besotted Whatever The Weather Stamp Set on to a panel of white cardstock with Memento Tuxedo Black Ink. I then coloured the image using Copic Markers (the colours that I used are listed below the supplies area) and fussy cut around the top of the scene, keeping the rest of the panel intact. 


On a separate piece of cardstock, I stamped the dog and plane from the Clearly Besotted Whatever The Weather Friends Stamp Set and coloured those with Copic Markers and fussy cut out with scissors also. I took an A2 white card base and masked off the back of the card, so that I could ink blend on the front. Using Ink Blending Brushes, I blended on Tim Holtz Distress Inks in (bottom to top) Squeezed Lemonade, Dried Marigold, Abandoned Coral and Seedless Preserves


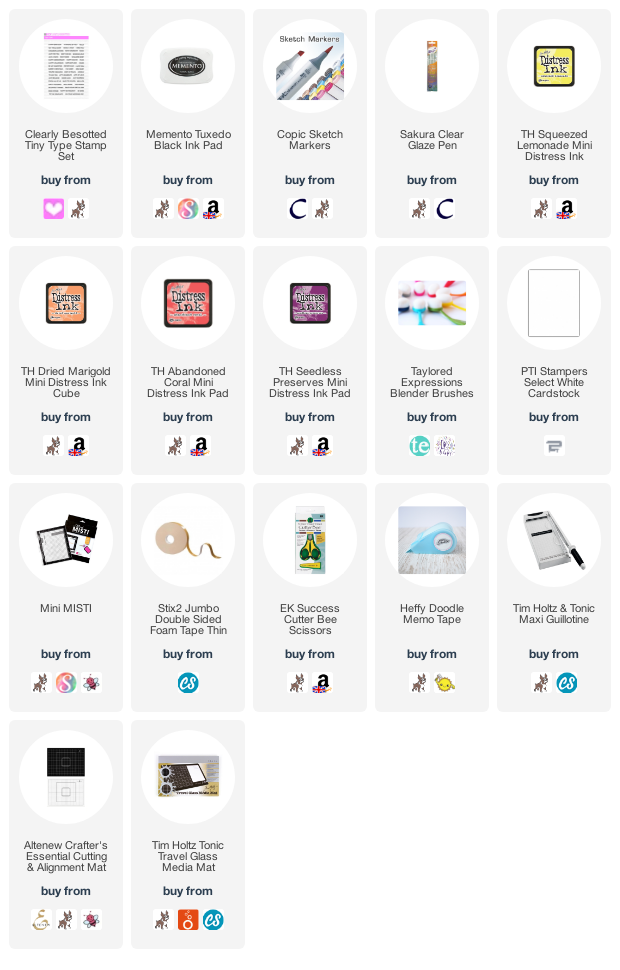
I stamped the sentiment, from the Clearly Besotted Tiny Type Stamp Set on to the image panel and then adhered it on to the card base with thin foam tape. The dog and plane were added with thin foam tape also. To finish off, I added Clear Glaze Pen to the dog's sunglasses. 

SUPPLIES:


Here are the links to what I have used on the project. Affiliate links are used on some products. This means that if you make a purchase after clicking on my link, I receive a small commission with no extra cost to you. I truly appreciate your support when using these links. Please click on the logo below the product to shop at your favourite store. All products were personally purchased except those from Clearly Besotted, Hero Arts or those marked with an asterisk (*) which were kindly sent to me to use. You can read my full disclosure here.


COPIC MARKERS: Mountains - W7, W5, W3, W1. Tree/grass - E57, E55, G28, YG17, YG23, YG01. Sand & stones - E47, E44, E43, E42, E41. Sea/ocean - B18, B16, B12. Dog - E59, E57, E55. Plane - C5, C3, C1, B00. 

I am not even a person who likes the heat, but looking at this scene, I am yearning for warmer days! For more inspiration using the new sets, please head over to the Clearly Besotted Blog as well as my amazing teamie Keren. We also have the fantastic Adelle, Francine and Kitty back guesting with us this month, so please do pop over and see what they have been up to as well. Thanks so much for stopping by today, as always, I really do appreciate it. See you tomorrow for day two. Have a great day! 

27 January 2022

VIDEO | Welcome, Little One

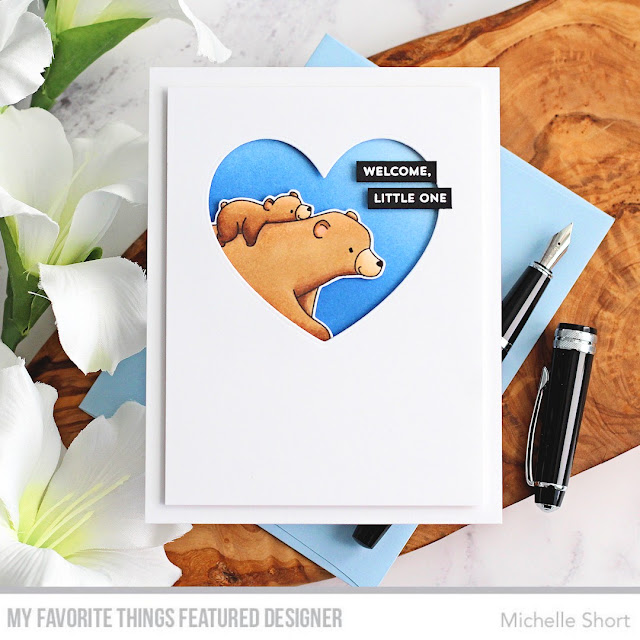
Hello there, I am over on the My Favorite Things YouTube Channel today sharing a card using a  square shaped image but adding it inside a heart shape window to create a new baby card. 

PLEASE NOTE: This post contains affiliate links. Please see below for my full disclosure.


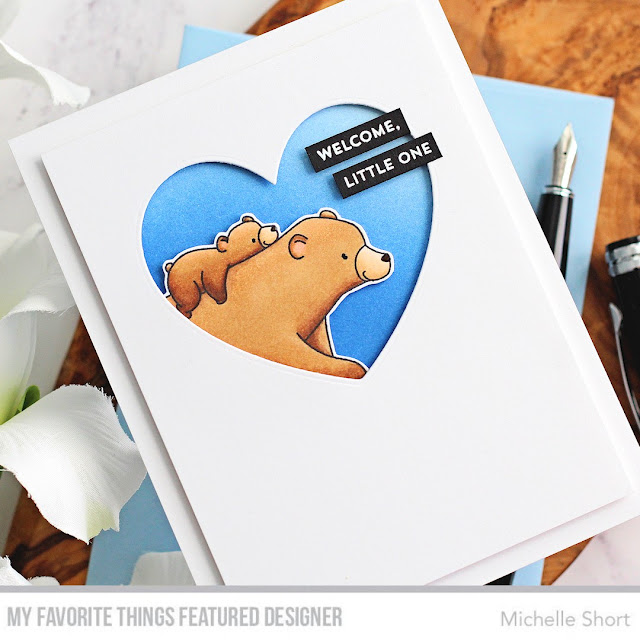
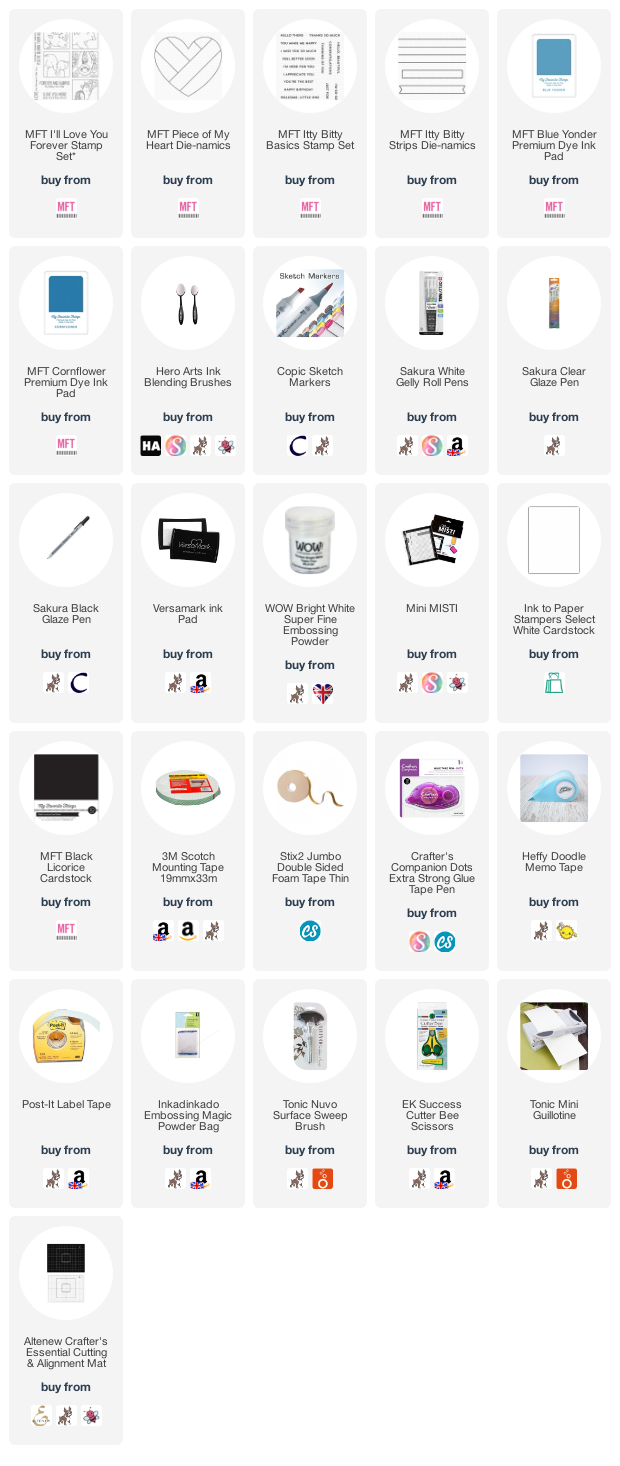
I started off my card by stamping the image from the MFT I'll Love You Forever Stamp Set on to white cardstock with black ink. I then coloured the image with Copic Markers (the colours that I used are listed below the supplies area). It was then fussy cut out with scissors, leaving a small white border. 


I took a 3.75" x 5" panel of white cardstock and die cut the MFT Piece of My Heart Die-namics in the top middle to create a window. I placed this on top of an A2 white card base and drew a pencil line inside the heart as a guide for the background ink blending. I masked off the sides of the card base and then added ink inside with ink blending brushes. I used MFT Blue Yonder Premium Dye Ink first and then intensified with MFT Cornflower Premium Dye Ink


I focused the darker colour towards the bottom left where the image is. The image was added to the card with thin foam tape and the heart panel added on top with regular foam tape. The sentiment, from the MFT Itty Bitty Basics Stamp Set was white heat embossed on black cardstock and die cut out with the MFT Itty Bitty Strips Die-namics and added to the card with foam tape. I finished off by adding Glaze Pen to the bear's noses and Black Glaze Pen to their eyes. 

VIDEO:

Here is the video showing how I made the card:


If you are viewing this blog post via email subscription, you can watch the video HERE on YouTube. 

SUPPLIES:


Here are the links to what I have used on the project. Affiliate links are used on some products. This means that if you make a purchase after clicking on my link, I receive a small commission with no extra cost to you. I truly appreciate your support when using these links. Please click on the logo below the product to shop at your favourite store. All products were personally purchased except those from Clearly Besotted, Hero Arts or those marked with an asterisk (*) which were kindly sent to me to use. You can read my full disclosure here.


COPIC MARKERS: E59, E57, E55, E53, E51, E50, E49, R12. 

Thank you so much for stopping by to see me today, I really do appreciate it. I hope you are well and I wish you a wonderful day!

25 January 2022

Spellbinders | Thanks Bloom

Hello there, I am back today to share another card with you using Yana's Blooms Collection from Spellbinders. I have used the same three products that I used on my previous card but have a slightly different look to the card. 

PLEASE NOTE: This post contains affiliate links. Please see below for my full disclosure.


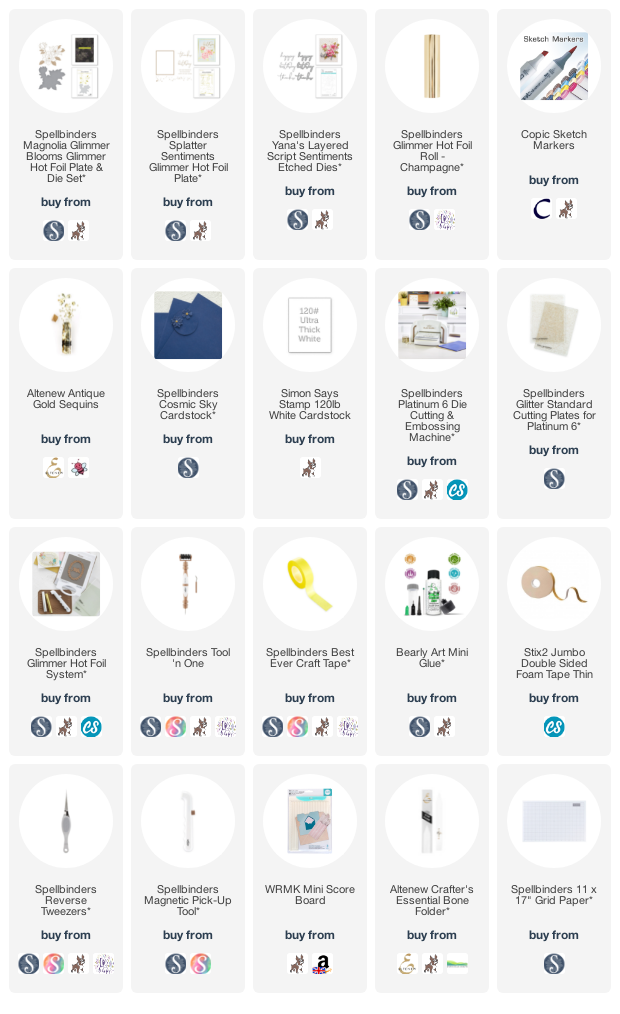
I started off by foiling Spellbinders Magnolia Glimmer Blooms Glimmer Hot Foil Plate & Die Set on to Simon Says Stamp 120lb White Cardstock with Spellbinders Champagne Glimmer Hot Foil Roll. I coloured the image with Copic Markers (B18, B16, B12) and die cut it out with the coordinating die. 

I took the thanks foil plate from Spellbinders Splatter Sentiments Glimmer Hot Foil Plate Set on to more white cardstock with the same foil. I then took the coordinating die from Spellbinders Yana's Layered Script Sentiments Die Set and die cut it out. I also cut the shadow piece another three times from white cardstock to add dimension to the word. 

I took an A2 card base made from Spellbinders Cosmic Sky Cardstock and scored lines in to the front panel using a score board and bone folder. The magnolia was then adhered on top with thin foam tape. The sentiment was layered up so that it was two high on top of the magnolia and four high on the right hand side where it was adhered to the card base. To finish off, I added a few Altenew Antique Gold Sequins

SUPPLIES:


Here are the links to what I have used on the project. Affiliate links are used on some products. This means that if you make a purchase after clicking on my link, I receive a small commission with no extra cost to you. I truly appreciate your support when using these links. Please click on the logo below the product to shop at your favourite store. All products were personally purchased except those from Clearly Besotted, Hero Arts or those marked with an asterisk (*) which were kindly sent to me to use. You can read my full disclosure here.


If you haven't already checked out the collection, I hope you do. There are a few other sets that I do not have that I would like to get my hands on. It's such a pretty collection! Thank you so much for stopping by today, I really do appreciate it. I hope you have a wonderful day! 

23 January 2022

VIDEO | Faux Watercolour Background

Hello there, today I have a tag to share with you using the Altenew Mini Delight Dainty Calla Lily Stamp & Die Set along with a faux watercolour background. I do like traditional watercolours, but sometimes it is easier to get ink pads out to create a faux look instead. 

PLEASE NOTE: This post contains affiliate links. Please see below for my full disclosure.


I did create a card version of this tag, which you can see over on my Instagram account here. I actually came up with the card idea first and then decided to make it in to a tag for the Altenew YouTube Channel. Usually I think of the tag designs first and then make them in to cards, so it was nice to do it the other way around this time! 

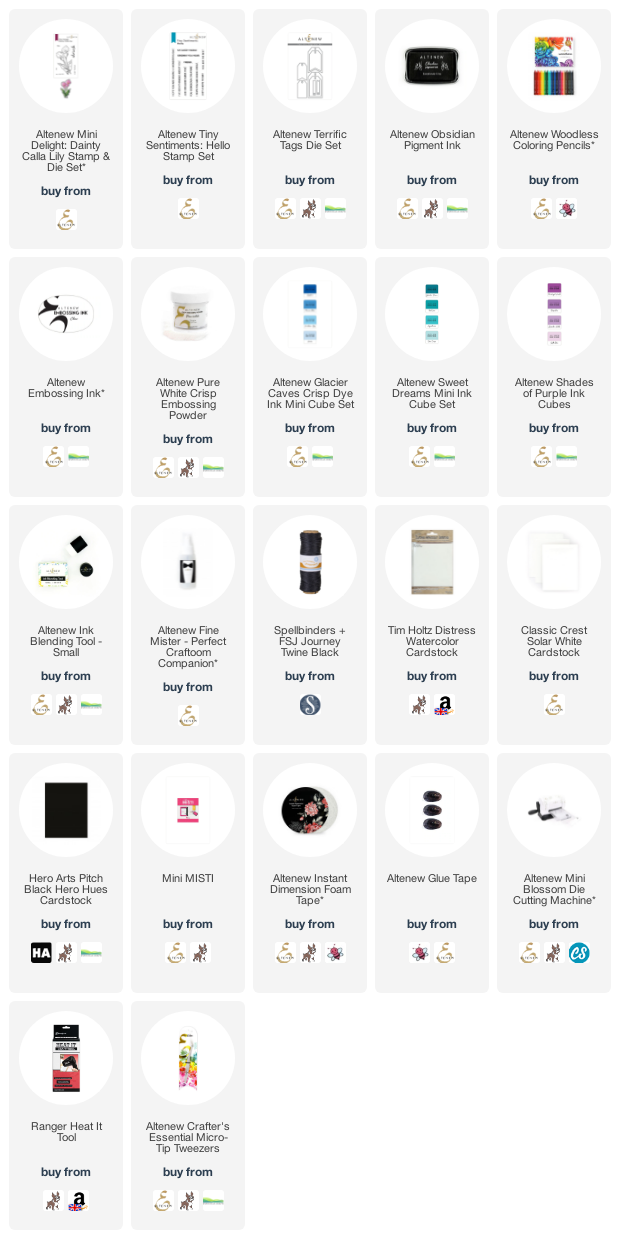
For the background, I started off by adding ink blending to a panel of watercolour paper with Altenew Small Ink Blending Tools. I used Teal Cave in the middle, followed by Persian Blue, later intensified with Sapphire and then Midnight Violet in the corners. Using the Altenew Fine Mister - Perfect Craftroom Companion, I spritzed on a liberal amount of water so that the inks blended together. 

It was dried with a heat tool and then I went back over the panel with the same inks and blended more on top. I then splattered on a few water droplets and let it sit to dry. Once dry, it was die cut using the Altenew Terrific Tags Die Set. I took the Altenew Mini Delight: Dainty Calla Lily Stamp & Die Set and stamped the flowers on to watercolour paper using Altenew Obsidian Pigment Ink

I coloured the image with Altenew Woodless Coloring Pencils (the colours that I used are listed below the supplies area) and then die cut out with the coordinating die. It was adhered on to the tag using Altenew Instant Dimension Foam Tape. The sentiment, from the Altenew Tiny Sentiments: Hello Stamp Setwas stamped on to black cardstock and heat embossed in white. It was cut in to a strip and added to the tag. To finish off, I added twine through the top of the tag. 

VIDEO:

Here is the video showing how I made the tag:

If you are viewing this post via email subscription, you can watch the video HERE on YouTube. 

SUPPLIES:


Here are the links to what I have used on the project. Affiliate links are used on some products. This means that if you make a purchase after clicking on my link, I receive a small commission with no extra cost to you. I truly appreciate your support when using these links. Please click on the logo below the product to shop at your favourite store. All products were personally purchased except those from Clearly Besotted, Hero Arts or those marked with an asterisk (*) which were kindly sent to me to use. You can read my full disclosure here.


WOODLESS COLORING PENCILS: Stem and leaves - Shadow Creek, Grass Field, Limeade, Jet Black. Flowers - Moon Rock, Fresh Lemon, Maple Yellow, Paper Bag. 

I do really like the vibrant background with the less vibrant flower. I think it is a nice contrast. Thank you so much for stopping by to see me today, I really do appreciate it. I hope you have a great Sunday and a wonderful rest of the weekend! 

22 January 2022

Altenew | Paint-A-Flower Camellia Waterhouse Release Blog Hop + Giveaway

Hello there, today sees the release of this month's Paint-A-Flower stamp set from Altenew. This month is called Camellia Waterhouse and is so pretty! Ordinarily, I would colour these Paint-A-Flower sets, but I thought I would do something a little different today and do some emboss resist ink blending instead. We are celebrating the release with a fun, inspiration filled blog hop with prizes. Please see below for more details. 

PLEASE NOTE: This post contains affiliate links. Please see below for my full disclosure.


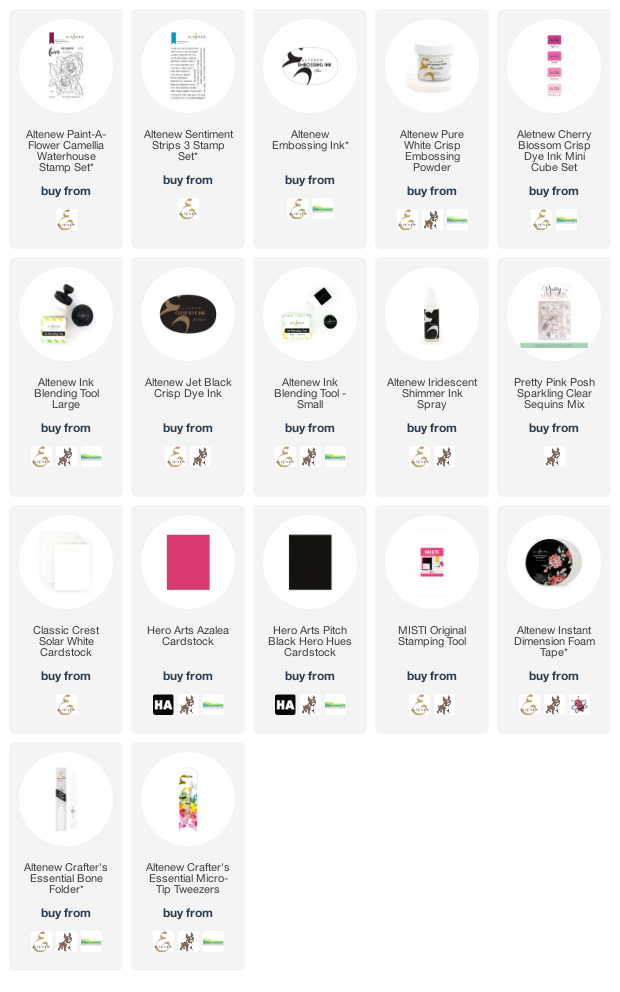
For my card, I started off by stamping the Altenew Paint-A-Flower Camellia Waterhouse Outline Stamp Set on to pink cardstock with Altenew Embossing Ink. I then applied Altenew Pure White Crisp Embossing Powder and heat set. Using an Altenew Large Ink Blending Brush, I blended on Rubellite and Razzleberry Ink from the Altenew Cherry Blossom Crisp Dye Ink Set


Using an Altenew Small Ink Blending Brush, I blended on Altenew Jet Black Crisp Dye Ink to the edges. I removed the excess ink from the embossing powder with a dry cloth. The panel was then splattered with Altenew Iridescent Shimmer Ink Spray and set aside to dry. Once dry, It was adhered to an A2 white card base with Altenew Instant Dimension Foam Tape. I took the sentiment from the Altenew Sentiment Strips 3 Stamp Set and heat embossed it on to black cardstock. It was cut in to a strip and added it to the card with more foam tape. To finish off, I added Sparkling Clear Sequins. 

SUPPLIES:


Here are the links to what I have used on the project. Affiliate links are used on some products. This means that if you make a purchase after clicking on my link, I receive a small commission with no extra cost to you. I truly appreciate your support when using these links. Please click on the logo below the product to shop at your favourite store. All products were personally purchased except those from Clearly Besotted, Hero Arts or those marked with an asterisk (*) which were kindly sent to me to use. You can read my full disclosure here.


BLOG HOP:


As mentioned, this post is part of  a fun, inspiration filled blog hop. For the hop, you should have arrive here from the wonderful Teri Wilson. Next on the hop is the fantastic LauraJane. If you get lost along the hop, or want to start it from the beginning, please head over to the Altenew Blog

GIVEAWAY:


$200 in total prizes! To celebrate this release, Altenew is giving away a $50 gift certificate to 2 lucky winners and a $20 gift certificate to 5 winners! Please leave a comment on the Altenew Card Blog and/or each designer’s blog post on the blog hop list below by 28th January 2022 for a chance to win. Altenew will draw 7 random winners from the comments left on each stop of this blog hop and announce the winners on the Altenew Winners Page on 30th January 2022.

Thank you so much for stopping by to see me today. I really do appreciate it. I hope you have a wonderful time on the rest of the hop and a great weekend! Take care!

20 January 2022

Spellbinders | Birthday Bloom Wishes

Hello there, today I have a card to share with you using Yana's Blooms Collection from Spellbinders. The whole collection is absolutely stunning and I have combined three different sets on my card today. 

PLEASE NOTE: This post contains affiliate links. Please see below for my full disclosure.


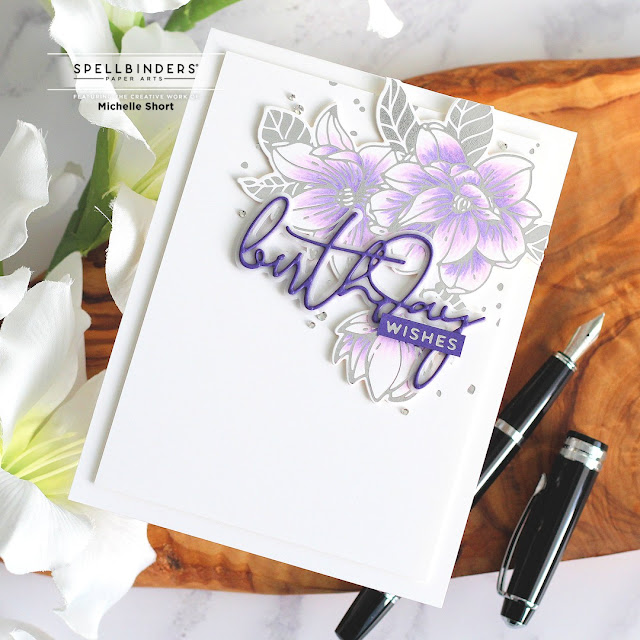
I started off by taking a panel of Simon Says Stamp 120lb White Cardstock and foiled Spellbinders Magnolia Glimmer Blooms Glimmer Hot Foil Plate & Die Set on top with Spellbinders Silver Foil using the Spellbinders Glimmer Hot Foil System. I then coloured the blooms with Copic Markers (V17, V15, V12, V01, V000) and die cut it out using the coordinating die. 


I took another panel of the same cardstock and foiled the splatters from Spellbinders Splatter Sentiments Glimmer Hot Foil Plates in Silver Foil also. The panel was adhered to an A2 white card base with thin foam tape. I then added the magnolia on top with more thin foam tape, cutting the edges off with scissors where it overlapped the card base. 


I took the birthday die from the Spellbinders Yana's Layered Script Sentiments Etched Dies Set and die cut the word from Spellbinders Royal Amethyst Cardstock 4 times with adhesive sheet on the back. I cut the shadow from vellum. I layered up two of the words on top and then two underneath to adhere it to the card. 


I then foiled the 'wishes' from the Splatter Sentiments set on to more Royal Amethyst Cardstock with Silver Foil. It was cut in to a strip and added to the card with thin foam tape. To finish off, I added a few Spellbinders Silver Mix Color Essential Gems

SUPPLIES:


Here are the links to what I have used on the project. Affiliate links are used on some products. This means that if you make a purchase after clicking on my link, I receive a small commission with no extra cost to you. I truly appreciate your support when using these links. Please click on the logo below the product to shop at your favourite store. All products were personally purchased except those from Clearly Besotted, Hero Arts or those marked with an asterisk (*) which were kindly sent to me to use. You can read my full disclosure here.


That bloom is so beautiful and I can see myself using the those splatters and sentiments on so many different cards! I know that magnolias aren't normally purple but I thought it would look nice with the silver foil. Thanks so much for stopping by to see me today, I really do appreciate it. I hope you have a lovely day, take care! 

18 January 2022

Friend, You Got This!

Hello there, today I have a card to share with you using the Simon Says Stamp Chevron Pattern stamp. This is a 6" x 6" background stamp that is perfect to work with lots of other elements. I simply paired it with a sentiment today. 

PLEASE NOTE: This post contains affiliate links. Please see below for my full disclosure.


I started off by stamping the Simon Says Stamp Chevron Pattern Stamp on to white cardstock with Versamark Ink. I applied WOW! Bright White Embossing Powder and heat set. Using Simon Says Stamp Blending Brushes - Large, I blended on Tim Holtz Distress Oxide Inks in (top to bottom) Dried Marigold, Kitsch Flamingo, Picked Raspberry, Wilted Violet and Villainous Potion

I removed the excess ink from the embossing with a dry cloth and then cut the panel down to 3.75" x 5". It was adhered to an A2 white card base with thin foam tape. I die cut the Simon Says Stamp Big Friend Die three times from white cardstock (with adhesive sheet on the back) for the main word and once from vellum for the shadow. They were layered up on top of each other and added to the card with Bearly Art Glue. 

I die cut small flowers from the Spellbinders Petite Floral Potpourri Die Set and added them to the card (two die cuts high). I then took the sentiment from the CZ Design Reverse Sentiment Strips Happy Set and cut it using a Simon Says Stamp Sentiment Label Die. I painted the sides with Memento Tuxedo Black Pen (to cover the white core of the paper) and adhered it to the card with more thin foam tape. To finish off, I added Little Things from Lucy's Cards Soft Black Pearls to the flower centres. 

SUPPLIES:


Here are the links to what I have used on the project. Affiliate links are used on some products. This means that if you make a purchase after clicking on my link, I receive a small commission with no extra cost to you. I truly appreciate your support when using these links. Please click on the logo below the product to shop at your favourite store. All products were personally purchased except those from Clearly Besotted, Hero Arts or those marked with an asterisk (*) which were kindly sent to me to use. You can read my full disclosure here.


The purple looks a bit odd in the photo, like the ink blending is patchy, but in real-life it is perfect; so I am not sure what happened there! There is actually a new release from Simon Says Stamp hitting the shop tomorrow, so be sure to keep your eye out for that! Thank you so much for stopping by to see me today, I really do appreciate it. I hope you have a lovely day! 

15 January 2022

VIDEO | Altenew Tag Shaped Card

Hello there, today I have a tag shaped card to share with you using the Altenew Candystripe Cosmos Layering Stamp & Die Set. This is such a beautiful floral and I thought the shape of it would work well on a tag shaped card. 

PLEASE NOTE: This post contains affiliate links. Please see below for my full disclosure.


To start with, I took the outline of the Altenew Candystripe Cosmos Layering Stamp & Die Set and stamped it on to white cardstock with Altenew Obsidian Pigment Ink. I then stamped the layers on top. What I love about Altenew sets is that you can use the outline on it's own or use the layers. You also do not have to use all of the layers and can just use some. 

I stamped the flower petals using Altenew Cherry Blossom Crisp Dye Inks - Pink Diamond, Pinkalicious and Razzleberry. For the flower centre, I used Altenew Golden Sunset Crisp Dye Inks - Sunray and Snapdragon. For the stem and leaves I used Altenew Green Fields Crisp Dye Inks - Frayed Leaf, Forest Glades and Evergreen. 

When I went to die-cut the image out, I realised that I did not stamp the stem in alignment, so I ended up fussy cutting the image out with scissors. In the video, I show how you can stamp and then die cut making sure that it is in alignment. I die cut two tags from white cardstock from the Altenew Terrific Tags Die Set for the card base. On one, I stamped the sentiment from the set with Obsidian Pigment Ink.

On the other, I scored towards the top to make a hinge for the card base. I then adhered the tags back to back at the hinge. The flower was adhered on top with Altenew Instant Dimension Foam Tape. I added Altenew Cherry Blossom Enamel Dots and then finished off by adding twine through the top and tied in a bow at the front. 

VIDEO:

Here is the video showing how I made the card:

If you are viewing this blog post via email subscription, you can watch it here on YouTube. 

SUPPLIES:


Here are the links to what I have used on the project. Affiliate links are used on some products. This means that if you make a purchase after clicking on my link, I receive a small commission with no extra cost to you. I truly appreciate your support when using these links. Please click on the logo below the product to shop at your favourite store. All products were personally purchased except those from Clearly Besotted, Hero Arts or those marked with an asterisk (*) which were kindly sent to me to use. You can read my full disclosure here.


Do you like creating shaped cards? I usually go for circles but tags make great shaped cards too! Thanks so much for stopping by today, I really do appreciate it. Wishing you a wonderful weekend! 

14 January 2022

VIDEO | MFT Birthday Cupcake

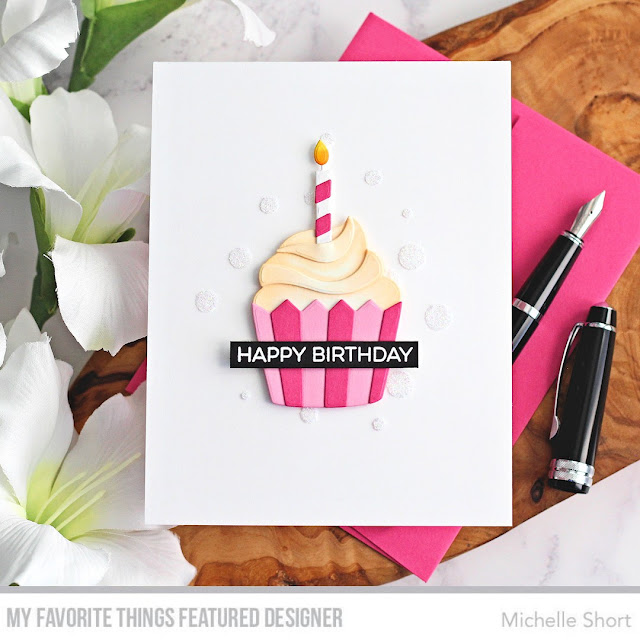
Hello there, I am over on the My Favorite Things YouTube channel today sharing a card using the Frosted Cupcake Die-namics, along with a subtle but sparkly background. 

PLEASE NOTE: This post contains affiliate links. Please see below for my full disclosure.


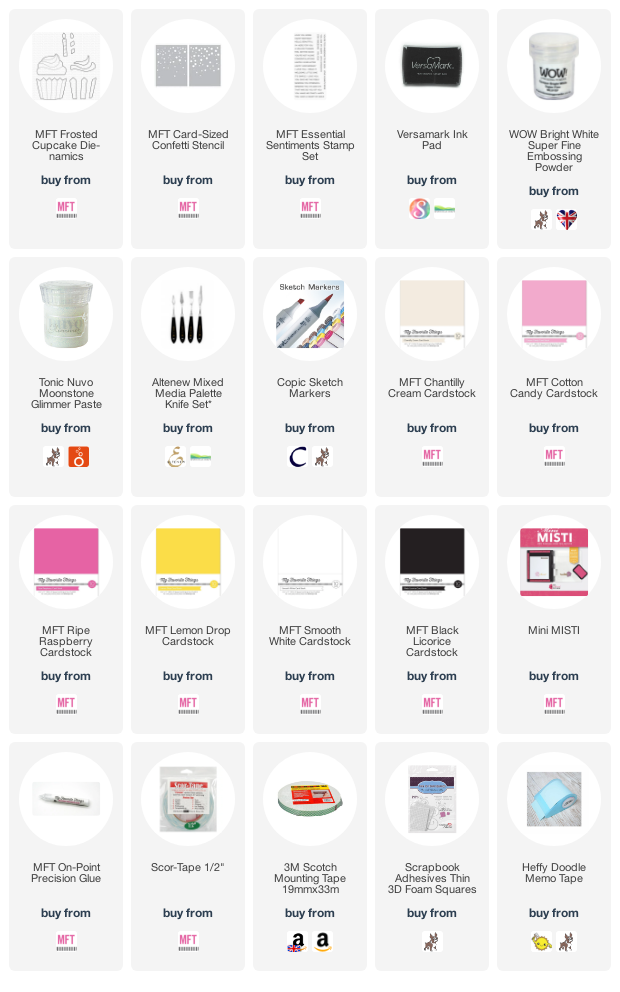
I started off by die cutting the components of the MFT Frosted Cupcake Die-namics from MFT Cardstock. I used Chantilly Cream for the frosting, adding shading to it with E51, E50 and 0 Copic Markers. The wrapper was cut from Cotton Candy and Ripe Raspberry Cardstock. The candle was cut from Smooth White and Ripe Raspberry cardstock and the flame cut from Lemon Drop Cardstock with shading usisng YR16, Y17 and Y13 Copic Markers. 


The pieces were assembled using MFT On-Point Precision Glue. I then took a panel of white cardstock and placed the one of the stencils from the MFT Card Sized Confetti Stencil Set on top. I masked off the excess circles and then added a layer of Nuvo Moonstone Glimmer Paste on top. I removed the stencil and let the panel sit to dry. 


The panel was adhered to an A2 white card base with tape runner and the cupcake added on top with foam tape. I took the sentiment from the MFT Essential Sentiments Set and stamped it on to Black Licorice Cardstock. I applied white embossing powder and heat set. It was cut in to a strip and added to the card with a combination of foam tape and thin foam squares. 

VIDEO:

Here is the video showing how I made the card:


If you are viewing this blog post via email subscription, you can watch the video HERE on YouTube. 

SUPPLIES:


Here are the links to what I have used on the project. Affiliate links are used on some products. This means that if you make a purchase after clicking on my link, I receive a small commission with no extra cost to you. I truly appreciate your support when using these links. Please click on the logo below the product to shop at your favourite store. All products were personally purchased except those from Clearly Besotted, Hero Arts or those marked with an asterisk (*) which were kindly sent to me to use. You can read my full disclosure here.


I really like the background being subtle but still adds some sparkle and added interest to a CAS card. Thanks so much for stopping by to see me today, I really do appreciate it. I hope you have a wonderful day and a great weekend! 
End of code