Showing posts with label Zig Clean Color Real Brush Pens. Show all posts

23 April 2020

Simon Says Stamp | Sunny Days Ahead

Hello there, today I have a card to share with you using the new Tulips Background stamp from Simon Says Stamp's Sunny Days Ahead Release, which is out today. What a great name for a release during these difficult times. Sunny days are ahead, we will get through this! Great news also, Simon Says Stamp have started shipping again with precautions in place and limited staff. Still expect delays, but it is great that they have been able to reopen.
 

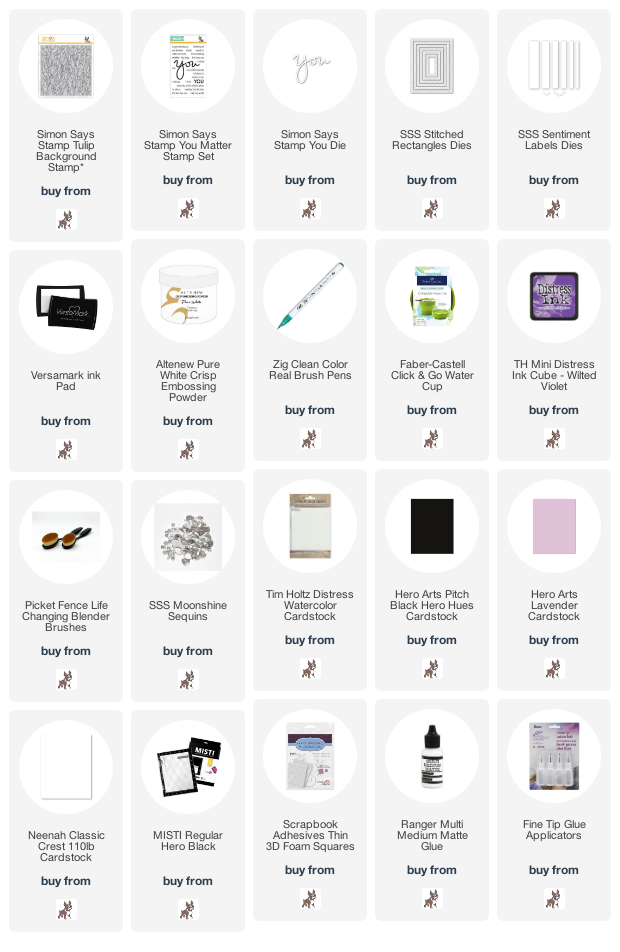
I started off my card by stamping the Simon Says Stamp Tulip Background Stamp on to a piece of Tim Holtz Watercolor Paper (the smooth side) using Versamark Ink. I applied white embossing powder and heat set. I then coloured the image using Zig Clean Color Real Brush Pens (the colours that I used are listed below the supplies area). I added a small amount of colour from the pen and then used a paint brush and water to move the colour out. I did add a few layers for depth of colour but kept it very basic. Once dry, it was then cut out using a Simon Says Stamp Stitched Rectangle Die.
 
 
The panel was adhered to an A2 white card base with thin foam tape. I then die cut the Simon Says Stamp You Die from Simon Says Stamp Lavender Cardstock three times. On the top one, I applied Tim Holtz Wilted Violet Distress Ink, concentrating the colour at the bottom. They were then all stacked up using liquid glue and adhered to the card.
 
 
I took the sentiment from the Simon Says Stamp You Matter Stamp Set and stamped it on to Hero Hues Pitch Black Cardstock with Versamark Ink. I applied white embossing powder and heat set. It was cut in to a strip and added to the card with more thin foam tape. To finish off, I added a few Simon Says Stamp Moonshine Sequins.
 
SUPPLIES:

Here are the links to what I have used on the card. Affiliate links are used on some products. This means that if you make a purchase after clicking on my link, I receive a small commission with no extra cost to you. I truly appreciate your support when using these links. Please click on the logo below the product to shop at your favourite store. All products were personally purchased except those from Clearly Besotted, Hero Arts or those marked with an asterisk (*) which were kindly sent to me to use. You can read my full disclosure here.
 
 
ZIG CLEAN COLOR REAL BRUSH PENS: Purple tulips - 083 Lilac, 080 Violet. Pink tulips - 200 Sugared Almond Pink, 027 Dark Pink. Peach tulips - 071 Flesh Color. Leaves - 045 Pale Green, 041 Light Green. Background - 036 Light Blue.
 
This is such a pretty stamp and I think would look great coloured with lots of different mediums. I hope you will check out the rest of the Sunny Days Ahead collection, it is a fabulous release! Thanks so much for stopping by today. I very much appreciate it. Hope you have a lovely sunny day!

30 May 2019

Clearly Besotted Teasers | Absolutely Fabulous Day

Hello there and welcome to day three of the Clearly Besotted June 2019 Teasers. Not long to go now, the new products release on the 1st June. Today I am using two new sets - Pick A Peony and Simply Said, as well as the new Honeycomb Crunch Stencil.
 

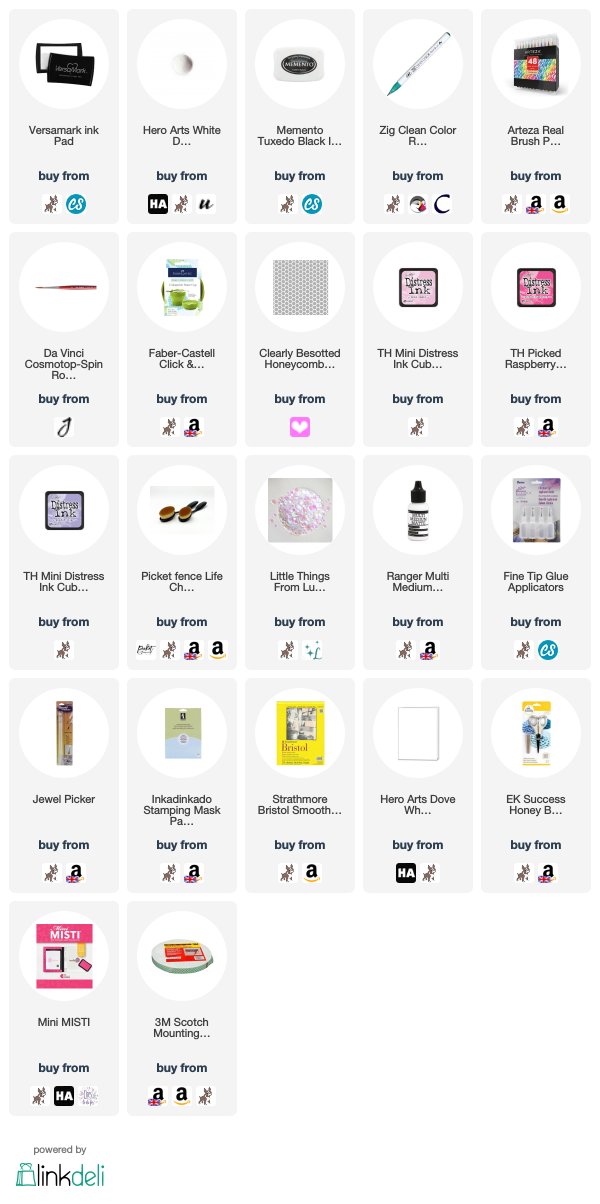
I started of by stamping one of the peony clusters from the Pick A Peony Stamp Set on to a panel of Bristol Smooth cardstock with Versamark Ink. I applied Detail White Embossing Powder and heat set. I then coloured the image with a combination of Zig Clean Color Real Brush Markers and Arteza Real Brush Markers (I have the number of the Zigs listed below but unfortunately, I have an older set of the Arteza pens and there are no colours/numbers on them).
 
 
I first added the colour to the image directly from the pen and then blended this out with water and a paintbrush. I add lighter layers first and then add darker colours for some shading. I used two shades of purple on the petals and two greens on the leaves. Once it was dry, I made a mask for the image from masking paper and added this on top. I first added a light shades of Spun Sugar and Picked Raspberry Distress Inks around the image. I then placed the Honeycomb Crunch Stencil on top and added more of the ink.
 
 
I thought the pink was too bright so I added in some Shaded Lilac Distress Ink over the top to dull it down it a bit. I first added a layer without the stencil and then placed the stencil over the top again before removing the mask. I wanted the stencilling to be fairly subtle but still noticeable. I took the sentiment from the Simply Said Stamp Set and stamped this on to the panel with Memento Tuxedo Black Ink. The panel was added to a white card base with foam tape. To finish off, I added a few Lucy's Pink Moonstone Sequins.
 
SUPPLIES:

Here are the links to what I have used on the card. Affiliate links are used on some products. This means that if you make a purchase after clicking on my link, I receive a small commission with no extra cost to you. I truly appreciate your support when using these links. Please click on the logo below the product to shop at your favourite store. All products were personally purchased except those from Clearly Besotted, Hero Arts or those marked with an asterisk (*) which were kindly sent to me to use. You can read my full disclosure here.
 
 
ZIG CLEAN COLOR REAL BRUSH PENS: Petals - 080 Violet, 083 Lilac. Leaves - 033 Persian Green + Arteza light green.
 
Even though the honeycomb pattern wouldn't usually go with flowers, I thought it worked quite well on this card. And that new sentiment set? It is already one of my favourites! I do need to apologise for the photos, though. My camera was just not playing nice with the colours on this one, sadly. For more inspiration using the new release, please do pop over to the Clearly Besotted Blog, as well as Keren and Lisa. Thanks so much for visiting me today, see you tomorrow for my final teaser card. Have a great day!

14 November 2018

40th Birthday Flowers

Hello there, today I have a card to share that I made back in August for my Sister-in-Law for her 40th Birthday. I am now finally getting around to sharing it.
 

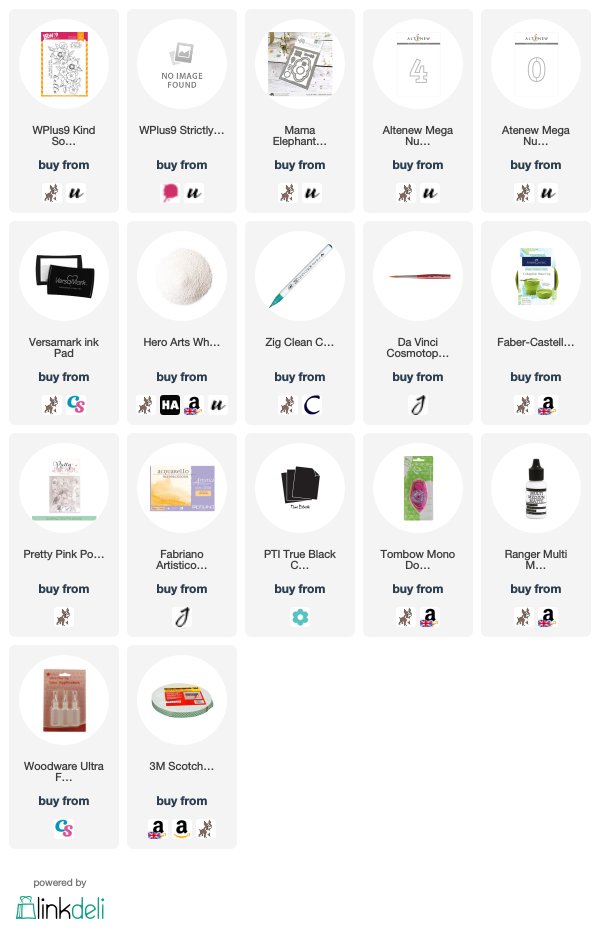
I started off by stamping the WPlus9 Kind Soul flowers on to a panel of Fabriano watercolour paper with Versamark Ink. I applied white embossing powder and heat set. The panel was then coloured using Zig Clean Color Real Brush Pens, a paintbrush and water (the colours I used are listed below the supplies section). Once the panel was dry, I die cut it using the largest rectangle die in the Mama Elephant Cloud Nine die set.

 
I then took the Altenew Mega Numbers dies and die cut the 4 and 0 from the middle. I cut a further four numbers from white cardstock. I adhered the panel flat to an A2 white card base with tape runner and then stacked the white cardstock numbers up and added them in to the gaps. The image panel ones were added on top to complete the design through the panel.
 
 
I stamped the sentiment from the WPlus9 Strictly Sentiments 1 stamp set on to black cardstock with Versamark Ink. I applied white embossing powder and heat set. This was then cut in to a strip and added to the card with foam tape. To finish off, I added a few Sparkling Clear Sequins.
 
SUPPLIES:

Here are the links to what I have used on the card. Affiliate links are used on some products. This means that if you make a purchase after clicking on my link, I receive a small commission with no extra cost to you. I truly appreciate your support when using these links. Please click on the logo below the product to shop at your favourite store. Products marked with an asterisk (*) were kindly sent to me to use.
 
 
ZIG CLEAN COLOR REAL BRUSH PENS: Pink flowers - Pink 025, Geranium Red 029. Purple flowers - Lilac 083, Violet 080. Leaves - Light Green 041, Turquoise Green 042. Blue - Light Blue 036.
 
Unfortunately I have only just got around to editing the photos and they are not the best, so I do apologise for that. Thank you so much for visiting me today, I hope you have a great day!

25 May 2018

VIDEO | Studio Katia 2nd Anniversary Blog Hop

Hello there, I am delighted to be taking part in Studio Katia's 2nd Birthday Celebration Blog Hop today. They have released a wonderful new collection of stamps, dies, stencils and embellishments. To celebrate both the release and the anniversary, there is a two day hop going on today and tomorrow.  If you are following along in the hop, you should have arrived here from the amazing Rubeena. I have more details on the hop below :)
 

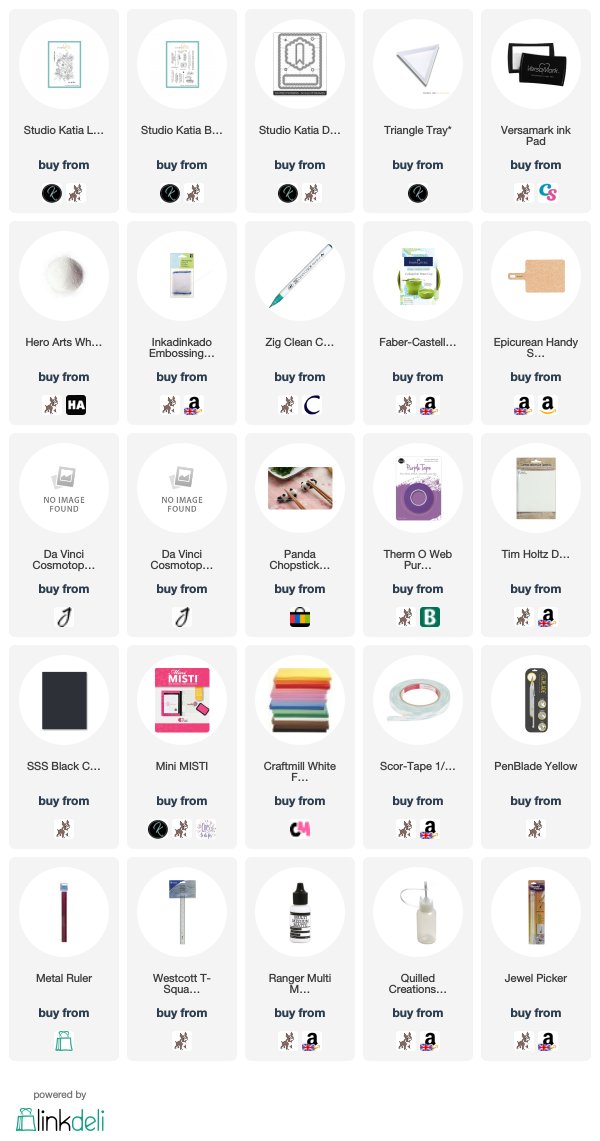
I am using the gorgeous new Lovely Blooms stamp set today, along with the new Birthday Greetings set. I started off by stamping the floral image from the Lovely Blooms set on to TH watercolour paper. I stamped it with Versamark Ink and then applied detail white embossing powder. This was then heat set. The image was coloured using Zig Clean Color Real Brush Pens (the colours I used are listed below the supplies section).
 
 
The panel was then die cut using the largest frame from the Dotted Patterns Scallop Frame Die collection. This was added to a white A2 card base with foam sheet and DST. I took one of the sentiments from the Birthday Greeting stamp set and stamped this on to black cardstock with Versamark Ink. I applied the same detail white embossing powder and heat set. This was then cut in to a strip using a craft knife and metal ruler. It was added to the card with clear foam tape. To finish off, I added a sprinkling of clear gems from the new Spring Gems collection, which is a free gift with purchase this month.


VIDEO:

Here is the video showing how I made the card:


SUPPLIES:

Here are the links to what I have used on the card. Affiliate links are used on some products. This means that if you make a purchase after clicking on my link, I receive a small commission with no extra cost to you. I truly appreciate your support when using these links. Please click on the logo below the product to shop at your favourite store. Products marked with an asterisk (*) were kindly sent to me to use.
 

ZIG CLEAN COLOR REAL BRUSH PENS: Large purple flowers - Light Violet 081, Violet 080. Pink flowers - Pink 025, Carmine Red 022, Geranium Red 029. Small purple flower heads - Lilac 083. Small coral flowers - Pale Pink 028, Pink 025, Yellow 050. Light green leaves - Light Green 041. Darker green leaves - Green 040, Yellow 050. Teal leaf branches - Turquoise Green 042. Outside shadow/colour - Light Blue 036.


BLOG HOP:

 
For the hop, you should have arrived here from the amazingly talented Rubeena. Next in the hop is the super talented Kaja. For more information on the hop and to start from the beginning, please head over to the Studio Katia Blog. Remember that there will be another hop tomorrow with lots more inspiration too.


GIVEAWAY:

Studio Katia are giving away two $100 (CAD) gift certificates to the Studio Katia store on each day of the hop. That is four chances to win! The winners will be chosen from the comments left across all the stops in the hops, so the more you comment, the more chances you have to win. Comments close on Saturday 2nd June 2018 at 11.59pm EST. The winners will be announced on the Studio Katia blog on the 3rd June. Good Luck!

Thank you so much for visiting me today. I hope you have a wonderful time on the rest of the hop!

30 August 2017

Scrumptious Birthday

Hello there, today I have a card to share using the gorgeous Just For you set from Clearly Besotted. I love the large ranunculus image in the set and thought it would work well for water colouring. I have combined it with the Scrumptious Script set to make a birthday card.
 

I started off by stamping the ranunculus image on to watercolour paper using Versamark Ink. I applied white embossing powder and heat set. I coloured the image using Zig Clean Color Real Brush pens (colours used listed below the supplies section) along with water and a paint brush. The image was then fussy cut out with scissors.
 
 
I took a white A2 card base and added a strip of paper from the MFT Black & White Basics Paper Pad on to the left hand side. I then added a panel of white cardstock to the right. On to this panel, I stamped the sentiment from the Scrumptious Script set, in Memento Tuxedo Black Ink. I then added the flowers on top with foam tape. To finish off, I added a few Lucy's sequins and jewels with Multi Medium Matte.
 
SUPPLIES:
Here are the links to what I have used on the card. Affiliate links are used on some products. This means that if you make a purchase after clicking on my link, I receive a small commission with no extra cost to you. I truly appreciate your support when using these links. Please click on the logo below the product to shop at your favourite store. Products marked with an asterisk (*) were kindly sent to me to use.
 
 
ZIG CLEAN COLOR REAL BRUSH PENS - Flowers: 025 Pink, 081 Light Violet. Big leaves: 045 Pale Green, 041 Light Green. Small flowers: 042 Turquoise Green.
 
This is a really great image to colour if you don't like spending too much time colouring. The ranunculus are so easy to colour and I think they will look great however you do it! Thanks so much for visiting me today. I hope you have a great day!

14 February 2017

Hero Arts 2017 Catalogue Blog Hop + Giveaway

Hello there, today is the day! The Hero Arts 2017 Catalogue is revealed and the products will be available in the Hero Store today. They will be in retailers soon too. Today we have a fun blog hop to celebrate the release. You should have arrived here from the amazing Libby, but if you get lost along the way, there is a full list of participants below.
 

There is so many amazing products in the catalogue that it was difficult for me to choose what I wanted to use today. The catalogue is filled with new stamps, dies, inks, embellishments and so much more! I have made two cards to share with you today. The first uses the gorgeous Artistic Dahlia stamp (wood mounted).
 

I started off with a piece of watercolour paper and stamped the Artsitic Dahlia twice on to it using Versamrk ink. I applied White Embossing Powder to them and then heat set. I then had fun colouring them using Zig Clean Color Real Brush Pens (colours used listed below the supplies section) along with water and a paintbrush.


Once dry, I added the flower panel to a black A2 card base with tape runner. The sentiment is from the Thanks Stamp & Cut Set (this is in the new catalogue but was released a little while ago).  I cut the thanks from black cardstock three times and stacked them up. It was added to the card with Multi Medium Matte. To finish off, I added a few sequins. Sadly I haven't managed to get my hands on the new Hero Arts Ombre sequins but I can see by the photos that they are gorgeous!


SUPPLIES:
Here are the links to what I have used on the card. Please click on the picture or wording to be taken to where I purchased it. Affiliate links are used on some products. This means that if you make a purchase after clicking on my link, I receive a small commission with no extra cost to you. I truly appreciate your support when using these links. Please click on the letters below the product to shop at your favourite store - Simon Says Stamp (SSS), Hero Arts (HA), Seven Hills Crafts (SHC) Amazon (AZ) etc. Products marked with an * were kindly sent to me to use.

ZIG CLEAN COLOR REAL BRUSH PENS - Top Dahlia: 083 Lilac, 080 Violet, 081 Light Violet. Bottom Dahlia: 083 Lilac, 080 Violet, 031 Cobalt Blue. Leaves: 045 Pale Green, 041 Light Green, 040 Green. Shadow: 036 Light Blue.

My next card uses the gorgeous new Color Layering Poppy Stamp Set and coordinating dies. I started off by stamping the poppy heads using three red shades of ink. I used Fresh Peach for the bottom layer, then Pale Tomato and finished off with Red Royal. The inside portion was stamped with Intense Black ink. The stems were stamped with Field Greens ink. These were then cut out using the dies.


I took an A2 black card base and dry embossed the Floral Pattern Stencil on to the front, to give it a little added detail. I then cut an oval of the new Woodgrain Vellum using the new Nesting Oval Infinity Dies. This was added to the card base with Stick It. The poppy stems were added to the card with Multi Medium Matte and then the poppy heads added with foam tape.


The sentiment, from the new Color Layering Fuchsia Stamp Set was, was stamped on to black cardstock with Versamark and then heat set with white embossing powder. This was also added to the card with foam tape. To finish off, I added a few Midnight Black Accent Pearls.

SUPPLIES:
Here are the links to what I have used on the card. Please click on the picture or wording to be taken to where I purchased it. Affiliate links are used on some products. This means that if you make a purchase after clicking on my link, I receive a small commission with no extra cost to you. I truly appreciate your support when using these links. Please click on the letters below the product to shop at your favourite store - Simon Says Stamp (SSS), Hero Arts (HA), Seven Hills Crafts (SHC) Amazon (AZ) etc.


BLOG HOP:

Here is a full list of the participants in the top:
 
Michelle Short - You are here!
 
GIVEAWAY:
Hero Arts are giving away three $25 shopping sprees, drawn from the comments left across all blogs in the hop. Please leave comments by Tuesday, February 21st at 23.59 PT ( Wednesday, February 22nd at 07.59 GMT) and the winner will be announced the following week.

As you can see, the next person on the hop is the amazing Jana. I hope you enjoy the whole hop and get lost of inspiration from it. Thank you so much for visiting me today.  I hope you have a great Valentine's Day!
End of code