31 July 2020

Clearly Besotted Teasers | Have A Mice Day

Hello there and welcome to day four of the Clearly Besotted August 2020 Teasers. Only one more sleep till the new stamps hit the shops tomorrow! For my last teaser, I am using the adorable Undercover Plushies set which is full of the most adorable little mice with flowers!
 

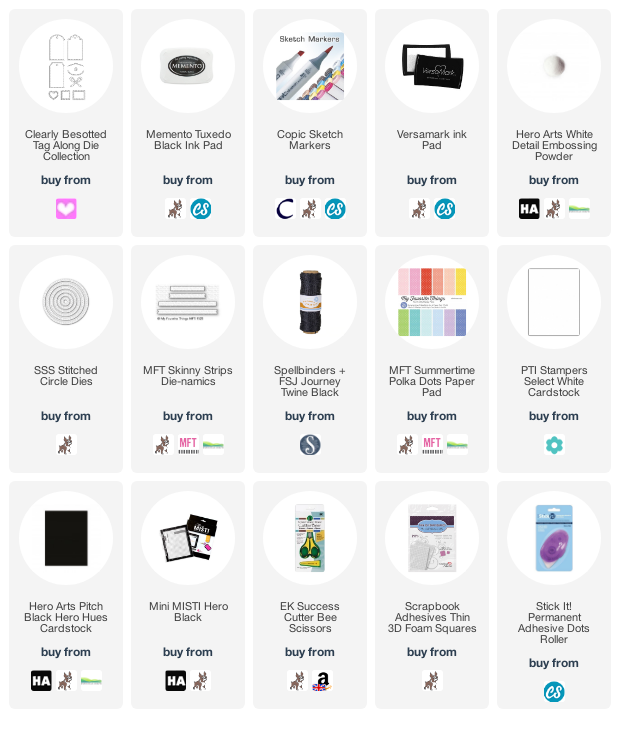
For my tags, I started off by die cutting the scallop edged and straight edged tag from the Clearly Besotted Tag Along Die Collection twice from white cardstock (for each tag) and then also from yellow and aqua paper from the MFT Summertime Polka Dots Paper Pad. I adhered the paper and white tags back to back (to give stability to the tags but also to have a clean back of the tag too). I then cut the hole reinforcer from black cardstock and adhered that on top.
 
 
I cut two Simon Says Stamp Stitched Circle Dies from white cardstock and adhered them on top of the tags with thin foam tape. I then took two of the mice images from the Clearly Besotted Undercover Plushies Stamp Set and stamped them on to white cardstock with Memento Tuxedo Black Ink.
 
 
They were coloured using Copic Markers (the colours that I used are listed below the supplies area) and fussy cut out with scissors. The mice were added to the tags with more thin foam tape.
 
 
I then took the sentiments from the set and stamped them on to black cardstock with Versamark Ink. I applied white embossing powder and heat set. They were cut in to strips and added to the tags with more thin foam tape. To finish of, I added twine through the tops of the tags and tied in bows.
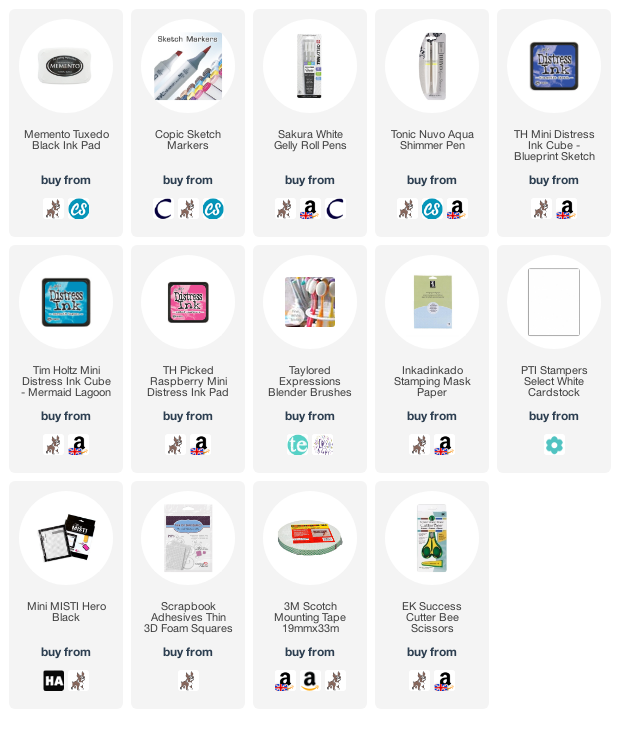
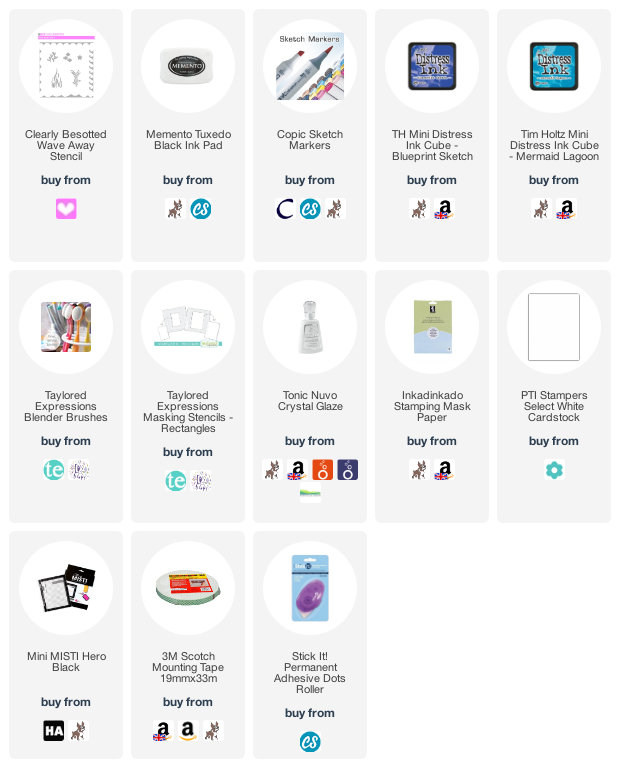
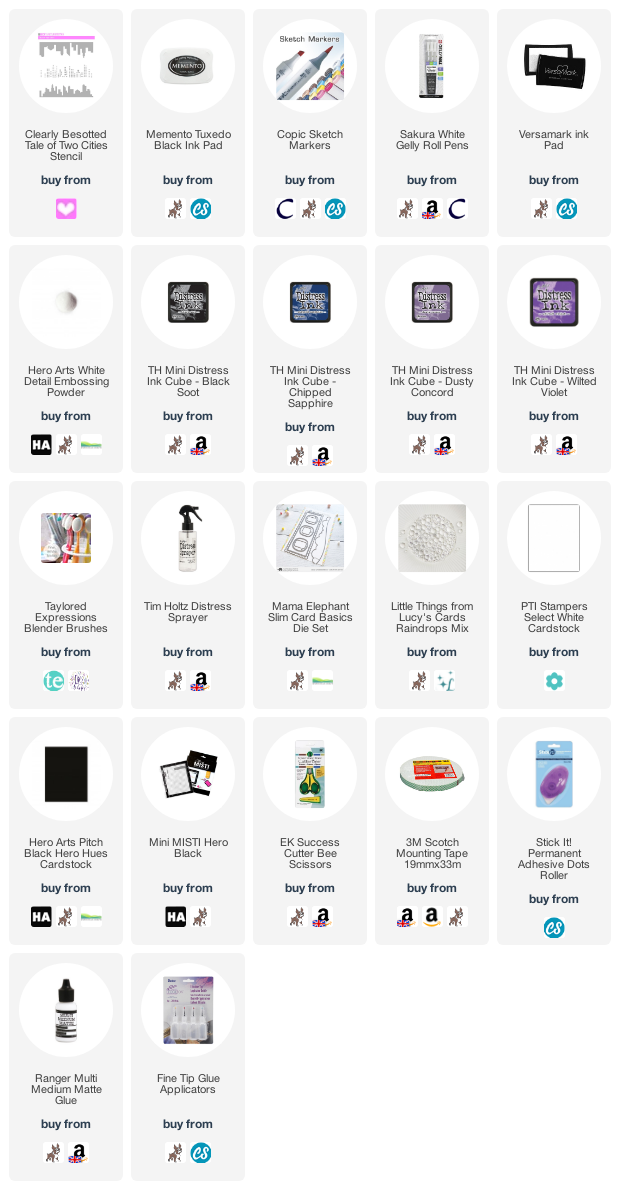
 
SUPPLIES:
 
Here are the links to what I have used on the tags. Affiliate links are used on some products. This means that if you make a purchase after clicking on my link, I receive a small commission with no extra cost to you. I truly appreciate your support when using these links. Please click on the logo below the product to shop at your favourite store. All products were personally purchased except those from Clearly Besotted, Hero Arts or those marked with an asterisk (*) which were kindly sent to me to use. You can read my full disclosure here.
 
 
COPIC MARKERS: Mice - W7, W5, W4, W3, W2, W1, R00, R000. Yellow flower - YR14, Y17, Y15, Y13, Y11, E77, E74, E71. Aqua flower - BG13, BG11, BG10, Y13, Y11, Y00. Stems - G29, YG17, YG25, YG03, YG01.
 
I love these mice, they are so cute! For more inspiration using the new release, please visit the Clearly Besotted Blog, Keren, Lisa and our wonderful guest designer Keeway. That's it for the teasers for me but I will be back tomorrow taking a look at the whole release, including two sets that I haven't shared with you yet. I hope you will join me then. Thanks so much for stopping by, I hope you have a lovely day!

30 July 2020

Clearly Besotted Teasers | Tutu Sweet

Hello there and welcome to day three of the Clearly Besotted August 2020 Teasers. Release day is Saturday 1st August, so not long to wait now! For my card today I am using the adorable Pirouetting Plushies set. These dancing penguins are just the cutest!
 

I started off my card by stamping the rainbow image from the Clearly Besotted Pirouetting Plushies Stamp Set on to a 4" x 5.25" panel of white cardstock with Memento Tuxedo Black Ink. I then made a mask for the rainbow (the image is all one - the two rainbows and three clouds) and placed it over the top. Using blending brushes, I blended on Tim Holtz Blueprint Sketch Distress Ink at the top, followed by Mermaid Lagoon and then Picked Raspberry at the bottom.
 
 
The mask was removed and the rainbow and clouds coloured with Copic Markers (the colours that I used are listed below the supplies area). The sentiment from the set was stamped in the top left hand corner and then the panel adhered to an A2 white card base with foam tape.
 
 
On to a separate piece of cardstock, I stamped three of the penguins from the set on to white cardstock with more black ink. I coloured them using Copic Markers and fussy cut them out with scissors. They were added to the card with thin foam tape. To finish off, I added Tonic Aqua Shimmer Pen to the rainbows and tutus, followed by white gel pen stars and twinkles around the penguins.
 
SUPPLIES:
 
Here are the links to what I have used on the card. Affiliate links are used on some products. This means that if you make a purchase after clicking on my link, I receive a small commission with no extra cost to you. I truly appreciate your support when using these links. Please click on the logo below the product to shop at your favourite store. All products were personally purchased except those from Clearly Besotted, Hero Arts or those marked with an asterisk (*) which were kindly sent to me to use. You can read my full disclosure here.
 
 
COPIC MARKERS: Penguins - BV29, BV25, BV23, YR12, C2, C00. Tutus - BG13, BG11, BG10/R85, R83, R81/V17, V15, V01. Clouds - BG10, BG000, BG0000. Rainbow - R85, R83, R81, BG13, BG11, BG10, B02, B00, B000, V17, V15, V12.
 
There are lots of other wonderful penguins in the set, including ones wearing bow ties! So cute! For more inspiration using the new release, please head over to the Clearly Besotted Blog, Keren, Lisa and our fabulous guest designer Keeway. Thanks so much for stopping by today, see you tomorrow for day four. I hope you have a lovely day!

29 July 2020

Clearly Besotted Teasers | Long Time No Sea

*This is my second post of the day, please see below for my Spellbinders post and video*

Hello there and welcome to day two of the Clearly Besotted August 2020 Teasers. Today I am using the super cute Dive Right In set, which is filled with adorable puppies having fun diving!


I started off my card by taking a panel of white cardstock and placing the Taylored Expressions Rectangle Masking Stencil on top. This masked off the edges of the panel so that I could stamp and ink blend inside. With the mask stencil in place, I first stamped the sea bed/ship wreck image from he Clearly Besotted Dive Right In Stamp Set at the bottom, using Memento Tuxedo Black Ink. I then made a mask for the image from mask paper, cut it out and placed it on top.
 

I took the Clearly Besotted Wave Away Stencil and placed it on top. Using a blending brush, I then blended on Tim Holtz Distress Ink in Blueprint Sketch and Mermaid Lagoon Ink. I started at the bottom and moved the stencil up as I went. All the stencils and masks were then removed and the sea bed coloured using Copic Markers (the colours that I used are listed below the supplies area).
 

I stamped the sentiment from the set in the top left hand corner with more Memento Tuxedo Black Ink and then adhered the panel on to a white A2 card base with tape runner. I took the puppy and fish images from the Clearly Besotted Dive Right In Stamp Set and stamped them on to white cardstock with more black ink. They were coloured with Copic Markers and fussy cut out with scissors. They were then added to the card with foam tape. To finish off, I added Crystal Glaze to the mask/googles on the puppy.

SUPPLIES:

Here are the links to what I have used on the card. Affiliate links are used on some products. This means that if you make a purchase after clicking on my link, I receive a small commission with no extra cost to you. I truly appreciate your support when using these links. Please click on the logo below the product to shop at your favourite store. All products were personally purchased except those from Clearly Besotted, Hero Arts or those marked with an asterisk (*) which were kindly sent to me to use. You can read my full disclosure here.
 

COPIC MARKERS: Puppy - E59, E57, E55. Flipper - C8, C7, C5. Googles - V17, V15, V12, B00, B000. Fish - Y17, Y15, Y13, Y11/YR18, YR16, YR15, YR12. Ship - E59, E57, E55, E49, Y28, Y26, V17, V15, V12, V01. Sand - E44, E43, E42, E41. Seaweed - G29, YG17, YG25, YG03, YG01/BG75, BG72. Anchor - C3, C1. Bottle - E55, E53, B00, B000.
 
This set is so fun! You could make some really wonderful scenes with it using lots of other coordinating sets too. For more inspiration using the new release, please head over to the Clearly Besotted Blog, Keren, Lisa and our wonderful guest Keeway. Thanks so much for stopping by today, see you tomorrow for day three! I hope you have a lovely day!

VIDEO | Clean & Simple Christmas Foiling

Hello there, today I have three clean and simple projects to share with you using the Spellbinders Glimmering Christmas Project Kit. The kit contains three glimmer foil plate sets and two etched die sets, along with supplies to create four pre-kitted projects. Although the sky's the limit with what you can create with the kit, my three projects use the sets in the kit plus a few extra supplies.
 
 
The Project Kit can be purchased now from the Spellbinders store and the sets in the kit can be purchased separately from 10th August 2020. Although one of my projects is Christmas themed, the other two are more winter/holiday themed so perfect for those who celebrate Christmas or those who do not. They all use the Spellbinders Glimmer Hot Foil System, along with the Spellbinders Platinum 6 Die Cutting Machine.
 

FOILING WITH ETCHED DIES
 

My first card uses the Spellbinders Die D-Lites Joyful Christmas Tree Etched Dies. These dies work so that you can create either a solid shape or an outline for the tree branches and layer them up to create a tree. When I made the card, I thought that the inside portion of the dies were glimmer plates! So I used them to foil with. As you can see, they worked perfectly fine and you can foil with any of your normal cutting dies, but I did want to mention it here just in case there was any confusion.
 
 
The dies were foiled on to white cardstock with Spellbinders Silver Foil and then die cut with the outside pieces of the dies. I also foiled the sentiment from the Spellbinders Holiday Sentiment Series 2 Glimmer Hot Foil Plates & Die Set on to FSJ Black Licorice Cardstock using the same silver foil. They were cut in to strips using the die that comes in the set. I took a white A2 card base and masked off the edges, I then blended on FSJ Turbo Teal True Color Fusion Ink. The tree pieces and sentiment strips were then added on top with foam squares. To finish off, I added a few sequins.
 

VELLUM TAG
 

I thought it would be fun to create a vellum tag for my next project using the Spellbinders Glimmer Poinsettia Glimmer Hot Foil Plate & Die Set. I foiled the poinsettia petals on to white cardstock using Spellbinders Rose Gold Foil. I then cut the pieces out using the coordinating dies. They were layered up one on top of another using a small dab of Journey Craft Glue. For the leaves, I decided to just cut them from white cardstock and not foil them.
 
 
I die cut a tag from vellum and then cut the bottom off as I thought it was a bit too tall for what I wanted. The poinsettia and leaves were added on top with more craft glue and then I foiled the sentiment from the Spellbinders Holiday Sentiment Series 2 Glimmer Hot Foil Plates & Die Set on to black cardstock with more rose gold foil and cut in to a strip. It was added to the tag with foam squares. To finish off, I added a few Iridescent Jewels and twine through the top of the tag.
 

IRIDESCENT FOILED PATTERNS


My final project today uses the Spellbinders Christmas Sweater Borders Glimmer Hot Foil Plate Set. This set has three sizes of plate and can create fun patterned backgrounds. I started off by die cutting a piece of FSJ Lavender Fusion Cardstock using a Spellbinders Nestabilities Standard Circle Die. Using FSJ Lavender Fusion True Color Fusion Ink, I blended it on to the bottom of the circle for some added depth. I then foiled the largest of the borders on to it using Spellbinders Opal Foil Roll.
 
 
I took a panel of white cardstock and embossed the next largest size of circle from the Nestabilities circles and then adhered the panel on to an A2 white card base. The foiled circle was added on top with foam squares. I took the 'greeting' sentiment from the Spellbinders Christmas Mix & Match Sentiments Etched Dies Set and cut it three times from FSJ Pretty Pansy Cardstock. They were adhered one on top of another and added to the card. I then foiled the 'from me to you' sentiment from the Spellbinders Holiday Sentiment Series 2 Glimmer Hot Foil Plate & Die Set on to white cardstock with Spellbinders Black Foil Roll. It was adhered on to the card using foam squares. To finish off, I added sequins using craft glue.
 

VIDEO:

Here is the video showing how I made the cards:


If you are viewing this blog post via email subscription, you can watch the video here on YouTube.
 

SUPPLIES:

Here are the links to what I have used on the card. Affiliate links are used on some products. This means that if you make a purchase after clicking on my link, I receive a small commission with no extra cost to you. I truly appreciate your support when using these links. Please click on the logo below the product to shop at your favourite store. All products were personally purchased except those from Clearly Besotted, Hero Arts or those marked with an asterisk (*) which were kindly sent to me to use. You can read my full disclosure here.
 
 
For more inspiration using the kit, please head over to the Spellbinders Blog and YouTube channel. Thank you so much for visiting me today, I will be back a little later with my Clearly Besotted Teaser.

28 July 2020

Clearly Besotted Teasers | Super Birthday

Hello there and welcome to the start of the Clearly Besotted August 2020 Teasers. The August release will hit the shops on Saturday 1st August at 8pm BST but from now until then, we will be sharing teasers with you using the new sets. I'm kicking things off today using the new Super Plushies set.
 

I started off my card by stamping three of the critters from the Clearly Besotted Super Plushies Stamp Set on to white cardstock with Memento Tuxedo Black Ink. I then coloured them using Copic Markers (the colours that I used are listed below the supplies area) and fussy cut out using scissors.
 
 
I then set about creating my background scene. I took a panel of white cardstock and die cut it using the stitched rectangle from the Mama Elephant Slim Card Basics Die Set. Using blending brushes I then blended on Tim Holtz Dusty Concord and Wilted Violet Distress Inks, concentrating the darker colour towards the top. I added a little Chipped Sapphire at the top to help darken it up a little. I then splattered on some water to create some added interest.
 
 
Once the panel was dry, I placed the Clearly Besotted Tale of Two Cities Stencil at the bottom and blended on Tim Holtz Black Soot Distress Ink for the buildings. The stencil was removed and the panel added to a 3.5" x 8.5" white card base with tape runner. The plushies were then added on top with foam tape. I took the sentiment from the set and stamped it on to black cardstock with Versamark Ink. I applied white embossing powder and heat set. It was cut in to a strip and added to the card with more foam tape. To finish off, I added a few Raindrops with Multi Medium Matte adhesive.
 
SUPPLIES:

Here are the links to what I have used on the card. Affiliate links are used on some products. This means that if you make a purchase after clicking on my link, I receive a small commission with no extra cost to you. I truly appreciate your support when using these links. Please click on the logo below the product to shop at your favourite store. All products were personally purchased except those from Clearly Besotted, Hero Arts or those marked with an asterisk (*) which were kindly sent to me to use. You can read my full disclosure here.
 
 
COPIC MARKERS: Bear - E37, E35, E33, E31. G26, YG17, YG25, TG03, YG01. Cat - E99, E97, E09, E08, E13, E11. B37, B18, B16, B12. Dog - E59, E57, E55. R89, R37, R24, Y26.
 
Aren't they just adorable? There are other super hero critters in the set too, plus lots of wonderful sentiments and a building scene too. For more inspiration using the new release, please head over to the Clearly Besotted Blog, Keren, Lisa and our amazing guest designer Keeway. Thanks so much for stopping by today, see you tomorrow for day two! Have a lovely day!

24 July 2020

Time For Tea Designs Guest Designer

Hello there, I am delighted to be guesting with Time for Tea Designs today using their new July 2020 release. I have three projects to share with you, combining a few different sets on each project.
 

To start with, I created a card and tag using the Mini Shaker Rainbow Die, along with the Storms Don't Last Forever sets. The shaker die is meant, as the name suggests, to be used a shaker, but I thought the negative pieces made beautiful rainbows on their own too.
 
 
For the card, I started off by die cutting the Time for Tea Mini Shaker Rainbow Die four times from different coloured cardstock. I then took the different size pieces that I wanted from each rainbow and blended Tim Holtz Distress Ink at the bottoms for some added interest. I used Picked Raspberry on the pink piece, Peacock Feathers on the aqua, Blueprint Sketch on the blue and Wilted Violet on the purple. They were then added to an A2 white card base, that I embossed using the PTI Linen Embossing Plate, with thin foam tape.
 
 
I die cut the clouds from the Time for Tea Storms Don't Last Forever Die Set and then stamped the faces on top from the Time for Tea Storms Don't Last Forever Stamp Set. They were added to the card with foam tape below the rainbow.
 
 
The sentiment from the Time for Tea Grateful For You Landscape Stamp Set was stamped on to black cardstock with Versamark Ink. I applied white embossing powder and heat set. It was cut in to a strip and added to the card with more foam tape. To finish off, I added Iridescent Rain Drops.
 
 
For the tag, I first die cut the Time for Tea Sunburst Cover Plate Die from white cardstock. I then cut it again using the Clearly Besotted Tag Along Die Collection tag. I also cut a further tag from white cardstock. The sunburst layer was added to the full tag with glue, followed by the hole reinforcer cut from black cardstock.
 
 
I took three of the rainbow layers from the ones that I cut when I made the card and added a little ink blending to the bottoms of those too. They were added to the tag with thin foam tape. I took the sentiment from the Time for Tea Storms Don't Last Forever Stamp Set and stamped it on to black cardstock with Versamark Ink. I applied white embossing powder and cut it in to strips. They were added with foam tape and the tag finished off with twine through the top and more Iridescent Rain Drops.
 

My final project today uses the new All Occasions Critters Stamp Set, along with the Grateful For You Landscape Stamp Set. I started off by stamping the background image from the Time for Tea Grateful For You Landscape Stamp Set on to a panel of white cardstock using Memento Tuxedo Black Ink. I then made a mask for the image, fussy cut it out and placed it over the top.
 
 
I took the Time for Tea Scene It 6 x 6" Stencil and placed it over the top. Using Tim Holtz Mermaid Lagoon Distress Ink, I blended on clouds for the sky. I removed the mask and coloured the background image using Copic Markers (the colours that I used are listed below the supplies area). I then took the hot air balloons from the set and stamped them on to a separate piece of cardstock, coloured them with Copics and fussy cut them out with scissors. They were added to the card using foam tape.
 
 
I took the pig from the Time for Tea All Occasions Critters Stamp Set and stamped it on to white cardstock with more black ink. He was coloured using Copic Markers and I fussy cut him out too but there are coordinating dies available. I took the sentiment from the set and stamped it on to black cardstock with Versamark Ink. I applied white embossing powder and heat set. It was then cut out using the sentiment label from the Time for Tea All Occasions Critters Die Set. It was adhered to the card with more foam tape. To finish off, I added white gel pen highlights to the images.
 

SUPPLIES:

Here are the links to what I have used on the card. Affiliate links are used on some products. This means that if you make a purchase after clicking on my link, I receive a small commission with no extra cost to you. I truly appreciate your support when using these links. Please click on the logo below the product to shop at your favourite store. All products were personally purchased except those from Clearly Besotted, Hero Arts or those marked with an asterisk (*) which were kindly sent to me to use. You can read my full disclosure here.
 
 
COPIC MARKERS: Pig - R32, R30, R000, R0000. Cup - C3, C0, V17, V15, V12, E55, E53, E50. Balloons - V17, V15, V12, V01, E57, E55. Mountains - BG75, BG72, BG70, BG90, E51, E50. Trees - E57, E55, G29, YG17, YG25, YG03, YG01. Grass - YG17, YG25, YG03, YG01.
 
Fancy purchasing any of the sets for yourself? If you do, use the code T4MICHELLE10 for 10% off your order. A big thank you goes to Jo and her team for having me guest with them this month. For more inspiration using the sets, please head over to their blog. Thank you so much for stopping by today. I hope you have a lovely weekend!

23 July 2020

Hero Arts | We Are All One

Hello there, today I am over on the Hero Arts Blog sharing a card using the new collaboration set from The Stamping Village called We Stand With You. Proceeds of the sale of the sets go towards racial justice and today I am using the Hero Arts image from the set.
 
 
I started off by stamping the image on to a panel of white cardstock using Hero Arts Intens-ified Black Ink. I then fussy cut around the top of the image, leaving the panel intact. The image was coloured using Copic Markers. On a sperate piece of cardstock, I added Copic Markers in lines to create a rainbow. This piece was added to a top folding card base with tape runner and the image panel added on top with foam tape.
 
SUPPLIES:

Here are the links to what I have used on the card. Affiliate links are used on some products. This means that if you make a purchase after clicking on my link, I receive a small commission with no extra cost to you. I truly appreciate your support when using these links. Please click on the logo below the product to shop at your favourite store. All products were personally purchased except those from Clearly Besotted, Hero Arts or those marked with an asterisk (*) which were kindly sent to me to use. You can read my full disclosure here.
 
 
COPIC MARKERS: I apologise that I do not have the full list of how I coloured the people in the image. I was really just experimenting and enjoying colouring. I did, however, write the colours down that I used as a whole - E49, E59, E37, E35, E33, E31, E55, E53, E51, E50, E13, E11, E00, E000. Rainbow background - R37, R24, R14, YR16, YR15, Y17, Y15, Y11, YG01, YG23, YG25, B01, B02, B04, B66, V15, V17. These colours were also used to colour the clothing on the people.
 
I hope you will check out the set. There are some fantastic images and sentiments in the set from all the companies that are part of The Stamping Village. Thank you so much for stopping by today, I hope you have a lovey day!

20 July 2020

Hero Arts United As One Release

Hello there and welcome to Hero Arts Unity Week! This week at Hero Arts is all about supporting racial justice. Hero Arts have collaborated with Dana Joy and Pocono Pam to release the United As One Stamp Set. Today also see's the release of The Stamping Village We Stand With You Stamp Set so there is lots to celebrate! I will have a list of other artists sharing today below.
 

For my project today, I thought that I would make a tag using the Hero Arts United As One Stamp Set. I first took the Hero Arts Tag Infinity Die and cut it from Hero Hues Amethyst Cardstock. I wanted the tag to be a little shorter in height, so I cut it to the required length using a guillotine. I took the Hero Arts Nesting Hearts Infinity Dies and cut a heart out of the tag to create a window. I added acetate behind and then cut another tag exactly the same to add on to the back to sandwich the acetate inbetween.
 
 
I then took the holding hands image from the Hero Arts United As one Stamp Set, stamped it on to white cardstock with Hero Arts Intens-ified Black Ink and coloured the hands using Copic Markers before fussy cutting out with scissors. The hands were then added to the tag with foam tape. I took the sentiment from the set and stamped it on to Hero Hues Pitch Black Cardstock with Hero Arts Clear Embossing & Watermark Ink and applied Hero Arts White Detail Embossing Powder and heat set. It was cut in to a strip and added to the tag with tape runner. To finish off, I added twine through the top of the tag.


UNITED AS ONE SET:

"Dana Joy, Pocono Pam and Hero Arts are excited to partner in a conscious effort to be intentionally diverse and inclusive. Crafters and cardmakers of color need to feel support, appreciation, and respect when expressing their values, experiences and skin tone in their work. We are celebrating this spirit through unity, and this collaboration is a pathway for everyone to see themselves in their art. We hope the United As One stamp set will encourage makers to become interested and committed to listening and learning from and about each other, and recognize we are all one, united creative community. 100% of net profits from this 6″ x 8″ stamp set will go to Racial Justice charities".


ARTISTS SHARING TODAY:

Hero Arts - Daniel
 Dana Joy
 Pocono Pam
 Channin Pelletier
 Daniel West
 Debi Adams
 Ilina Crouse
 Janette Kausen
 Jennifer McGuire
 Libby Hickson
 Michelle Short - you are here!

SUPPLIES:

Here are the links to what I have used on the tag. Affiliate links are used on some products. This means that if you make a purchase after clicking on my link, I receive a small commission with no extra cost to you. I truly appreciate your support when using these links. Please click on the logo below the product to shop at your favourite store. All products were personally purchased except those from Clearly Besotted, Hero Arts or those marked with an asterisk (*) which were kindly sent to me to use. You can read my full disclosure here.


COPIC MARKERS: E49, E59, E37, E35, E33, E13, E11, E00, E000, E50.

Thank you so much for stopping by today, I really do appreciate it. I will be sharing a card using the We Stand With You stamp set later in the week. I hope you have a lovely day!

19 July 2020

VIDEO | Top 10 Most Inexpensive Craft Supplies That I Reach For The Most

Hello there, today I am collaborating with Justine Hovey to bring you the top 10 inexpensive craft supplies that I reach for the most. It is no secret that crafting is an expensive hobby to have. Quality craft products aren't cheap, however, there are some supplies that I do think of as inexpensive and so I am sharing them with you today and Justine will be sharing hers too.
 

I have picked supplies that are not only less expensive in terms of cost of purchasing but ones that will also last you a long time. Lots of these products will last you a lifetime! I also share some techniques in the video below for how I like to use the supplies too. Here is a look:


If you are viewing this blog post via email subscription, you can watch the video HERE on YouTube.
 
SUPPLIES:

Here are the links to what I have shared in the video. Affiliate links are used on some products. This means that if you make a purchase after clicking on my link, I receive a small commission with no extra cost to you. I truly appreciate your support when using these links. Please click on the logo below the product to shop at your favourite store. All products were personally purchased except those from Clearly Besotted, Hero Arts or those marked with an asterisk (*) which were kindly sent to me to use. You can read my full disclosure here.
 

I hope you enjoyed watching. Do you have any supplies that I haven't shared that would be in your top 10? I would love to hear your thoughts! Thank you so much for stopping by today, I really do appreciate it. I hope you have a lovely day! Take care.

13 July 2020

VIDEO | Hero Arts July 2020 My Monthly Hero Release Blog Hop + Giveaway

Hello there and welcome as we celebrate the release (for pre-order) of the Hero Arts July 2020 My Monthly Hero Kit. The kit this month (along with the add-on products) has a wonderful underwater theme to it. The main kit stamp set creates a stamp layering reef/sea bed as well as lots of critters to add to the scene too.
 
If you are following along in the hop, you should have arrived here from Mariana but if you get lost along the way, I have the full list of participants below.
 
 
First, I thought I would share with you the card that I made for the Hero Arts Blog, in case you missed it over there. As mentioned, the main kit stamp set creates a stamp layered reef. I used pool shades for the reef itself and some of the plants and two shades of green for the other plants. I did go over some areas with Copic Markers too, to add in a little detail. It was die cut and added on to a card base with ink blending and the dolphins stamped, along with the sentiment from the stamp set too.
 
For more details on how I made the card, please head over to the Hero Arts Blog Post.
 
 
For my project today, I thought I would use two new add-on products, as well as a couple of images from the main kit as well. I thought it would be fun to create a porthole on the front of the card, looking in to a scene in the inside.
 
 
For the front of the card, I first die cut the Hero Arts Porthole Fancy Die from the front of a 5" x 5" card base. I also cut it from Hero Arts Decorative Woodgrain Cardstock too. I adhered a piece of Hero Arts Acetate over the window on the card base and then adhered the woodgrain panel on top. I die cut three more portholes from white cardstock, stacked these up and added them on top of the acetate. I cut a further from white for the inside, as well as one from silver glitter cardstock for the top.
 
 
I stamped the sentiment from the Hero Arts July 2020 My Monthly Hero Kit main stamp set on to Hero Hues Pitch Black Cardstock with Hero Arts Clear Embossing & Watermark Ink. I applied Hero Arts White Detail Embossing Powder and heat set. It was cut in to a strip and added to the card with foam tape and tape runner. I then added Raindrops on top of the screw parts on the porthole for some added interest.
 
 
For the inside, I blended Hero Arts Splash and Blue Hawaii Reactive Inks on to a panel of Hero Hues Arctic Cardstock. I then splattered it with water before using the Hero Arts Sun Background Stencil and Hero Arts Unicorn White Pigment Ink to add light rays on top. I then stamped the bubbles from the main kit stamp set on top with more Unicorn White ink.
 
I took the images from the Hero Arts Need A Hand Stamp Set and stamped them on to white cardstock with Hero Arts Intens-ified Black Ink. I coloured them with Copic Markers (the colours that I used are listed below the supplies area) and die cut them with the Hero Arts Need A Hand Frame Cuts. They were adhered to the card using Hero Arts Precision Glue.
 

VIDEO:
 
To see how the card came together, please watch the video below:


If you are viewing this post via email subscription, you can watch the video HERE on YouTube.
 

SUPPLIES:

Here are the links to what I have used on the card and in the video. Affiliate links are used on some products. This means that if you make a purchase after clicking on my link, I receive a small commission with no extra cost to you. I truly appreciate your support when using these links. Please click on the logo below the product to shop at your favourite store. All products were personally purchased except those from Clearly Besotted, Hero Arts or those marked with an asterisk (*) which were kindly sent to me to use. You can read my full disclosure here.
 
 
COPIC MARKERS: Octopus - V17, V15, V12, V01, BG49, BG15, BG13, BG11. Seaweed - G29, YG17, YG25, YG01. Starfish - Y17, Y15, Y11. Fish - YR18, YR16, YR15, YR12.
 

THE KIT:
 
The Hero Arts July 2020 My Monthly Hero Kit contains a 6" x 8" stamp set, 9 coordinating Frame Cuts, 1 Fancy Edge Die,  6 sheets of sticker paper (2 each of Diamond Blue, Teal and Purple), 5 Reactive Ink Cubes (Blue Hawaii, Splash, Pool Party, Key Lime Fizz, Taffy) and Coral embossing powder.
 
The kits are limited edition and often sell out quickly. You can subscribe here so that you never miss a kit. International subscribers receive a discount off shipping too. Kits aim to begin shipping on 17th July 2020.
 

ADD-ONS:
 
There are lots of wonderful add-on products releasing this month too. These work alongside the main kit but can be used separately as well. They are not limited edition and can be purchased along with the kit, separately from the Hero Store, or from your favourite Hero Arts retailer. Here is a look at them:


BLOG HOP:
 
Here is the full list of participants taking part in the hop today: 

 Michelle Short - you are here!
 

GIVEAWAY:
 
Hero Arts are giving away one £50 gift certificate to one lucky winner. The winner will be picked from all of the comments left across all of the stops in the hop. The more you comment, the more chances you have to win. Enter by 19th July at 11.59 PDT and the winner will be announced on the Hero Arts Blog the following week. Good luck!
 
Next on the hop is Mindy. Thank you so much for visiting me today, I hope you have a lovely rest of the hop and a wonderful day!
End of code