Showing posts with label Wax Seals. Show all posts

17 April 2025

Spellbinders | Mini Wax Seals

Hello there, I am delighted to be over on the Spellbinders Blog today, sharing three projects using the Mini Wax Seals Collection. These wax seals are smaller in size than the original ones and are oh so cute! I also shared two projects using then HERE

PLEASE NOTE: This post contains affiliate links. Please see below for my full disclosure.


As soon as I saw these mini wax seals, I thought they would look great on mini envelopes, since that is the main way that I use seals myself - on envelopes. Here is a sneak peek of one of the projects I made for the blog:


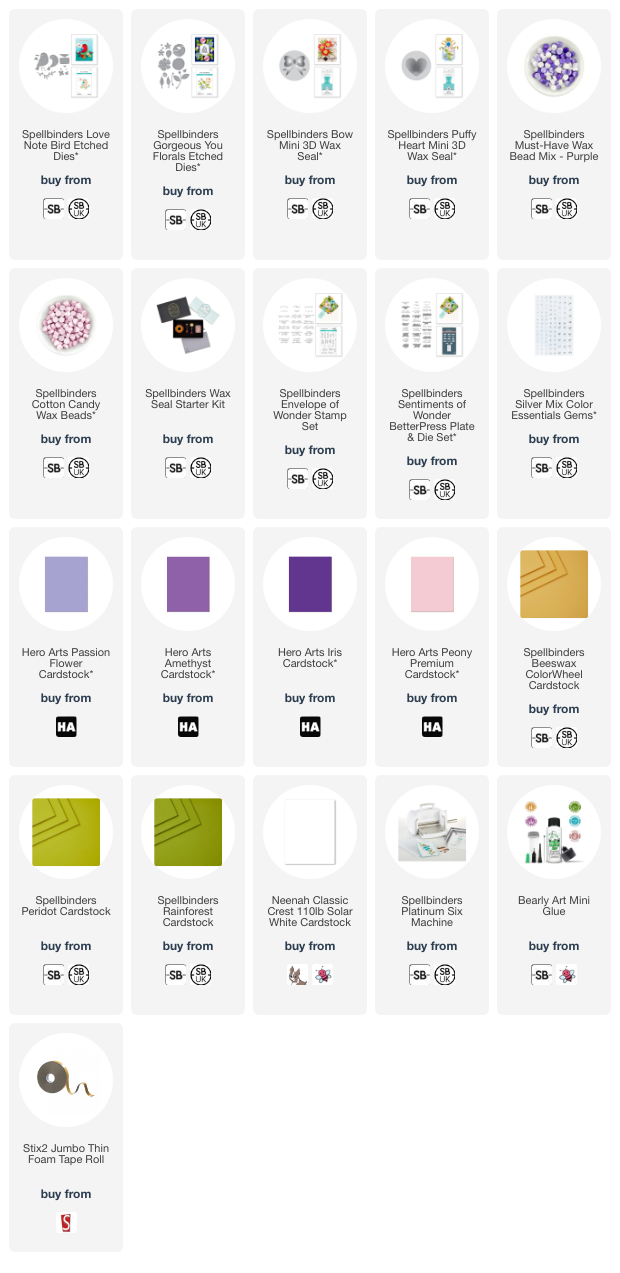
I die cut the envelope from the Spellbinders Love Note Bird Etched Dies twice. I popped them on top of an arrangement of flowers using the Spellbinders Gorgeous You Florals Etched Dies and then added the wax seals on top. They are a little big for the envelopes but I still think they look cute! 

I used the Spellbinders Puffy Heart Mini 3D Wax Seal for the purple one and the Bow Mini 3D Wax Seal for the pink one. I did miss some of the edge/border on the purple one which I don't love, but I was trying to get it as small as possible! The sentiment is from the Spellbinders Envelope of Wonder set. 

SUPPLIES:


Here are the links to what I have used on the project. Affiliate links are used on some products. This means that if you make a purchase after clicking on my link, I receive a small commission with no extra cost to you. I truly appreciate your support when using these links. Please click on the logo below the product to shop at your favourite store. All products were personally purchased except marked with an asterisk (*) which were kindly sent to me to use. You can read my full disclosure here.


For more details on how I made the card, as well as my other projects. Please head over to the Spellbinders Blog. Thank you so much for stopping by today, I hope you have a wonderful day! 

10 April 2025

Spellbinders | Feather Card + Gift Card Holder

Hello there, today I have a card and gift card holder to share using some products from the Spellbinders Collaged Birds Collection by Dina Wakley. I have a soft spot for feathers, so I couldn't resist having a play with them! I am also using the new Mini Wax Seal Collection, which is out today. These wax seals are really cute and as the name suggests, they are really mini!

PLEASE NOTE: This post contains affiliate links. Please see below for my full disclosure.


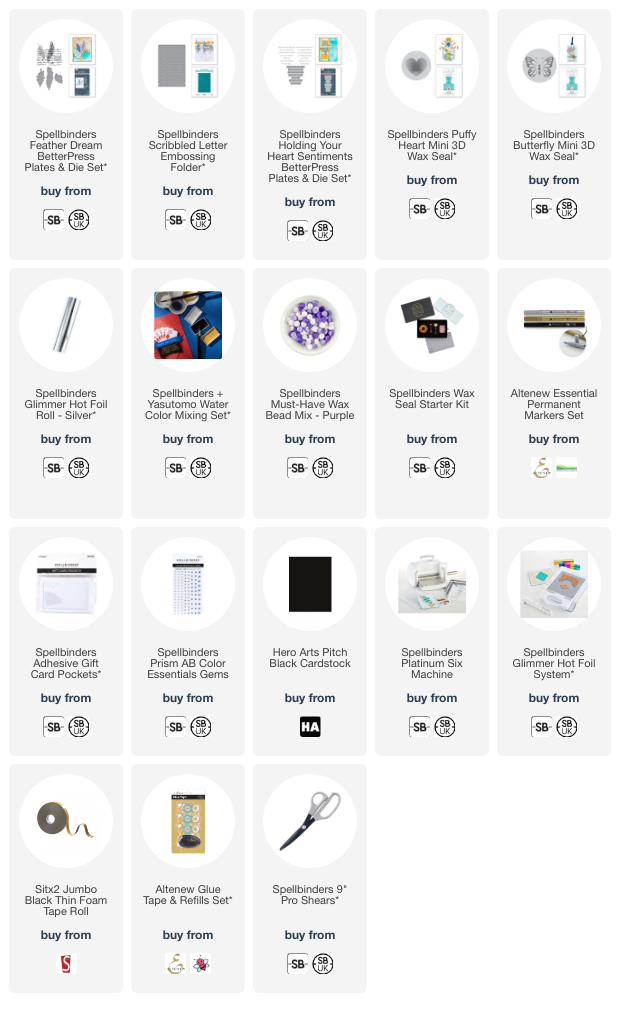
I started off by hot foiling the feathers from the Spellbinders Feather Dream BetterPress Plates & Die Set. I hot foiled the largest size and the medium size (twice) onto Hero Arts Pitch Black Cardstock using Spellbinders Silver Glimmer Hot Foil and the Spellbinders Glimmer Hot Foil System

They were die cut out using the coordinating dies. I then took the Spellbinders Scribbled Letter Embossing Folder and embossed the card panel (4.25" x 5.5" size) and the panel for the gift card holder (3" x 4.25"). I placed them in my splat box to add some splatter using the Pearl Silver paint from the Spellbinders + Yasutomo Watercolor Mixing Set on top. 

Once the card panel was dry, it was adhered to a black US A2 sized card base using tape runner. The gift card panel was adhered to a (3" x 4.25") black card base. The feathers were then adhered on top using black thin foam tape, with the excess cut off the bottom of the gift card holder using scissors. 

I took the Spellbinders Holding Your Heart Sentiments BetterPress Plates & Die Set and foiled them onto more black cardstock using Spellbinders Silver Glimmer Hot Foil. They were die cut out using the coordinating dies and adhered to the cards using more black thin foam tape. 

For the wax seals, I placed Spellbinders Purple Must-Have Wax Bead Mix beads into the spoon and heated them up using the wax warmer from the Spellbinders Wax Seal Starter Kit. I used 3 wax beads per each wax seal as I find that having more in the spoon gives me a better pour. If I am not making any more wax seals, I pour the extra on my mat, let it dry and then I can re-melt that at a later date. 

I used the Spellbinders Puffy Heart Mini 3D Wax Seal for the card with Twilight Purple beads and the Spellbinders Butterfly Mini 3D Wax Seal with Enchanted beads (with Twilight Purple still in the spoon) for the gift card holder. 

They were adhered using thin foam tape where it overlapped the card and tape runner where it overlapped the feathers. I added black pen to the heart using the Altenew Essential Permanent Markers Set to help it pop more. 

I added a Spellbinders Adhesive Gift Card Pocket inside the gift card holder. These are really cool because you can just stick them onto/inside projects and the gift card fits in nicely and removes easily too. 

To finish, I embellished with Spellbinders Prism AB Color Essentials Gems on both the card and gift card holder. 

SUPPLIES:


Here are the links to what I have used on the projects. Affiliate links are used on some products. This means that if you make a purchase after clicking on my link, I receive a small commission with no extra cost to you. I truly appreciate your support when using these links. Please click on the logo below the product to shop at your favourite store. All products were personally purchased except marked with an asterisk (*) which were kindly sent to me to use. You can read my full disclosure here.


I really love how the silver foiling looks against the black cardstock but I think they would look great in lots of different colours as well. Thank you so much for your visit today, I really do appreciate it. I hope you have a wonderful day! 

27 May 2024

Spellbinders | Timeless Butterflies

Hello there, today I have something different to share with you - pretty packaging! I don't share it here very often but I really love decorating little parcels and gifts for friends. I saw the Spellbinders Timeless Butterflies Stickers and thought they would be perfect for this purpose ... and of course, I had to pick the purple ones! 

PLEASE NOTE: This post contains affiliate links. Please see below for my full disclosure.


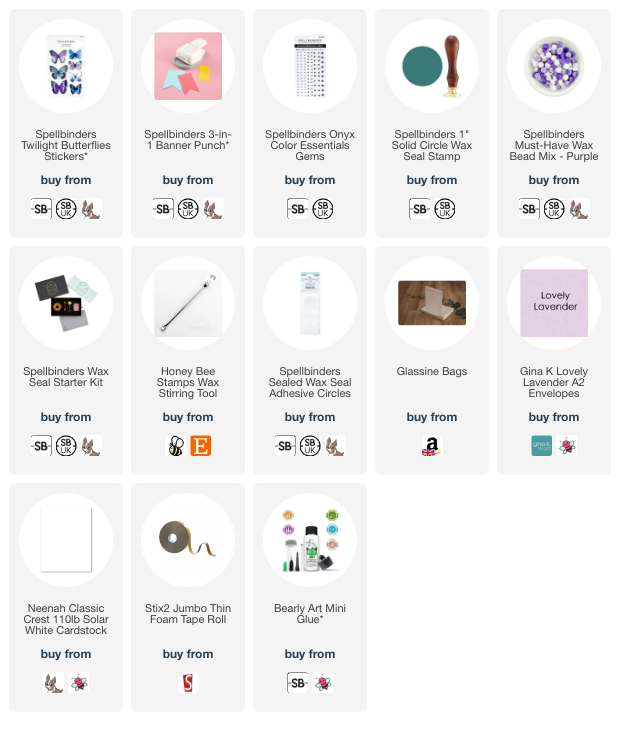
My first project is a little glassine bag that I often put little gifts inside to send to friends (I added wax beads for the purpose of the photo!). I started off by cutting panels of white cardstock and placed them inside the new Spellbinders 3-in-1 Banner Punch to cut the banner ends. The banner punch cuts banners for cardstock measuring 2.5", 2" and 1.5". I used the 2" and 1.5" size for my bag today. 


I then created a wax seal using the Spellbinders 1" Solid Circle Wax Seal Stamp and Spellbinders Purple Must-Have Wax Bead Mix. This was my first time making wax seals, so they are not perfect by any means but it was fun making them! 


The larger banner piece was adhered to the glassine bag first using thin foam tape, I then adhered the smaller one on top, also with thin foam tape. The wax seal was adhered on top using a Spellbinders Wax Seal Adhesive Circle


The Spellbinders Twilight Butterfly Stickers come as two layers per butterfly - a flat bottom layer and a top dimensional layer. I was able to take the top layer away from the bottom layer and just used the top layer for my projects today. I adhered one of the larger butterflies to the wax seal with a small amount of Bearly Art Glue (there is also a bit of glue on the back anyway). To finish off, I added two Spellbinders Onyx Color Essentials Gems to the butterfly's body. 


Since I made a few wax seals, I also thought that I would use one (in the lighter purple in the mix) for the back of an envelope. I took a Gina K Lovely Lavender A2 Envelope and adhered the wax seal just to the envelope flap (so that I did not adhere the envelope flap down completely). 


I then adhered one of the smaller butterflies from the Spellbinders Twilight Butterfly Stickers set on top. Of course, I would hand deliver this envelope (and the card that will be inside) but I thought it was really pretty for a special occasion! 

SUPPLIES:


Here are the links to what I have used on the projects. Affiliate links are used on some products. This means that if you make a purchase after clicking on my link, I receive a small commission with no extra cost to you. I truly appreciate your support when using these links. Please click on the logo below the product to shop at your favourite store. All products were personally purchased except those from Clearly Besotted, Hero Arts or those marked with an asterisk (*) which were kindly sent to me to use. You can read my full disclosure here.


If purple is not your colour, there are other colour combo mixes available in these beautiful butterflies too! Whilst these butterflies look really pretty on cards, I hope I have inspired you with a different way to use them. Thank you so much for stopping today, I hope you have a wonderful day and a great week ahead! 
End of code