
Hello there, today I have something different to share with you - pretty packaging! I don't share it here very often but I really love decorating little parcels and gifts for friends. I saw the Spellbinders Timeless Butterflies Stickers and thought they would be perfect for this purpose ... and of course, I had to pick the purple ones!
PLEASE
NOTE: This post contains affiliate links. Please see below for my full
disclosure.

My first project is a little glassine bag that I often put little gifts inside to send to friends (I added wax beads for the purpose of the photo!). I started off by cutting panels of white cardstock and placed them inside the new Spellbinders 3-in-1 Banner Punch to cut the banner ends. The banner punch cuts banners for cardstock measuring 2.5", 2" and 1.5". I used the 2" and 1.5" size for my bag today.

I then created a wax seal using the Spellbinders 1" Solid Circle Wax Seal Stamp and Spellbinders Purple Must-Have Wax Bead Mix. This was my first time making wax seals, so they are not perfect by any means but it was fun making them!

The larger banner piece was adhered to the glassine bag first using thin foam tape, I then adhered the smaller one on top, also with thin foam tape. The wax seal was adhered on top using a Spellbinders Wax Seal Adhesive Circle.

The Spellbinders Twilight Butterfly Stickers come as two layers per butterfly - a flat bottom layer and a top dimensional layer. I was able to take the top layer away from the bottom layer and just used the top layer for my projects today. I adhered one of the larger butterflies to the wax seal with a small amount of Bearly Art Glue (there is also a bit of glue on the back anyway). To finish off, I added two Spellbinders Onyx Color Essentials Gems to the butterfly's body.

Since I made a few wax seals, I also thought that I would use one (in the lighter purple in the mix) for the back of an envelope. I took a Gina K Lovely Lavender A2 Envelope and adhered the wax seal just to the envelope flap (so that I did not adhere the envelope flap down completely).

I then adhered one of the smaller butterflies from the Spellbinders Twilight Butterfly Stickers set on top. Of course, I would hand deliver this envelope (and the card that will be inside) but I thought it was really pretty for a special occasion!
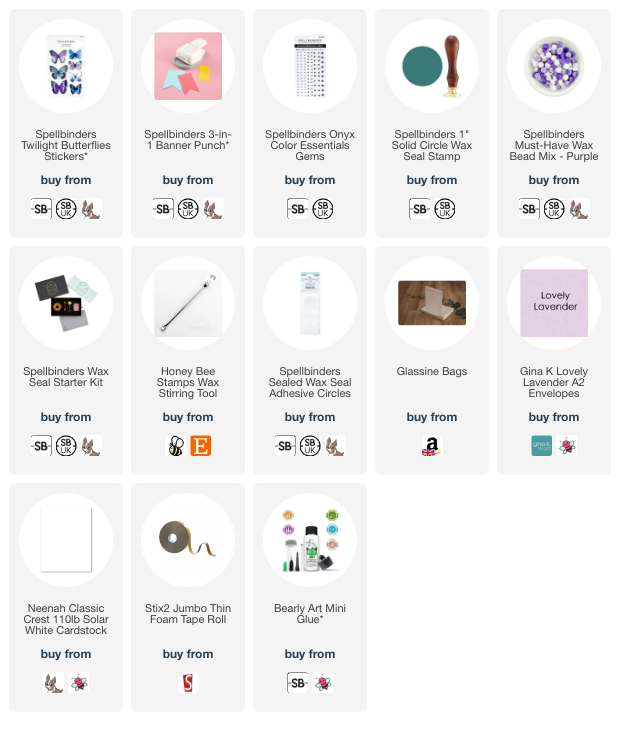
SUPPLIES:
Here are the links to
what I have used on the projects. Affiliate
links are used on some products. This means that if you make a purchase after
clicking on my link, I receive a small commission with no extra cost to you. I
truly appreciate your support when using these links. Please click on the logo below
the product to shop at your favourite store. All products were personally
purchased except those from Clearly Besotted, Hero Arts or those marked with an
asterisk (*) which were kindly sent to me to use. You can read my full
disclosure here.
If purple is not your colour, there are other colour combo mixes available in these beautiful butterflies too! Whilst these butterflies look really pretty on cards, I hope I have inspired you with a different way to use them. Thank you so much for stopping today, I hope you have a wonderful day and a great week ahead!
just lovely
ReplyDeletehow pretty are these?!? I just love it all! The beautiful wax seals, the pretty beads in the glassine packaging and the super sweet tags layered up together. I really wish I had got those butterfly stickers now!
ReplyDelete