Showing posts with label Studio Katia. Show all posts

17 June 2020

Birthday Balloons

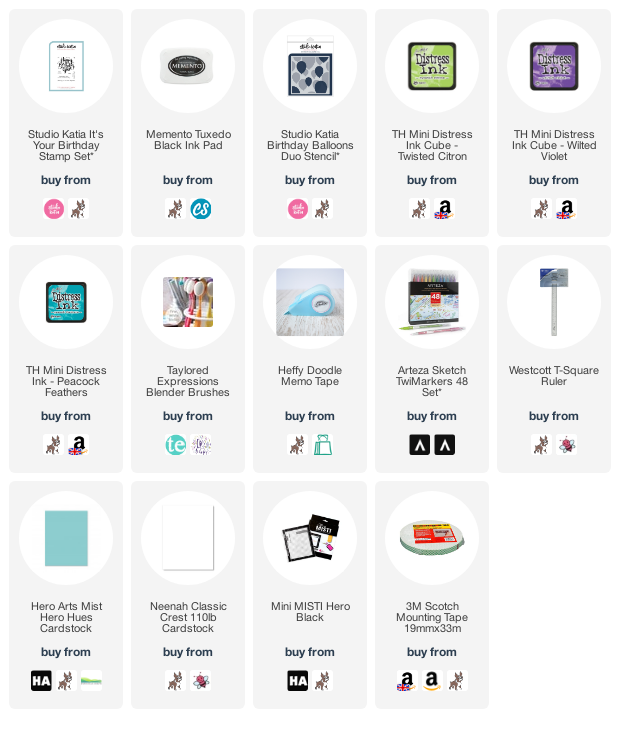
Hello there, I needed to make quite a few male birthday cards a little while ago and so I grabbed my Studio Katia Birthday Balloons Duo Stencils and some Distress Ink and did some ink blending!
 

I started off by taking a panel of white cardstock and placing the Studio Katia Birthday Balloons Duo Stencil Set on top and secured with memo tape. The stencils are made to layer on top of each other but actually, I just masked balloons off that I didn't want and sort of made my own pattern!
 
 
I applied the Distress Ink with blending brushes, trying to make a slight highlight in the balloon, to help them look dimensional. I used Twisted Citron, Wilted Violet and Peacock Feathers Distress Inks. A combination that I saw Stephanie Klauck used and fell in love with it! I removed the stencils and then drew balloon strings in using an Arteza TwiMarker.
 
 
The sentiment from the Studio Katia It's Your Birthday Stamp Set was then stamped on top using black ink. The panel was simply adhered to a Hero Arts Mist A2 card base with foam tape. I made a few of the same design but changed up the balloon placement and sentiments. I think this one was my favourite though!
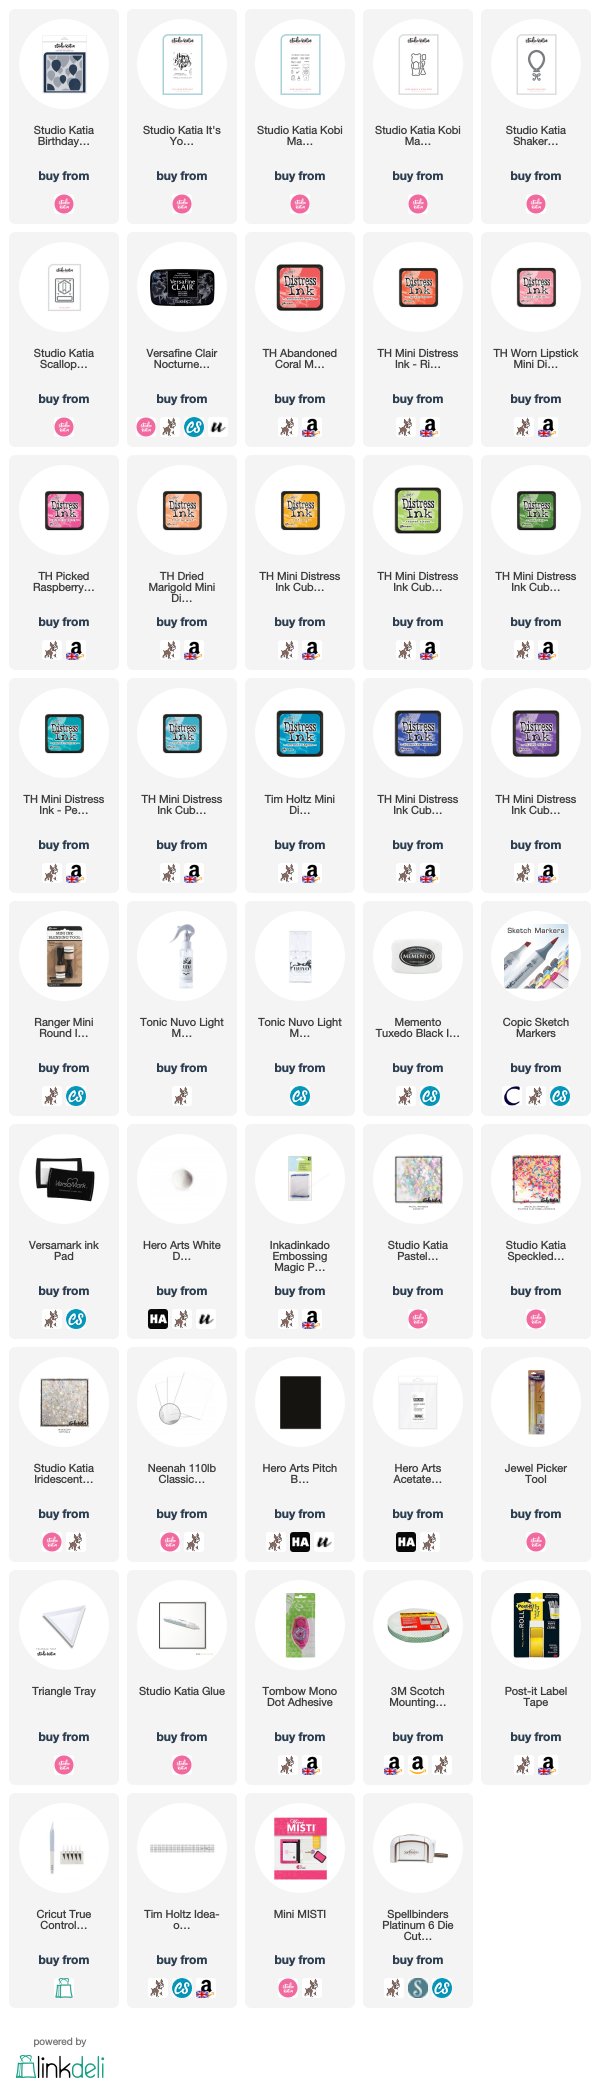
 
SUPPLIES:
 
Here are the links to what I have used on the card. Affiliate links are used on some products. This means that if you make a purchase after clicking on my link, I receive a small commission with no extra cost to you. I truly appreciate your support when using these links. Please click on the logo below the product to shop at your favourite store. All products were personally purchased except those from Clearly Besotted, Hero Arts or those marked with an asterisk (*) which were kindly sent to me to use. You can read my full disclosure here.
 
 
I think balloons are great for male cards in particular as they can be used for any age. Thanks so much for stopping by to see me today, I really do appreciate it. I hope you are having a great week so far and staying safe. Take care!

2 July 2019

Studio Katia 3rd Birthday Winner Take Two

Hello there, I picked a winner for my Studio Katia Blog Hop giveaway last week but sadly the winner never got in touch with me. So I have gone back to Random.org and it has picked another winner for me for the Studio Katia $25 Gift Certificate.


And the winner is …

BETTY!


Betty, please can you email me using the button on my sidebar and I can get your prize to you. Thanks again to everyone that participated.

23 June 2019

Studio Katia 3rd Birthday Blog Hop Winner

Hello there, I am back this afternoon to share the winner of my giveaway to celebrate Studio Katia's 3rd Birthday. Studio Katia have kindly donated a $25 gift certificate to the Studio Katia store for one lucky winner.
 
 
The winner is:
 

Congratulations, Sue! Please can you email me using the button on the right hand sidebar on my blog. Thanks so much to everyone who entered. Have a great day!

15 June 2019

Studio Katia 3rd Anniversary Blog Hop + Giveaway

Hello there, I am delighted to be joining Studio Katia today to celebrate their 3rd Birthday. We are celebrating with not only a fantastic release but a fun blog hop too. For the hop, you should have arrived here from the fabulous Galina but if you get lost along the way, I have the full list of participants below. I have three cards to share with you today using the new release.
 

My first card uses the fantastic new Studio Katia Birthday Balloons Duo Stencils. The pack comes with two stencils that you can line up to create a plethora of balloons but you can use them separately too. I started off by taking a panel of cardstock and placed the first stencil on top securing with Post It Tape. I then blended Distress Inks in to the openings.
 
 
The colours that I used are in the supplies list but as you can see, I used a lot! I tried to concentrate most of the colour at the bottom of the balloon and then blended lighter upwards. Once the stencil was filled up, I removed it and placed the second stencil on. I then continued the blend ink in to the openings to cover the panel.
 
 
I took the large happy birthday sentiment from the Studio Katia It's Your Birthday Stamp Set and stamped this on to the panel with Versafine Nocturne Ink. The panel was then simply adhered to a white A2 card base with foam tape.
 

My next card uses the new Studio Katia Kobi Makes A Wish Stamp Set. I started off by stamping Kobi from the set on to white cardstock with Memento Tuxedo Black Ink. I then coloured him using Copic Markers (the colours that I used are listed below the supplies section) and cut him out using the Studio Katia Kobi Makes A Wish Dies.
 
 
I took a panel of white cardstock and ran the first layer of the Studio Katia Birthday Balloons Duo Stencils through my die cutting machine to emboss it. This was added flat to an A2 white card base with tape runner. I then took one of scallop frames from the Studio Katia Scallop Frames Dies and cut this from white cardstock. I blended Peacock Feathers, Blueprint Sketch and Wilted Violet Distress Inks on to it and then misted with water and set aside to dry.
 
 
Once dry, this was adhered flat to the card base and Kobi added on top with foam tape. I took the sentiments from the stamp set and stamped them on to black cardstock with Versamark Ink. I applied white embossing powder and heat set. These were cut in to strips and added to the card with more foam tape. To finish off, I added a few Studio Katia Pastel Rainbow Confetti.
 

My last card is very simple but I really wanted to use the new Studio Katia Shaker Balloon Die. This die is fantastic as you get four for one. You can cut the negative like I have on my card, you get a thin frame and also a positive balloon piece, plus a little bow too. I took a panel of cardstock that I cut using the largest of the Studio Katia Scallop Frames Dies and cut the balloon from it. I added acetate to the back, followed foam tape around the shape.
 
 
I filled the shaker area with Studio Katia Speckled Sprinkles and then closed it with another piece of acetate. The panel was then added to a card base that I made from two panels of the same Scallop Frame Dies. I scored the back panel and just adhered it at the top so that it opens like a card.
 
 
I took the bow from the Studio Katia Shaker Balloon Die and cut this from black cardstock. This was adhered flat to the bottom of the balloon and a Studio Katia Iridescent Jewel added to the centre. I took the sentiment from the Studio Katia It's Your Birthday Stamp Set and white heat embossed this on to black cardstock. It was cut in to a strip and added on top of the balloon with foam tape.
 
SUPPLIES:

Here are the links to what I have used on the card. Affiliate links are used on some products. This means that if you make a purchase after clicking on my link, I receive a small commission with no extra cost to you. I truly appreciate your support when using these links. Please click on the logo below the product to shop at your favourite store. All products were personally purchased except those from Clearly Besotted, Hero Arts or those marked with an asterisk (*) which were kindly sent to me to use. You can read my full disclosure here.
 
 
COPIC MARKERS: Kobi - N10, N7, N5, N3, N2, N1, R00. Cake - E55, E53, E51, E50. Candles - BG13, BG11, BG10, Y17, Y11, Y00.
 
BLOG HOP:
 
  
Here is the full list of participants taking part in the hop today:
 
Michelle Short - you are here!
 
GIVEAWAY:
 
Studio Katia are giving away two $50 gift certificates on their blog for each day of the hop. I am also giving away a $25 gift certificate to the Studio Katia shop. All you have to do to enter is to leave a comment on this post by Saturday June 22nd June at 12.00hrs BST. The winner will be announced a few days later here on my blog. Good luck!
 
Next on the hop is the amazing Anika. A big happy birthday to Studio Katia! Thanks so much for having me join in the celebrations. I hope you will check out the release if you haven't already. Thank you so much for visiting me today, I really do appreciate it. Have a great day!

16 October 2018

Let's Shellebrate

Hello there, today I have a card to share that I made back in August for my brother's birthday. I took inspiration from the Underwater Scenes class for this and used the super cute Shell-ebration stamp set from Studio Katia.
 

I started off by taking a panel of white cardstock. I stamped the turtle, sentiment and presents on to it using Memento Tuxedo Black ink. I then went ahead and coloured the rest of the panel using Copic Markers (the colours I used are listed below the supplies section). I coloured the background first, and then the stamped images. This did take quite some time but I really enjoyed it.
 
 
Once the colouring was complete I added dots of Colourless Blender to make bubbles, I then added a bit of white gel pen on to these to help them stand out more. I also added some white gel pen dots to the sand. The panel was added to a white A2 card base with foam tape. I stamped the 'let's shell-ebrate!' sentiment on the inside of the card to finish it off.  
 
SUPPLIES:

Here are the links to what I have used on the card. Affiliate links are used on some products. This means that if you make a purchase after clicking on my link, I receive a small commission with no extra cost to you. I truly appreciate your support when using these links. Please click on the logo below the product to shop at your favourite store. Products marked with an asterisk (*) were kindly sent to me to use.
 
 
COPIC MARKERS: Sand - E49, E47, E44, E43, E42, E33, E31. Sign - E57, E37, E55, E53. Cave - B99, T7. Water - BG11, BG21, B32, B45, B000. Presents - BG07, BG57, BG53, BG02, BG45, BG11, BG10, BG23. Turtle - BG78, BG57, BG53, G46, G43, YG01. Seaweed - YG01, YG11, YG99, YG03, YG61, YG25, YG67, G43, G46, YG23, G82, G20, YG63, YG17, G40.
 
I have really been enjoying colouring more scenes recently. I now need to go and refill my Copic Markers though! ;) Thank you so much for stopping by today, I really do appreciate it. I hope you have a great day!

6 July 2018

Peony Thanks

Hello there, today I have a card to share using the beautiful Japanese Peony stamp from Studio Katia. If you watched my June haul video, you would have seen a sneak peek of this card already!


I started off by stamping the peony in Memento Tuxedo Black Ink and coloured it using Copic Markers (the colours I used are listed below the supplies section). I die cut it out using the coordinating die and set it aside.
 
 
I took the Halftone Dots Cover Die and die cut this from black cardstock. I added it to a black A2 card base with liquid glue. I then took the Giving Thanks dies and die cut the shadow of the thanks word with Vellum and the outline with white cardstock. I added Stick It to the back of this before I die cut. I removed the backing of the Stick It and added this to the shadow.
 
 
I adhered the peony to the card base with thin foam pads. I then added the thanks word on top, half with liquid glue and half with the thin foam pads. To finish off, I added Sparkling Crystals around the flower with liquid glue.
 
SUPPLIES:

Here are the links to what I have used on the card. Affiliate links are used on some products. This means that if you make a purchase after clicking on my link, I receive a small commission with no extra cost to you. I truly appreciate your support when using these links. Please click on the logo below the product to shop at your favourite store. Products marked with an asterisk (*) were kindly sent to me to use.
 
 
COPIC MARKERS: R89, R85, R83, R81, YR12, Y11. G46, G43, G40.
 
I love that large peony image and I think it would be perfect to colour with lots of different colouring mediums too! Thank you so much for popping in today to see me, I really do appreciate it. Have a great day and a wonderful weekend.

25 May 2018

VIDEO | Studio Katia 2nd Anniversary Blog Hop

Hello there, I am delighted to be taking part in Studio Katia's 2nd Birthday Celebration Blog Hop today. They have released a wonderful new collection of stamps, dies, stencils and embellishments. To celebrate both the release and the anniversary, there is a two day hop going on today and tomorrow.  If you are following along in the hop, you should have arrived here from the amazing Rubeena. I have more details on the hop below :)
 

I am using the gorgeous new Lovely Blooms stamp set today, along with the new Birthday Greetings set. I started off by stamping the floral image from the Lovely Blooms set on to TH watercolour paper. I stamped it with Versamark Ink and then applied detail white embossing powder. This was then heat set. The image was coloured using Zig Clean Color Real Brush Pens (the colours I used are listed below the supplies section).
 
 
The panel was then die cut using the largest frame from the Dotted Patterns Scallop Frame Die collection. This was added to a white A2 card base with foam sheet and DST. I took one of the sentiments from the Birthday Greeting stamp set and stamped this on to black cardstock with Versamark Ink. I applied the same detail white embossing powder and heat set. This was then cut in to a strip using a craft knife and metal ruler. It was added to the card with clear foam tape. To finish off, I added a sprinkling of clear gems from the new Spring Gems collection, which is a free gift with purchase this month.


VIDEO:

Here is the video showing how I made the card:


SUPPLIES:

Here are the links to what I have used on the card. Affiliate links are used on some products. This means that if you make a purchase after clicking on my link, I receive a small commission with no extra cost to you. I truly appreciate your support when using these links. Please click on the logo below the product to shop at your favourite store. Products marked with an asterisk (*) were kindly sent to me to use.
 

ZIG CLEAN COLOR REAL BRUSH PENS: Large purple flowers - Light Violet 081, Violet 080. Pink flowers - Pink 025, Carmine Red 022, Geranium Red 029. Small purple flower heads - Lilac 083. Small coral flowers - Pale Pink 028, Pink 025, Yellow 050. Light green leaves - Light Green 041. Darker green leaves - Green 040, Yellow 050. Teal leaf branches - Turquoise Green 042. Outside shadow/colour - Light Blue 036.


BLOG HOP:

 
For the hop, you should have arrived here from the amazingly talented Rubeena. Next in the hop is the super talented Kaja. For more information on the hop and to start from the beginning, please head over to the Studio Katia Blog. Remember that there will be another hop tomorrow with lots more inspiration too.


GIVEAWAY:

Studio Katia are giving away two $100 (CAD) gift certificates to the Studio Katia store on each day of the hop. That is four chances to win! The winners will be chosen from the comments left across all the stops in the hops, so the more you comment, the more chances you have to win. Comments close on Saturday 2nd June 2018 at 11.59pm EST. The winners will be announced on the Studio Katia blog on the 3rd June. Good Luck!

Thank you so much for visiting me today. I hope you have a wonderful time on the rest of the hop!

11 March 2018

Happy Mother's Day

Hello there, today it is Mother's Day here in the UK and I am sharing the card that I have made for my mum. It uses the beautiful new Spring Bouquet stamp set from Studio Katia which they kindly sent me to have a play with. My mum loves flowers, so I thought it would be perfect for her.
 

I started off by stamping the image on to a panel of white cardstock that I cut using a pierced square die. I then coloured the image using Copic Markers. The colours I used are listed below the supplies section, if you are interested. Once coloured, I went around the outside of the flowers with a light blue colour to help them pop against the white background.
 

The panel was adhered to a black 5.25" x 5.25" card base with foam sheet and DST. I then took the sentiment from the set and stamped this on to more white cardstock with black ink. It was cut out and added to the card with foam tape. To finish off, I added a few of the new Iridescent Bubbles from Studio Katia. These are so pretty! I love the sheen on them.
 
SUPPLIES:

Here are the links to what I have used on the card. Affiliate links are used on some products. This means that if you make a purchase after clicking on my link, I receive a small commission with no extra cost to you. I truly appreciate your support when using these links. Please click on the logo below the product to shop at your favourite store. Products marked with an asterisk (*) were kindly sent to me to use.
 
 
COPIC MARKERS: Top flower - V25, BV13, BV11, BV01, BV0000. Stem for buds - BG93, BG90, G40. Right flower - R39, R85, R83, R81. Left flower - V17, V15, V12, V01, V000. Leaves - BG78, BG75, BG72. Shadow - B63, B60.
 
Happy Mother's Day to all the UK and Irish mum's out there! Thank you so much for visiting me today, I hope you are having a wonderful weekend so far.

29 September 2017

Meowy Halloween + Let It Snow

** This is my second post for the day, please see below for my Neat & Tangled Guest Design post **

Hello there, today I have the great pleasure of guest designing with Studio Katia. I was sent some of the new release to play with and I had so much fun creating both of these cards, as well as the cards I made for the release blog hop. My first card uses the super cute Meowy Halloween stamp set and coordinating dies.
 

I started off by stamping the cat and pumpkin bucket/bag on to white cardstock using Memento Tuxedo Black ink. I coloured the images using Copic Markers (the colours I used are listed below the supplies section). The hat and bucket were then cut out using the coordinating dies. I love that the die cuts the hands of the cat so that she can hold the bucket/bag (or other accessories). I then took a piece of white cardstock and cut out an aperture from it using one of the dies from the new Dotted Patterns: Scallop Frames die set. I then stamped the sentiment below this using black ink.
 
 
I took a piece of watercolour paper and blended over Distress Inks in Wilted Violet, Dusty Concord and Black Soot. I then made a mixture of Perfect Pearls and water in a Mini Mister and sprayed this on to the piece. Once dry, I adhered this piece on to a black A2 card base with ATG. I then added the white panel on top with foam tape. The kitty was added to the inside of the window using foam tape also. To finish off, I added a few Clear Drops inside the window.


SUPPLIES:

Here are the links to what I have used on the card. Affiliate links are used on some products. This means that if you make a purchase after clicking on my link, I receive a small commission with no extra cost to you. I truly appreciate your support when using these links. Please click on the logo below the product to shop at your favourite store. Products marked with an asterisk (*) were kindly sent to me to use.
 

COPIC MARKERS: Cat - W6, W4, W2, W1, R00. Hat - 110, C10, C8, C5, YG99, YG67, YG03. Collar - YG99, YG67, YG03. Pumpkin bucket/bag - YR24, YR35, Y38, YR23.

My next card uses the super cute Winter Kobi set, along with the coordinating dies. I love that you can create some fun scenes with this set. I went for a simple winter scene.
 

I started off by stamping Kobi, the sledge and presents on to white cardstock. The images were then coloured using Copic Markers (colours used listed below the supplies section) and then die cut out with the coordinating dies. I then took another piece of white cardstock and cut this using the largest die from the Dotted Patterns: Scallop Frames die set. I made a snow bank from mask paper and added this on top. I then blended Broken China Distress Ink on to it and removed the mask.
 
 
I took the sentiment from the Friends of Winter set and stamped this on to the panel using black ink. The panel was then adhered to a white A2 card base with foam tape. I added Kobi, the sledge and presents on top with more foam tape. To finish off, I added a few Crystal Rainbow Confetti.


SUPPLIES:

Here are the links to what I have used on the card. Affiliate links are used on some products. This means that if you make a purchase after clicking on my link, I receive a small commission with no extra cost to you. I truly appreciate your support when using these links. Please click on the logo below the product to shop at your favourite store. Products marked with an asterisk (*) were kindly sent to me to use.
 

COPIC MARKERS: Kobi - W6, W4, W2, W1, W00, R000. Scarf - V17, V15, V12, V01. Presents - R85, R83, R81, RV000, BG11, BG10. Sledge - C5, C1, V17, V15, V12.

A big thank you goes to Katia and her team for having me guest design today. Thanks so much for visiting me today. I hope you have a great rest of the day and a fabulous weekend!

15 September 2017

Studio Katia Fall & Winter Release Blog Hop

** This is my second post of the day, please see below for my Neat & Tangled Guest Designer post **
 
Hello there, today I am delighted to be taking part in the Studio Katia Fall & Winter Release Blog Hop. It is such a fun release!
 
 
My card and tag today use the fabulous Friends of Winter set, along with the coordinating dies. I have also used the fabulous new Dotted Shaker Tag #2 die. If you are following along in the hop, you should have arrived here from the Studio Katia Blog, but if you get lost along the way, I have the full list of participants below.
 

My first project uses the super cute Santa from the Friends of Winter set. I first stamped the Santa on to some white cardstock with Memento Tuxedo Black Ink. I then coloured the image with Copic Markers and cut him out using the coordinating die. I die cut the Dotted Shaker Tag #2 die also from white cardstock. I masked off the bottom of the tag and then blended Tumbled Glass Distress Ink above to create a soft background. Santa was then added on top with foam tape.
 
 
I took a white A2 card base and added a sheet of paper from the Doodlebug Swiss Dot Rainbow Petite Prints Paper Pad on top. I tied some Doodlebug Bettle Black Doodle Twine through the top of the tag and then added this on to the card with foam tape. I took the 'ho ho ho' sentiment from the set and stamped this on to a piece of black cardstock using Versamark Ink. I applied white embossing powder and then heat set. This was cut in to three pieces and added to the card with more foam tape.
 
SUPPLIES:
Here are the links to what I have used on the card. Affiliate links are used on some products. This means that if you make a purchase after clicking on my link, I receive a small commission with no extra cost to you. I truly appreciate your support when using these links. Please click on the logo below the product to shop at your favourite store. Products marked with an asterisk (*) were kindly sent to me to use.
 
 
COPIC MARKERS: Santa skin - E13, E11, E00, E0000, R20. Beard - W3, W1, W00. Outfit - R89, R37, R29, R27, R24. C2, C0. Belt, shoes and gloves - C10, C8, C7, C5, Y26.
 
For my next project, I thought I would make a tag. I couldn't resist the reindeer from the set, so I had to ink him up too!
 

I started off by stamping the reindeer using Memento Tuxedo Black Ink. I coloured him using Copic Markers and then cut him out using the coordinating die. I then took the Dotted Shaker Tag #2 Die and cut this from Bristol cardstock.
 
 
I added a mask to the bottom and then blended over Distress Inks in Broken China, Blueprint Sketch and Chipped Sapphire. I then sprizted the tag with water. Once dry, I added the reindeer with foam tape and then added on a few of the Snowflake Embellishments around the reindeer with Multi Medium Matte. They are so pretty! To finish off, I simply added some Beetle Black Doodle Twine through the top of the tag.
 
SUPPLIES:
Here are the links to what I have used on the card. Affiliate links are used on some products. This means that if you make a purchase after clicking on my link, I receive a small commission with no extra cost to you. I truly appreciate your support when using these links. Please click on the logo below the product to shop at your favourite store. Products marked with an asterisk (*) were kindly sent to me to use.
 
 
COPIC MARKERS: E59, E57, E55, E31, E51, E50, R00. Nose & Collar - R89, R37, R24, R14.


BLOG HOP:

Here are the full list of participants in the hop today:
 
Michelle - you are here


GIVEAWAY:

I am giving away a $35 CAD gift certificate to the Studio Katia Store. I will randomly choose a winner from the comments left on this post by 22nd September 2017 at 23.59 hrs BST. I will announce the winner on the 23rd September 2017. The giveaway is open worldwide.
 
The next person on the hop is the fabulous Erum. Thanks so much for visiting me today. I will be sharing some more cards using the wonderful release later in the month. I hope you have a great time on the rest of the hop!
End of code