Showing posts with label Pretty Pink Posh. Show all posts

3 February 2019

VIDEO | Cute Koala - Simple Copic Colouring + Favourite Colour Combos

Hello there, today I have a card to share using the adorable Koala Friends stamp set from Pretty Pink Posh. I was kindly gifted this from a friend at Christmas and I fell in love with it straight away. I thought this would be a good opportunity to talk about some of my favourite colour combinations with Copic Markers too, and how I go about choosing which ones to use.
 

I am very much a creature of habit when it comes to colour combinations with Copic Markers. I have been colouring with Copics for about 10 years now and I still use the combinations that I used back then! I often use the Copic Colour Chart to see which Copic Markers might blend well with each other. This free chart from Copic can be printed out and filled in with which Copics you have. It uses the numbering system to place colours/shades next to each other. For the most part, the colour above and below another colour will usually mean that it will blend nicely together, but not always!
 
I do also use the Hex Chart from Sandy Allnock. This chart can be purchased from Sandy's website, printed off and filled in with the Copic Markers that you have. She has laid the colours out by what she feels blends with each other and not by the numbering system that Copic uses. This is really great as you can find some colour combinations that you never even thought of! I share a look at both charts in the video below.
 

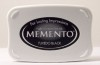
To start my card, I stamped the koala image from the Koala Friends stamp set on to white cardstock with Memento Tuxedo Black Ink. I then grabbed my favourite Warm Grey Copic Markers and coloured the koalas. For the leaves I used my favourite green colour combination for leaves and foliage. This is a really nice bright green. This colour combination does not use colours next to each other on the Copic chart, it is just a combination that I found and love! I then used browns for the tree trunk/bark (all of the colours I used are listed below the supplies section). Again, this is one of my favourite combinations for colouring wood. Once the image was coloured, I used the coordinating die to cut the image out.
 
 
I took an A2 white card base and blended clouds on to the front using the MFT Cloud Stencil and Tumbled Glass Distress Oxide Ink. I then stamped the sentiment from the set using the same black ink. I cut down two pieces of white cardstock to add to the front of the card, above and below the clouds. These were adhered with foam tape and the koala image added with a combination of foam tape and tape runner. I finished off by adding black glaze pen to the koala's eyes.


VIDEO:

Here is the video, showing how the card came together:


If you are viewing this post via email subscription, you can watch the video here on YouTube.
 
 
SUPPLIES:

Here are the links to what I have used on the card. Affiliate links are used on some products. This means that if you make a purchase after clicking on my link, I receive a small commission with no extra cost to you. I truly appreciate your support when using these links. Please click on the logo below the product to shop at your favourite store. All products were personally purchased except those from Clearly Besotted, Hero Arts or those marked with an asterisk (*) which were kindly sent to me to use. You can read my full disclosure here.
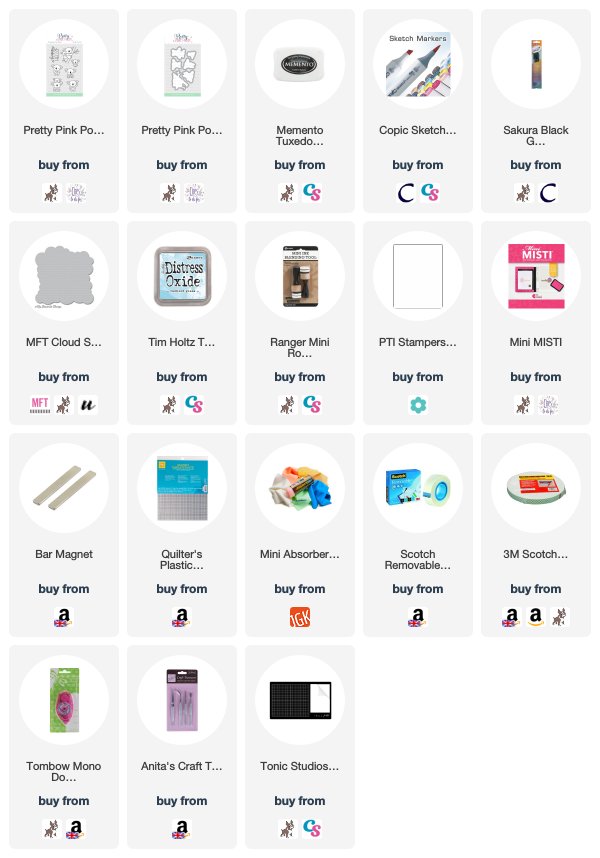
 

COPIC MARKERS: Koalas - W8, W6, W5, W4, W3, W2, W1, R12, R000. Tree trunk - E59, E57, E55. Leaves - YG67, YG17, YG23, YG01.
 
How about you? Do you stick to the numbering system with colour combinations or do you just pick colours and see what happens? I would love to hear! Thanks so much for stopping by today, I really do appreciate it. I hope you have a great rest of the weekend!

13 April 2017

Mother's Day Flowers

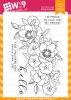
Hello there, today I have the card to share that I made for my mum for Mother's Day (we celebrated it here in the UK about two weeks ago). My mum loves flowers so I decided to use the WPlus9 Kind Soul stamp set for her card. I just love WPlus9's florals!
 

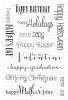
I started off by taking a piece of white cardstock and stamped the flowers on to it using Memento Tuxedo Black Ink. I then stamped the sentiment from the Clearly Besotted All Occasion Sentiments Stamp Set below. The image was then coloured using Copic Markers. I also added a soft blue halo around the image to help it pop.
 
 
The image panel was simply added to a white A2 card base with ATG. To finish off, I added PPP Sparkling Clear sequins and a little clear Wink of Stella to the centres of the purple flowers.
 
SUPPLIES:
Here are the links to what I have used on the card. Please click on the picture or wording to be taken to where I purchased it. Affiliate links are used on some products. This means that if you make a purchase after clicking on my link, I receive a small commission with no extra cost to you. I truly appreciate your support when using these links.


COPIC MARKERS: Purple flowers - V09, V06, V05, V04, V01, Y13. Pink flowers - R85, R83, R81. Leaves - YG67, YG17, YG23, YG03. Shadow/halo - B00, B000, B0000, 0.
 
A bit of a simple card but my mum liked it so that's what matters! :) Thanks so much for visiting me today. I  hope you have a great week!

30 November 2016

VIDEO | Watercoluring with Ink Pads

Hello there, this month I have the absolute pleasure of being Altenew's Video Guest Designer. I shared my project last week over on their You Tube Channel and Blog and today I thought I would share it here too.
 
 
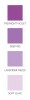
For my card I wanted to watercolour using Altenew's ink pads. They work really well for water colouring as they are dye based. They are also great as they have colours that coordinate really well, for example, they have light colours, mid-tones and dark colours. I used the Shades of Purple and Green Fields collections on my card today.
 

I started off by stamping the image on to some watercolour paper using black Archival ink. I masked off the flower before stamping the leaves. I also stamped the sentiment to the bottom left hand side. The image was coloured using the ink pads. I used lavender Fields, Deep Iris and Midnight Violet for the flower itself. I then used Frayed Leaf and Forest Glades for the leaves. I kept the colouring light and more of a wash type look which I think goes well with the style of the stamps.
 
 
Once the panel was dry, I added it to an A2 Fog card base with foam sheet. To finish if off, I added a few Pretty Pink Posh Sparkling clear sequins. A really simple card but I like the softness to it.
 
VIDEO:
 
Here is the video showing how I made it:


SUPPLIES:
Here are the links to what I have used on the card. Please click on the picture or wording to be taken to where I purchased it. Affiliate links are used on some products. This means that if you make a purchase after clicking on my link, I receive a small commission with no extra cost to you. I truly appreciate your support when using these links.


For more inspiration, do head over to the Altenew Blog, the Design Team are amazing! Thank you so much for visiting me today. I really do appreciate it. I hope you have a great day!

15 August 2016

VIDEO | Creating A Night Sky Background

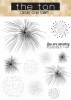
Hello there, today I have a card to share using distress inks to create a night sky background. I also used the fab Pyrotechnics stamp set from The Ton to create some fireworks.
 
 
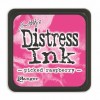
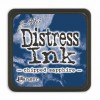
For my card, I started off with a piece of Bristol Smooth cardstock cut using the largest of the SSS Stitched Rectangle dies. I took Distress Inks in Picked Raspberry, Seedless Preserves, Chipped Sapphire and Black Soot and blended these over the piece using a blending tool. The panel was then set aside to dry.
 
 
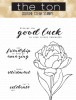
Once dry I stamped the fireworks from The Ton's Pyrotechnics stamp set on to it using Versamark ink. I applied Tonic Nuvo Shimmering Pearl Glitter Embossing Powder and heat set them. I took the sentiment, from The Ton's Lucky Tulip stamp set, and stamped this on to a piece of black cardstock, again with Versamark ink. I applied Nuvo Glacier White embossing powder and heat set this. Once cool, I cut it down.
 
 
The background piece was added to an A2 black card base with foam tape. I then added the sentiment piece with foam tape also. To finish off, I added PPP Sparling Clear sequins with Multi Medium Matte.
 
VIDEO:
Here is the video showing how I made the card:


SUPPLIES:
Here are the links to what I have used on the card. Please click on the picture or wording to be taken to where I purchased it. Affiliate links are used on some products. This means that if you make a purchase after clicking on my link, I receive a small commission with no extra cost to you. I truly appreciate your support when using these links. Products marked with an asterisk (*) were sent to me, all other products were purchased by myself.


I am really like how the card came out, that Shimmering Pearl embossing powder is really beautiful in real life. I love the subtleness of the glitter - so pretty! I mentioned in the video that I not think it matters which way round the fireworks go, the one on the right does bother me a bit but never mind! I shall live with it and I am sure whoever gets the card will still like it. Thanks so much for visiting me today. I hope you have  a great day and a fabulous week!  
End of code