31 March 2022

Clearly Besotted Teasers | Sweet Birthday

Hello there and welcome to day four of the Clearly Besotted April 2022 Teasers. Release day is tomorrow but I have one last teaser to share with you today. Today I am using the Sugar Rush Corners set. This set features two corner images full of yummy treats, as well as a couple of standalone images and some fun sentiments. You can pair it with the Sugar Rush Plushies or use it on it's own. 

PLEASE NOTE: This post contains affiliate links. Please see below for my full disclosure.


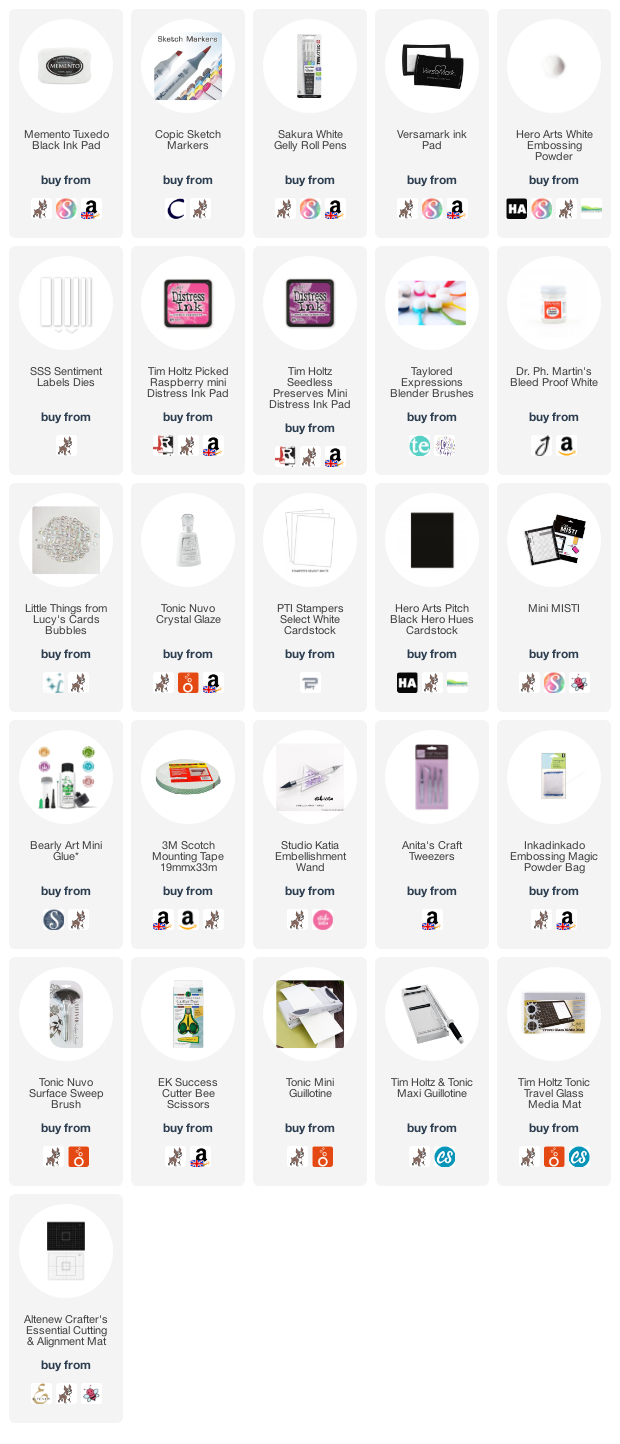
I started off by stamping one of the corner images from the Clearly Besotted Sugar Rush Corners Stamp Set on to white cardstock with Memento Tuxedo Black Ink. I then coloured it with Copic Markers (the colours that I used are listed below the supplies area for reference) and then fussy cut it out with scissors. 


On a 4.25" x 4.25" panel of cardstock, I blended Tim Holtz Distress Inks in Picked Raspberry and Seedless Preserves in to the bottom left hand corner. I splattered Dr. Ph. Martin's Bleed Proof White Paint on top and then set it aside to dry before adhering it on to a 4.75" x 4.75" white card base with foam tape. The corner image was then added on top with more foam tape. 


I took the sentiment from the set and stamped it on to black cardstock with Versamark Ink. I applied white embossing powder and heat set. It was cut in to a strip and added to the card with more foam tape. To finish off, I added a few Little Things from Lucy's Cards Bubbles around the sentiment and images. I also added Nuvo Crystal Glaze to the some areas and white gel pen highlights to others. 

SUPPLIES:


Here are the links to what I have used on the project. Affiliate links are used on some products. This means that if you make a purchase after clicking on my link, I receive a small commission with no extra cost to you. I truly appreciate your support when using these links. Please click on the logo below the product to shop at your favourite store. All products were personally purchased except those from Clearly Besotted, Hero Arts or those marked with an asterisk (*) which were kindly sent to me to use. You can read my full disclosure here.


COPIC MARKERS: E29, E27, E25, E23/E37, E35, E33, E30/E57, E55, E53, E51, E50/R89, R39, R37, R35/RV66, RV55, RV52, RV00/Y23, Y21. 

All these sweet treats are making me hungry! Haha! For more inspiration using the new sets, please head over to the Clearly Besotted Blog and my amazing teamie Keren. Next up are our wonderful guest designers Adelle, Alberto and Francine. Thank you so much for stopping by to see me today, I really do appreciate it. I hope you have a lovely day! 

30 March 2022

Clearly Besotted Teasers | Band Together

Hello there and welcome to day three of the Clearly Besotted April 2022 Teasers. We are half way through now, release day is Friday 1st April 2022. Today I am using the new Band Together set, this set is perfect for any musicians in your life. It features characters playing instruments, lots of fun sentiments and also a background image of buildings. 

PLEASE NOTE: This post contains affiliate links. Please see below for my full disclosure.


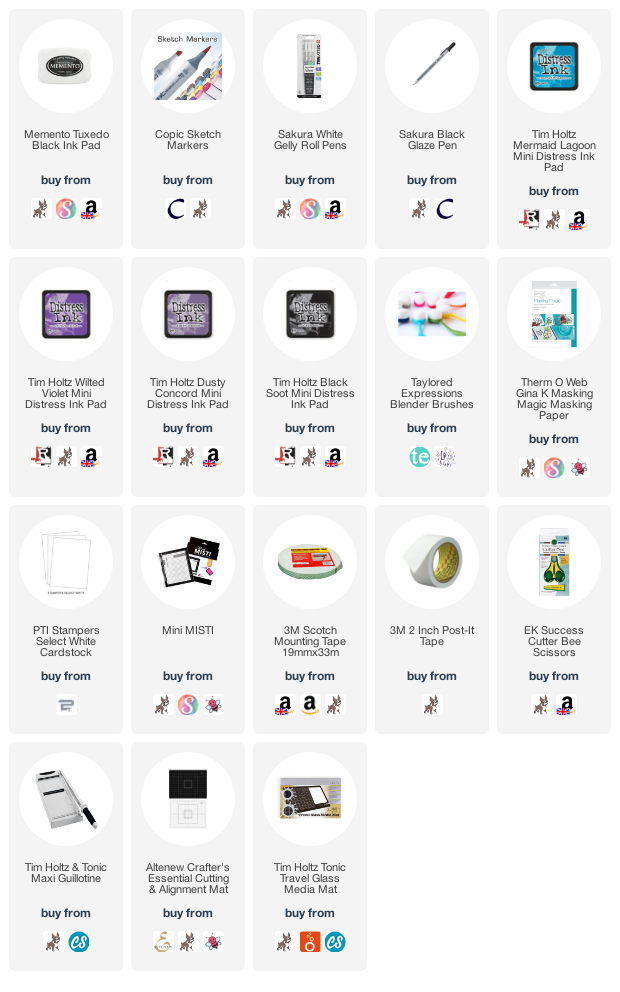
I started off my card by stamping four of the characters from the Clearly Besotted Band Together Stamp Set on to a panel of white cardstock. I made masks for them all from masking paper and then also masked off the ground. Using ink blending bushes, I blended on Tim Holtz Distress Inks in Mermaid Lagoon, Wilted Violet and Dusty Concord

The ground mask was removed and placed to cover the sky. I then blended on a little Tim Holtz Black Soot Distress Ink for the ground. All of the masks were removed and then images coloured with Copic Markers (the colours that I used are listed below the supplies area with Copic Markers). 

I took the sentiment from the stamp set, as well as the musical notes and stamped them on to the panel with Memento Tuxedo Black Ink. The panel was then adhered to a mini slimline (6.5" x 3.5") white card base with foam tape. I finished off by adding white gel pen highlights, glaze pen and black glaze pen to their eyes. 

SUPPLIES:


Here are the links to what I have used on the project. Affiliate links are used on some products. This means that if you make a purchase after clicking on my link, I receive a small commission with no extra cost to you. I truly appreciate your support when using these links. Please click on the logo below the product to shop at your favourite store. All products were personally purchased except those from Clearly Besotted, Hero Arts or those marked with an asterisk (*) which were kindly sent to me to use. You can read my full disclosure here.


COPIC MARKERS: Rhino - N7, N6, N5, N3, N1, E44, E43, E42. Elephant - W7, W5, W4, W3, W2, W1. Monkey - E49, E59, E57, E55, E53, E51, E50, R12. Bear - E29, E27, E39, E35, E33, E31, R22, R12, R00. Sousaphone, Cymbals & Saxophone - YR27, YR24, YR21, YR31, Y02, Y00. Drum - YR27, YR24, Y04, E55, E53, E51, E50, R89, R39, R37, R35. Ground - C5, C3, C2, C1. 

Did you notice my mistake? I stamped one of the music notes upside down! It was too late to correct it, so I left it. I am hoping that it is not too noticeable! For more teasers using the new sets, please head over to the Clearly Besotted Blog and my fantastic teamie Keren. Please also visit our wonderful guests Adelle, Alberto and Francine. Thanks so much for stopping by today, wishing you a lovely day! 

29 March 2022

VIDEO | MFT Happy Birthday to Moo!

Hello there, I am over on the My Favorite Things YouTube Channel today, sharing a very clean and simple card using the Barnyard Birthday set. In the video, I talk about the benefits of using a reduced colour palette and also how although clean and simple cards look quick and easy to make, sometimes they can take a lot of thought!

PLEASE NOTE: This post contains affiliate links. Please see below for my full disclosure.


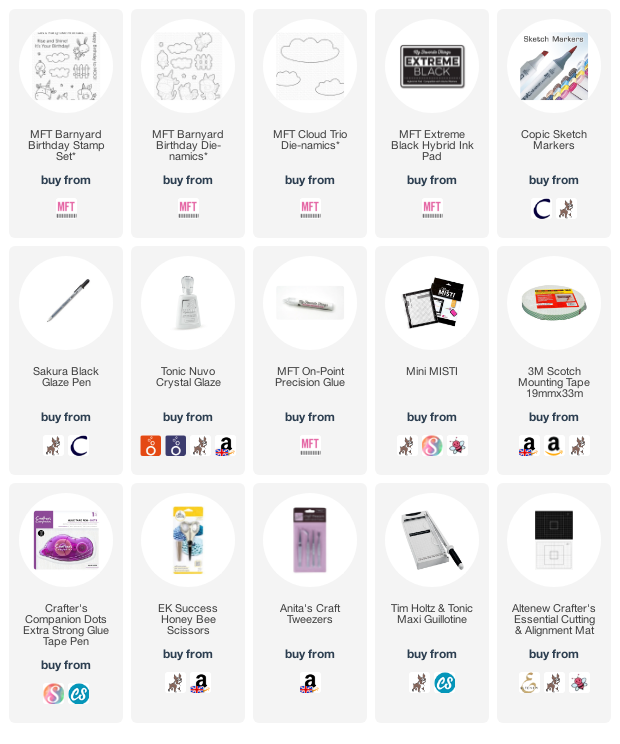
For my card, I started off by stamping the cow and fence (x2 for the fence) from the MFT Barnyard Birthday Stamp Set on to white cardstock with MFT Extreme Black Ink. I then coloured them using Copic Markers (the colours that I used are listed below the supplies area). I wanted to use a reduced colour palette and just have a pop of colour from the party hat and the cow's mouth/nose area. 


They were die cut out using the MFT Barnyard Birthday Die-namics. I also cut another two fence pieces just with the dies, so that I could layer them up. I took the MFT Cloud Trio Die-namics and cut these twice too. I took a panel of white cardstock and stamped the sentiment, from the Barnyard Birthday set, on to it with more MFT Extreme Black Ink


The panel was adhered to an A2 white card base with tape runner. I then layered up the fence pieces and clouds, so that they were two high, using MFT On-Point Precision Glue. They were then added to the card using the same glue. The cow was added on top with foam tape. To finish off, I added Sakura Black Glaze Pen to the cow's eyes and Nuvo Crystal Glaze to her mouth/nose area. 

VIDEO:

Here is the video showing how I made the card:


If you are viewing this post via email subscription, you can watch the video HERE on YouTube. 

SUPPLIES:


Here are the links to what I have used on the project. Affiliate links are used on some products. This means that if you make a purchase after clicking on my link, I receive a small commission with no extra cost to you. I truly appreciate your support when using these links. Please click on the logo below the product to shop at your favourite store. All products were personally purchased except those from Clearly Besotted, Hero Arts or those marked with an asterisk (*) which were kindly sent to me to use. You can read my full disclosure here.


COPIC MARKERS: Cow - N8, N6, N5, N3, N1, N0/E53, E51, E50/R22, R21, R30, R00, R000. Party hat - V17, V15, V12, V000. Fence - C5, C3, C1.

Although the card is very CAS, I do like that little pop of colour against the neutral tones. Thank you so much for stopping by to see me today, I really do appreciate it. I hope you are well and have a great rest of the day! 

Clearly Besotted Teasers | You're Sweet!

Hello there and welcome to day two of the Clearly Besotted April 2022 Teasers. Today I am using two new sets - Sugar Rush Scenes and Sugar Rush Plushies. There is also another set in the collection, which I will share later in the week. These sets, as you can probably guess from the name, all have a sweet treats theme to them - doughnuts, cookies/biscuits, sweets/candy, chocolate ... all the yummy things! 

PLEASE NOTE: This post contains affiliate links. Please see below for my full disclosure.


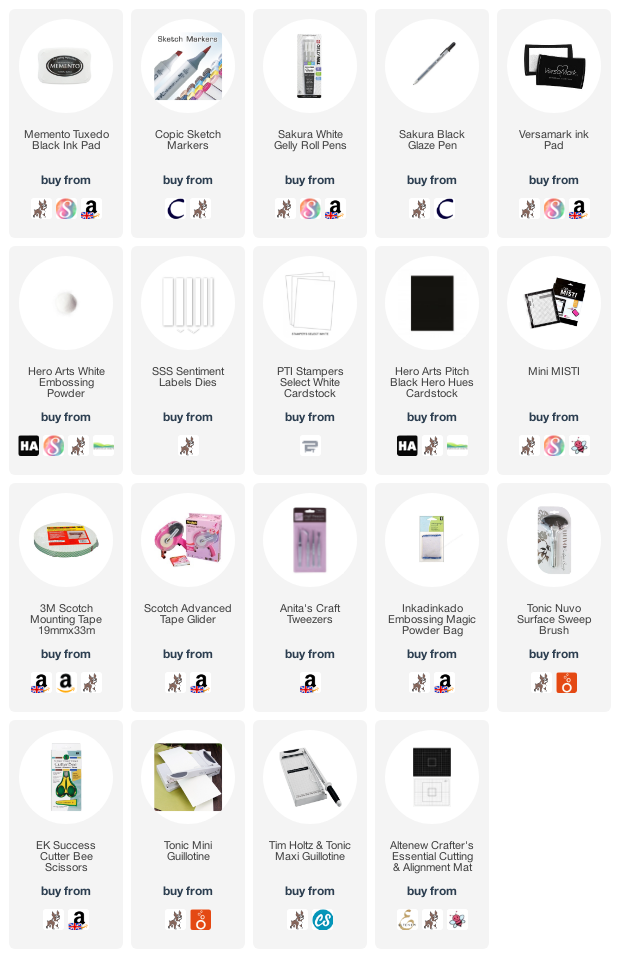
I started off my card by taking a panel of white cardstock and stamping one of the scenes from the Clearly Besotted Sugar Rush Scenes Stamp Set on top with Memento Tuxedo Black Ink. On a separate piece of cardstock, I stamped the squirrel image from the Clearly Besotted Sugar Rush Plushies Stamp Set, also with black ink. 


In the Sugar Rush Scenes set, there are separate sprinkles that you can add to images, so I added them to two of the doughnuts. The images were then coloured using Copic Markers (the colours that I used are listed below the supplies area) and the squirrel fussy cut out with scissors. 


The panel was adhered to an A2 white card base with tape runner. The squirrel was then added on top with foam tape. I took the sentiment from the Sugar Rush Plushies set and stamped in to on black cardstock with Versamark Ink. I applied white embossing powder and heat set. It was cut in to two strips and added to the card with more foam tape. To finish off, I added white gel pen highlights and black glaze pen to the squirrel's eyes. 

SUPPLIES:


Here are the links to what I have used on the project. Affiliate links are used on some products. This means that if you make a purchase after clicking on my link, I receive a small commission with no extra cost to you. I truly appreciate your support when using these links. Please click on the logo below the product to shop at your favourite store. All products were personally purchased except those from Clearly Besotted, Hero Arts or those marked with an asterisk (*) which were kindly sent to me to use. You can read my full disclosure here.


COPIC MARKERS: Squirrel - E18, E15, E13, E11, R22. Doughnuts - E35, E33, E30. Icing - RV55, RV52, RV00/E29, E27, E25, E23/Y04, Y02, Y000. Sprinkles - RV66, E27, Y06. Ground - N5, N3, N1, N0. Background - B00, B000, B0000.

I bet that squirrel is happy with that big pile of doughnuts! I hope he doesn't eat them all at once! Haha! For more teasers, please head over to the Clearly Besotted Blog and my fabulous teamie Keren. Then please also head over to our wonderful guests Adelle, Alberto and Francine. Thanks so much for stopping by today, I will be back later with another post but in the mean-time, I hope you have a lovely day! 

28 March 2022

Clearly Besotted Teasers | Paper Play

Hello there and welcome to the Clearly Besotted April 2022 Teasers. The new release hits the shops on Friday, 1st April 2022. From now until then, we will be sharing teasers with you using the new sets. Today I am using the new Paper Play set. This is a wonderful set (I think my favourite from the whole release!) featuring raccoons and foxes with origami. There are also lots of fabulous sentiments in the set. 

PLEASE NOTE: This post contains affiliate links. Please see below for my full disclosure.


I really wanted to use a couple of the characters from the set so I decided to make two tags - one with a raccoon and one with a fox! I started off by die cutting four tags from white cardstock using the Clearly Besotted Tag Along Die Collection. I wanted two for the front of the tags and two for the back. 


I first added ink blending at the bottom of the tags for the grass. I used Tim Holtz Twisted Citron, Mowed Lawn and Rustic Wilderness Distress Inks and an ink blending brush. I then placed the Clearly Besotted Cloudy Day Stencil on top and blended on Tim Holtz Mermaid Lagoon Distress Ink, moving the stencil down to cover the top with clouds/sky. I then adhered the white tags to the back. 


I took the images from the Clearly Besotted Paper Play Stamp Set and stamped them on to white cardstock with Memento Tuxedo Black Ink. I coloured them with Copic Markers (the colours that I used are listed below the supplies area) and then fussy cut them out using scissors. 


I took the sentiments from the set and stamped them on to the tags using more Memento Tuxedo Black Ink. The raccoon and fox were then added on top with foam tape. 


I cut the tag hole reinforcer from white cardstock and adhered them on to the tags and added twine through the holes and tied in a bow at the front. To finish off, I added white highlights with a gel pen and also added black glaze pen to their eyes. 

SUPPLIES:


Here are the links to what I have used on the project. Affiliate links are used on some products. This means that if you make a purchase after clicking on my link, I receive a small commission with no extra cost to you. I truly appreciate your support when using these links. Please click on the logo below the product to shop at your favourite store. All products were personally purchased except those from Clearly Besotted, Hero Arts or those marked with an asterisk (*) which were kindly sent to me to use. You can read my full disclosure here.


COPIC MARKERS: Raccoon - T8, T7, T5, T3, T2, T1, T0, R12, R00. Flower - G29, YG17, YG23, YG01/RV69, RV66, RV55, RV52. Fox - E18, E15, E13, E11, W5, W3, W1. Butterfly - V09, V17, V15, V12, V01. 

For more inspiration using the new sets, please head over to the Clearly Besotted Blog and my amazing teamie Keren. We also have some wonderful guests joining us this month - Adelle, Alberto and Francine. Please do pop over to see what they have been up to as well. Thanks so much for stopping by today, I really do appreciate it. See you tomorrow for day two! 

27 March 2022

Spellbinders | Mother's Day Butterfly

Hello there, today I have a card to share with you that I made for my mum for Mother's Day today. It uses lots of products from Spellbinders, including the Butterfly Card Creator Dies for the card base and also the Head in the Clouds Embossing Folder from the new Open Road Collection. Although I haven't used the embossing folder as my focal point, I honestly think the card wouldn't be the same without it, I really love that cloud detail on the card!

PLEASE NOTE: This post contains affiliate links. Please see below for my full disclosure.


I started off my card by die cutting the smaller of the two dies from the Spellbinders Butterfly Card Creator Etched Dies twice from white cardstock. On one, I ran it through my Platinum 6 using the Spellbinders Head in the Clouds Embossing Folder. I did half of the card base/butterfly at a time as I knew I would cover up the middle with other other elements. 


On the other butterfly, I scored a line at the top with a score board and bone folder to make a hinge. It was then adhered to the back of the other butterfly to make a card base. The card measures just under 5" x 6.75", so will fit in a 5" x 7" envelope.


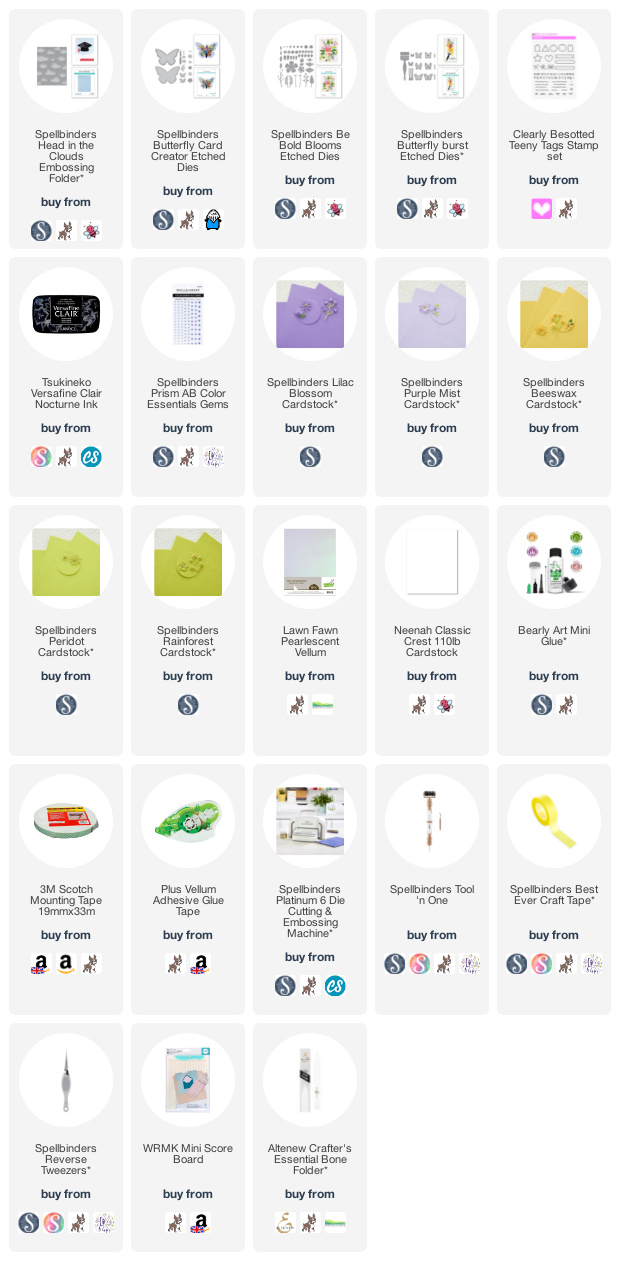
I took the Spellbinders Be Bold Blooms Etched Dies and die cut the flowers from Spellbinders Lilac Blossom and Purple Mist Cardstock. I cut the flower centres from Spellbinders Beeswax and the foliage from Spellbinders Peridot and Rainforest Cardstock. The flowers and foliage were layered up, adhering with Bearly Art Glue and foam tape to the centre of the butterfly. 


I took the small butterflies from the Spellbinders Butterfly Burst Etched Dies and die cut them from pearlescent vellum. They were adhered to the card with a small amount of vellum adhesive in the middles. The sentiment, from the Clearly Besotted Teeny Tags Stamp Set, was stamped on to white cardstock using Versafine Clair Nocturne Ink. It was cut in to a strip and added to the card with more foam tape. To finish off, I added Spellbinders Prism AB Color Essentials Gems

SUPPLIES:


Here are the links to what I have used on the project. Affiliate links are used on some products. This means that if you make a purchase after clicking on my link, I receive a small commission with no extra cost to you. I truly appreciate your support when using these links. Please click on the logo below the product to shop at your favourite store. All products were personally purchased except those from Clearly Besotted, Hero Arts or those marked with an asterisk (*) which were kindly sent to me to use. You can read my full disclosure here.


Wishing all the mothers out there a very happy Mother's Day and thinking of those for who today is a very difficult day for them. Thank you so much for visiting me today, I really do appreciate it. Take care!

22 March 2022

Simon Says Stamp | Flowers Bloom Hope

Hello there, today I have a card to share with you using the Simon Says Stamp XL Spring Greetings set that is part of the new Hello Gorgeous collection, which is out today. This is such a beautiful set with lots of big, spring themed sentiments. There are also a few flowers and leaves in the set, too. 

PLEASE NOTE: This post contains affiliate links. Please see below for my full disclosure.


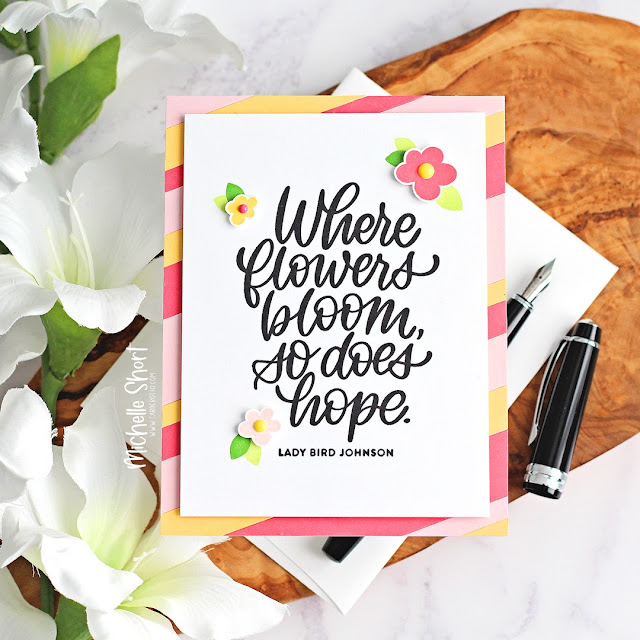
I started off my card by stamping the sentiment from the Simon Says Stamp XL Spring Greetings Stamp Set on to a panel of white cardstock using Versafine Clair Nocturne Ink. I then took the leaves from the set and stamped them on to the panel using Concord & 9th Sprout and Parsley Ink Cubes. 


On a separate piece of cardstock, I stamped three of the flowers from the set using Concord & 9th Buttercup, Honeysuckle and Ballet Slippers Ink Cubes. They were fussy cut out using scissors. I took Concord & 9th Cardstock in Buttercup, Honeysuckle and Ballet Slippers and die cut them using the Simon Says Stamp Sentiment Labels Dies


The strips of cardstock were adhered to the front of an A2 white card base with Bearly Art Glue. The sentiment panel was then added on top with foam tape. The flowers were then added on top of that with thin foam squares. To finish off, I added Hero Arts Pinks and Sunset Enamel Dots to the centres of the flowers. 

SUPPLIES:


Here are the links to what I have used on the project. Affiliate links are used on some products. This means that if you make a purchase after clicking on my link, I receive a small commission with no extra cost to you. I truly appreciate your support when using these links. Please click on the logo below the product to shop at your favourite store. All products were personally purchased except those from Clearly Besotted, Hero Arts or those marked with an asterisk (*) which were kindly sent to me to use. You can read my full disclosure here.


I hope that you will check out the new Hello Gorgeous collection, as always, its a great release. Thank you so much for stopping by today, I really do appreciate it. Wishing you a wonderful day! 

21 March 2022

VIDEO | Hero Arts - Simple Spring Scene with Color Layering Duckling

Hello there, I am over on the Hero Arts Blog and YouTube channel today, sharing a simple spring scene card using the Color Layering Duckling. This duckling is adorable and can be layered up with so many different colours. I went with quite bright colours today for a spring feeling card. 

PLEASE NOTE: This post contains affiliate links. Please see below for my full disclosure.


I first stamped the Hero Arts Color Layering Duckling Stamp Set on to Dove White cardstock with Dandelion Bold Ink, Tangerine Bold Ink and Cup O' Joe Mid-Tone Shadow Ink. He was then die cut out using the Color Layering Duckling Frame Cuts


I made a simple background using ink blending and the Clouds and Grass Scenic Stencil. For the grass I used Key Lime Fizz and Green Apple Reactive Inks and the sky uses Splash Reactive Ink. The sentiment was stamped with Intens-ified Black Ink

VIDEO:

Here is the video showing how I made the card:


If you are viewing this post via email subscription, you can watch the video HERE on YouTube. 

SUPPLIES:


Here are the links to what I have used on the project. Affiliate links are used on some products. This means that if you make a purchase after clicking on my link, I receive a small commission with no extra cost to you. I truly appreciate your support when using these links. Please click on the logo below the product to shop at your favourite store. All products were personally purchased except those from Clearly Besotted, Hero Arts or those marked with an asterisk (*) which were kindly sent to me to use. You can read my full disclosure here.


For more information on how I made the card, please head over to the Hero Arts blog post HERE. Thanks so much for stopping by today, I really do appreciate it. Wishing you a lovely day and a great week ahead! 

17 March 2022

Spellbinders | Butterfly Burst

Hello there, today I have a card to share with you using the new Spellbinders Butterfly Burst Etched Dies from the Paint Your World Collection from Vicky Papaioannou. It is such a wonderful collection full of dies with lots of paint brushes and art supplies. I fell in love with the Butterfly Burst set as I love butterflies! 

PLEASE NOTE: This post contains affiliate links. Please see below for my full disclosure.


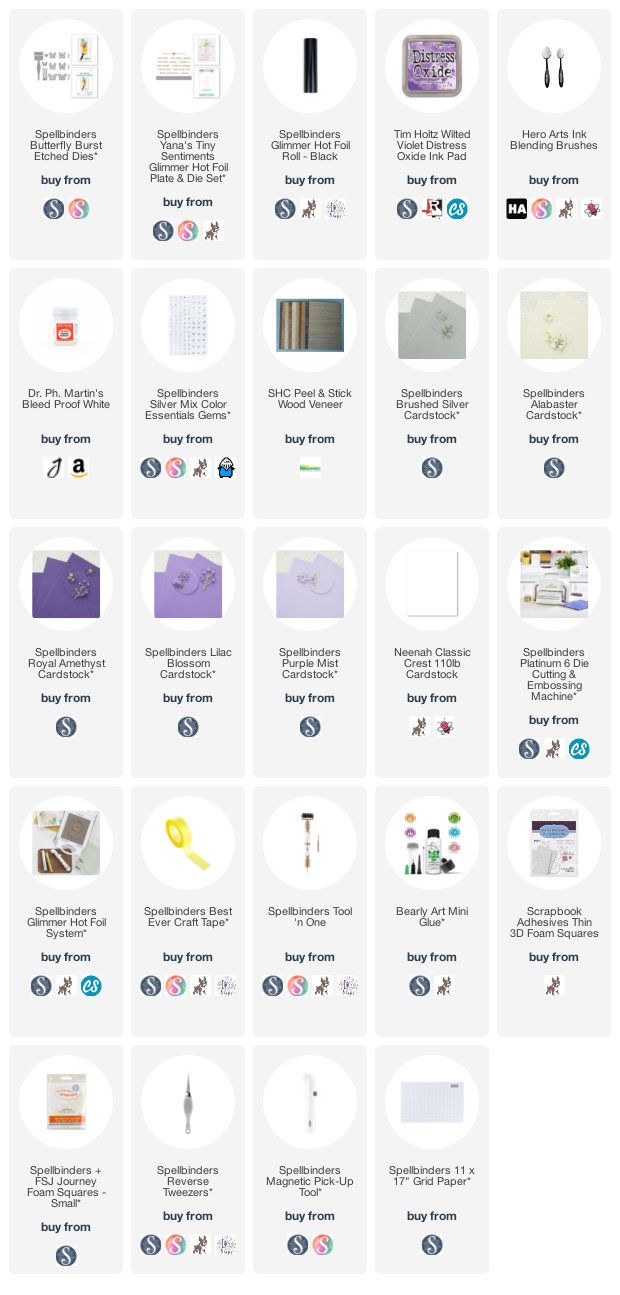
I started off my card by die cutting the paintbrush from the Spellbinders Butterfly Burst Etched Dies Set. I die cut the body of the brush from some wood veneer paper that I had in my stash. The metal pieces were cut using Spellbinders Brushed Silver Cardstock. The Bristles were cut from Spellbinders Alabaster Cardstock. I did layer these up a few times to get a full-bristled brush. 

The pieces were all adhered with Bearly Art Glue. I also die cut the butterflies from Spellbinders Royal Amethyst, Lilac Blossom and Purple Mist Cardstock. The butterflies do have bodies and they also have an outline too. I just used the solid for my card today, though. I took a panel of white cardstock and blended Tim Holtz Wilted Violet Distress Oxide Ink at the top. I then splattered on Dr. Ph. Martin's Bleed Proof White Paint and set it aside to dry. 

Once dry, It was adhered to an A2 white card base with foam tape. I added a little ink blending to the bristles on the brush and then adhered that on top with thin foam tape. The sentiment, from Spellbinders Yana's Tiny Sentiments Glimmer Hot Foil Plate & Die Set, was foiled on to white cardstock with Spellbinders Black Glimmer Foil. It was cut in to a strip and added to the card, as well as the butterflies. To finish off, I added a few Spellbinders Silver Mix Color Essential Gems

SUPPLIES:


Here are the links to what I have used on the project. Affiliate links are used on some products. This means that if you make a purchase after clicking on my link, I receive a small commission with no extra cost to you. I truly appreciate your support when using these links. Please click on the logo below the product to shop at your favourite store. All products were personally purchased except those from Clearly Besotted, Hero Arts or those marked with an asterisk (*) which were kindly sent to me to use. You can read my full disclosure here.


I hope you will check out this fun Paint Your World Collection! I think there are a lot of possibilities with it! Thank you so much for stopping by today, I really do appreciate it. I hope you have a lovely day! 

15 March 2022

VIDEO | MFT Just a Note

Hello there, I was over on the My Favorite Things YouTube Channel yesterday, sharing a card using products from the latest card kit. These products can be purchased as a kit (although I think this one might be sold out now) but can also be purchased separately. 

PLEASE NOTE: This post contains affiliate links. Please see below for my full disclosure.


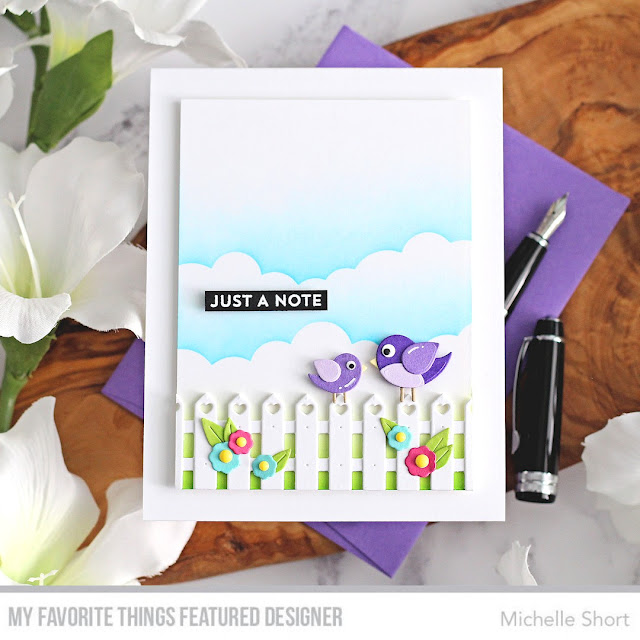
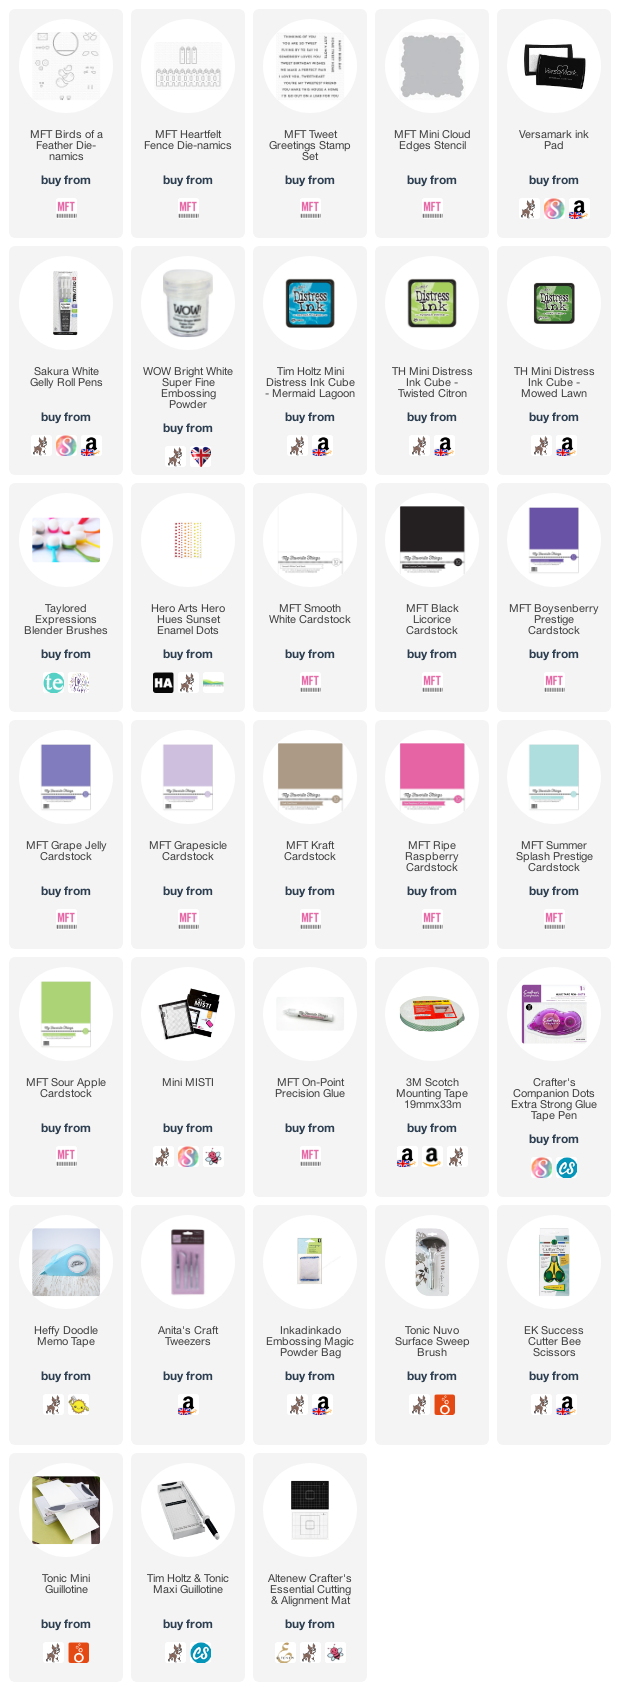
I started off my card by creating the background. I took a panel of white cardstock cut to 3.5" x 4.75" and first added ink blending to the bottom for the grass. I used Tim Holtz Distress Inks in Twisted Citron and Mowed Lawn. I then took the MFT Mini Cloud Edges Stencil and blended on two clouds using Tim Holtz Mermaid Lagoon Distress Ink. 


I die cut the MFT Heartfelt Fence Die-namics from white cardstock. I cut the whole fence twice and added it to the bottom of the panel, one on top of another using MFT On-Point Precision Glue. I then added the extra fence layers on top. The panel was then adhered to an A2 white card base with foam tape.


I die cut the birds from the MFT Birds of a Feather Die-namics from MFT Boysenberry, Grape Jelly and Grapesicle Cardstock for their bodies. Their beaks were cut from Lemon Chiffon (sorry, now discontinued) and their legs from Kraft. Their eyes were cut from white and Black Licorice. I assembled the birds, adhering with On-Point Precision Glue. They were added to the panel with foam tape.


The flowers were cut from Ripe Raspberry and Summer Splash cardstock and the leaves from Sour Apple. The leaves and flowers were added to the card with more liquid glue. I added Hero Arts Sunset Enamel Dots to the centres. The sentiment, from the MFT Tweet Greetings Stamp Set, was stamped on to black cardstock with Versamark Ink, I applied white embossing powder and heat set. It was cut in to a strip and added to the card with more foam tape. To finish off, I added white gel pen highlights to the birds. 

VIDEO:

Here is the video showing how I made the card:


If you are viewing this blog post via email subscription, you can watch the video HERE on YouTube. 

SUPPLIES:


Here are the links to what I have used on the project. Affiliate links are used on some products. This means that if you make a purchase after clicking on my link, I receive a small commission with no extra cost to you. I truly appreciate your support when using these links. Please click on the logo below the product to shop at your favourite store. All products were personally purchased except those from Clearly Besotted, Hero Arts or those marked with an asterisk (*) which were kindly sent to me to use. You can read my full disclosure here.


Thank you so much for stopping by today, I really do appreciate it. I hope you have a lovely day!
12 March 2022

Altenew | Craft Your Life Project Kit: Dynamic Blossoms Release Blog Hop + Giveaway

Hello there, today I am excited as the new Altenew Craft Your Life Project Kit releases today! These are such beautiful kits and today's is no exception. I love those bellflowers! The kit, as always, consists of a stamp set, die set, stencils and embossing folder. More on the kit below! This post is part of a fun, inspirational blog hop with prizes. Please see below for more details. 
PLEASE NOTE: This post contains affiliate links. Please see below for my full disclosure.


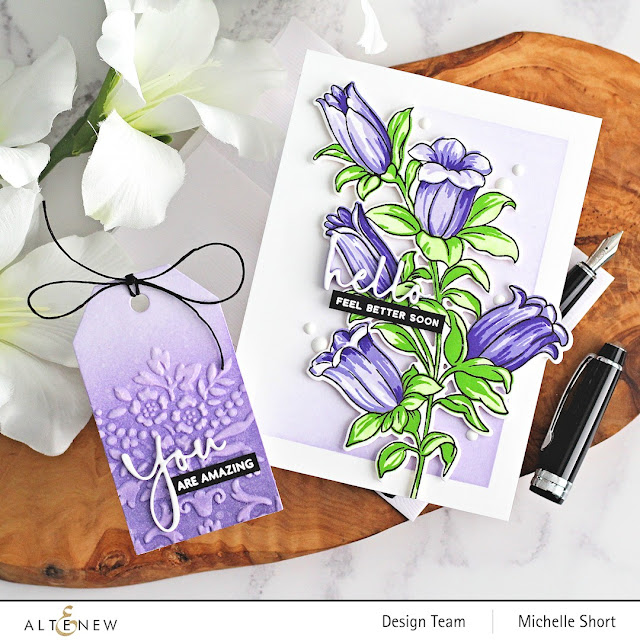
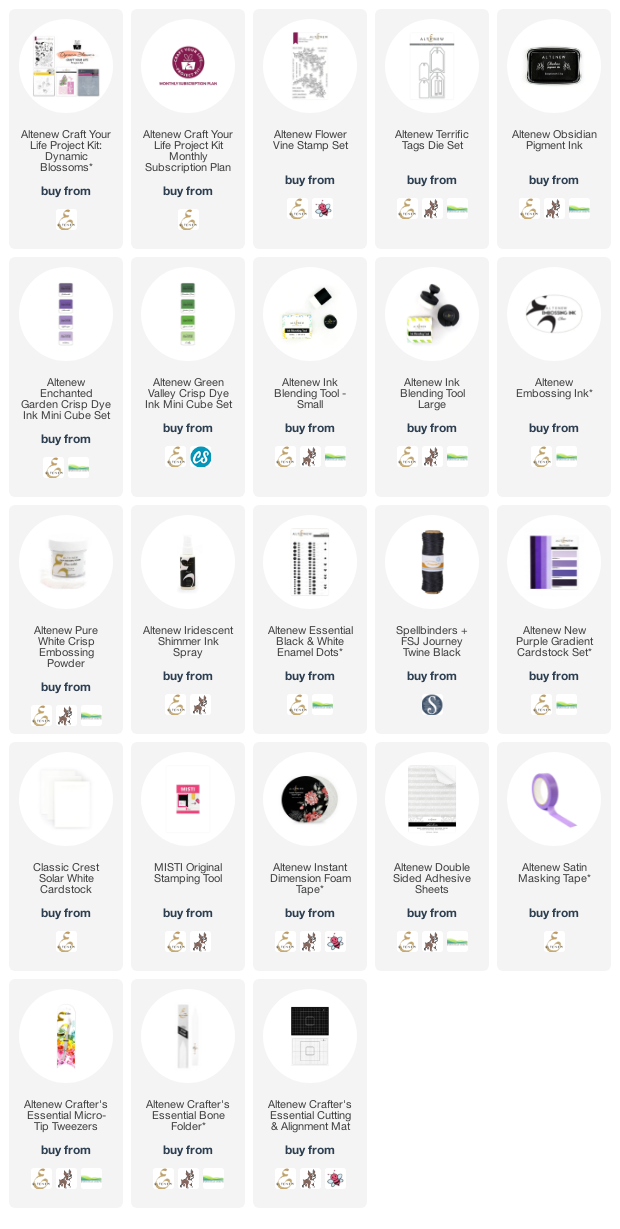
I have created a card and tag for today, using all of the products from the kit. For the card, I started off by stamping the large bellflower images from the Altenew Craft Your Life Project Kit: Dynamic Blossoms stamp set, using Altenew Obsidian Pigment Ink. I then placed the stencils in the kit on top, and added ink blending with Altenew Small Ink Blending Tools for the first layer. 


I used Altenew Enchanted Garden Crisp Dye Inks for the flowers and Altenew Green Valley Crisp Dye Inks for the stem and leaves. I then stamped the rest of the layers using the same inks. It was die cut using the coordinating die in the kit. I also die cut the hello word from the set multiple times from purple cardstock with Altenew Double-Sided Adhesive Sheet on the back. I also die cut it from white. 


They were layered up one on top of another. I had planned on doing it all purple but I felt it got lost, so added the white on top. I think it looks quite cool having the purple underneath! I took an A2 white card base and masked off the edges. Using an Altenew Large Ink Blending Tool, I blended on Enchanted Garden Ink, more towards the right hand side. The tape was removed and then image added on top with Altenew Instant Dimension Foam Tape


I took the hello word and added that to the card. I then stamped the sentiment from the Altenew Flower Vine Stamp Set on to black cardstock with Altenew Embossing Ink. I applied Altenew Pure White Crisp Embossing Powder and heat set. It was cut in to a strip and added to the card. To finish off, I added white enamel dots from the Altenew Essential Black & White Enamel Dots set. 


If you know me, you know that I cannot resist a tag! I die cut the Altenew Terrific Tag Die twice from white cardstock (one for the front, one for the back). On one, I blended Altenew Enchanted Garden Crisp Dye Ink and then ran it through my die cutting machine using the embossing folder in the kit. I spritzed it with Altenew Iridescent Shimmer Ink Spray and set it aside to dry. 


I die cut the 'you' word from the die set three times from white cardstock (with Double-Sided Adhesive Sheet on the back) and stacked them up. It was added to the tag. I then took the sentiment from the stamp set and heat embossed it on black cardstock. It was cut in to a strip and added to the tag, popping it underneath the loop on the 'y'. To finish off, I added twine through the top of the tag. 

SUPPLIES:


Here are the links to what I have used on the projects. Affiliate links are used on some products. This means that if you make a purchase after clicking on my link, I receive a small commission with no extra cost to you. I truly appreciate your support when using these links. Please click on the logo below the product to shop at your favourite store. All products were personally purchased except those from Clearly Besotted, Hero Arts or those marked with an asterisk (*) which were kindly sent to me to use. You can read my full disclosure here.


CRAFT YOUR LIFE KIT: DYNAMIC BLOSSOMS

Bring sweet smiles to your loved ones with a delightful kit of crafty goodies. The stamp set features a beautiful inflorescence of bellflowers. The outline layer is drawn with beautiful details for coloring, stamped as is, or layered with the coloring layers. The stamp set includes two coloring layers for the flowers and one for the leaves. For extra diversity, we have separated the leaves at the base of the flowers so you can turn these bellflowers into a variation of daffodils! 

BLOG HOP:


As mentioned, this post is part of  a fun, inspirational blog hop. You should have arrived here from the Altenew Card Blog. There you can also find details of all of the participants in the hop. Next on the hop is the amazing Jenny Colacicco

GIVEAWAY:


$300 in total prizes! To celebrate this release, Altenew is giving away a $50 gift certificate to 2 lucky winners and a $25 gift certificate to 8 winners! Please leave a comment on the Altenew Card Blog and/or each designer’s blog post on the blog hop list below by 18th March 2022. for a chance to win. Altenew will draw 10 random winners from the comments left on each stop of this blog hop and announce the winners on the Altenew Winners Page on 20th March 2022.

The kit can be purchased on it's own, or as part of the Craft Your Life Project Kit Subscription. Thank you so much for stopping by today, I really do appreciate it. Wishing you a wonderful weekend! 
End of code