30 November 2020

Clearly Besotted Teasers | You're My Superstar

Hello there and welcome to day four of the Clearly Besotted December Teasers. Release day is tomorrow but I have one last teaser to share with you today before the reveal. Today I am using two new sets - Picture It Stars and Seeing Stars. They do work nicely together but can be used separately too.

I started off by taking a panel of white cardstock and stamping the Clearly Besotted Picture It Stars Stamp Set at the top. If you are unfamiliar with the Picture It series, these sets are backgrounds where the work has already been done for you. No masking required! 

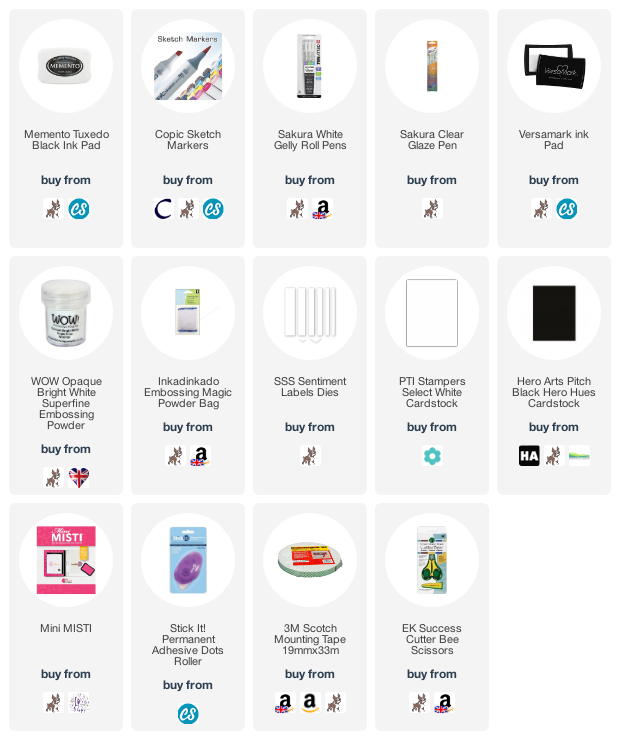
I coloured the sky first with Copic Markers, followed by the trees, telescope and landscape (the colours that I used are listed below the supplies area). I then took the sentiment from the Clearly Besotted Seeing Stars Stamp Set and stamped it on to black cardstock using Versamark Ink. I applied white embossing powder and heat set. It was cut in to a strip and added below the landscape background using tape runner. 

The Seeing Stars stamp set represents the different star/zodiac signs. I took Taurus the bull and stamped him on to more white cardstock with Memento Tuxedo Black Ink. I coloured him using Copic Markers, fussy cut him out and added him to the panel with foam tape. The whole panel was then added to an A2 white card base with foam tape. To finish off, I added Sakura Glaze Pen to the stars in the sky, as well as adding a few more stars with a white gel pen. 

SUPPLIES:

Here are the links to what I have used on the card. Affiliate links are used on some products. This means that if you make a purchase after clicking on my link, I receive a small commission with no extra cost to you. I truly appreciate your support when using these links. Please click on the logo below the product to shop at your favourite store. All products were personally purchased except those from Clearly Besotted, Hero Arts or those marked with an asterisk (*) which were kindly sent to me to use. You can read my full disclosure here.


COPIC MARKERS: Bull - E59, E57, E55, E53, E51, E50, E44, E43, E42, E40, R01, R00. Star - YR24, Y19, Y17, Y15, Y13, Y11. Mountains - W5, W3, W1. Landscape - T8, T6, T5, T3, T1. Trees - G29, G46, G43. Telescope - C7, C5, C3, C1, Y00. Sky - B39, B18, B26, B24, B23, B12, B00, R81, V12.

My star sign is Gemini but I thought that the bull made more sense for the scene. I love that you can customise them to the recipient though! For more inspiration using the new sets, please head over to the Clearly Besotted Blog, Keren, Lisa and our wonderful guest Francine. Thanks so much for stopping by today, see you tomorrow for release day! 

29 November 2020

Clearly Besotted Teasers | Fa La La Woof

Hello there and welcome to day three of the Clearly Besotted December 2020 Teasers. Not long to wait now, the new sets release on Tuesday, 1st December. Today I am using the super cute Howl It's Christmas set. This set is similar to the Sing It's Christmas set, but this time it is dogs singing instead of cats! 

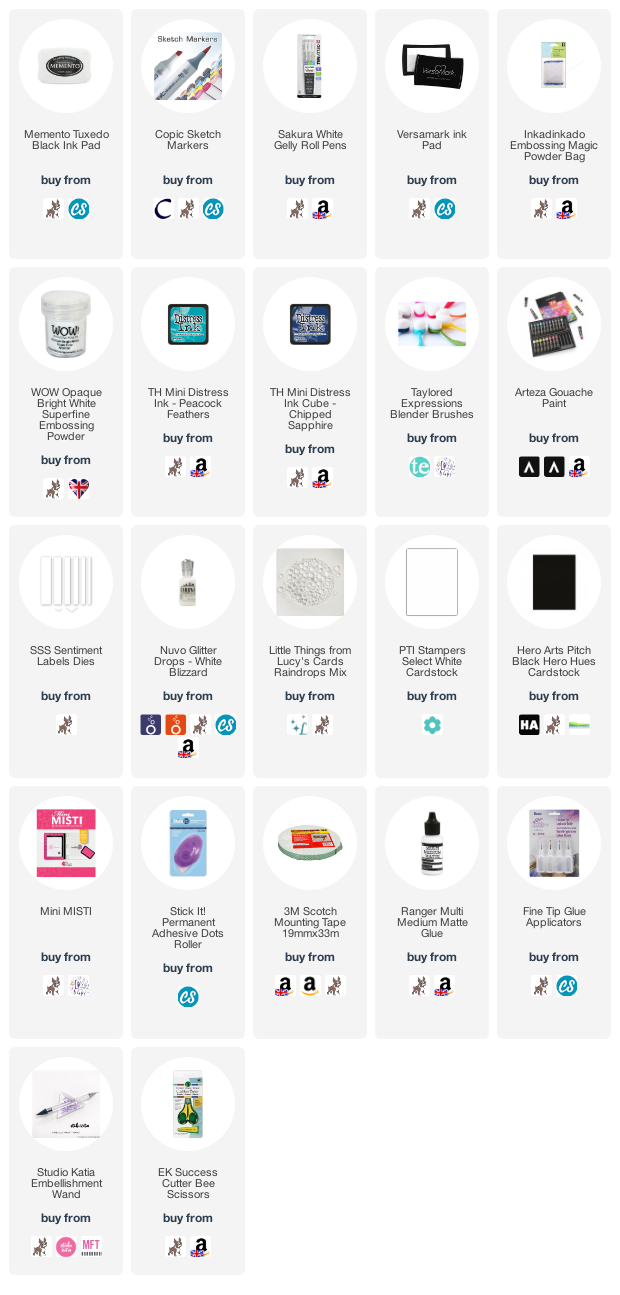
I started off by stamping the dogs singing image from the Clearly Besotted Howl It's Christmas Stamp Set on to white cardstock using Memento Tuxedo Black Ink. I then coloured the dogs with Copic Markers and fussy cut them out with scissors. They were then set aside while I worked on the background. I took a panel of white cardstock and using blending brushes, blended on Peacock Feathers and Chipped Sapphire Distress Inks, fading to white at the bottom to create a snow bank. I then lightly splattered on Arteza White Gouache for the snow and set it aside to dry.

Once dry, I stamped the musical notes in the set on top with Versamark Ink and applied white embossing powder. They were heat set and the panel adhered to a 4 1/4" x 4 1/4" white card base with tape runner. The dogs were added on top with foam tape. I took the sentiment from the same set and stamped it on to black cardstock with more Versamark Ink, applied white embossing powder and heat set. It was cut in to a strip and added to the card with more foam tape. To finish off, I added a few Lucy's Raindrops around the sentiment and Tonic Nuvo White Blizzard Glitter Drops to the pompoms on the hats.  

SUPPLIES:

Here are the links to what I have used on the card. Affiliate links are used on some products. This means that if you make a purchase after clicking on my link, I receive a small commission with no extra cost to you. I truly appreciate your support when using these links. Please click on the logo below the product to shop at your favourite store. All products were personally purchased except those from Clearly Besotted, Hero Arts or those marked with an asterisk (*) which were kindly sent to me to use. You can read my full disclosure here.


COPIC MARKERS: Dogs Left to right - E59, E57, E55, R89, R37, R27, R24/T7, T5, T3, T1, T0, B39, B18, B16, B12/E47, E44, E43, E42, E41, V17, V15, V12/C9, C7, C6, C5, B39, B18, B16, B12/W7, W5, W4, W3, W2, W1, V17, V15, V12. 

I kept my card very simple but there are lots of accompanying images in the set too to create scenes with. For more inspiration using the new sets, please head over to the Clearly Besotted Blog, Keren, Lisa and our wonderful guest Francine. Thanks so much for stopping by today, see you tomorrow for day four! Take care and I hope you have a lovely day! 

28 November 2020

Clearly Besotted Teasers | Skiing By To Say Hi

Hello there and welcome to day two of the Clearly Besotted December 2020 Teasers. Today I have a card to share with you using the new Snow Day Play Stamp Set. This is such a cute set with little hippos skating, skiing, snowboarding and falling over in the snow/ice! 

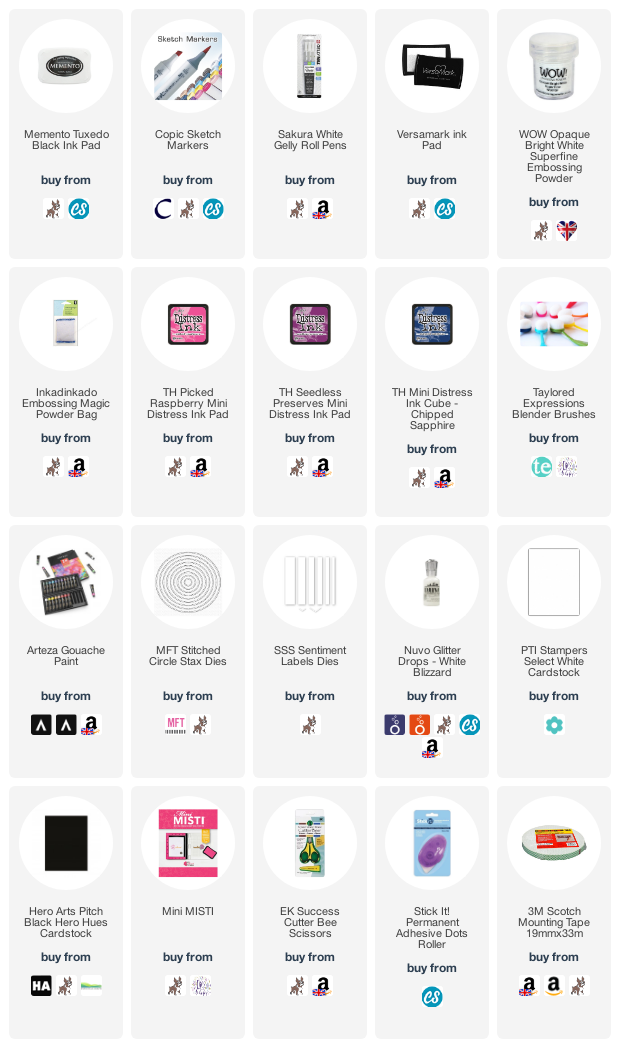
I started of by creating the background piece. I took the landscape/house/tree image from the Clearly Besotted Snow Day Play Stamp Set on to white cardstock using Memento Tuxedo Black Ink. I then cut this down using an MFT Stitched Circle STAX Die-namics. I also cut a further circle using the dies too. With the stamped one, I fussy cut around the top edge with scissors and then coloured it using Copic Markers (the colours that I used are listed below the supplies area). 

With the full circle piece, I blended Distress Inks on for a winter sky. I used Picked Raspberry, Seedless Preserves and then a bit of Chipped Sapphire at the top to darken it further. I then splattered on Arteza White Gouache for the snow and let it sit to dry. Once dry, the stamped landscape was adhered on top with tape runner and they were both then adhered flat to an A2 white card base. 

I took one of the skiing hippos from the Snow Day Play set and stamped it on to white cardstock with Memento Tuxedo Black Ink. It was coloured using Copic Markers, fussy cut out and added to the card with foam tape. I took the sentiment from the set and stamped it on to black cardstock with Versamark Ink. I applied white embossing powder and heat set. It was cut in to a strip and added to the card with more foam tape. To finish off, I added Tonic Nuvo White Blizzard Glitter Drops to the bobble on the hippo's hat.

SUPPLIES:

Here are the links to what I have used on the card. Affiliate links are used on some products. This means that if you make a purchase after clicking on my link, I receive a small commission with no extra cost to you. I truly appreciate your support when using these links. Please click on the logo below the product to shop at your favourite store. All products were personally purchased except those from Clearly Besotted, Hero Arts or those marked with an asterisk (*) which were kindly sent to me to use. You can read my full disclosure here.


COPIC MARKERS: Hippo - W7, W5, W4, W3, W1, W0. Hat and skis - V09, V17, V15, V12. Ski poles - C5, C3, C1. Trees - E59, E57, E55, G28, YG17, YG25, YG03, YG01. Houses - E13, E11, E30, Y00. Snow - B01, B00, B000, B0000. 

There are so many hippos in the set, you could create a huge scene with them all in but you know me, I am much more on the clean and simple side although I bet it would be so much to make! For more inspiration using the new sets, please head over to the Clearly Besotted Blog, Keren, Lisa and our guest Francine. Thank you so much for stopping by today, I really do appreciate it. I hope you have a lovely day! 

27 November 2020

Wishing You Joy & Comfort

*This is my second post of the day, please see below for my Clearly Besotted Teaser*

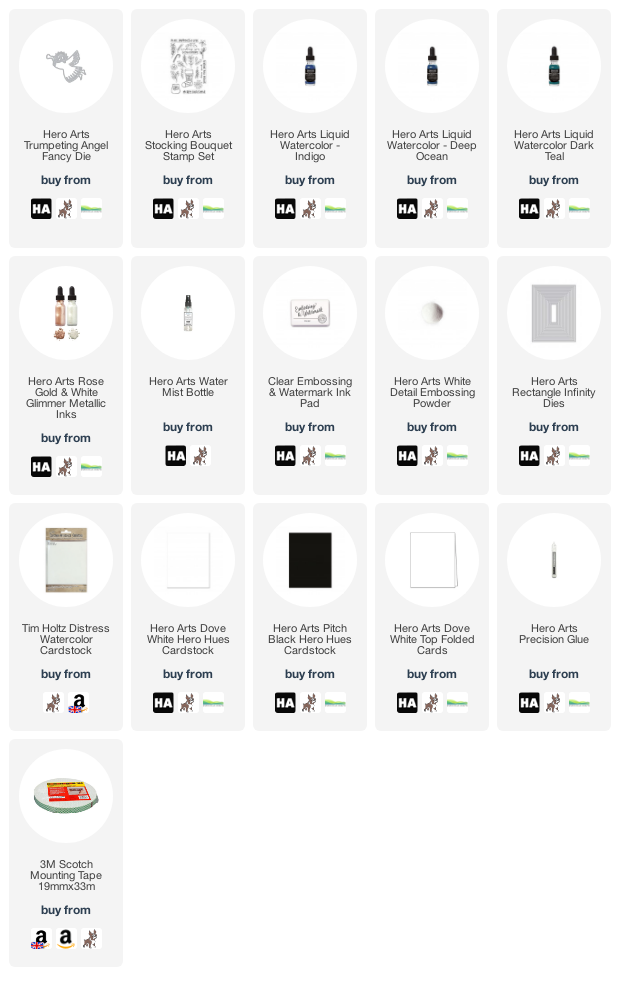
Hello there, I am over on the Hero Arts Blog today, using the new Trumpeting Angel Fancy Die. I thought she would look pretty die cut simply in white on a more colourful background. I wanted to create an alcohol ink type look but using watercolours. 

For this, I took a panel of watercolour paper and spritzed it with water. I then dropped Liquid Watercolor in Deep Ocean, Teal and Indigo on top. Because the paper was wet, the watercolours dispersed in the water. I didn't want it to blend much (so that it looked a bit like a cloudy night sky/galaxy), so I pretty much left it as it was before adding drops of Rose Gold Glimmer Metallic Ink and letting them disperse too. 

I then set it aside to dry before die cutting it using a Hero Arts Nesting Rectangle Infinity Die and adding it to an A2 white card base with foam tape. The Trumpeting Angel was adhered on top and the sentiment from the Stocking Bouquet set heat embossed in white on to black cardstock. 

SUPPLIES:

Here are the links to what I have used on the card. Affiliate links are used on some products. This means that if you make a purchase after clicking on my link, I receive a small commission with no extra cost to you. I truly appreciate your support when using these links. Please click on the logo below the product to shop at your favourite store. All products were personally purchased except those from Clearly Besotted, Hero Arts or those marked with an asterisk (*) which were kindly sent to me to use. You can read my full disclosure here.


For more information on how I made the card, please head over to the blog post here. Thank you so much for stopping by today, I really do appreciate it. I hope you have a wonderful rest of the day! 
Clearly Besotted Teasers | Christmas Critters

Hello there and welcome to day one of the Clearly Besotted December 2020 Teasers. Release day is 1st December (8pm GMT) and from now until then, we will be sharing teasers with you using the new sets. For my card today, I am using the new Year Of You set. This set is geared towards Chinese New Year but as you can see, you can use the critters for lots of different occasions.  

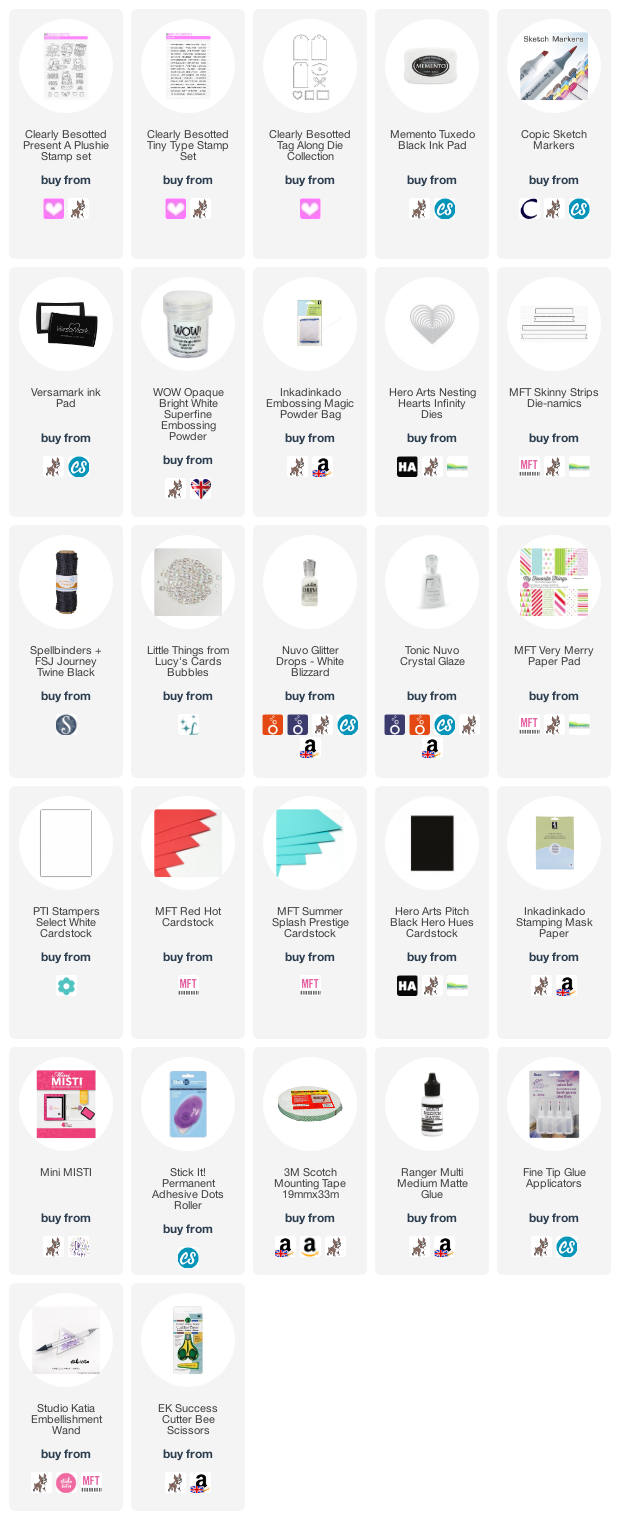
I started off by die cutting a tag from the Clearly Besotted Tag Along Die Collection four times - twice from white cardstock and twice from paper from the MFT Very Merry Paper Pad. I adhered the patterned paper to the white tags for more stability. I then cut two hearts from MFT Red Hot and Summer Splash Cardstock, using the Hero Arts Nesting Hearts Infinity Dies. I also cut the tag hole reinforcer from the same cardstock. The hearts were then cut down on the edges using the same tag die and adhered on top of the tags using tape runner and the hole reinforcers added with liquid glue.

I took the little hat from the new Clearly Besotted Dog Years Stamp Set and stamped it on to white cardstock with Memento Tuxedo Black Ink. I made masks for them and then stamped the pig and monkey from the Clearly Besotted Year Of You Stamp Set underneath so it looks like they are wearing the hats. I coloured them using Copic Markers (the colours that I used are listed below the supplies area) and fussy cut them out using scissors. I took the 'Merry Christmas' sentiment from the Clearly Besotted Tiny Type Stamp Set and stamped it on to black cardstock using Versamark Ink. I applied white embossing powder and heat set, they were then cut down using MFT Skinny Strips Die-namics. 

The sentiments and critters were added to the tags with foam tape. I then took the holly and berries image from the Clearly Besotted Present A Plushie Stamp Set and stamped it on to more white cardstock using Memento Tuxedo Black Ink. I coloured them with Copic Markers, fussy cut them out and added them to the tags with tape runner. To finish off, I added twine through the top of the tags and added Lucy's Bubbles on the hearts. I also added Tonic Nuvo Crystal Glaze to the berries and Tonic Nuvo White Blizzard Glitter Drops to the hats. 

SUPPLIES:

Here are the links to what I have used on the card. Affiliate links are used on some products. This means that if you make a purchase after clicking on my link, I receive a small commission with no extra cost to you. I truly appreciate your support when using these links. Please click on the logo below the product to shop at your favourite store. All products were personally purchased except those from Clearly Besotted, Hero Arts or those marked with an asterisk (*) which were kindly sent to me to use. You can read my full disclosure here.


COPIC MARKERS: Pig - R32, R21, R30, R00, R000. Monkey - E59, E57, E55, E53, E51, E50. Hats - R89, R35, R27, R24. Holly - G29, YG17, YG25, YG03, YG01. Berries - R89, R37, R24. 

As you would imagine, there is every animal that is represented in the Chinese New Year in the set so lots to choose from! For more inspiration using the new sets, please visit the Clearly Besotted Blog, Keren, Lisa and our guest Francine. Thank you so much for stopping by today, see you later for a Hero Arts post. Take care! 

20 November 2020

VIDEO | Embossing On Vellum

Hello there, I am over on the My Favorite Things YouTube channel today sharing a card using the Winter Wreath set to create an embossed focal point. 

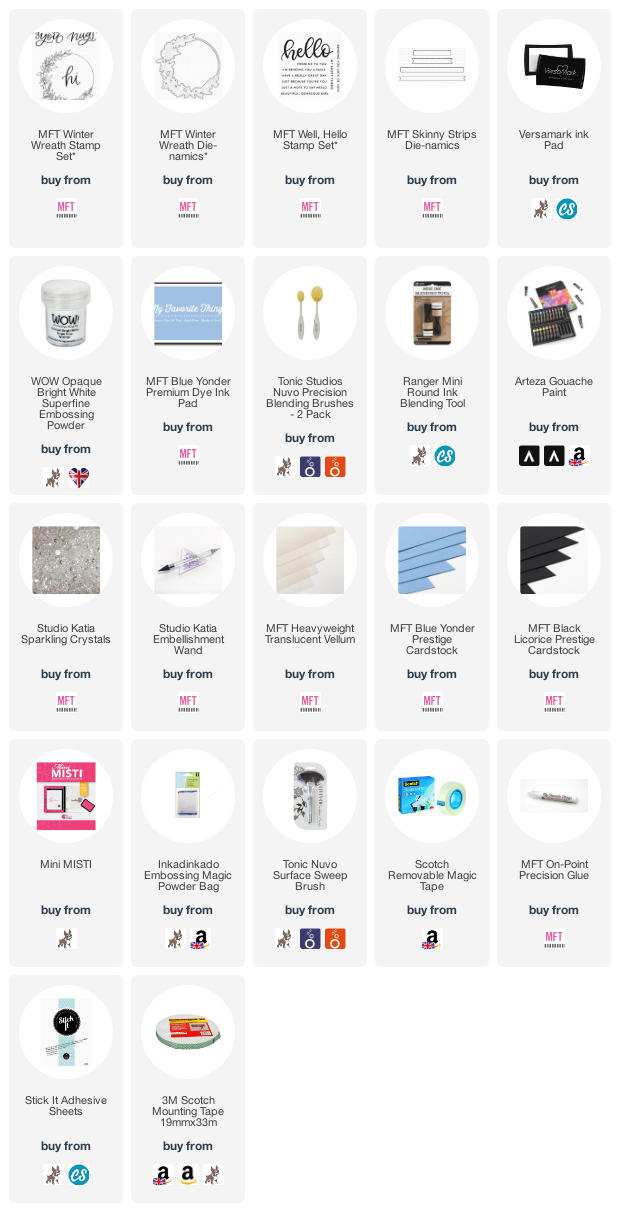
I started off my card by taking a 5" x 3.75" panel of MFT Blue Yonder Cardstock and blending around the edges with MFT Blue Yonder Ink. I then splattered it lightly with white gouache and set it aside to dry. I took the wreath image from the MFT Winter Wreath Stamp Set and stamped it on to MFT Heavyweight Translucent Vellum using Versamark Ink. I applied white embossing powder and heat set. 

I then adhered a piece of Stick It Adhesive sheet to the back of the vellum and die cut the wreath with the MFT Winter Wreath Die-namics. I stamped the 'hugs' sentiment from the set on to the blue panel and heat embossed in white. The blue piece was added on to an A2 white card base with foam tape. I then removed the backing from the adhesive sheet on the wreath and adhered that down, pressing with a bone folder to adhere it well. 

I took the sentiment from the MFT Well, Hello Stamp Set and stamped this on to MFT Black Licorice Cardstock with more Versamark Ink. I applied white embossing powder once again and heat set. It was cut in to a strip with the MFT Skinny Strips Die-namics and added to the card with more foam tape. To finish off, I added a few Sparkling Crystals with MFT On-Point Precision Glue

VIDEO:

Here is the video showing how I made the card:

If you are viewing this blog post via email subscription, you can watch the video HERE on the MFT YouTube Channel.

SUPPLIES:

Here are the links to what I have used on the card. Affiliate links are used on some products. This means that if you make a purchase after clicking on my link, I receive a small commission with no extra cost to you. I truly appreciate your support when using these links. Please click on the logo below the product to shop at your favourite store. All products were personally purchased except those from Clearly Besotted, Hero Arts or those marked with an asterisk (*) which were kindly sent to me to use. You can read my full disclosure here.


Thank you so much for stopping by to see me today, I really do appreciate it. I apologise for my lack of posting recently, I am recovering from my latest round of migraine treatment and sadly, it has really affected me this time. I hope to be back next week though. In the mean-time, I hope you are well and you have a great weekend! Take care :) 

10 November 2020

MFT | Coldest Days Warmer

Hello there, it's release day over at My Favorite Things! The November 2020 release is fantastic - full of lots of winter themed sets but lots of sets that can be used all year round too! For my card today, I wanted to use the Frost-Loving Friends set by Stacey Yacula. It is so cute and I fell in love with those adorable critters! 

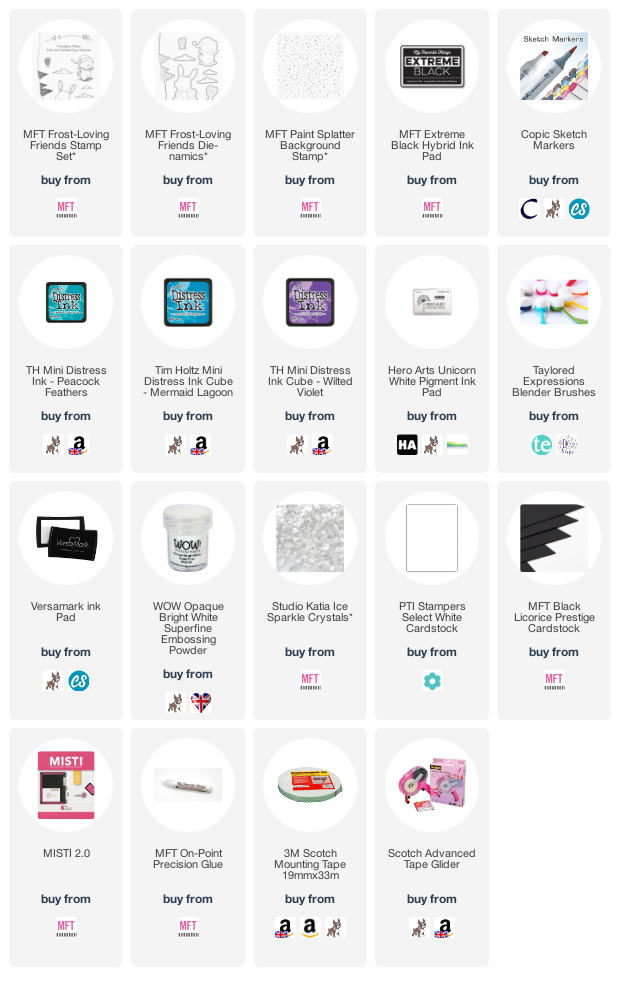
I started off by stamping the bunny and penguin image from the MFT Frost-Loving Friends Stamp Set on to white cardstock with MFT Extreme Black Ink. I then coloured the critters and tree stump using Copic Markers (the colours that I used are listed below the supplies list). I cut the image out using the coordinating die from the MFT Frost-Loving Friends Die-namics set and set it aside while I worked on my background. 

I took a panel of white cardstock and blended Distress Inks on to it with blending brushes. I used Wilted Violet at the top, followed by Mermaid Lagoon and then Peacock Feathers. I then took the MFT Paint Splatter Background Stamp and stamped it on top using Hero Arts White Unicorn Pigment Ink. I did stamp it twice to get a brighter impression and then left the panel to dry. Once dry, the panel was adhered flat to an A2 white card base with tape runner. 

I then added the image on top with foam tape. I took the sentiment from the stamp set and stamped it on to MFT Black Licorice Cardstock using Versamark Ink. I applied white embossing powder and heat set. It was then cut in to a strip using the new MFT Essential Stitched Sentiment Strips Die-namics (which is free with any order over $60 this month and released properly next month). It was added to the card with more foam tape and then to finish, I added a few Ice Sparkle Crystals using On Point Precision Glue

SUPPLIES:

Here are the links to what I have used on the card. Affiliate links are used on some products. This means that if you make a purchase after clicking on my link, I receive a small commission with no extra cost to you. I truly appreciate your support when using these links. Please click on the logo below the product to shop at your favourite store. All products were personally purchased except those from Clearly Besotted, Hero Arts or those marked with an asterisk (*) which were kindly sent to me to use. You can read my full disclosure here.


COPIC MARKERS: Tree stump - E49, E59, E57, E55. Bunny - W7, W5, W3, W2, W1, R02, R01, R00, R0000. Scarf - B39, B1, B16, B12. Cup - V17, V15, V12. Penguin - BV29, BV25, BV23, BV20, YR24, YR23, YR21, Y000. Hat & scarf - V17, V15, V12. Cup - B18, B16, B12. 

Thank you so much for stopping by today, I really do appreciate it. I hope you will check out the release. I will be back sharing more from the release later in the month. I hope you are all staying safe and well out there, we have gone back into lockdown here in England but hopefully it will only be for a month this time! Take care! 

25 Days of Christmas Tags

Hello there, I am delighted to be guest designing for the 10th annual 25 Days of Christmas Tags event today, hosted by the amazing, Tracey McNeeley. For the first 25 days of November, there is a different company sponsoring the event, with lots of prizes to be won. More information on that below. Today is the turn of Reverse Confetti and I am delighted to be sharing a tag using their products today. 

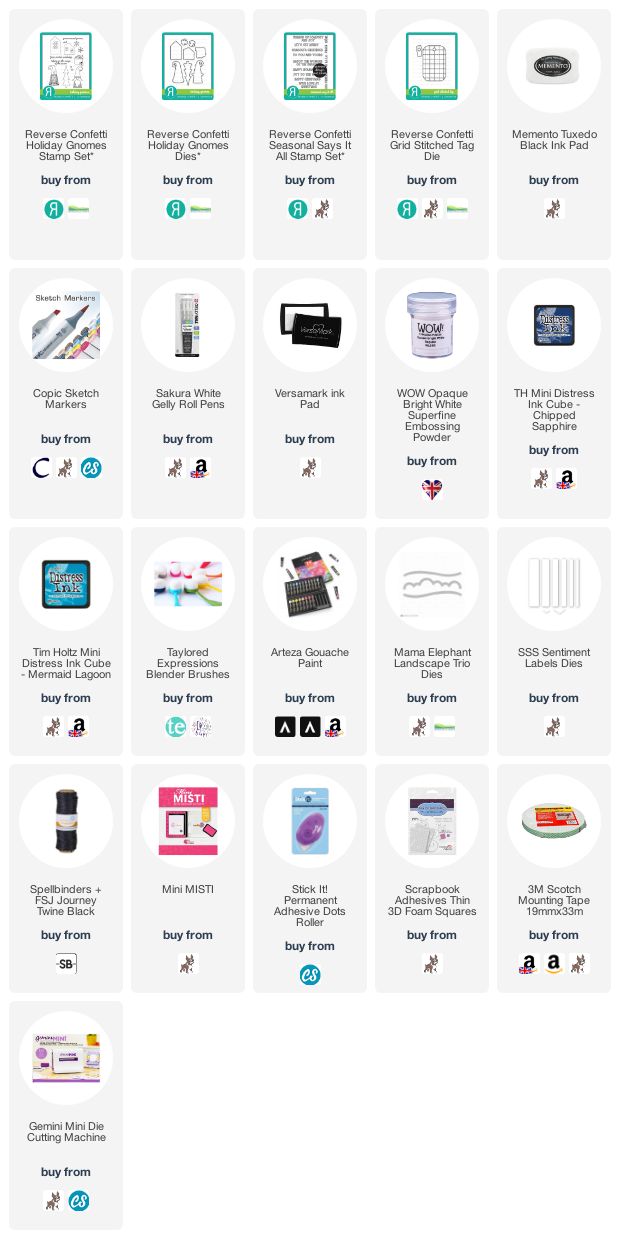
I started off by die cutting the Reverse Confetti Grid Stitched Tag Die twice from white cardstock. I kept one intact and the other was cut down further to create a snowbank. I took the full one and blended Tim Holtz Distress Inks at the top. I used Chipped Sapphire and Mermaid Lagoon. I then splattered on white gouache for the snow and set it aside to dry. I took the Reverse Confetti Holiday Gnomes Stamp Set and stamped one of the gnomes plus the tree twice on to white cardstock with Memento Tuxedo Black Ink

They were coloured using Copic Markers (the colours that I used are listed below the supplies section) and die cut out using the Reverse Confetti Holiday Gnomes Confetti Cuts. Once the tag was dry, I adhered the snowbank on top using tape runner. I then stamped the sentiment from the Reverse Confetti Seasonal Says It All Stamp Set on to black cardstock with Versamark Ink. I applied white embossing powder and heat set. It was cut in to a strip and added to the tag with foam tape. I then added the trees with tape runner and the gnome with thin foam tape. To finish off, I added white gel pen highlights to the images and tied twine in a bow at the top. 

SUPPLIES:

Here are the links to what I have used on the card. Affiliate links are used on some products. This means that if you make a purchase after clicking on my link, I receive a small commission with no extra cost to you. I truly appreciate your support when using these links. Please click on the logo below the product to shop at your favourite store. All products were personally purchased except those from Clearly Besotted, Hero Arts or those marked with an asterisk (*) which were kindly sent to me to use. You can read my full disclosure here.


COPIC MARKERS: Gnome skin - E13, E11, E00, E000. Moustache and beard - W5, W3, W1, W00. Hat and clothing - B39, B18, B16, B12, YR24, YR21, Y11. Trees - G29, YG17, YG25, YG03, YG01.
 

25 DAYS OF CHRISTMAS TAGS


As mentioned, each day there is a different sponsor for the event and there are also lots of prizes to be had, as well as inspiration. You can enter by leaving a comment on the main blog post on Tracey's blog and you can also enter by creating a tag that is inspired by one you have seen during the event.  Please head over HERE for all the information.

Thank you so much for stopping by to see me today, I really do appreciate it. I will be back later for another post but in the mean time, I hope you have a lovely day! 

4 November 2020

Simon Says Stamp | Bold Merry Christmas

Hello there, due to postal delays, I am a little late to the party with this card so I apologise for that but did you see the fabulous Make Merry release from Simon Says Stamp? They kindly sent me the new Bold Merry Christmas Stencil to play with and I had a lot of fun creating this card (and I am sure will make many more with it too!). 

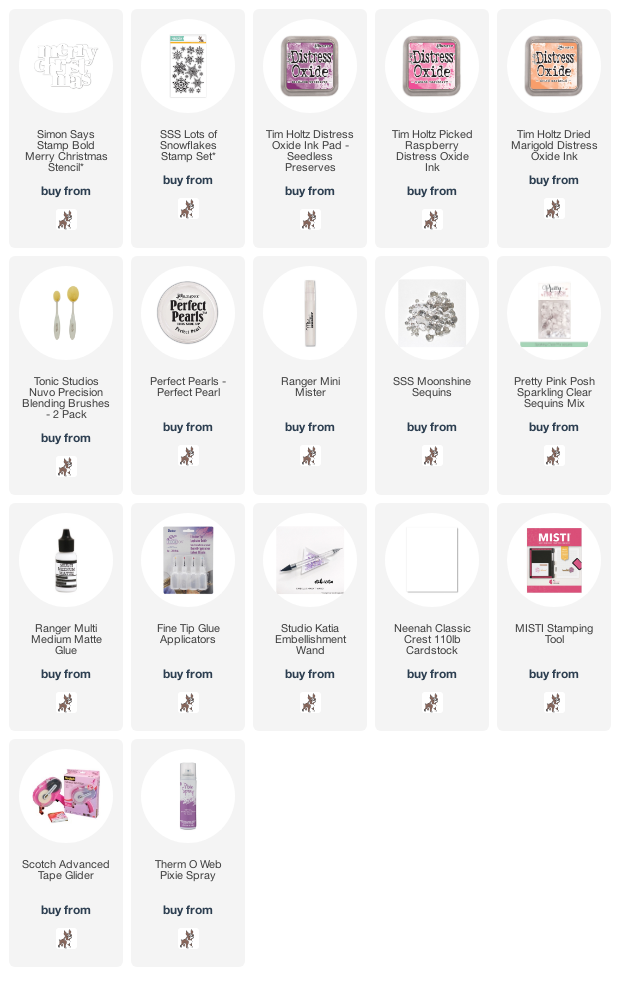
I started off by spraying the back of the Simon Says Stamp Bold Merry Christmas Stencil with Pixie Spray. I let it dry off for a minute and then placed it sticky side down on to a 5.5" x 4.25" panel of white cardstock. Using blending brushes, I then blended on Tim Holtz Distress Oxide Inks randomly across the panel. 

I used Seedless Preserves, Picked Raspberry and Dried Marigold. Unexpected for Christmas but I think they are so pretty together! I then placed the panel in the MISTI and stamped the Simon Says Stamp Lots of Snowflakes set on top. I placed the snowflakes randomly over the panel and stamped them using the same Oxide Inks for a tone-on-tone look. 

With the stencil still in place, I splattered on a little solution of Perfect Pearls and water and then removed the stencil. The panel was adhered flat to an A2 white card base and then I finished off with a few Simon Says Stamp Moonshine Sequins, along with some Pretty Pink Posh Sparkling Clear Sequins (so that I had a random mix of sizes) that were adhered using Multi Medium Matte glue.

SUPPLIES:

Here are the links to what I have used on the card. Affiliate links are used on some products. This means that if you make a purchase after clicking on my link, I receive a small commission with no extra cost to you. I truly appreciate your support when using these links. Please click on the logo below the product to shop at your favourite store. All products were personally purchased except those from Clearly Besotted, Hero Arts or those marked with an asterisk (*) which were kindly sent to me to use. You can read my full disclosure here.


Thank you so much for popping by to see me today. I really do appreciate it. Shh ... don't tell anyone but there is another Simon Says Stamp release just around the corner. I hope to be able to share that with you soon! Have a lovely day! 

3 November 2020

Spellbinders | Small Die of the Month - Frankie Goes to the North Pole

Hello there, today I have a card to share using the Spellbinders Small Die of the Month Kit for November 2020. This month is called 'Frankie Goes to the North Pole' and it is so fun! Frankie (the snowman) has two different poses in the kit, along with ski's, a tree, a North Pole sign and lots of fab accessories. For my card today, I kept it pretty simple and just created Frankie skiing down a slope, but you can definitely get more adventurous with him! 

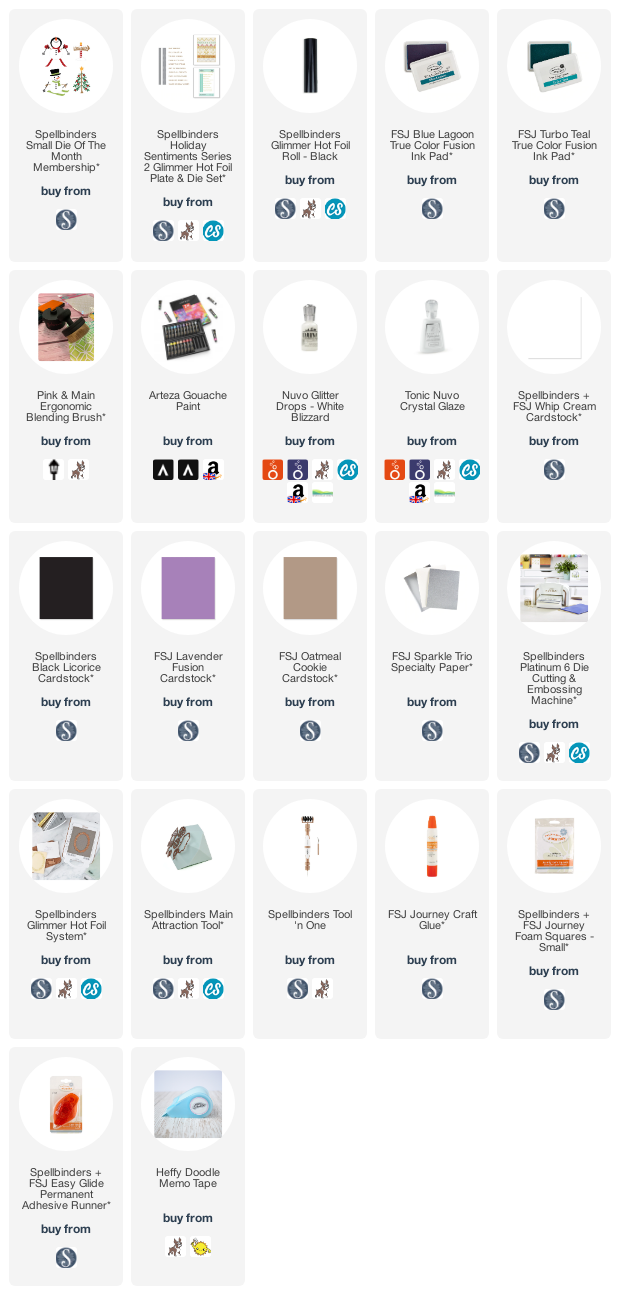
I started off by cutting Frankie from FSJ Whip Cream and Black Licorice Cardstock. I used Oatmeal Cookie for his arms and Lavender Fusion for his accessories. His ski poles are cut from silver cardstock from the Sparkle Trio Specialty Set. I assembled him together using FSJ Craft Glue (apart from the ski poles) and set him aside while I worked on the background. 

I took a 4.25" x 5.5" panel of white cardstock and using memo tape, masked off a snow hill on the bottom half of the panel. I then blended inks above it for the sky. I used FSJ Blue Lagoon and Turbo Teal True Color Fusion Ink Pads and a blending brush. I then splattered on some of the Blue Lagoon colour, followed by white gouache, removed the memo tape and set it aside to dry. 

I took the sentiment from the Spellbinders Holiday Sentiments Series 2 Glimmer Hot Foil Plate & Die Set and foiled it on to white cardstock using Black Foil. They were then cut in to strips using the sentiment die in the set. Once the panel was dry, it was adhered flat to an A2 white card base and Frankie was added on top with foam squares, as well as the sentiment. I then added Nuvo Crystal Glaze to Frankie's eyes and Nuvo White Blizzard Glitter Drops to the band on his hat, as well as his gloves. I was then able to adhere the ski poles to his gloves while the glitter drops were wet. 

SUPPLIES:

Here are the links to what I have used on the card. Affiliate links are used on some products. This means that if you make a purchase after clicking on my link, I receive a small commission with no extra cost to you. I truly appreciate your support when using these links. Please click on the logo below the product to shop at your favourite store. All products were personally purchased except those from Clearly Besotted, Hero Arts or those marked with an asterisk (*) which were kindly sent to me to use. You can read my full disclosure here.


I hope you will check out the 
Spellbinders Small Die of the Month Kit. It is a monthly subscription where you receive the kit each month. If you do become a member, you will also receive other Spellbinders benefits too. For more information, please see here. You can also purchase previous kits separately, but the price is increased for those. You can see them here. There is also a new kit out - Clear Stamp of the Month Club. International shipping rates have now changed for the kits, making them cheaper, so please do take a look if you have been on the fence about signing up. 

Thank you so much for stopping by today. I hope you have a wonderful day!

2 November 2020

VIDEO | Hero Arts November 2020 My Monthly Hero Release Blog Hop + Giveaway

Hello there and welcome as we celebrate the release of the Hero Arts November 2020 My Monthly Hero Kit. This kit has a fabulous winter feel to it and I think that the way the images are drawn/designed look like Lino cuts. Something new and fun to the market! I have already shared two cards using the kit, which you can see here but for today, I thought I would use the masking dies in the kit for some simple scene masking. More info on the hop below. 

As mentioned, the dies in the kit can be used in a few different ways. You can use them to cut out the images in the stamp set (without the white border), you can use them as simple die cut shapes (as I did for my other cards), or you can use them as intended, which is for masking. No fussy cutting out masks in this kit! Yay! 
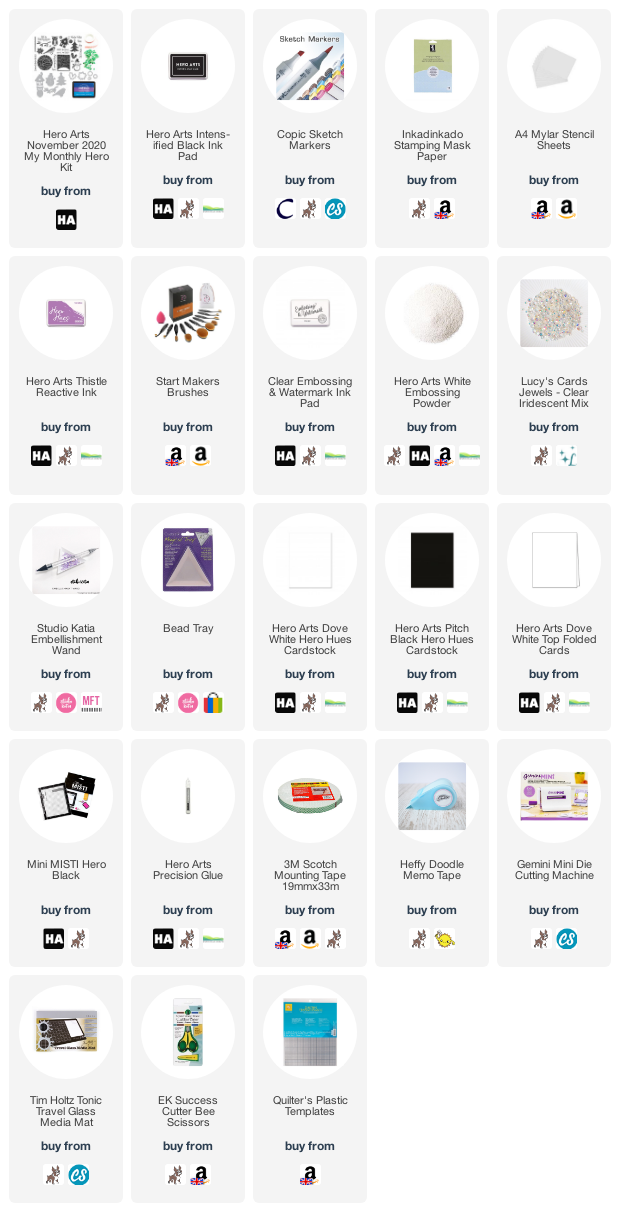
I started off my card by taking a panel of Hero Arts Dove White Cardstock and stamping the snowman from the kit stamp set in the bottom right hand corner using Hero Arts Intens-ified Black Ink. I then cut the snowman mask from mask paper and placed that over the image. I took a sheet of Mylar and cut a simple snow bank from it to create a mask/stencil. 

This was placed over the panel and using an ink blending brush, I blended Hero Arts Thistle Reactive Ink above. I moved the stencil up to create another and then blended more ink on to the bottom of the panel to help ground the snowman. The stencil and mask were then removed and the snowman coloured using Copic Markers (the colours I used are listed below the supplies area for reference). 

I stamped three snowflakes from the kit stamp set in the top left hand corner using more Thistle Reactive Ink. The panel was adhered to an A2 white card base with foam tape. I then stamped the sentiment from the kit stamp set on to Hero Arts Pitch Black Cardstock with Hero Arts Clear Embossing & Watermark Ink. I applied Hero Arts White Embossing Powder and heat set. It was cut in to strips and added to the card with more foam tape. To finish off,  added Lucy's Iridescent Jewels to the centres of the snowflakes (adhering with Precision Glue) and Tonic Aqua Shimmer Pen to the snowman's scarf. 

VIDEO:

Here is the video showing how I made the card:

If you are viewing this post via email subscription, you can watch the video HERE on YouTube. 

SUPPLIES:

Here are the links to what I have used on the card. Affiliate links are used on some products. This means that if you make a purchase after clicking on my link, I receive a small commission with no extra cost to you. I truly appreciate your support when using these links. Please click on the logo below the product to shop at your favourite store. All products were personally purchased except those from Clearly Besotted, Hero Arts or those marked with an asterisk (*) which were kindly sent to me to use. You can read my full disclosure here.


COPIC MARKERS: Snowman - BG11, BG10, BG0000, 0. Scarf - V17, V15, V12, V01. Nose - YR16, YR15, YR12. Buttons - C9, C6. 

THE KIT:


The Hero Arts November 2020 My Monthly Hero Kit contains a 6" x 8" Clear Stamp Set, 5 Coordinating Frame Cuts, 6 coordinating Masking Cuts, Winter Sky Reactive Ombre Ink Pad, Red Vine Washi Tape and Winter Forest Sequins.

The kit is valued at $86 but you can get it for $34.99 (approximately £28 depending on exchange rate). The kits are limited edition and often sell out quickly. You can subscribe here so that you never miss a kit. International kit subscribers get a discount off shipping too! Kits begin shipping on 6th November 2020.

ADD-ONS:

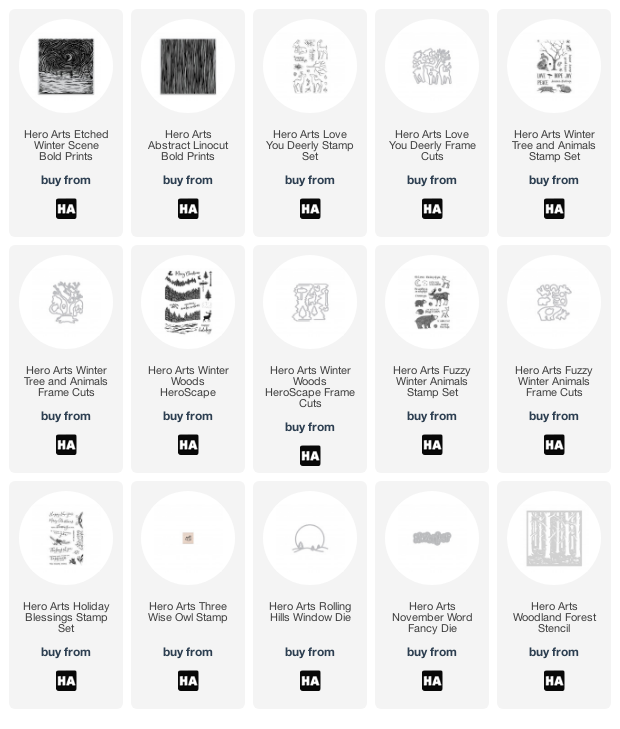
There are lots of fabulous add-on products this month. These products are not limited edition and can be purchased alongside the kit from Hero Arts, or from your favourite retailer. Here is a look at them:

BLOG HOP:

For the hop, you should have arrived here from my wonderful teamie Maria. Next on the hop is my other fabulous teamie Mindy. For the full list of participants, or if you get lost, please head over to the Hero Arts Blog

GIVEAWAY:

Hero arts are giving away a $50 shopping spree to one luck blog hop reader. To enter, leave a comment on the stops in the hop. The more you comment, the more chances to win. The giveaway closes 8th November 2020 at 11.59pm PT and the winner will be announced the following week over on the Hero Arts Blog. Good luck!

Thank you so much for stopping by to see me today. I really do appreciate it. I hope you have a lovely time on the hop and a great rest of the day! Take care.

1 November 2020

Hero Arts | My Monthly Hero November 2020 Countdown

Hello there and welcome to the Hero Arts Countdown for the November 2020 My Monthly Hero release. The kit releases on Monday 2nd November 2020 and we are sharing inspiration using the kit all weekend long. The kit contains a fabulous 6" x 8" stamp set, as well as a set of masking dies (plus lots of other goodies which will be revealed on Monday) and these are what I am using on my cards today. 


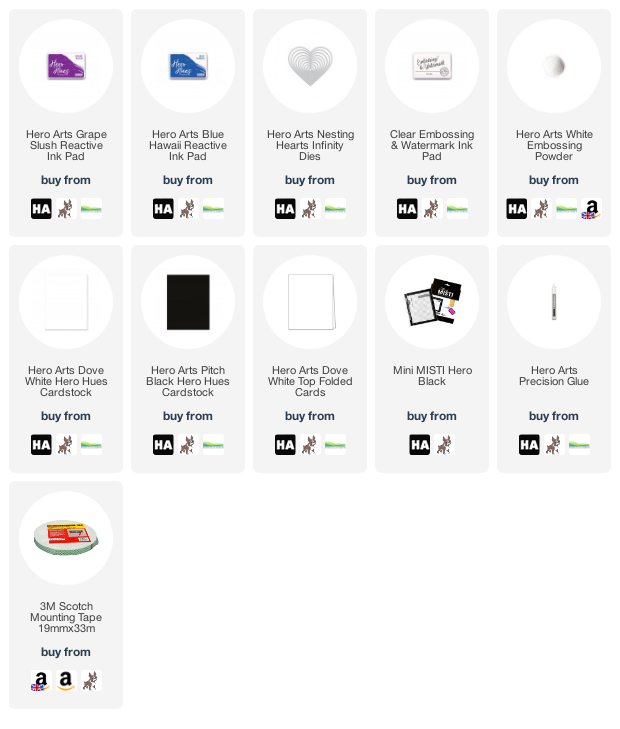
I started off my cards by taking Dove White Top Folding Cards and stamping the circular image from the set on to the front. I used Grape Slush Reactive Ink for one and Blue Hawaii Reactive Ink for the other. Both were stamped a few times to get a nice impression.


I then took two of the masking dies (these work so that you can easily mask off the stamped images but I wanted to use them as traditional die cuts for my cards today) and cut the tree and house three times each from Dove White Cardstock. Using Precision Glue, I then adhered them one on top of another and added them to the centre of the stamped circles. 


I took the sentiments in the stamp set and stamped them on to Hero Hues Pitch Black Cardstock using Clear Embossing & Watermark Ink. I applied White Embossing Powder and heat set. They were then cut in to strips and added to the cards with a combination of foam tape and Precision Glue


For the house card, I took a piece of white cardstock and smooshed the Grape Slush Reactive Ink on to it. I then die cut it out using the smallest of the Nesting Hearts Infinity Dies twice. They were again stacked up and added to the house with more liquid glue. 

SUPPLIES:


Here are the links to what I have used on the card. Affiliate links are used on some products. This means that if you make a purchase after clicking on my link, I receive a small commission with no extra cost to you. I truly appreciate your support when using these links. Please click on the logo below the product to shop at your favourite store. All products were personally purchased except those from Clearly Besotted, Hero Arts or those marked with an asterisk (*) which were kindly sent to me to use. You can read my full disclosure here.


For more inspiration using the November 2020 My Monthly Hero Kit, please head over to the Hero Arts Blog and remember to leave a comment over there for a chance to win a kit! Thank you so much for stopping by to see me today. I hope you have a wonderful day! 

VIDEO | Clearly Besotted November 2020 Release Preview

Hello there and welcome to Clearly Besotted Release Day! The new sets release tonight at 8pm GMT. Unfortunately I ran out of time to get another teaser made in time for today, but I know my teamies will have some fabulous inspiration to share with you. Please see below for links to their blogs. 


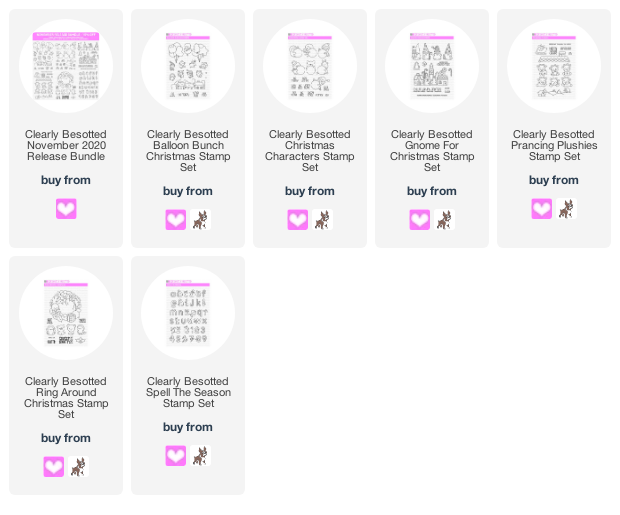
Instead of a teaser, I have my usual release video to share with you today. There are six new stamp sets releasing today, all with a fabulous winter/holidays/Christmas theme to them. You can purchase the sets individually from the Clearly Besotted Shop and Simon Says Stamp, or as a bundle (with a discount and free gifts) from Clearly Besotted. 

Here is a look at the sets, plus a recap of the cards that I have made:


If you are viewing this blog post via email subscription, you can watch the video HERE on YouTube. 

SUPPLIES:


Here are the links to what I have used on the card. Affiliate links are used on some products. This means that if you make a purchase after clicking on my link, I receive a small commission with no extra cost to you. I truly appreciate your support when using these links. Please click on the logo below the product to shop at your favourite store. All products were personally purchased except those from Clearly Besotted, Hero Arts or those marked with an asterisk (*) which were kindly sent to me to use. You can read my full disclosure here.


What do you think of the release? Super cute right?! For more inspiration using the sets, please head over to the Clearly Besotted Blog, Keren and Lisa, plus our wonderful guest Keeway. Thanks so much for stopping by today. I hope you have a wonderful day and happy shopping! ;) 
End of code