Showing posts with label Newton's Nook. Show all posts

28 October 2021

Clearly Besotted Teasers | Bee Merry

Hello there, today kicks off the start of the Clearly Besotted November 2021 release teasers. Release day is 1st November 2021 at 8pm GMT. From now until then, we will be sharing teasers with you using the new release. For my card today, I am using the new Bee Merry set. Such a cute set filled with festive bees! 

PLEASE NOTE: This post contains affiliate links. Please see below for my full disclosure.


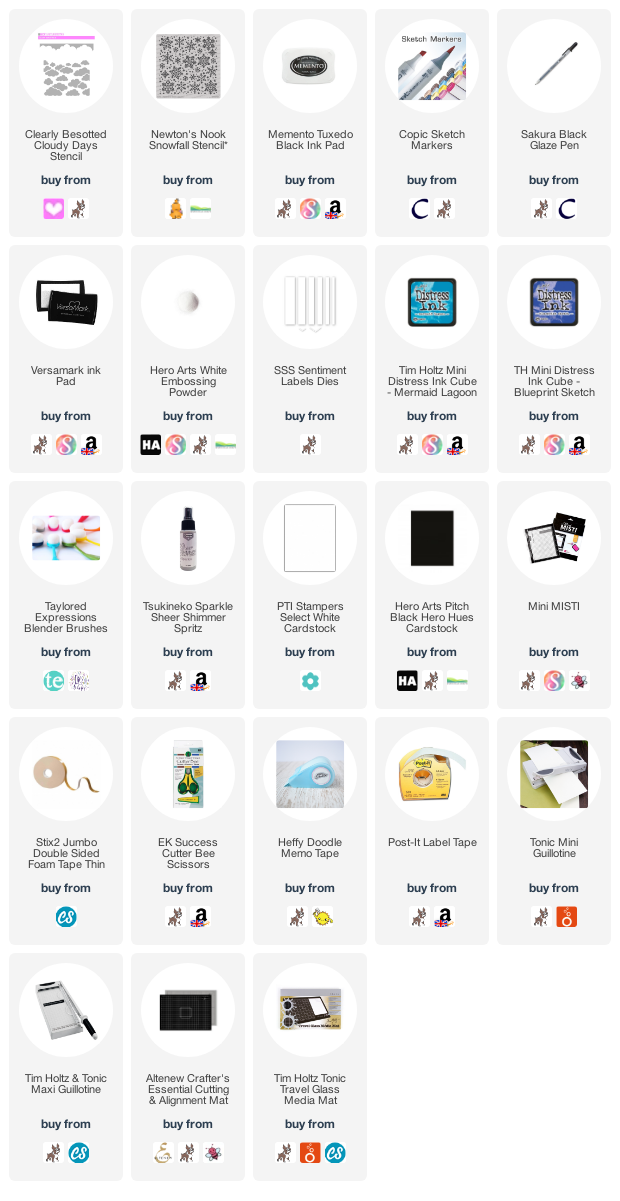
I started off by creating my background. I took a panel of white cardstock and placed the Clearly Besotted Cloudy Day Stencil on top. I then blended above using Blueprint Sketch Distress Ink and an ink blending brush. With the stencil still in place, I then placed over the Newton's Nook Snowfall Stencil to add in some snowflakes. I just added random ones in to the sky. As I moved down the panel I lightened the colour and brought in Mermaid Lagoon Distress Ink


The panel was splattered with Sparkle Sheer Shimmer Spritz and set aside to dry. I took the bees from the Clearly Besotted Bee Merry Stamp Set and stamped them on to white cardstock with Memento Tuxedo Black Ink. They were coloured with Copic Markers (the colours that I used are listed below the supplies area) and then fussy cut out with scissors. 


I adhered the background panel to an A2 white card base with thin foam tape, followed by the bees. I took the sentiment from the set and stamped it on to black cardstock with Versamark Ink. I applied white embossing powder and heat set. It was cut in to a strip and added to the card with more thin foam tape. To finish off, I added black glaze pen to the bee's eyes. 

SUPPLIES:


Here are the links to what I have used on the project. Affiliate links are used on some products. This means that if you make a purchase after clicking on my link, I receive a small commission with no extra cost to you. I truly appreciate your support when using these links. Please click on the logo below the product to shop at your favourite store. All products were personally purchased except those from Clearly Besotted, Hero Arts or those marked with an asterisk (*) which were kindly sent to me to use. You can read my full disclosure here.


COPIC MARKERS: Bees - Y17, Y15, Y13, Y11, C10, C7, C6, C5, B00, B000, B0000. Hat & candy cane - R89, R39, R37, R35, R32, C3, C1, C0. 

Aren't those bees adorable? For more inspiration using the new sets, please head over to the Clearly Besotted Blog, Keren and Lisa plus our wonderful guests this month Alberto, Francine and Mona. Thanks so much for stopping by, I will be back later with another post. Until then, have a great day! 

30 June 2018

Clearly Besotted Teasers | Monkey Business

Hello there and welcome to day four of the Clearly Besotted Teasers for the July 2018 release. All of the new products release tomorrow at 8pm BST. I have one last teaser to share with you today, using the new Wild Times stamp set. This is a fun animal themed set that is a stamp layering set.
 

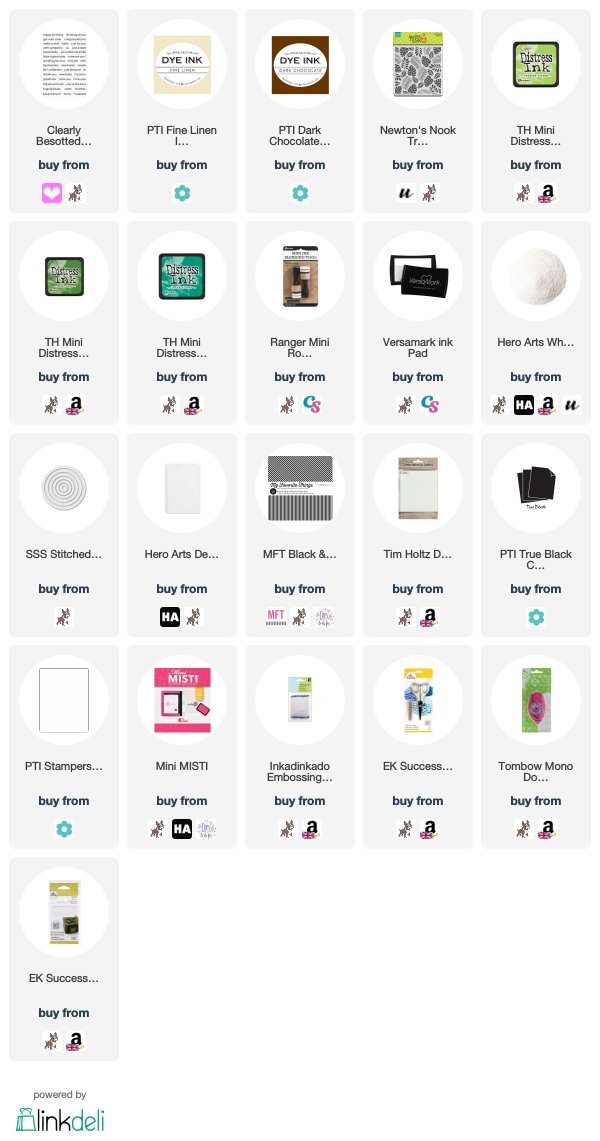
I started off by stamping the monkey from the Wild Times stamp set. I used PTI Fine Linen ink for the bottom layer and Dark Chocolate for the top layer. I then fussy cut him out with scissors, but don't worry, there is a coordinating die set available, and set him aside.
 
 
I took a circle of watercolour paper that has been cut with a SSS Stitched Circle Die and blended over Twisted Citron and Mowed Lawn Distress Inks on to it. I then placed the Tropical Leaves stencil from Newton's Nook and secured in place with low-tack tape. I blended the same colours of Distress Inks on top, adding in some Lucky Clover to the edges. The side was then cut down with a guillotine. This was added to a white A2 card base that has a layer of woodgrain cardstock on the front, as well as a strip of black and white patterned paper to the side.
 
 
I took the sentiment from the A Little Sentimental set and stamped this on to black cardstock with Versamark Ink. I applied white embossing powder and heat set. This was cut in to a strip and added to the card with thin foam tape. The monkey was then added on top with more thin foam tape.
 
SUPPLIES:

Here are the links to what I have used on the card. Affiliate links are used on some products. This means that if you make a purchase after clicking on my link, I receive a small commission with no extra cost to you. I truly appreciate your support when using these links. Please click on the logo below the product to shop at your favourite store. Products marked with an asterisk (*) were kindly sent to me to use.
 
 
Doesn't he look like a cheeky monkey?! I thought this card would be sure to brighten up someone's day! For more inspiration using more of the new release, please head over to my teamies Stephanie, Keren and Lisa. Thanks so much for stopping by today, see you tomorrow for release day! Have a great weekend!

8 December 2017

Deck The Halls With Inky Paws Blog Hop

Hello there, I am delighted to be taking part in the Newton's Nook Designs Deck the Halls with Inky Paws Blog Hop today. You should have arrived here from the fabulous Yoonsun, but if you get lost along the way, I have the full list of participants below.
 
 
For my projects today, I am using the super cute Naughty or Mice stamp set and coordinating dies. I thought I would create some tags for today as I will be in need of some Christmas ones soon! ;)
 

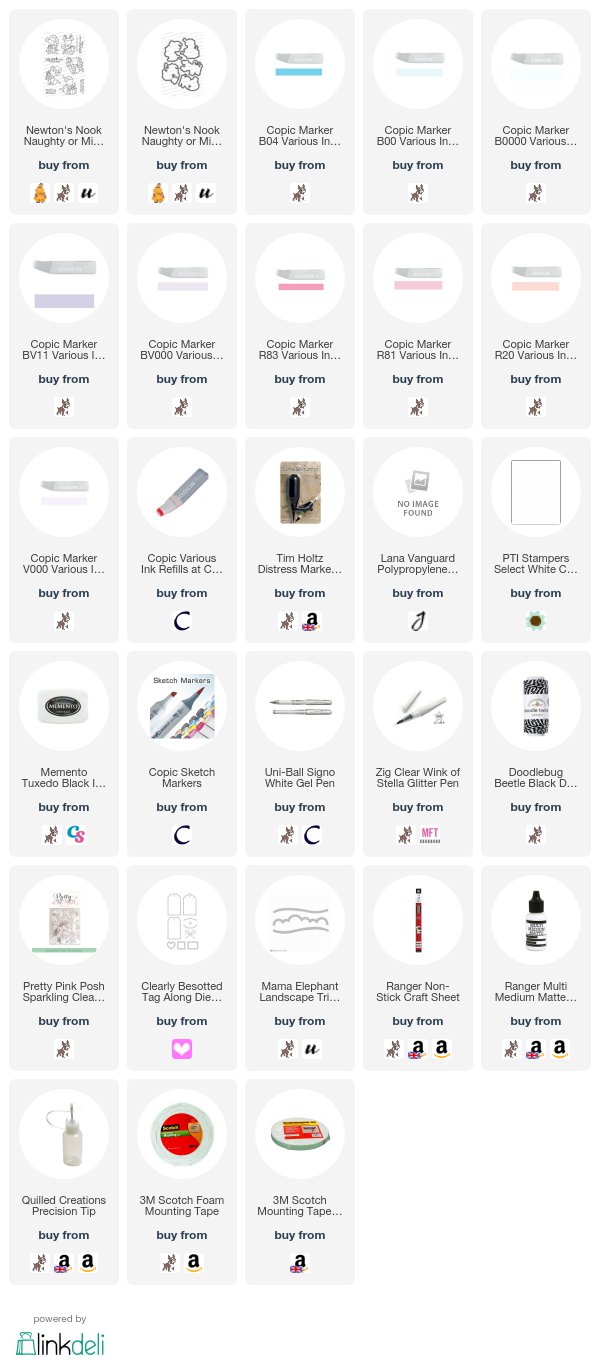
I started off by die cutting three tags from Lana paper (similar to Yupo). I then cut another six from white cardstock. Taking three of them, I die cut snowy hills for my mice to sit on. I took the three tags from Lana paper and added drops of Copic Various Ink (the refills) on to them. I added a little Alcohol Ink Blending Solution and then using a marker spritzer, moved the ink around by pushing air on to them. These pieces were then set aside to dry.
 
 
I took three of the mice from the Naughty or Mice set and stamped these on to white cardstock using Memento Tuxedo Black Ink. They were then coloured using Copic Markers (colours used listed below). I then die cut them using the coordinating dies. To add interest, I used a white gel pen to add details to the mice, as well as clear Wink of Stella for some added sparkle.
 
 
I took two of the sentiments from the set and stamped these on to black cardstock using Versamark Ink. I applied white embossing powder and heat set. These were then cut in to strips. To assemble the tags, I took the alcohol inked pieces and added these to the white cardstock tags (for extra stability). I then added the snow banks on top with tape runner. The mice and sentiment pieces were added with foam tape. To finish off, I added a few Sparkling Clear sequins.
 
SUPPLIES:

Here are the links to what I have used on the card. Affiliate links are used on some products. This means that if you make a purchase after clicking on my link, I receive a small commission with no extra cost to you. I truly appreciate your support when using these links. Please click on the logo below the product to shop at your favourite store. Products marked with an asterisk (*) were kindly sent to me to use.
 
 
COPIC MARKER REFILLS: Blue Tag - B04, B00, B0000. Purple Tag - BV11, BV000. Pink/Red Tag - R83, R81, R20, V000.
 
COPIC MARKERS: Mice - N5, N3, N2, N1, N0, R00, R000. Blue Tag - B04, B02, B01, B00, B000. BG23, BG11, BG10. Purple Tag - BV13, BV11, BV01, BV000, V15, V12, V000. Pink/Red Tag - R37, R83, R81, R20, E59, E57, E55.
 
BLOG HOP:
 
 
GIVEAWAY:

Newton's Nook Designs will be choosing two lucky winners to win $20 store credit for Newton's Nook Designs online shop! To enter, just leave a comment on all of the blogs participating in the hop. Two winners will be chosen at random from the collective blogs in the hop. The more you comment, the better the chances of winning! You have until Sunday, December 10th at 9pm EST to comment. The winners will be announced on the NND blog on Monday, December 11th.


Newton's Nook Designs is also releasing a new exclusive Peppermint Die Set today. This fun new die set will only be available in the Newton's Nook Designs shop and you can get it for free this week with a $50 purchase. Offer is valid until Friday, December 15th, or while supplies last. The new die set is also available to purchase for $8.99.
 
The next person on the hop is the amazing Nina-Marie Trapani. Thank you so much for visiting me today. I hope you have a great time on the rest of the hop and have a fabulous day!

7 December 2017

May Your Holidays Sparkle | Deck The Halls With Inky Paws

Hello there, today I have the absolute pleasure of guest designing for Newton's Nook Designs as part of their Deck the Halls with Inky Paws week.
 
 
Today I am sharing two cards using the stunning Snowfall stencil along with the fabulous Sentiments of the Season stamp set.
 

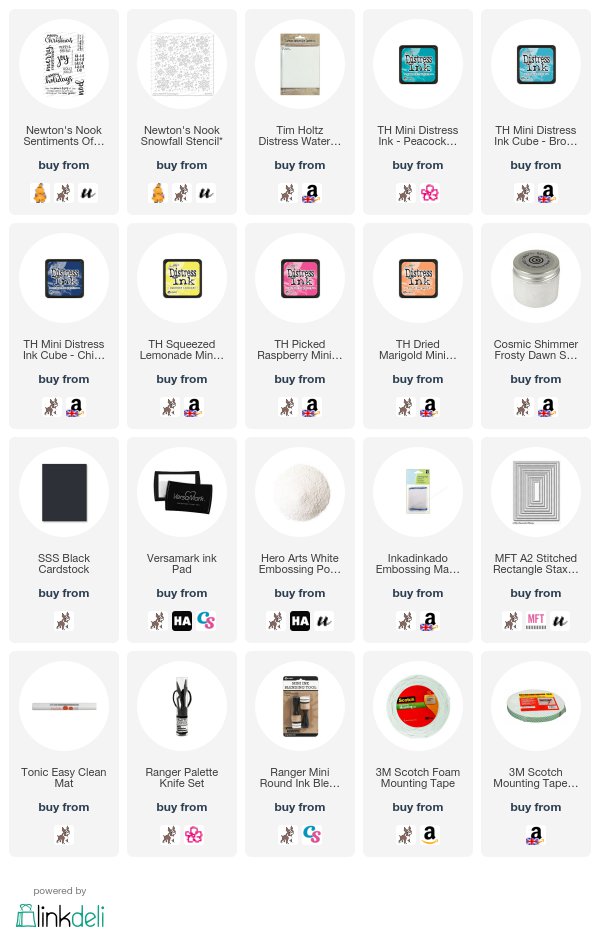
I started off by taking two sheets of watercolour cardstock and running these through my die cutting machine with the Snowfall stencil to emboss the design on to the cardstock. Keeping the stencil in place, I then blended over Distress Inks on to the panel. For the first card I used Peacock Feathers, Broken China and Chipped Sapphire and for the second, I used Squeezed Lemonade, Dried Marigold and Picked Raspberry.
 
 
Using a palette knife, I then applied a layer of Cosmic Shimmer Frosty Dawn Sparkle Paste on to the inked panels. I took the stencil off and set them aside to dry (and cleaned my stencil!). Once dry, I adhered the panels flat on to A2 white card bases using ATG.
 
 
I took one of the sentiments from the Sentiments of The Season stamp set and stamped this on to black cardstock twice using Versamark Ink. I applied white embossing powder and heat set. They were then cut out using a stitched rectangle die.
 
 
The sentiment pieces were added to the cards using foam tape. As you can see, really simple cards but I love the sparkle on those snowflakes and the sentiment works perfectly with them. Sadly my camera/photography skills do not do the sparkle justice but it's gorgeous in real life! Make sure to check out the sentiment set as it has loads of gorgeous sentiments in it.
 
SUPPLIES:
Here are the links to what I have used on the card. Affiliate links are used on some products. This means that if you make a purchase after clicking on my link, I receive a small commission with no extra cost to you. I truly appreciate your support when using these links. Please click on the logo below the product to shop at your favourite store. Products marked with an asterisk (*) were kindly sent to me to use.
 
 
For more inspiration using Newton's Nook Designs products, do head over to the Blog. If you missed the other guest designers this week you can also check them out over there. I'll see you tomorrow for the Deck the Halls with Inky Paws Blog Hop. Thanks so much for visiting me today. I hope you have  a great day!

20 November 2015

Festive Flamingo

Hello there, whilst I was unwell, I kindly received the Newton's Nook Festive Flamingos set as a present from a friend. Oh my goodness! This set is so cute, I couldn't wait to ink it up.
 

I started off by stamping the pair of flamingos image on to white cardstock. I then coloured in the flamingo on the right with Copic Markers and fussy cut out his body and bauble separately. I took the Stitched Tag die from Paper Smooches and cut this from white cardstock. I masked off the stamp with post-it tape and stamped the legs and the bauble string only.
 
 
The Flamingo's body and the bauble were then added on top with foam tape. The sentiment, from the same set, was stamped to the left. I then took an A2 white card base and blended on some Distress Inks in Spun Sugar and Worn Lipstick, the tag was added on top with foam tape. I added some Hemptique Cord (coloured with a V15 copic marker) through the top of the tag. To finish off, I added a few enamel dots, as well as some Glossy Accents on to bauble and clear Wink of Stella on the scarf.
 
SUPPLIES:
Here are the links to what I have used on the card. Please click on the picture or wording to be taken to where I purchased it. Affiliate links are used on some products. This means that if you make a purchase after clicking on my link, I receive a small commission with no extra cost to you. I truly appreciate your support when using these links.


+ MME Find Your Wings and Fly Up and Away Enamel Dots - discontinued.
 
COPIC MARKERS - Flamingo: R35, R32, R30, R20, YR20, YR21, YR12. Scarf, hat & bauble: V17, V15, V12.
 
Thank you so much for visiting me today. I hope you all have a great weekend!

End of code