30 June 2019

Clearly Besotted Teasers | Birds of a Feather

Hello there and welcome to day four of the Clearly Besotted July 2019 Teasers. I am back with one last teaser to share with you before the release of the new sets tomorrow. My card today uses the new Birds Of A Feather Set. This set is full of different birds, accessories and sentiments.
 

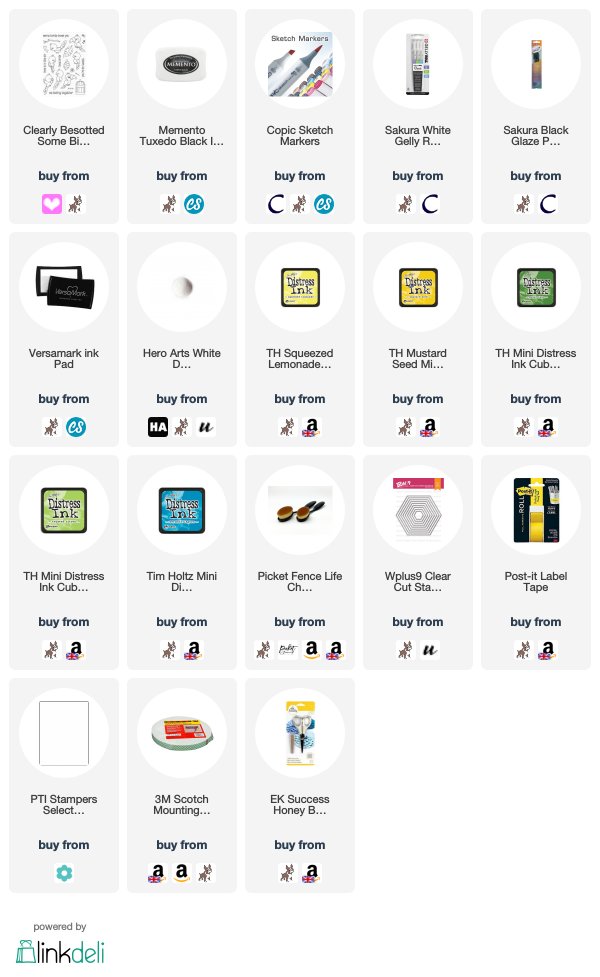
I started off by stamping the parrot and toucan from the Clearly Besotted Birds Of A Feather Stamp Set, along with the flower and leaf image (which I stamped twice), on to white cardstock with Memento Tuxedo Black Ink. I then stamped a further leaf from the Clearly Besotted Some Birdie Loves Me Stamp Set. These were coloured with Copic Markers (the colours that I used are listed below the supplies area), fussy cut out with scissors and set aside while I worked on my background.
 
 
I took a panel of 4.75" x 4.75" white cardstock and cut three hexagons from it using the Wplus9 Clear Cut Stackers Hexagon Dies. I placed the panel over a 5" square card base and drew faint pencil lines inside of the hexagon windows. I then placed Post-It tape around these and erased the lines. Using blending brushes, I blended Distress Inks into the openings. I used Mowed Lawn and Twisted Citron for the green hexagon, Mustard Seed and Squeezed Lemonade for the yellow and Mermaid Lagoon for the blue.
 
 
The Post-It tape was removed and the panel added to the card base with foam tape. I then adhered the images on top with a combination of foam tape and tape runner. I took the sentiment from the Birds Of A Feather Stamp Set and stamped it three times on to black cardstock (masking off the individual words as I went so that I could separate the sentiment into three strips) with Versamark Ink. I applied Detail White Embossing Powder and heat set.
 
 
They were then cut in to strips and added to the card with foam tape. To finish off, I added white gel pen dots and highlights to the images and black glaze pen to the eyes of the birds.
 
SUPPLIES:

Here are the links to what I have used on the card. Affiliate links are used on some products. This means that if you make a purchase after clicking on my link, I receive a small commission with no extra cost to you. I truly appreciate your support when using these links. Please click on the logo below the product to shop at your favourite store. All products were personally purchased except those from Clearly Besotted, Hero Arts or those marked with an asterisk (*) which were kindly sent to me to use. You can read my full disclosure here.
 
 
COPIC MARKERS: Parrot - R89, R39, R29, R27, R24, R14, Y17, Y15, Y13, Y11, N9, N8, N7, N6, N4, N3, N1. Toucan - N9, N8, N7, N6, N5, N3, N1, YR18, YR16, YR15, Y17, Y15, Y13, Y11. Leaves - YG17, YG23, YG03, YG01. Flower - RV66, RV55, RV52.
 
That's it in terms of teasers from me but I will be back tomorrow with my release preview video. For more inspiration using the new sets, please head over to the Clearly Besotted Blog, Keren and Lisa. Also make sure to stop by and see out fabulous guest Amy too. Thanks so much for popping by today, I really do appreciate it. I hope you have a wonderful day!

29 June 2019

Clearly Besotted Teasers | Mischievous Mole

Hello there and welcome to day three of the Clearly Besotted July 2019 Teasers. Not long to wait now, the new stamps release on Monday, 1st July. Today I am using two new sets - Mischievous Mole and Pop Up Psst (which is made to coordinate with the Pop Up Plushies set from yesterday).


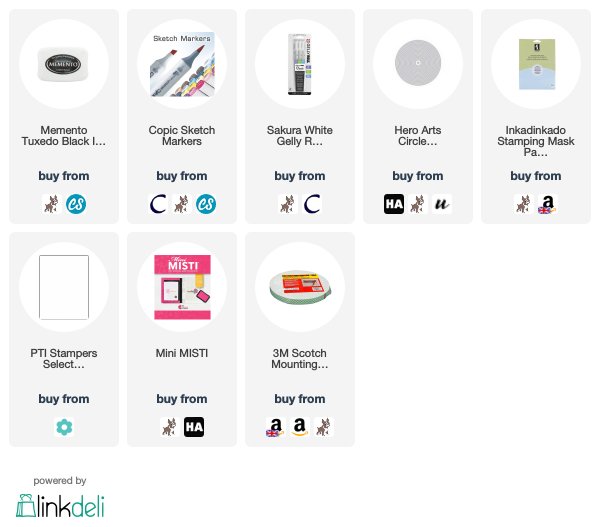
I started off my card by taking a sheet of mask paper and die cutting a Hero Arts Nesting Circle Infinity Die from the top middle. This piece was then added on to a panel of white cardstock. I took the mole, flower and butterfly from the Clearly Besotted Mischievous Mole Stamp Set and stamped these inside the circle using Memento Tuxedo Black Ink.
 
 
I took the sentiment from the Clearly Besotted Pop Up Psst Stamp Set and stamped this above the mole. I then coloured inside the circle with Copic Markers (the colours that I used are listed below the supplies area). I coloured the sky first and then the bottom of the soil before removing the mask. I then coloured the rest of the images. The panel was added to a white A2 card base with foam tape. I then added little dots of white gel pen to the flower to finish.
 
SUPPLIES:

Here are the links to what I have used on the card. Affiliate links are used on some products. This means that if you make a purchase after clicking on my link, I receive a small commission with no extra cost to you. I truly appreciate your support when using these links. Please click on the logo below the product to shop at your favourite store. All products were personally purchased except those from Clearly Besotted, Hero Arts or those marked with an asterisk (*) which were kindly sent to me to use. You can read my full disclosure here.
 
 
COPIC MARKERS: Mole - W7, W5, W3, W2, W1. Glasses - C3, C1. Soil/ground - E47, E44, E43, E42. Flower - V17, V15, V12, YG17, YG23, YG01. Butterfly - V17, V15, V12. Sky - B02, B01, B00, B000, B0000.
 
I love this little mole, he is so cute! There are two other moles in the set too, plus some fabulous sentiments. For more inspiration using the new sets, please head over to the Clearly Besotted Blog, Keren and Lisa. Make sure to pop over and see our fantastic guest Amy too. Thanks so much for visiting today, see you tomorrow!

28 June 2019

Clearly Besotted Teasers | Pop Up Plushies

Hello there and welcome to day two of the Clearly Besotted July 2019 Teasers. This month, Clearly Besotted have brought out a few sets that coordinate with each other. The Pop Up Plushies set is full of super cute animals that are just the heads and hands, so you can have them popping behind lots of different things.
 
 
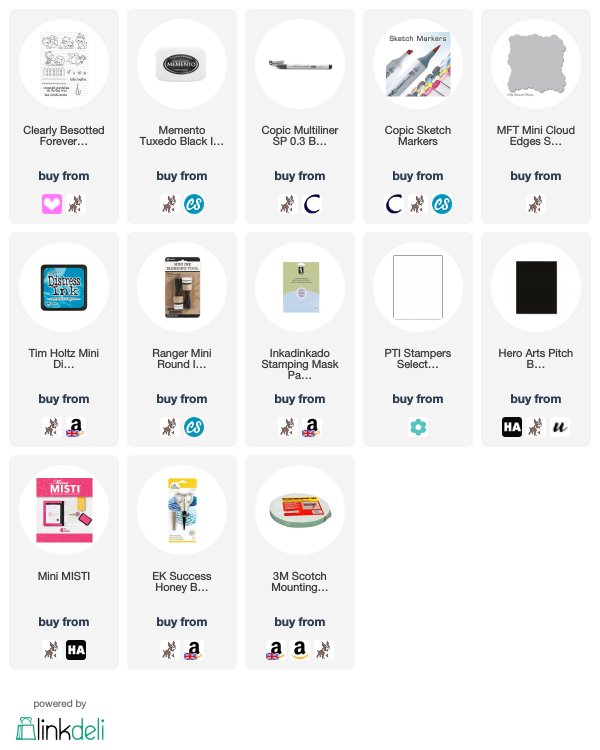
I started off my card by taking a panel of white cardstock and stamping the grass from the Clearly Besotted Forever Friends Stamp Set on to it with Memento Tuxedo Black Ink. I made a mask for the first piece and then stamped a second beside it. I also made a mask for this. I then worked out where the top of the fence would be and stamped the little dog, pig and cat from the Clearly Besotted Pop Up Plushies Stamp Set.
 
 
I made mask for these also and then stamped the fence from the Forever Friends set in-between the grass and the plushies. The fence, as stamped, is a picket fence but I wanted the top pieces to be flat so that the animals could be popping their heads over; so when stamping the fence, I masked off the top with mask tape so that it didn't stamp the top of the fence. I then went in with a Copic Multiliner to draw in the rest of the fence.
 
 
I added mask paper over the fence, while keeping the other masks in place over the animals. I took the MFT Mini Cloud Edges Stencil and using Mermaid Lagoon Distress Ink, blended clouds in for the sky. The masks were removed and the images coloured with Copic Markers (the colours that I used are listed below the supplies area). I stamped the 'hello' sentiment from the Clearly Besotted Darling Dahlia Stamp Set and then added a strip of black cardstock below the scene. The panel was added to a 4" x 5.25" white card base with foam tape.
 
SUPPLIES:

Here are the links to what I have used on the card. Affiliate links are used on some products. This means that if you make a purchase after clicking on my link, I receive a small commission with no extra cost to you. I truly appreciate your support when using these links. Please click on the logo below the product to shop at your favourite store. All products were personally purchased except those from Clearly Besotted, Hero Arts or those marked with an asterisk (*) which were kindly sent to me to use. You can read my full disclosure here.
 
 
COPIC MARKERS: Dog - E44, E43, E42, E41, R22, R20. Pig - R21, R30, R00, R0000. Cat - W7, W5, W4, W3, W1, R00. Fence - E59, E57, E55. Grass - YG17, YG23, YG03.
 
This card did take some time to put together with all the masking and stamp surgery but I do like how it turned out. The grass isn't quite straight but I am hoping that it doesn't matter too much! These Pop Up Plushies would be great to use for interactive cards too. For more inspiration using the new release, please head over to the Clearly Besotted Blog, Keren and Lisa, as well as our fantastic guest Amy. Thanks so much for stopping by today, I really do appreciate it. Have a great day!

27 June 2019

Clearly Besotted Teasers | Darling Dahlias

Hello there and welcome to the start of the Clearly Besotted July 2019 Teasers. From now until the release on the 1st of July, we are sharing teaser using the news sets. My card today uses two new sets - Darling Dahlia and Simply Said Birthday.


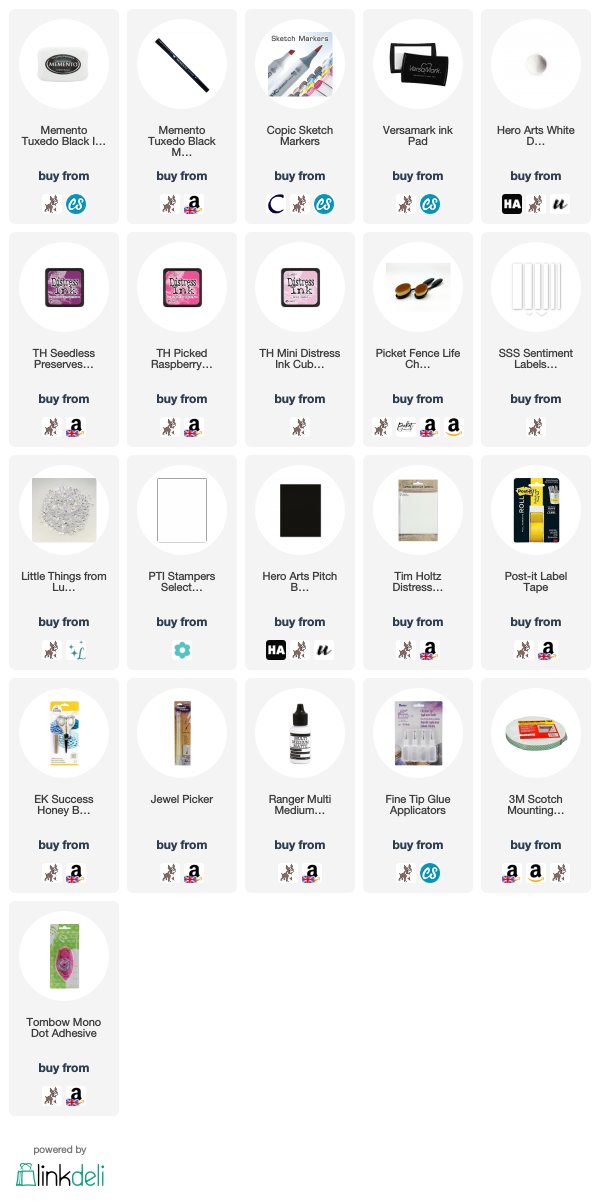
I started off my card by stamping one of the dahlia's from the Clearly Besotted Darling Dahlia Stamp Set on to white cardstock with Memento Tuxedo Black Ink. I then coloured them using Copic Markers (the colours that I used are listed below the supplies area) and fussy cut out with scissors, before running a Memento Marker around the edges to neaten them up.
 
 
I then took a panel of watercolour cardstock and added mask tape to the bottom section. Using blending brushes, I blended Distress Inks above. I used Seedless Preserves, Picked Raspberry and Spun Sugar. I then flicked on some water and set aside to dry. I took one of the sentiments from the new Clearly Besotted Simply Said Birthday Stamp Set and stamped this on to black cardstock with Versamark Ink. I applied Detail White Embossing Powder and heat set.
 
 
The sentiment was cut down using a SSS Sentiment Label Die. I added the background panel on to a 4" x 5.5" white card base with tape runner and then added the flowers on top with foam tape. The sentiment strip was then added with more foam tape. To finish off, I added a few Lucy's Ice Cube Jewels.
 
SUPPLIES:

Here are the links to what I have used on the card. Affiliate links are used on some products. This means that if you make a purchase after clicking on my link, I receive a small commission with no extra cost to you. I truly appreciate your support when using these links. Please click on the logo below the product to shop at your favourite store. All products were personally purchased except those from Clearly Besotted, Hero Arts or those marked with an asterisk (*) which were kindly sent to me to use. You can read my full disclosure here.
 
 
COPIC MARKERS: Flower petals - RV66, RV55, RV52, Y11. Leaves - YG67, YG17, YG23, G24, YG01.
 
There is another beautiful bouquet of dahlias in the set, along with some beautiful sentiments. And the Simply Said Birthday? It is a sentiment set packed full of amazing birthday greetings. For more inspiration  using the new release, please head over to the Clearly Besotted Blog, Keren and Lisa. We also have the amazing Amy guesting with us this month, so please do pop over to see what she has been up to too. Thanks so much for visiting me today, see you tomorrow for day two. Have a great day!

26 June 2019

MFT Sketch Challenge | Hello Sweet Friend

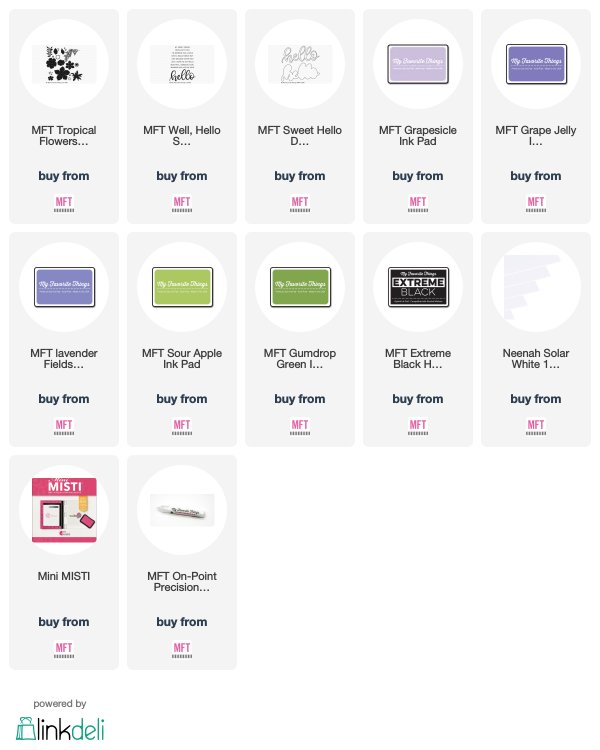
Hello there, I am back today taking part in my last MFT Sketch Challenge as a guest designer for June. I have had a lot of fun making my cards this month and I always enjoy the challenge of using a sketch. My card today uses the Tropical Flowers set, along with the Sweet Hello Die-namics.
 

I started off by stamping the largest of the flowers from the MFT Tropical Flowers Stamp Set on to a panel of white cardstock. I thought that the flower shape resembled the star shape in the sketch. This is a colour/stamp layering set and I really love that you can customise the colours of the different layers and create your own flowers. I stamped the first, larger layer with MFT Grapesicle Ink. I then stamped the next layer with MFT Grape Jelly Ink, followed by the two centre pieces using MFT Lavender Fields Ink.
 
 
I masked off the flower and then stamped two leaves from the set. The first layer uses MFT Sour Apple Ink and the second MFT Gumdrop Green Ink. I took the script die from the MFT Sweet Hello Die-namics set and cut this in to the panel, over the flower. I then cut the die a further three times from white cardstock and stacked them up. I took the 'my sweet friend' sentiment from the MFT Well, Hello Stamp Set and stamped this below the hello with MFT Extreme Black Ink.
 
 
I adhered the panel flat to an A2 white card base with tape runner. I then added the white stacked hello die cuts inside the opening, as well as all of the inside pieces of the letters using MFT On Point Precision Glue. The top piece of the hello that was cut from the panel was added on top, to complete the flower image.
 
SKETCH CHALLENGE:
 
Here is a look at sketch 443, which is what we are using today:
 
Create and share a card for the sketch challenge and you could win a $50 gift certificate to the MFT Store. For more details on the challenge, please head over tot he MFT Blog.
 
SUPPLIES:

Here are the links to what I have used on the card. Affiliate links are used on some products. This means that if you make a purchase after clicking on my link, I receive a small commission with no extra cost to you. I truly appreciate your support when using these links. Please click on the logo below the product to shop at your favourite store. All products were personally purchased except those from Clearly Besotted, Hero Arts or those marked with an asterisk (*) which were kindly sent to me to use. You can read my full disclosure here.
 
 
I have to be honest, when I saw these flowers in the stamp set I wasn't that enamoured with them but as soon as I stamped them out, I fell in love with them! They are so pretty! Oh and I love that Hello die too! :) A big thank you to MFT for having me guest with them this month and thank you for visiting. I hope you have a great rest of the day!

24 June 2019

VIDEO | Spellbinders + FSJ Ocean Backgrounds: Three Ways + Giveaway

Hello there, I am delighted to be joining Spellbinders + Fun Stampers Journey to celebrate the release of the new Hello Summer Collection. We are celebrating with a fun blog hop and there are more details on that below. For my cards today, I thought it would be fun to create three different ocean backgrounds using different mediums.
 
 
INK SMOOSHING

My first way to create an ocean background is with ink smooshing. I think this technique works particularly well for ocean backgrounds as you get a nice organic/splashy look.
 

I took FSJ Cool Pool Liquid Color and added this to my glass mat. I added a little water to it and then took a piece of Tim Holtz Alcohol Ink cardstock and pounced the glossy side into the ink. I repeated this step with the FSJ Limeade Splash Liquid Color. I liked how it was looking but I wanted a bit more blue in the background, so I added on some Tim Holtz Mermaid Lagoon Distress Spray. I heat set the ink and then added a layer of Tim Holtz Distress Glaze over the top.
 
 
The piece was then run through the Spellbinders Platinum 6 Die Cutting Machine with the FSJ Bubble Bubble Stencil to emboss it. I love the added texture it brings to the background. I die cut a Spellbinders Nestabilities Circle Die from a panel of white cardstock, added foam tape to the back and then added the background piece behind. This was then added to a white A2 card base.
 
 
I stamped the shark from the FSJ Shark Attack Stamp Set on to white cardstock with Memento Tuxedo Black Ink and coloured it with Copic Markers. I fussy cut it out with scissors but there are coordinating dies for the images. I stamped the sentiment from the set on to Spellbinders Black Licorice Cardstock with Versamark Ink. I added detail white embossing powder and heat set. This was cut in to a strip and added to the card with foam tape. I also added the shark with a combination of foam tape and tape runner. To finish off the card, I added a few Lucy's Raindrops.
 
GLITTER PASTE + STENCILS

My second ocean background uses ink blending, glitter paste and a stencil. I thought the stencil would work well with the mermaid's tail to create the look of splashes in the sea with the movement of the tail.
 

I first took a panel of Tim Holtz Watercolor cardstock and added Distress Inks on to it using ink blending tools. I used Peacock Feathers, Mermaid Lagoon and Blueprint Sketch Distress Inks. I then placed the FSJ Splash Zone Stencil over the top and secured with low tack tape. Using a palette knife, I added a coat of Nuvo Moonstone Glimmer Paste. I removed the stencil and then set the piece aside to dry.
 
 
The piece was cut down and added to the front of an A2 white card base with tape runner. I die cut the FSJ Sparkle Mermaid Tail Die from white cardstock and added this to the card with small dabs of liquid glue. I then cut a panel of white cardstock and cut the top using the Spellbinders Curved Borders Die. I added this piece at the bottom of the card to look like a wave.
 
 
I took the sentiment from the FSJ Make Waves Stamp Set and white heat embossed this on to black cardstock. This was cut down and added to the card with foam tape. To finish off, I added a few Lucy's Iridescent Jewels.
 
ALCOHOL INKS

My final ocean background today uses alcohol inks. I thought an ethereal type alcohol ink background would work well with the mermaid.
 
 
I took a panel of Yupo paper and added Tim Holtz Patina, Pool and Aqua Alcohol Inks on to it, using the Alcohol Ink Blending Solution and an air puffer to move the colour around. The piece was set aside to dry and then cut down to an A2 sized panel of 5.5" x 4.25".
 
 
I stamped the sentiment from the FSJ Make Waves Stamp Set on top using ranger Archival Jet Black Ink and set aside to dry. I took one of the mermaid's from the FSJ Make Waves Stamp Set and stamped this on to white cardstock with Memento Tuxedo Black Ink. I coloured her using Copic Markers (the colours that I used are listed below the supplies area) and fussy cut her out with scissors (but there are coordinating dies available).
 
 
The background panel was added to an A2 white card base with tape runner and the mermaid added on top with foam tape. To finish off, I added a few sequins from the FSJ Splash Zone Sequins collection.
 
VIDEO:

Here is the video showing how I made my cards:


If you are viewing this blog post via email subscription, you can watch the video HERE on YouTube.
 
SUPPLIES:

Here are the links to what I have used on the card. Affiliate links are used on some products. This means that if you make a purchase after clicking on my link, I receive a small commission with no extra cost to you. I truly appreciate your support when using these links. Please click on the logo below the product to shop at your favourite store. All products were personally purchased except those from Clearly Besotted, Hero Arts or those marked with an asterisk (*) which were kindly sent to me to use. You can read my full disclosure here.
 
 
COPIC MARKERS: Shark - N7, N5, N3, N2, N1, N0. Mermaid skin - E13, E11, E00, E50. Hair - E49, E27, E25, E23, E21. Top and flower in hair - V17, V15, V12. Tail - BG49, BG45, BG13, BG11.
 
BLOG HOP:
 
 
Like I mentioned, we are celebrating the new release with a fun blog hop! For the hop, you should have arrived here from the wonderful Tina Smith.

Next on the hop is the fantastic Mindy Eggen.

If you get lost along the way, you can find links to all the participants over on the Spellbinders Blog.
 
GIVEAWAY:
 
To celebrate the release, Spellbinders are giving away a $50 gift certificate to one lucky blog hop reader. The winner will be selected from the comments left across all of the blogs in the hop. Giveaway closes on Monday, July 1st at 11.59pm EDT. The winners will be announced over on the Spellbinders blog the following Tuesday. Good luck!
 
Thanks so much for joining me today. I hope you have a great time on the rest of the hop and a wonderful day!

23 June 2019

Studio Katia 3rd Birthday Blog Hop Winner

Hello there, I am back this afternoon to share the winner of my giveaway to celebrate Studio Katia's 3rd Birthday. Studio Katia have kindly donated a $25 gift certificate to the Studio Katia store for one lucky winner.
 
 
The winner is:
 

Congratulations, Sue! Please can you email me using the button on the right hand sidebar on my blog. Thanks so much to everyone who entered. Have a great day!

Toucan of Appreciation

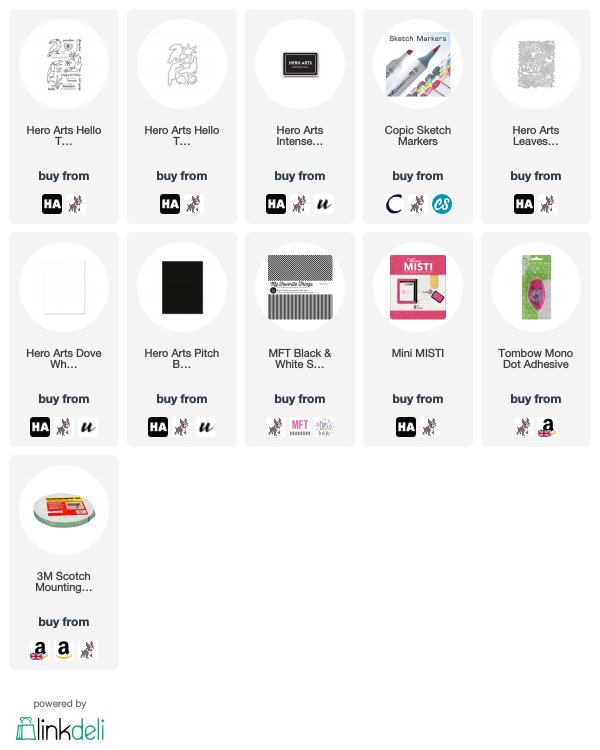
Hello there, today I have a card to share using another two products from the Hero Arts June My Monthly Hero release. I thought the toucan would work really well with the Leaves and Vines Fancy Die.
 

I started off by stamping one of the toucan's and two of the flowers from the Hero Arts Hello Toucan Stamp Set on to white cardstock using Hero Arts Intense Black Ink. I coloured them with Copic Markers (the colours that I used are listed below the supplies area) and die cut them using the coordinating dies.
 
 
I took a panel of white cardstock and stamped the sentiment on it from the same Hello Toucan set with more black ink. I then ran this piece through my die cutting machine embossing the Hero Arts Leaves and Vines Fancy Die on to it. The panel was added flat to an A2 white card base with tape runner.
 
 
I took a piece of Hero Arts Pitch Black Cardstock as well as a piece of black and white striped paper and cut these in to strips, cutting ribbon ends at one side. These were added to the card on the right hand side and the toucan perched on top with foam tape. I then popped the flowers behind the toucan.
 
SUPPLIES:

Here are the links to what I have used on the card. Affiliate links are used on some products. This means that if you make a purchase after clicking on my link, I receive a small commission with no extra cost to you. I truly appreciate your support when using these links. Please click on the logo below the product to shop at your favourite store. All products were personally purchased except those from Clearly Besotted, Hero Arts or those marked with an asterisk (*) which were kindly sent to me to use. You can read my full disclosure here.
 
 
COPIC MARKERS: Toucan - N10, N9, N8, N7, N6, N5, YR18, YR16, YR12, N3, N1, N0. Right side flower - RV66, RV55, RV52. Left side flower - R32, R21, Y13, Y11, YG17, YG23, YG01.
 
I really like how the Leaves and Vine die embossed on to the cardstock, I think it gave a really nice impression and perfect for a subtle background. Thanks so much for popping by to see me today. I hope you have a great rest of the weekend!

19 June 2019

MFT Sketch Challenge | Thanks A Ton

Hello there, it's time for another MFT Sketch Challenge. Today we are on sketch 442 and although I do feel that I have all of the elements of the sketch, I did move them around slightly. Hopefully you can still see the sketch in my card, though.


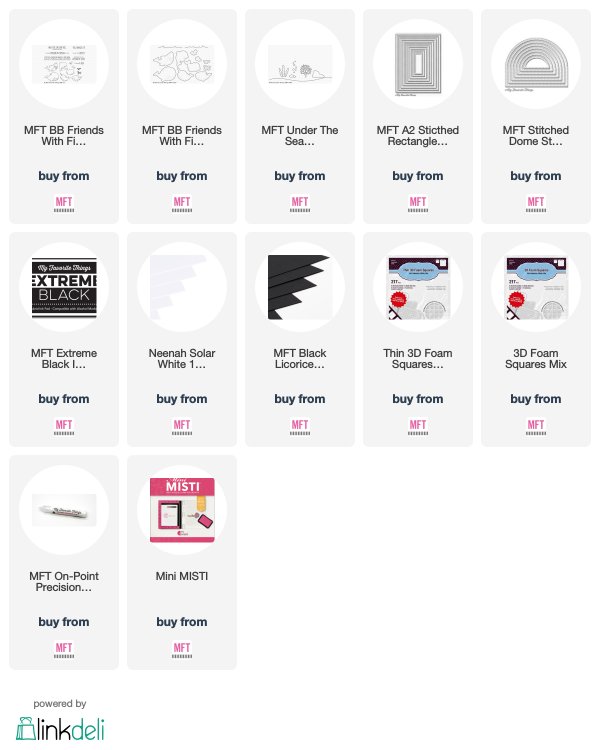
I started off by creating my background piece. I took a panel of Yupo paper and added a layer of Alcohol Ink Blending Solution on to it. I then applied Aqua, Pool and Patina Alcohol Inks and moved the ink around with an air spritzer tool. Once the piece was dry, I cut it down first using the largest of the MFT Stitched Rectangle Stax 1 Die-namics. I then cut it the top down further using the MFT Stitched Dome Stax Die-namics and just partially cut the dome top piece.
 
 
I took the MFT Under The Sea Die-namics and cut the elements from white cardstock. I coloured them using Copic Markers (the colours that I used are below the supplies area) and then die cut the sand piece with the bottom of the A2 Stitched Rectangle Stax to match up the stitching lines. These were adhered to the background piece with tape runner and MFT On-Point Precision Glue. I took the whale from the MFT BB Friends With Fins Stamp Set and stamped this on to white cardstock with MFT Extreme Black Ink.
 
 
I coloured the whale with Copic Markers and then cut out using the MFT BB Friends With Fins Die-namics. I also took the sentiment from the set and stamped this on to MFT Black Licorice Cardstock with Versamark Ink. I applied white embossing powder and heat set. This was cut out and the edge cut with the same rectangle die to get the stitching. It was added to the background piece using thin foam squares. I then added the whale on top with foam squares. The entire background panel was then added to an acetate card base with tape runner.
 
SKETCH CHALLENGE:

Here is a look at sketch 442:
 
Create and share a card for the sketch challenge and you could win a $50 gift certificate to the MFT store. For more details on the challenge, please head over to the MFT Blog.
 
SUPPLIES:

Here are the links to what I have used on the card. Affiliate links are used on some products. This means that if you make a purchase after clicking on my link, I receive a small commission with no extra cost to you. I truly appreciate your support when using these links. Please click on the logo below the product to shop at your favourite store. All products were personally purchased except those from Clearly Besotted, Hero Arts or those marked with an asterisk (*) which were kindly sent to me to use. You can read my full disclosure here.
 
 
COPIC MARKERS: Whale - B39, B99, B97, B95, B93, B91, W5, W3, W1, W0. Sand/sea bed & rocks - E49, E44, E43, E42, E41, E40. Seaweed - YG17, YG23, YG01.
 
I did add additional panels of cardstock cut to the same shape as the background piece to cover the inside back of the card, the inside piece to write on and the back. This covers up any adhesive. I have to be honest, my camera is not a fan of acetate and put that together with alcohol ink and this card was rather tricky to photograph! Sorry about that but I had a lot of fun making this card! Thanks so much for visiting me today, I really do appreciate it. I hope you have a great rest of the day!

17 June 2019

Birthday Sunset

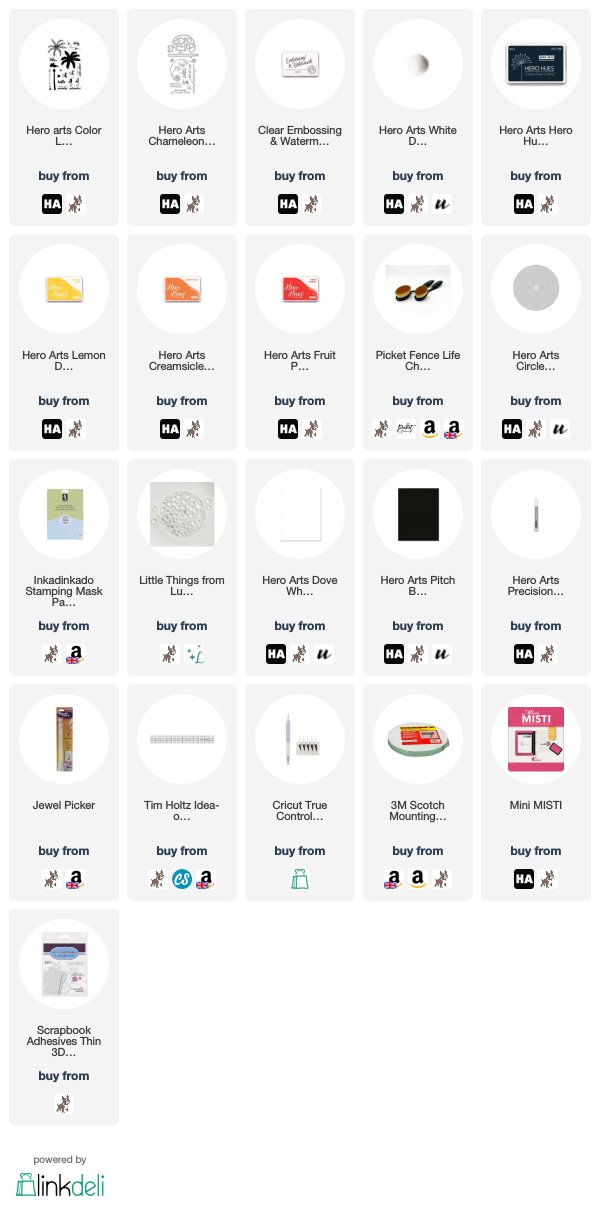
Hello there, today I have to share using the new Hero Arts Colour Layering Palm Tree. I thought it would work well with a sunset, so I took inspiration from a card that I made back in 2017 and just changed it up slightly.
 

I first took the Hero Arts Nesting Circle Infinity Dies and cut a circle from a sheet of masking paper. I took a panel of white cardstock and placed the mask over it. I then blended inks inside to create the sunset. I used Lemon Drop, Creamsicle and Fruit Punch Reactive Inks. I then removed the mask.

 
I placed the panel in my Mini MISTI and stamped the images from the Hero Arts Color Layering Palm Tree Stamp Set on top with Hero Hues Black Ink. I used one of the more detailed layers of the tree, rather than the solid outline for some added interest. I then stamped the monkey so that he was climbing the tree. The panel was then adhered to an A2 white card base with foam tape.
 
 
I took the sentiment from the Hero Arts Chameleon Stamp & Cut Set and stamped it on to Hero Hues Pitch Black Cardstock with Hero Arts Clear Embossing & Watermark Ink. I applied Hero Arts White Detail Embossing Powder and heat set. This was cut in to a strip and added to the card with thin foam squares. To finish off, I added a few Lucy's Raindrops.
 
SUPPLIES:
 
Here are the links to what I have used on the card. Affiliate links are used on some products. This means that if you make a purchase after clicking on my link, I receive a small commission with no extra cost to you. I truly appreciate your support when using these links. Please click on the logo below the product to shop at your favourite store. All products were personally purchased except those from Clearly Besotted, Hero Arts or those marked with an asterisk (*) which were kindly sent to me to use. You can read my full disclosure here.
 
 
I think this would look good without the monkey too but I thought he was cute, so wanted to include him! Thanks so much for stopping by today. I hope you have a great week!

15 June 2019

Studio Katia 3rd Anniversary Blog Hop + Giveaway

Hello there, I am delighted to be joining Studio Katia today to celebrate their 3rd Birthday. We are celebrating with not only a fantastic release but a fun blog hop too. For the hop, you should have arrived here from the fabulous Galina but if you get lost along the way, I have the full list of participants below. I have three cards to share with you today using the new release.
 

My first card uses the fantastic new Studio Katia Birthday Balloons Duo Stencils. The pack comes with two stencils that you can line up to create a plethora of balloons but you can use them separately too. I started off by taking a panel of cardstock and placed the first stencil on top securing with Post It Tape. I then blended Distress Inks in to the openings.
 
 
The colours that I used are in the supplies list but as you can see, I used a lot! I tried to concentrate most of the colour at the bottom of the balloon and then blended lighter upwards. Once the stencil was filled up, I removed it and placed the second stencil on. I then continued the blend ink in to the openings to cover the panel.
 
 
I took the large happy birthday sentiment from the Studio Katia It's Your Birthday Stamp Set and stamped this on to the panel with Versafine Nocturne Ink. The panel was then simply adhered to a white A2 card base with foam tape.
 

My next card uses the new Studio Katia Kobi Makes A Wish Stamp Set. I started off by stamping Kobi from the set on to white cardstock with Memento Tuxedo Black Ink. I then coloured him using Copic Markers (the colours that I used are listed below the supplies section) and cut him out using the Studio Katia Kobi Makes A Wish Dies.
 
 
I took a panel of white cardstock and ran the first layer of the Studio Katia Birthday Balloons Duo Stencils through my die cutting machine to emboss it. This was added flat to an A2 white card base with tape runner. I then took one of scallop frames from the Studio Katia Scallop Frames Dies and cut this from white cardstock. I blended Peacock Feathers, Blueprint Sketch and Wilted Violet Distress Inks on to it and then misted with water and set aside to dry.
 
 
Once dry, this was adhered flat to the card base and Kobi added on top with foam tape. I took the sentiments from the stamp set and stamped them on to black cardstock with Versamark Ink. I applied white embossing powder and heat set. These were cut in to strips and added to the card with more foam tape. To finish off, I added a few Studio Katia Pastel Rainbow Confetti.
 

My last card is very simple but I really wanted to use the new Studio Katia Shaker Balloon Die. This die is fantastic as you get four for one. You can cut the negative like I have on my card, you get a thin frame and also a positive balloon piece, plus a little bow too. I took a panel of cardstock that I cut using the largest of the Studio Katia Scallop Frames Dies and cut the balloon from it. I added acetate to the back, followed foam tape around the shape.
 
 
I filled the shaker area with Studio Katia Speckled Sprinkles and then closed it with another piece of acetate. The panel was then added to a card base that I made from two panels of the same Scallop Frame Dies. I scored the back panel and just adhered it at the top so that it opens like a card.
 
 
I took the bow from the Studio Katia Shaker Balloon Die and cut this from black cardstock. This was adhered flat to the bottom of the balloon and a Studio Katia Iridescent Jewel added to the centre. I took the sentiment from the Studio Katia It's Your Birthday Stamp Set and white heat embossed this on to black cardstock. It was cut in to a strip and added on top of the balloon with foam tape.
 
SUPPLIES:

Here are the links to what I have used on the card. Affiliate links are used on some products. This means that if you make a purchase after clicking on my link, I receive a small commission with no extra cost to you. I truly appreciate your support when using these links. Please click on the logo below the product to shop at your favourite store. All products were personally purchased except those from Clearly Besotted, Hero Arts or those marked with an asterisk (*) which were kindly sent to me to use. You can read my full disclosure here.
 
 
COPIC MARKERS: Kobi - N10, N7, N5, N3, N2, N1, R00. Cake - E55, E53, E51, E50. Candles - BG13, BG11, BG10, Y17, Y11, Y00.
 
BLOG HOP:
 
  
Here is the full list of participants taking part in the hop today:
 
Michelle Short - you are here!
 
GIVEAWAY:
 
Studio Katia are giving away two $50 gift certificates on their blog for each day of the hop. I am also giving away a $25 gift certificate to the Studio Katia shop. All you have to do to enter is to leave a comment on this post by Saturday June 22nd June at 12.00hrs BST. The winner will be announced a few days later here on my blog. Good luck!
 
Next on the hop is the amazing Anika. A big happy birthday to Studio Katia! Thanks so much for having me join in the celebrations. I hope you will check out the release if you haven't already. Thank you so much for visiting me today, I really do appreciate it. Have a great day!
End of code