Showing posts with label Gansai Tambi. Show all posts

21 December 2018

Fairy Window

Hello there, today I have a card to share using the beautiful Fairy Window Fancy Die from Hero Arts. This was released as an add-on for the December 2018 My Monthly Hero Kit.
 

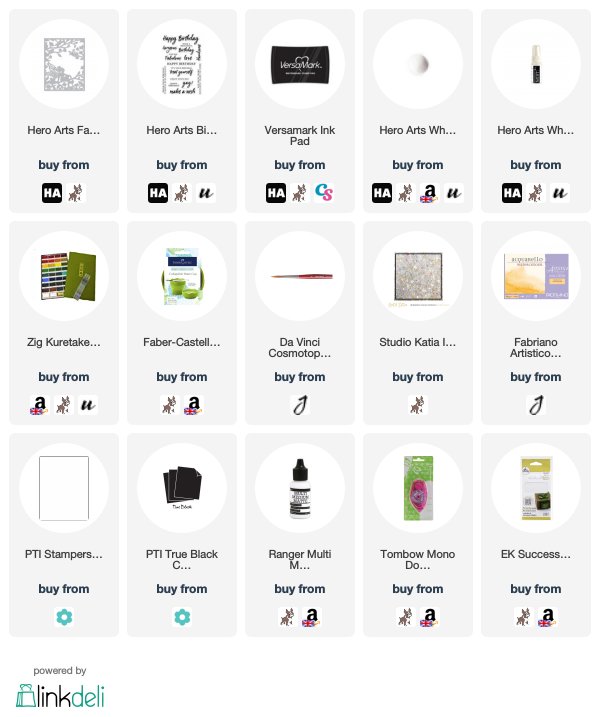
I started off by die cutting the window from white cardstock and set that aside. For the background I first took some watercolour paper and added Gansai Tambi watercolours to it. I took inspiration for the colours from this card. I wanted to create a bit of a magical/fairy sky background. Once dry, I spritzed on White Iridescent Shimmer Spray for some added sparkle and set aside to dry again.
 
 
The background piece was added flat to a white A2 card base with tape runner and then I added on the die cut window on top with liquid glue. I took the sentiment from the Birthday Messages stamp set and stamped it on to black cardstock with Versamark Ink. I applied white embossing powder and heat set. This was cut down and added to the card with foam tape. To finish off, I added a few iridescent jewels.
 
SUPPLIES:

Here are the links to what I have used on the card. Affiliate links are used on some products. This means that if you make a purchase after clicking on my link, I receive a small commission with no extra cost to you. I truly appreciate your support when using these links. Please click on the logo below the product to shop at your favourite store. Products marked with an asterisk (*) were kindly sent to me to use.
 
 
I think this die would work with so many different backgrounds. Thank you so much for visiting me today, I really do appreciate it. Have a great day!

26 October 2018

Christmas Deer

Hello there, today I have a card to share using the Hero Arts Deer and Ornament Fancy Die. I fell in love with it when I made this card and wanted to create another with a watercolour background.
 

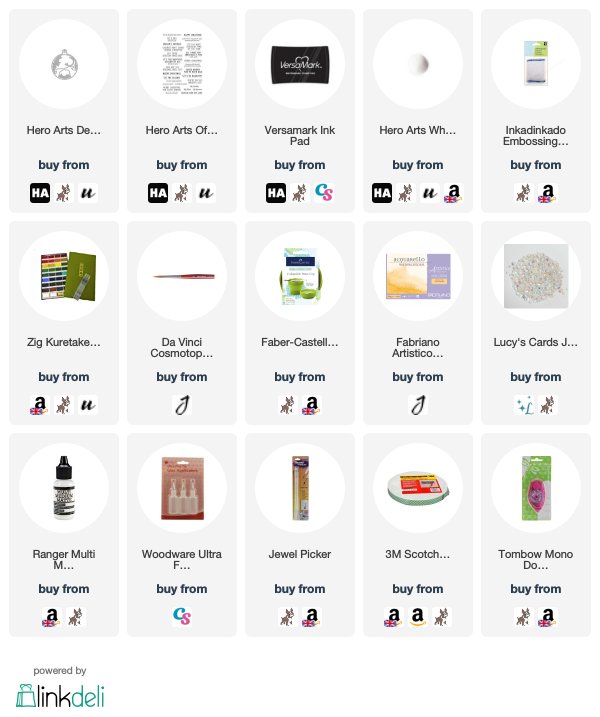
I started off by creating the watercolour background. I took a panel of Fabriano watercolour paper and applied clean water to it. I then added in pink and purples, aqua and blues to create an interesting background. I let the colours mix and then set aside to dry. Once dry, I messily added another layer to create more interest and depth of colour and set aside to dry again.
 
 
I took a panel of white cardstock and cut the inside portion of the Deer and Ornament Fancy Die (I removed the ornament part) on to it. The middle pieces were removed and then I added foam tape to the back. I added the watercolour piece to an A2 card base with tape runner and then added the deer panel on top.
 
 
I took the 'Merry Christmas' sentiment from the Off-Beat Holiday Messages set and stamped this on to black cardstock with Versamark Ink. I applied white embossing powder and heat set. This was then cut in to a strip and added to the card with foam tape and tape runner. To finish off, I added a few Iridescent Jewels.
 
SUPPLIES:

Here are the links to what I have used on the card. Affiliate links are used on some products. This means that if you make a purchase after clicking on my link, I receive a small commission with no extra cost to you. I truly appreciate your support when using these links. Please click on the logo below the product to shop at your favourite store. Products marked with an asterisk (*) were kindly sent to me to use.
 
 
I really like how this card came out. I love how the colours work nicely with the white panel. Thank you so much for visiting me today, I really do appreciate it. I hope you have a lovely day and a wonderful weekend.

10 July 2017

VIDEO | A Bit Of Kindness Emboss Resist Background

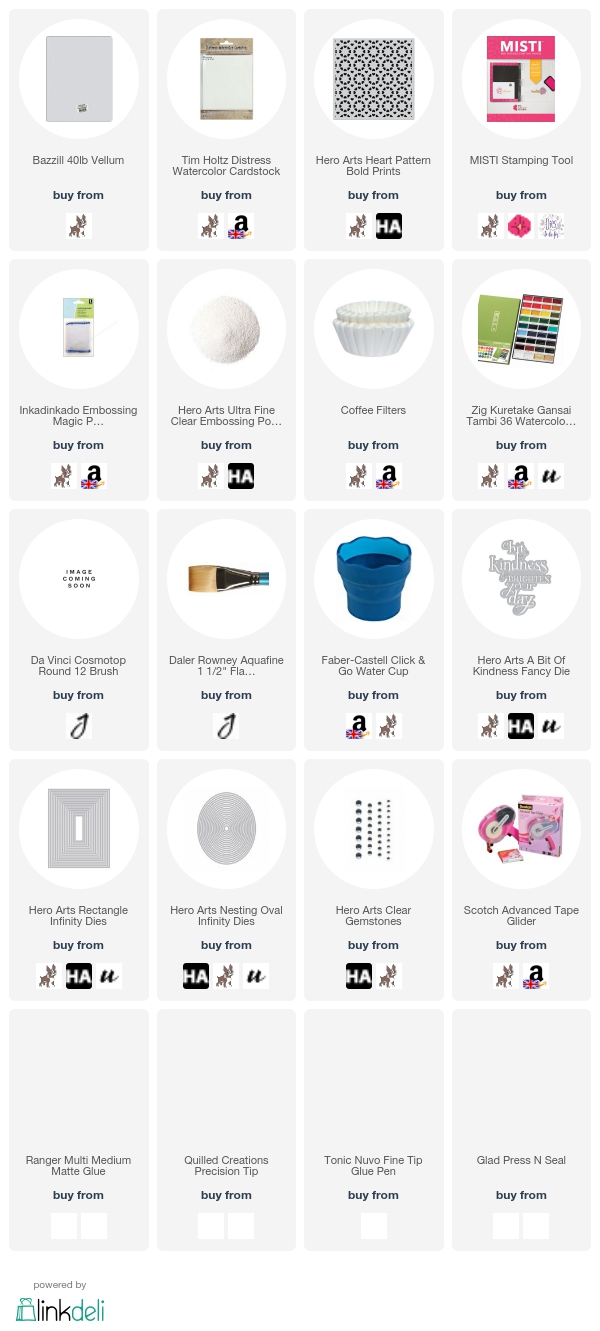
Hello there, today I am over on the Hero Arts Blog and You Tube Channel sharing a card using the A Bit Of Kindness Fancy Die. I paired it up with the Heart Pattern Bold Prints to make a fun background for the wording.
 
 
SUPPLIES:
Here are the links to what I have used on the card. Affiliate links are used on some products. This means that if you make a purchase after clicking on my link, I receive a small commission with no extra cost to you. I truly appreciate your support when using these links. Please click on the letters below the product to shop at your favourite store - Simon Says Stamp (SSS), Hero Arts (HA), Seven Hills Crafts (SHC) Amazon (AZ) etc.


You can see the details of how I made the card over on the Hero Arts Blog and you can see the video directly over on You Tube HERE. If you buy any of the kindness products, not only are you buying a great product, you are also doing some good. Hero Arts donates 25% of profits from these products to the Kind Campaign which aims to prevent bullying. Thanks so much for popping by today, I hope you have a great week!

10 November 2015

With Gratitude

Hello there, I am back! Since I was unable to take part in the  Clearly Besotted November teasers, throughout the next week or so, I will be sharing my cards using the new stamps and dies. Today I am starting off with the new Merci Beaucoup set.
 

I first took a piece of Ranger watercolour paper (this is the same as the TH one but in larger sheets) and stamped the rose image on to it using Versamark ink. I then applied WOW! Bright White embossing powder on to it and heat set. The image was then water coloured using the Gansai Tambi paints.
 

Once dried, I added a few little spots of clear Wink of Stella. I added a strip of paper from the MFT Fresh Squeezed Chevron paper pad to the bottom of a white A2 card base. I then wanted a blue strip but I did not have any card or paper to match the blue in the flower. I took a strip of watercolour paper and then added the paint on to it, followed by clear WOS. This was then added on to the card. The image panel was added on top with foam sheet.
 

SUPPLIES:

Here are the links to what I have used on the card. Please click on the picture or wording to be taken to where I purchased it. Affiliate links are used on some products. This means that if you make a purchase after clicking on my link, I receive a small commission with no extra cost to you. I truly appreciate your support when using these links.


Thank you so much for visiting me today. I just wanted to take a moment to thank everyone who left me kind get well messages. I am still not back to my normal but I am getting there. Thanks so much for sticking with me!

5 October 2015

CB Teasers | Just A Note & Christmas Poinsettia

Hello there, today is THE day! All the new products from Clearly Besotted will be available to purchase this evening from 10pm. I have two last teasers to share with you today. My first uses two new sets - Heartfelt Thanks (plus dies) and Fancy Sayings.


I started off by stamping the flowers and vase from the Heartfelt Thanks stamp set, using PTI inks on to some white cardstock. These were then cut out using the matching die collection. I did a two-tone effect on the flowers from more interest.


On to a panel of white cardstock, I stamped the sentiment from the Fancy Sayings stamp set, using black ink. I also added a grounding for the vase using Copic Markers (W3, W1, W0). The vase and flowers were then added on to the panel (the vase being popped up on foam tape). I added a little clear WOS to the vase and flowers and then popped the panel on to a white A2 card base with more foam.


SUPPLIES:

Here are the links to what I have used on the card. Please click on the picture or wording to be taken to where I purchased it. This product/supplies list does not contain affiliate links.


My next card uses the new Christmas Poinsettia stamp set. It is really beautiful.


I took some watercolour cardstock and stamped the poinsettia three times, using Versamark ink. I applied WOW! Bright White Embossing Powder and then heat set. I then added some Distress Ink with water over the top. I used Worn Lipstick, Festive Berries and Aged Mahogany. Once dried, I added on some gold spray that I made by mixing some Gold Perfect Pearls with water and added it in to a mini mister bottle. I also did something VERY much out of my comfort zone and added some gold splatter using the gold paint from the Gansai Tambi set.


This panel was added to a white A2 card base. I then  took a panel of white cardstock and cut an aperture from it using the SSS Stitched Circle dies. This panel was added to the card using foam tape. The sentiment, from the Many Mini Messages set, was stamped in Versamark and heat set using WOW! Metallic Gold Sparkle Embossing Powder. This was cut out and added to the card with more foam tape. To finish off I added two gold sequins and a rhinestone that was coloured using a Y28 Copic Marker to make gold.

SUPPLIES:

Here are the links to what I have used on the card. Please click on the picture or wording to be taken to where I purchased it. Affiliate links are used on some products. This means that if you make a purchase after clicking on my link, I receive a small commission with no extra cost to you. I truly appreciate your support when using these links.


It was nice to get out of my comfort zone and try something different. I am still not sure I like gold but glad I did it! So that is the last of my teasers. Since the release is so big this month, there is a still quite a few sets that I haven't had the chance to play with yet. I am hoping to get to use them soon. I will be back with my release video later but until then, please pop over and see Stephanie, who will be revealing the release shortly.
End of code