Showing posts with label Foiling. Show all posts

24 July 2025

Spellbinders | Warm Winter Snowman

Hello there, today I have a card to share combining different sets from different Spellbinders collections that have been released this month. The snowman is from the North Pole Friends Collection (by Simon Hurley), the background plate is from the Merry Moments Collection, and the sentiment is from the Wonderland Collection. 

PLEASE NOTE: This post contains affiliate links. Please see below for my full disclosure.


I started off by creating the background. I took a panel of Spellbinders Cascade ColorWheel Cardstock and hot foiled the Spellbinders Petite Criss Cross Press Plate on top with Spellbinders Opal Foil and the Spellbinders Glimmer Hot Foil System. This foil gives a lovely tone-on-tone look with a little sparkle! Using blending brushes, I added Altenew Lapis Lazuli Fresh Dye Inks (Eastern Sky & Ultramarine) around the sides. I removed any ink from the foiling with a dry cloth. It was adhered to a US A2 sized white card base. 


I then created my snowman using the Spellbinders North Pole Sentiments Etched Dies. I die cut the snowman's body from Spellbinders Classic White ColorWheel Cardstock, die cutting the pieces to go behind for the mouth, eyes and coal buttons from Spellbinders Raven ColorWheel Cardstock. The nose was cut from Spellbinders Carrot ColorWheel Cardstock and the cheeks from Spellbinders Chiffon ColorWheel Cardstock


The arms were cut from Spellbinders Acorn ColorWheel Cardstock. I assembled and adhered the parts together using Bearly Art Glue. I then cut the hat, scarf and mittens from Spellbinders Cascade ColorWheel Cardstock and added ink blending to them with the same inks that I used on the card base. I cut the fluffy bits from the glitter cardstock in the Spellbinders Antique White Assorted Treasured Cardstock Pack


I adhered them onto the snowman and then adhered the snowman onto the card base using thin foam tape. I hot foiled the Spellbinders Merry Messages Plate onto white cardstock using Spellbinders Silver Foil. It was die cut out using the coordinating die. I cut the die another two times from white cardstock and adhered them behind the foiled one before adhering onto the card. I felt like something was missing, so I die cut the holly and berries from the Spellbinders The Causes Etched Dies from Spellbinders Tutu and Peridot Cardstock and adhered them onto the snowman's hat to finish. 
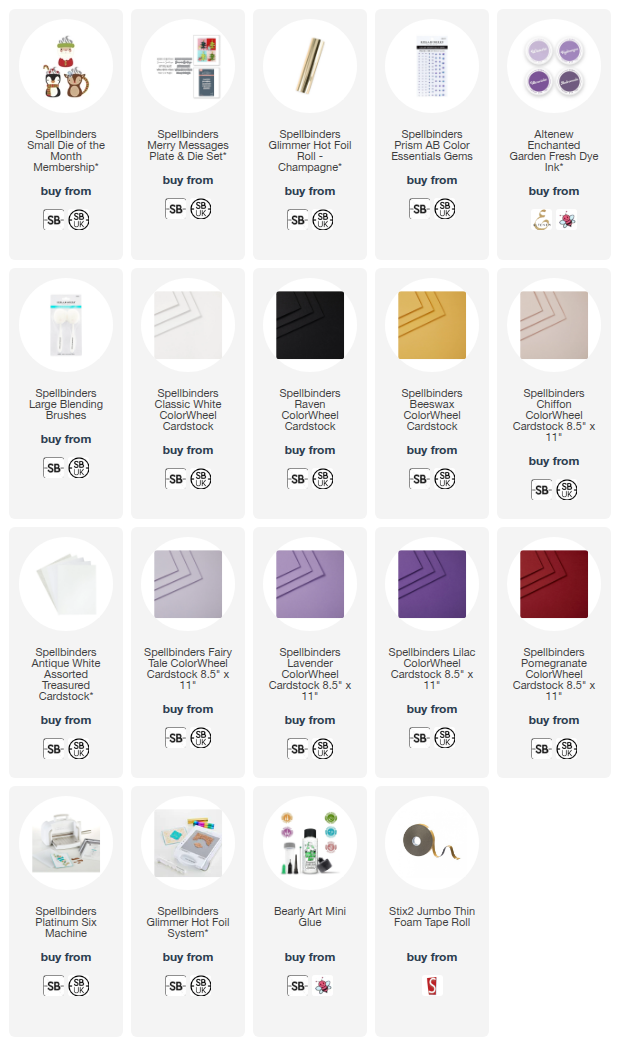
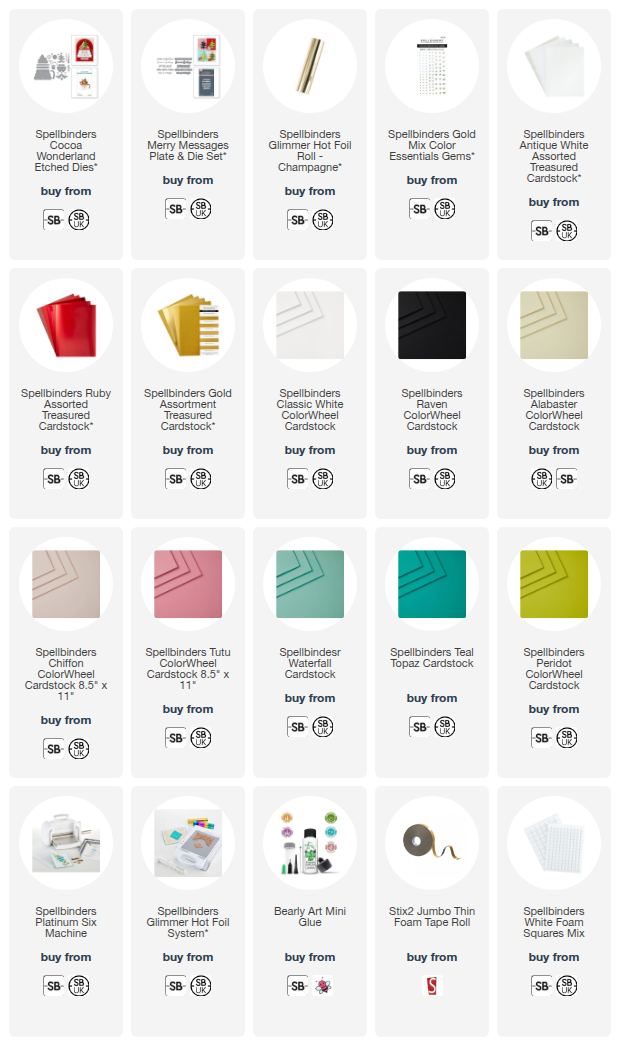
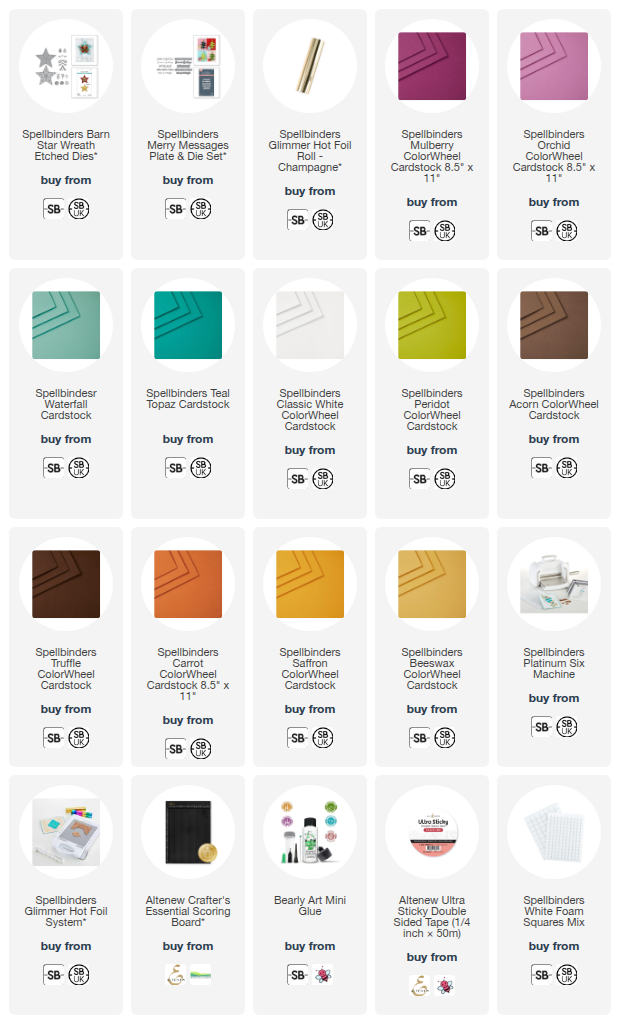
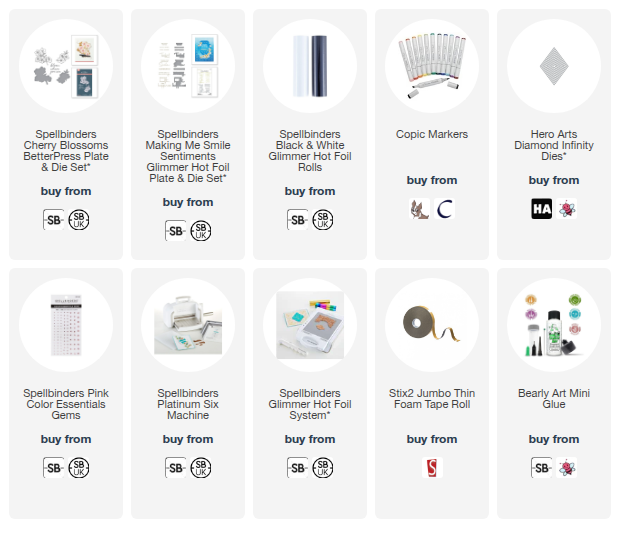
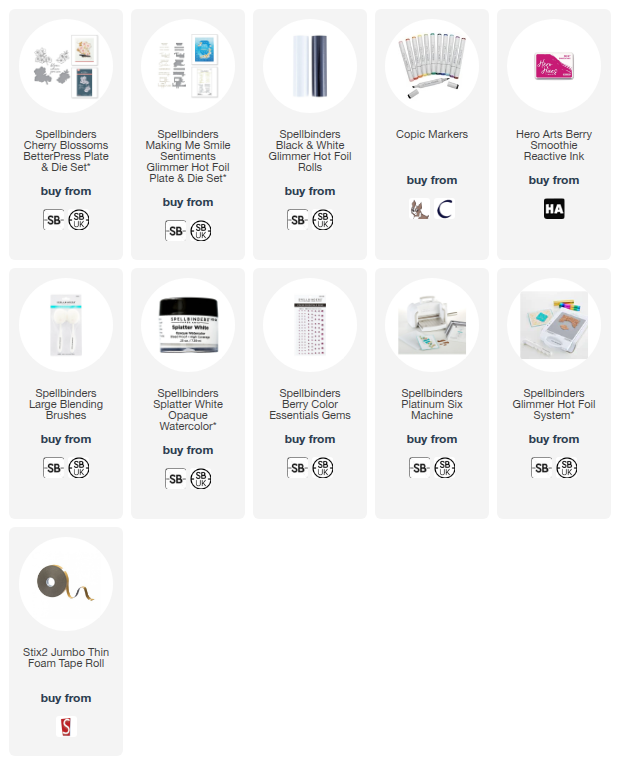
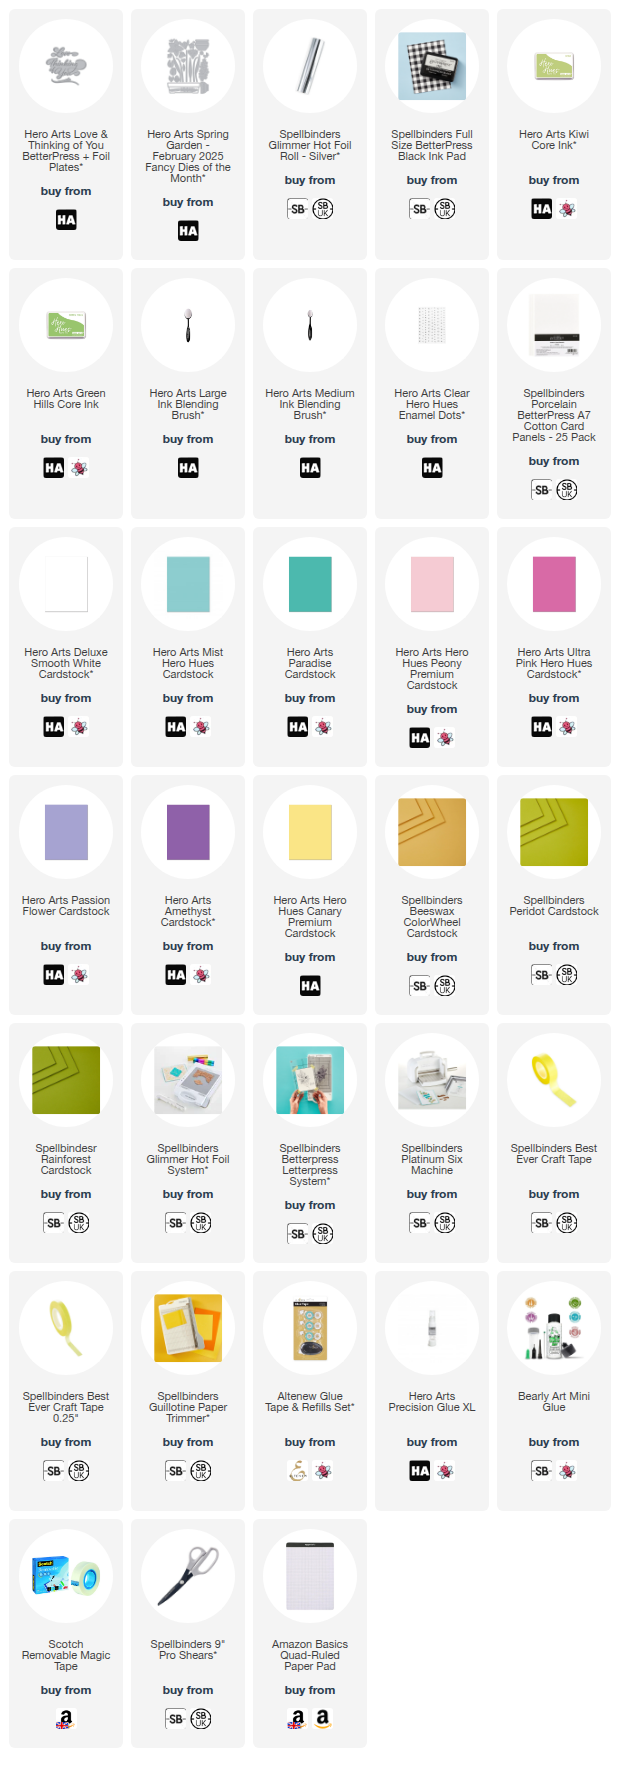
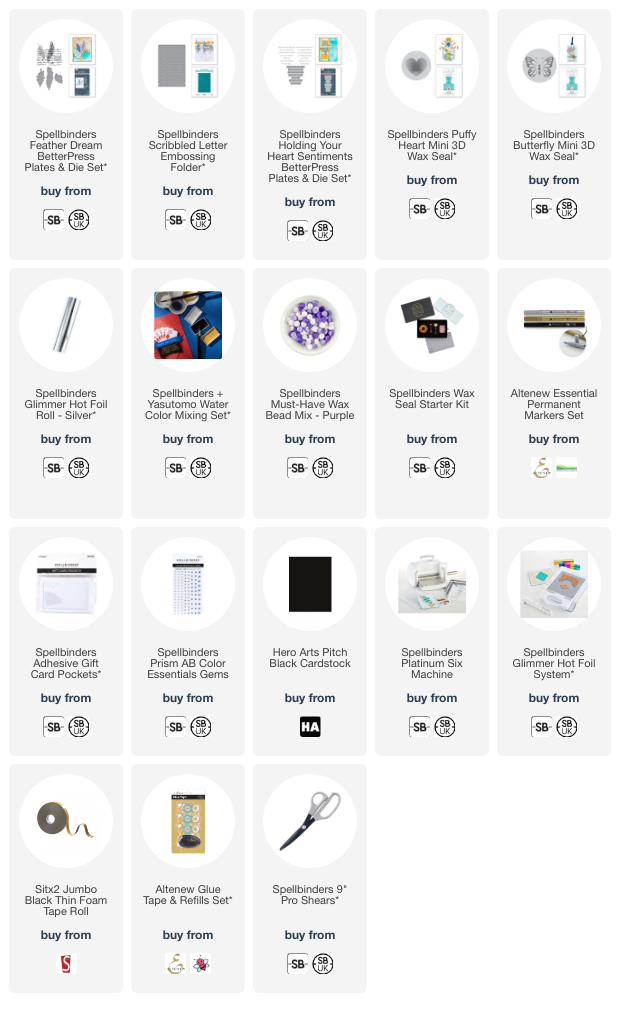
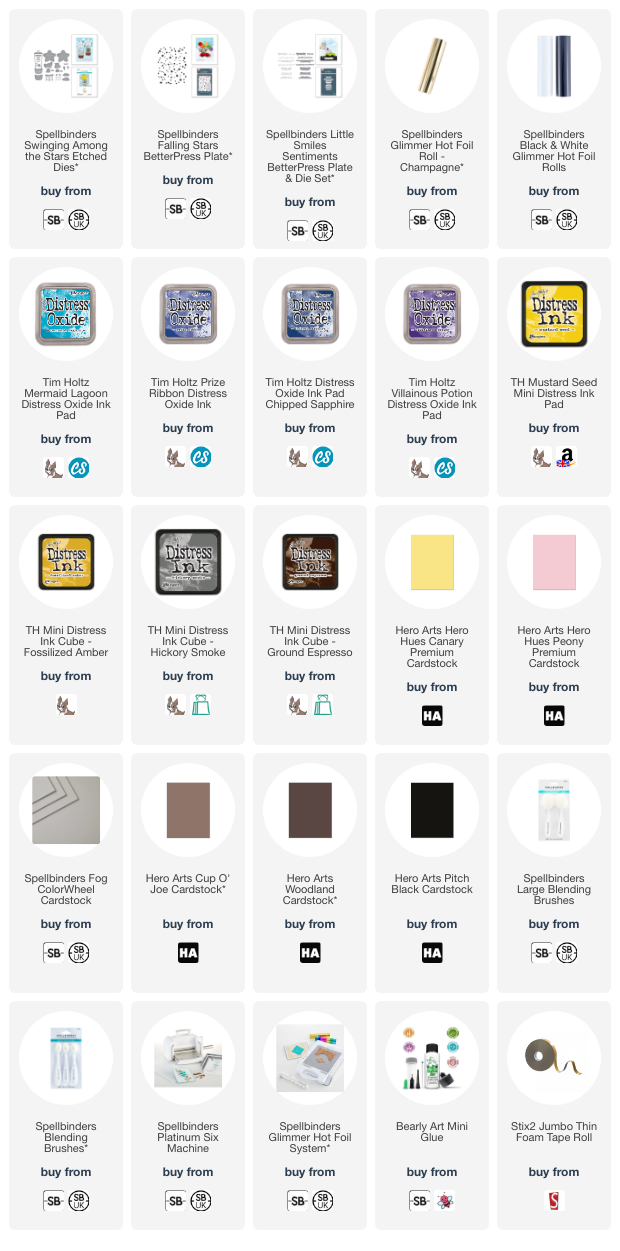
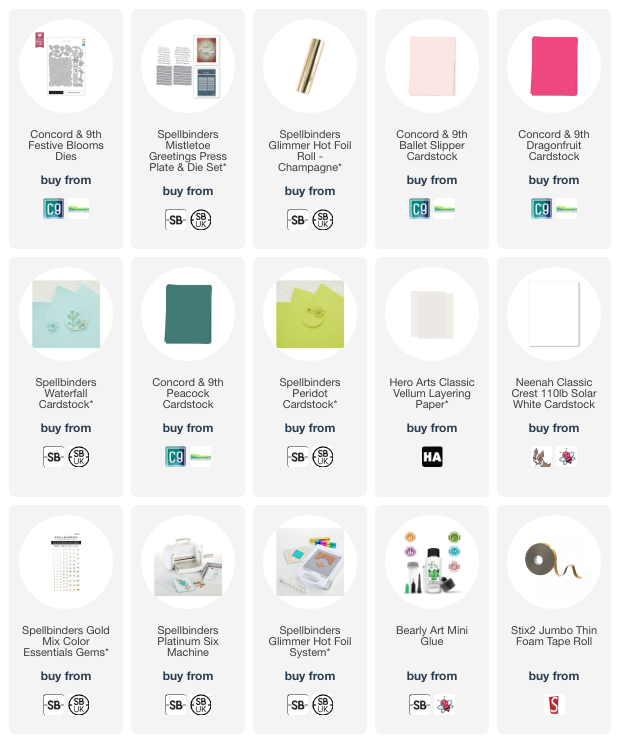
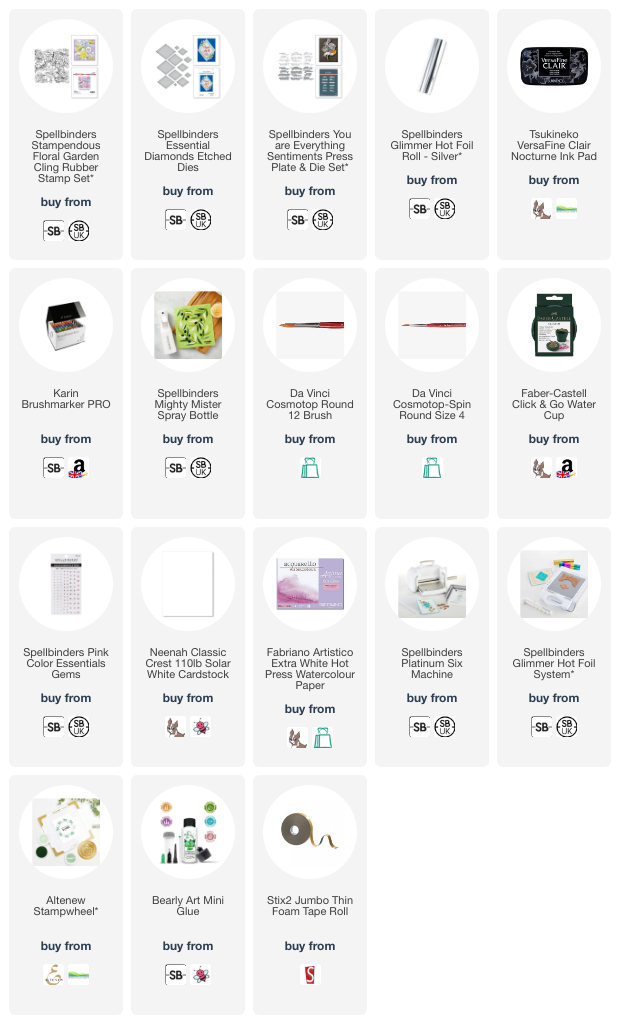
SUPPLIES:


Here are the links to what I have used on the project. Affiliate links are used on some products. This means that if you make a purchase after clicking on my link, I receive a small commission with no extra cost to you. I truly appreciate your support when using these links. Please click on the logo below the product to shop at your favourite store. All products were personally purchased except marked with an asterisk (*) which were kindly sent to me to use. You can read my full disclosure here.


I used the Clauses from the North Pole Friends set for a step-by-step tutorial over on the Spellbinders Blog. You can see that HERE. Thank you so much for stopping by today, I really do appreciate it. I hope you have a great day! 

18 July 2025

Spellbinders | Cocoa Greetings

Hello there, I hope you are well. Today I have a card to share using the Spellbinders July 2025 Small Die of the Month Club Kit. The kit is called "Cocoa Greetings" and you can create three different cups with the set - a penguin, a reindeer and Santa. As you can see, I went with the penguin for my card today. 

PLEASE NOTE: This post contains affiliate links. Please see below for my full disclosure.


I started off by die cutting the penguin cup from the Spellbinders July 2025 Small Die of the Month Club Kit using Spellbinders ColorWheel Cardstock. I used Raven for the main body, Classic White for the tummy and face, as well as the handle and the bottom layer of the cream. The beak was cut from Beeswax and the cheeks from Chiffon


The top layer of cream was cut from white glitter cardstock in the Spellbinders Antique White Assorted Treasured Cardstock set. I cut the candy canes from Classic White and Pomegranate. The scarf was cut from Lavender for the bottom layer and Fairy Tale for the top layer. The snowflake was cut from Lavender. I cut the heart thee times from Lilac and adhered them one on top of another. 


I assembled the body/cup first, adhering with Bearly Art Glue. I then adhered the scarf parts together before adhering on top. I adhered the top layer to the cream and then adhered both behind the top of the cup. The candy cane layers were adhered together and then adhered behind the cream. The snowflake was adhered on top. I took an A2 size card base made from Spellbinders Lilac ColorWheel Cardstock and added ink blending around the edges using Altenew Enchanted Garden Fresh Dye Inks


The penguin cup was adhered on top using thin foam tape. I hot foiled the Spellbinders Merry Messages Plate onto white cardstock using Spellbinders Champagne Foil and the Spellbinders Glimmer Hot Foil System. It was die cut out using the die and adhered to the card (adhering two more die cuts behind for dimension). The heart was then adhered to the cup. To finish, I embellished with Spellbinders Prism AB Color Essentials Gems

SUPPLIES:


Here are the links to what I have used on the project. Affiliate links are used on some products. This means that if you make a purchase after clicking on my link, I receive a small commission with no extra cost to you. I truly appreciate your support when using these links. Please click on the logo below the product to shop at your favourite store. All products were personally purchased except marked with an asterisk (*) which were kindly sent to me to use. You can read my full disclosure here.


SPELLBINDERS CLUB KITS

To buy the kit - if you are a current subscriber to the Small Die of the Month Club Kit (or any kit), you do not need to do anything. You will be charged as normal on the 5th of the month and your kit will be shipped to you. If you are a new subscriber, you can purchase the kit from the 6th - 27th July 2025. Members can cancel their membership at any time. If you are not keen on subscribing to the kit but still want it, you can purchase it individually (without a subscription) on the 10th of the following month but the price will be higher. 

Thank you so much for stopping by today, I really do appreciate it. I hope you have a wonderful day! 

17 July 2025

Spellbinders | Wonderland

Hello there, I was delighted to be over on the Spellbinders Blog on Tuesday sharing three cards using the new Wonderland Collection. This fabulous collection features dies and press plates all with a Christmas/winter theme. 

PLEASE NOTE: This post contains affiliate links. Please see below for my full disclosure.


My peek today shares a card I made using the Spellbinders Cocoa Wishes Etched Dies. This set features a fun Santa cocoa cup that you can adorn with trees, ornaments and presents inside (as well as the cream!). 


I used the fabulous new Treasured Cardstock (metallic cardstock with different finishes) packs - Ruby and Antique White, as well as the Gold for the star on the tree. I went with a teal, pink and red colour combo with a lot of white space! The sentiment is from the Spellbinders Merry Messages Plate & Die Set that I hot foiled using Champagne Foil

SUPPLIES:


Here are the links to what I have used on the project. Affiliate links are used on some products. This means that if you make a purchase after clicking on my link, I receive a small commission with no extra cost to you. I truly appreciate your support when using these links. Please click on the logo below the product to shop at your favourite store. All products were personally purchased except marked with an asterisk (*) which were kindly sent to me to use. You can read my full disclosure here.


For more information on the card, as well as the others I made with this collection, please head over to the Spellbinders Blog. Thank you so much for stopping by today, I really appreciate it. I hope you have a wonderful day!

11 July 2025

Spellbinders | Star Wreath

Hello there, today I have a mini star shaped card to share using the new Spellbinders Barn Star Wreath Etched Dies from the Country Christmas Collection by Annie Williams. The plan was to put the star on a card but after it was assembled, I preferred it as is, so made it into a little shaped card instead! 

PLEASE NOTE: This post contains affiliate links. Please see below for my full disclosure.


I started off by die cutting the base layer of the star from the Spellbinders Barn Star Wreath Etched Dies from Spellbinders Mulberry ColorWheel Cardstock. I then cut the star again, but this time with the inserts in (there are two in the set to choose from) from Spellbinders Orchid ColorWheel Cardstock. I adhered the Orchid one on top of the Mulberry one using liquid glue. 


I then die cut the foliage from the set - I cut the pine piece from Spellbinders Teal Topaz ColorWheel Cardstock, the berry piece from Spellbinders Waterfall and Classic White ColorWheel Cardstock, and the holly leaves from Spellbinders Peridot ColorWheel Cardstock. The orange slice was cut from Spellbinders Carrot, Saffron and Beeswax ColorWheel Cardstock and assembled and adhered using liquid glue. 


The pine cone was cut from Spellbinders Acorn and Truffle ColorWheel Cardstock. The layers were adhered together. I then adhered all the pieces to the star using liquid glue. I die cut the bow from Spellbinders Mulberry ColorWheel Cardstock, adhered the pieces together and then adhered it to the centre of the star. 


I hot foiled the Spellbinders Merry Messages Plate onto white cardstock using Spellbinders Champagne Foil and the Spellbinders Glimmer Hot Foil System. It was die cut out using the coordinating die (the sentiments are all on one plate and then you die cut all at once too). I adhered the 'seasons greetings' one to the star using foam tape. To finish, I cut another star from Mulberry cardstock, made a score line at the top to create a hinge and adhered it to the back of the first one to create a mini card.

SUPPLIES:


Here are the links to what I have used on the project. Affiliate links are used on some products. This means that if you make a purchase after clicking on my link, I receive a small commission with no extra cost to you. I truly appreciate your support when using these links. Please click on the logo below the product to shop at your favourite store. All products were personally purchased except marked with an asterisk (*) which were kindly sent to me to use. You can read my full disclosure here.


I think the star would look great as a little tag too! Thank you so much for stopping by today, I really do appreciate it. I hope you have a wonderful day and a great weekend! 

16 May 2025

Spellbinders | Hello Lovely

Hello there, as mentioned on Monday's post, I am back today to share another card using the beautiful Cherry Blossoms BetterPress Plate & Die Set from Spellbinders and Alex Syberia Designs. I once again hot foiled the plate (this is the larger image of the two, I used the smaller one on my previous card) but they can be pressed as well! 

PLEASE NOTE: This post contains affiliate links. Please see below for my full disclosure.


I started off my card by hot foiling the cherry blossoms image from the Spellbinders Cherry Blossoms BetterPress Plate & Die Set onto white cardstock using Spellbinders Opaque Black Foil and the Spellbinders Glimmer Hot Foil System. I then coloured the image using Copic Markers (the colours that I used are listed below the supplies). 

It was die cut out using the coordinating die. I die cut the second largest diamond die from the Hero Arts Diamond Infinity Dies Set three times from white cardstock. I adhered them one on top of another (for dimension) and then adhered them onto a US A2 sized white card base. 

The cherry blossoms were then adhered on top using thin foam tape. I hot foiled the Spellbinders Making Me Smile Sentiments Glimmer Hot Foil Plate & Die Set using the same Spellbinders Opaque Black Foil and then die cut them out. I adhered the 'hello lovely' one onto the card with thin foam tape. To finish, I embellished with Spellbinders Pink Color Essentials Gems

SUPPLIES:


Here are the links to what I have used on the project. Affiliate links are used on some products. This means that if you make a purchase after clicking on my link, I receive a small commission with no extra cost to you. I truly appreciate your support when using these links. Please click on the logo below the product to shop at your favourite store. All products were personally purchased except marked with an asterisk (*) which were kindly sent to me to use. You can read my full disclosure here.


COPIC MARKERS: RV66, RV55, RV52, 0/G29, YG17, YG23, YG01/E57, E55, E53. 

The Spring in Kyoto collection is really pretty and I just fell in love with these cherry blossoms! Thank you so much for stopping by today, I really do appreciate it. I hope you have a wonderful day! 

12 May 2025

Spellbinders | Cherry Blossoms Birthday Wishes

Hello there, I am delighted to be over on the Spellbinders Blog today, sharing a card using the beautiful new Cherry Blossoms BetterPress Plate & Die Set from the Spring in Kyoto Collection by Alex Syberia Designs. 

PLEASE NOTE: This post contains affiliate links. Please see below for my full disclosure.


This is such a pretty set! You can press the Spellbinders Cherry Blossoms BetterPress Plates or you can hot foil them, which is what I did, so that I could colour the flowers and leaves with Copic Markers. I added ink blending to the background using Hero Arts Berry Smoothie Reactive Ink and added Spellbinders Splatter White Opaque Watercolor on top. The sentiment is from the Spellbinders Making Me Smile Sentiments Glimmer Hot Foil Plate & Die Set

SUPPLIES:


Here are the links to what I have used on the project. Affiliate links are used on some products. This means that if you make a purchase after clicking on my link, I receive a small commission with no extra cost to you. I truly appreciate your support when using these links. Please click on the logo below the product to shop at your favourite store. All products were personally purchased except marked with an asterisk (*) which were kindly sent to me to use. You can read my full disclosure here.


I am sharing a step-by-step photo tutorial of how I made this card over on the Spellbinders Blogso I hope you will pop over and take a look! I also have another card to share using this set on Friday. Thank you so much for stopping by today, I really do appreciate it. I hope you have a great week ahead! 

22 April 2025

VIDEO | Hot Foiling vs. Letterpress

Hello there, today I have two cards to share using the same design but different techniques - one uses hot foiling and the other, letterpress. I thought it would be fun to see which one I liked best. 

PLEASE NOTE: This post contains affiliate links. Please see below for my full disclosure.


The plate I am using for my sentiment is from the Hero Arts Love + Thinking of You BetterPress + Foil Plates set. These plates are designed to both hot foil and press. You can watch the video below to see the process for both techniques. 


For my first card, I hot foiled the sThinking of You sentiment onto Hero Arts Deluxe Smooth White Cardstock using Spellbinders Silver Glimmer Hot Foil Roll and the Glimmer Hot Foil System


I then cut the panel down to 4.25" x 5.5". Using Ink Blending Brushes, I blended Hero Arts Kiwi and Green Hills Core Inks at the bottom of the panel. It was then adhered to an A2 sized white card base. 


The panel was cut to 4.25" x 5.5" (although this time in a landscape orientation) and I added ink blending with the same Hero Arts Kiwi and Green Hills Core Inks at the bottom. It was then adhered to an A2 sized white card base. 


For both cards, I die cut flowers from the Hero Arts Spring Garden - February 2025 Fancy Dies of the Month set. I used Hero Arts Mist & Paradise Cardstock for the crocus, Hero Arts Peony & Ultra Pink Cardstock for the tulips, Hero Arts Passion Flower & Amethyst Cardstock for the hyacinths, Hero Arts Canary & Spellbinders Beeswax Cardstock for the daffodils, and Spellbinders Peridot and Rainforest Cardstock for the leaves and stems. 


The flower layers were adhered together using liquid glue and then adhered to the cards with thin foam tape. The stems and leaves were adhered with liquid glue only. I cut the stems and leaves overhanging off the bottom of the cards with scissors, but left the sides overhanging slightly. To finish, I embellished with Hero Arts Clear Enamel Dots

VIDEO:

Here is the video showing how I made the cards:


If you are viewing this post via email subscription, you can watch the video HERE on YouTube. 

SUPPLIES:


Here are the links to what I have used on the projects. Affiliate links are used on some products. This means that if you make a purchase after clicking on my link, I receive a small commission with no extra cost to you. I truly appreciate your support when using these links. Please click on the logo below the product to shop at your favourite store. All products were personally purchased except marked with an asterisk (*) which were kindly sent to me to use. You can read my full disclosure here.


Which do you like best? I know it's not an exact comparison as the sentiments are a different colour but I do think I like the pressed one slightly better. However, I think that may be more to do with the design of the card, than the actual sentiment itself, although I do think the black pops a little more than the silver! Thank you so much for stopping by today, I really do appreciate it. I hope you have a wonderful day! 

10 April 2025

Spellbinders | Feather Card + Gift Card Holder

Hello there, today I have a card and gift card holder to share using some products from the Spellbinders Collaged Birds Collection by Dina Wakley. I have a soft spot for feathers, so I couldn't resist having a play with them! I am also using the new Mini Wax Seal Collection, which is out today. These wax seals are really cute and as the name suggests, they are really mini!

PLEASE NOTE: This post contains affiliate links. Please see below for my full disclosure.


I started off by hot foiling the feathers from the Spellbinders Feather Dream BetterPress Plates & Die Set. I hot foiled the largest size and the medium size (twice) onto Hero Arts Pitch Black Cardstock using Spellbinders Silver Glimmer Hot Foil and the Spellbinders Glimmer Hot Foil System

They were die cut out using the coordinating dies. I then took the Spellbinders Scribbled Letter Embossing Folder and embossed the card panel (4.25" x 5.5" size) and the panel for the gift card holder (3" x 4.25"). I placed them in my splat box to add some splatter using the Pearl Silver paint from the Spellbinders + Yasutomo Watercolor Mixing Set on top. 

Once the card panel was dry, it was adhered to a black US A2 sized card base using tape runner. The gift card panel was adhered to a (3" x 4.25") black card base. The feathers were then adhered on top using black thin foam tape, with the excess cut off the bottom of the gift card holder using scissors. 

I took the Spellbinders Holding Your Heart Sentiments BetterPress Plates & Die Set and foiled them onto more black cardstock using Spellbinders Silver Glimmer Hot Foil. They were die cut out using the coordinating dies and adhered to the cards using more black thin foam tape. 

For the wax seals, I placed Spellbinders Purple Must-Have Wax Bead Mix beads into the spoon and heated them up using the wax warmer from the Spellbinders Wax Seal Starter Kit. I used 3 wax beads per each wax seal as I find that having more in the spoon gives me a better pour. If I am not making any more wax seals, I pour the extra on my mat, let it dry and then I can re-melt that at a later date. 

I used the Spellbinders Puffy Heart Mini 3D Wax Seal for the card with Twilight Purple beads and the Spellbinders Butterfly Mini 3D Wax Seal with Enchanted beads (with Twilight Purple still in the spoon) for the gift card holder. 

They were adhered using thin foam tape where it overlapped the card and tape runner where it overlapped the feathers. I added black pen to the heart using the Altenew Essential Permanent Markers Set to help it pop more. 

I added a Spellbinders Adhesive Gift Card Pocket inside the gift card holder. These are really cool because you can just stick them onto/inside projects and the gift card fits in nicely and removes easily too. 

To finish, I embellished with Spellbinders Prism AB Color Essentials Gems on both the card and gift card holder. 

SUPPLIES:


Here are the links to what I have used on the projects. Affiliate links are used on some products. This means that if you make a purchase after clicking on my link, I receive a small commission with no extra cost to you. I truly appreciate your support when using these links. Please click on the logo below the product to shop at your favourite store. All products were personally purchased except marked with an asterisk (*) which were kindly sent to me to use. You can read my full disclosure here.


I really love how the silver foiling looks against the black cardstock but I think they would look great in lots of different colours as well. Thank you so much for your visit today, I really do appreciate it. I hope you have a wonderful day! 

27 March 2025

Spellbinders | Little Smiles

Hello there, I am delighted to be over on the Spellbinders Blog today sharing three cards using the adorable Little Smiles collection. This collection is definitely aimed at children but I do think it can be used for lots of different occasions too! 

PLEASE NOTE: This post contains affiliate links. Please see below for my full disclosure.


The peek above uses the Spellbinders Swinging Among The Stars Etched Dies. The basket can actually swing from side to side if you want to! I popped the adorable elephant inside the basket and created the background using the Falling Stars BetterPress Plate, which I hot foiled. I added ink blending using Distress Oxide Inks for a night-time sky. The sentiment, from the Spellbinders Little Smiles Sentiments BetterPress Plate & Die Set, was hot foiled also. 

SUPPLIES:


Here are the links to what I have used on the project. Affiliate links are used on some products. This means that if you make a purchase after clicking on my link, I receive a small commission with no extra cost to you. I truly appreciate your support when using these links. Please click on the logo below the product to shop at your favourite store. All products were personally purchased except those marked with an asterisk (*) which were kindly sent to me to use. You can read my full disclosure here.


For more information on how I made the card, as well as the other two I made, please head over to the Spellbinders Blog. Thank you so much for stopping by today, I really do appreciate it. Wishing you a wonderful day! 

24 December 2024

Happy Christmas Poinsettia

Hello there, I still have two Christmas cards to share with you, so I hope you are not too bored of them yet! This one uses the Concord & 9th Festive Blooms Dies again. If you didn't see my previous cards using the set, you can see them HERE. I wanted to use the set again, but this time, without the base plate. 

PLEASE NOTE: This post contains affiliate links. Please see below for my full disclosure.


I started off by die cutting the flowers and foliage from the Concord & 9th Festive Blooms Die Set from cardstock. I cut the poinsettia from Concord & 9th Ballet Slipper Cardstock, the other flower from white cardstock, as well as Spellbinders Chamomile Cardstock (retired) for the flower centre.


I adhered the foliage first onto a US A2 sized white card base using liquid glue, the flower pieces were adhered together first and then adhered onto the card base using thin foam tape. 


I hot foiled the sentiment from the Spellbinders Mistletoe Greetings Press Plate & Die Set onto white cardstock using Spellbinders Champagne Foil and the Spellbinders Glimmer Hot Foil System. It was die cut out using the coordinating die and adhered to the card using more foam tape. To finish, I embellished with Spellbinders Gold Color Essentials Gems

SUPPLIES:


Here are the links to what I have used on the project. Affiliate links are used on some products. This means that if you make a purchase after clicking on my link, I receive a small commission with no extra cost to you. I truly appreciate your support when using these links. Please click on the logo below the product to shop at your favourite store. All products were personally purchased except those from Clearly Besotted, Hero Arts or those marked with an asterisk (*) which were kindly sent to me to use. You can read my full disclosure here.


Whilst not traditional, I really love the colour combo on this card! Apart from maybe the poinsettia, I do think you could use this set all year round. Thank you so much for stopping by today, I really do appreciate it. I hope you have a great day. I am off to wrap up some presents! 

20 December 2024

Spellbinders | Floral Garden

Hello there, I hope you are well. Today I have a card to share using the Spellbinders Floral Garden stamp from the Stampendous Beautiful Collection which was released earlier in the year. I thought this stamp was a great opportunity to get my watercolour pens out and have a play!

PLEASE NOTE: This post contains affiliate links. Please see below for my full disclosure.


I started off by stamping the Spellbinders Stampendous Floral Garden Cling Rubber Stamp onto Fabriano Artistico Extra White Hot Press Watercolour Paper using Versafine Clair Nocturne Ink. I set it aside to dry before spritzing it with water using the Spellbinders Mighty Mister

I mixed Karin Brushmarker Pro pens with water and dabbed the colour onto the panel to get a light wash. Using the pens directly to the paper, I then added the colour where I wanted it to be the darkest and then blended it out with water and a brush. Since the image is a sketchy image, I kept my water colouring loose. I used four colours - Cerise, Pale Violet, Apple and Turquoise. 

Once the panel was dry, I die cut it using one of the Spellbinders Essentials Diamonds Etched Dies and adhered it to a US A2 sized white card base with thin foam tape. I hot foiled the Spellbinders You Are Everything Sentiments Press Plate & Die Set onto white cardstock using Spellbinders Silver Foil and the Glimmer Hot Foil System. It was die cut out and adhered to the card. To finish, I embellished with Spellbinders Pink Color Essentials Gems

SUPPLIES:


Here are the links to what I have used on the project. Affiliate links are used on some products. This means that if you make a purchase after clicking on my link, I receive a small commission with no extra cost to you. I truly appreciate your support when using these links. Please click on the logo below the product to shop at your favourite store. All products were personally purchased except those from Clearly Besotted, Hero Arts or those marked with an asterisk (*) which were kindly sent to me to use. You can read my full disclosure here.


It was nice to have a break from making Christmas cards! Every year I say that I am going to make them earlier and every year I fail, sadly, so I still have a few more to share here. Thank you so much for stopping by today, I really do appreciate it. I hope you have a wonderful day! 

End of code