30 September 2018

Clearly Besotted Teasers | Peace On Earth

Hello there and welcome to day four of the October 2018 Clearly Besotted Teasers. Today I am using another two of the new sets on my card today. An adorable angel set, along with another fabulous sentiment set.


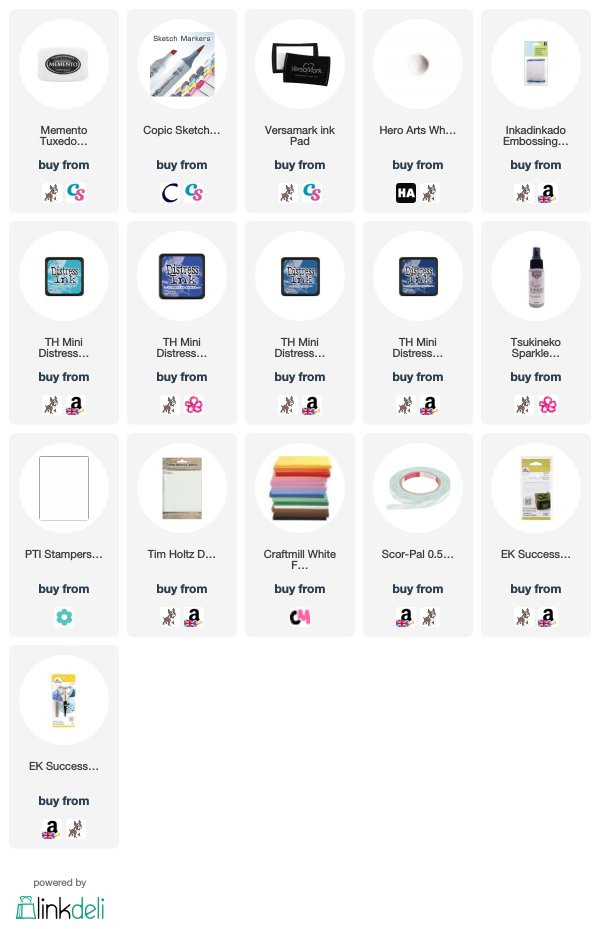
I started off by stamping one of the angels from the Sweet Angel stamp set on to white cardstock with Memento Tuxedo Black ink. I then coloured her with Copic Markers (the colours I used are listed below the supplies section) and fussy cut her out with scissors (but there will be coordinating dies available) and set her aside.
 
 
I then took a panel of watercolour paper and stamped the sentiment from the Scrumptious Holidays stamp set on to it with Versamark Ink. I applied white embossing powder and heat set. I then blended Distress Inks on to it to the panel create a sky. I used Broken China, Blueprint Sketch, Faded Jeans and Chipped Sapphire. I then sprayed it liberally with Sheer Shimmer Spray and set aside to dry. Once dry, the panel was added on to a 4"x5" white card base with foam tape. I then added the angel on top with thin foam tape.
 
SUPPLIES:

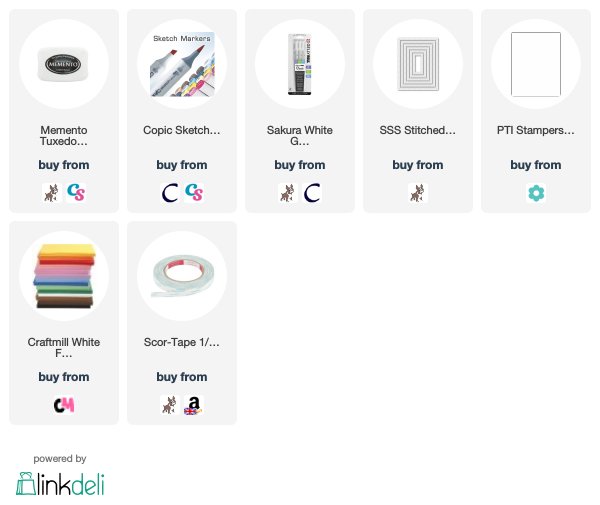
Here are the links to what I have used on the card. Affiliate links are used on some products. This means that if you make a purchase after clicking on my link, I receive a small commission with no extra cost to you. I truly appreciate your support when using these links. Please click on the logo below the product to shop at your favourite store. Products marked with an asterisk (*) were kindly sent to me to use.
 
 
COPIC MARKERS: Angel's skin - E13, E11, E00, E000, E50, R20. Hair - E55, E53, E51, E50. Dress - B60, 0. Wings - B000, B0000, 0.
 
Isn't she just so sweet? These sets are really umping up the cuteness! Thank you so much for visiting me today, I really do appreciate it. Please head over to se what my teamies Stephanie, Keren and Lisa have been up to. See you tomorrow for my last teaser and also my release video. Have a great day!

29 September 2018

My Monthly Hero | Winter Wishes

*This is my second post for the day, please see below for my Clearly Besotted Teaser*
 
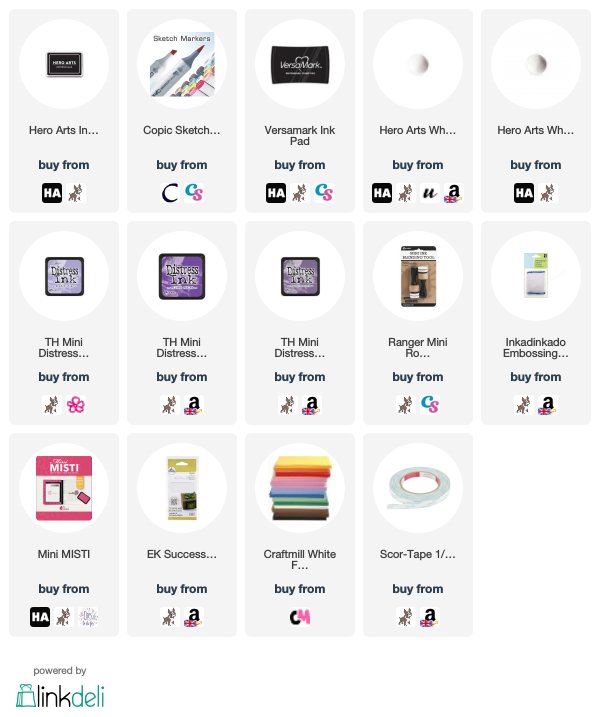
Hello there, I am over on the Hero Arts Blog today, taking a look at the October 2018 My Monthly Hero Kit. It releases on Monday and it is such a beautiful winter/Christmas themed kit. I especially love the Iridescent Ink that comes in the kit that I used on my sky background. It is so shimmery!

 
SUPPLIES:

Here are the links to what I have used on the card. Affiliate links are used on some products. This means that if you make a purchase after clicking on my link, I receive a small commission with no extra cost to you. I truly appreciate your support when using these links. Please click on the logo below the product to shop at your favourite store. Products marked with an asterisk (*) were kindly sent to me to use.
 

For more details on how I made the card, please see the blog post here and remember to leave a comment over there for a chance to win a kit. Thank you so much for stopping by today, see you tomorrow!

Clearly Besotted Teasers | Christmas Hoot

Hello there and welcome to day three of the Clearly Besotted October 2018 release teasers. Today I am using two new sets again, a smaller cute set and a fabulous ornament set for the sentiment.
 

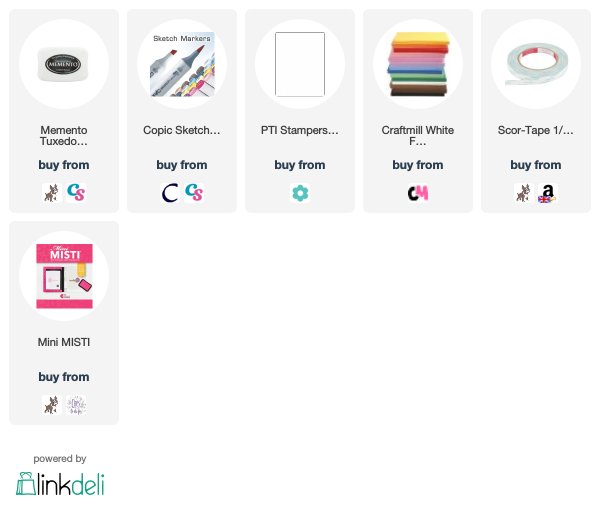
I started off by stamping one of the owls from the Christmas Hoot stamp set on to a panel of white cardstock, with black ink. I then created a background for him using Copic Markers. I took inspiration for the background from Sandy Allnock's Winter Wonderland class. I love how those birch trees came out. I then coloured the owl with Copic Markers too. I have listed the colours I used below the supplies section for reference.
 
 
I then took the sentiment from the Hang Around stamp set and stamped this in the upper right hand corner. The panel was then adhered to an A2 white card base with foam sheet and DST.
 
SUPPLIES:

Here are the links to what I have used on the card. Affiliate links are used on some products. This means that if you make a purchase after clicking on my link, I receive a small commission with no extra cost to you. I truly appreciate your support when using these links. Please click on the logo below the product to shop at your favourite store. Products marked with an asterisk (*) were kindly sent to me to use.
 
 
COPIC MARKERS - Owl - W7, W5, W3, W1, W0, YR24, Y26. Scarf - R89, R37, R29, R27, R24. Hat - R89, R37, R29, R27, R24, C3, C1, C0. Trees - E43, E42, E41, C5, C3. Background - E41, E42, BV0000. Snow - BV000, BV0000.
 
I really like how this card came out, it's very simple but cute too! Thank you so much for visiting me today. Please check out what my teamies Stephanie, Keren and Lisa have been up to. See you tomorrow for day four. Have a great day!

28 September 2018

Sunny Studio 3rd Birthday Blog Hop

*This is my second post of the day, please see below for my Clearly Besotted Teaser post*

Hello there, today I am taking part in the 3rd Birthday celebrations for Sunny Studio. They are one of my favourite companies, so I am delighted to be joining in with their hop today, to celebrate their third birthday and also the fabulous winter release. More on the hop below :)


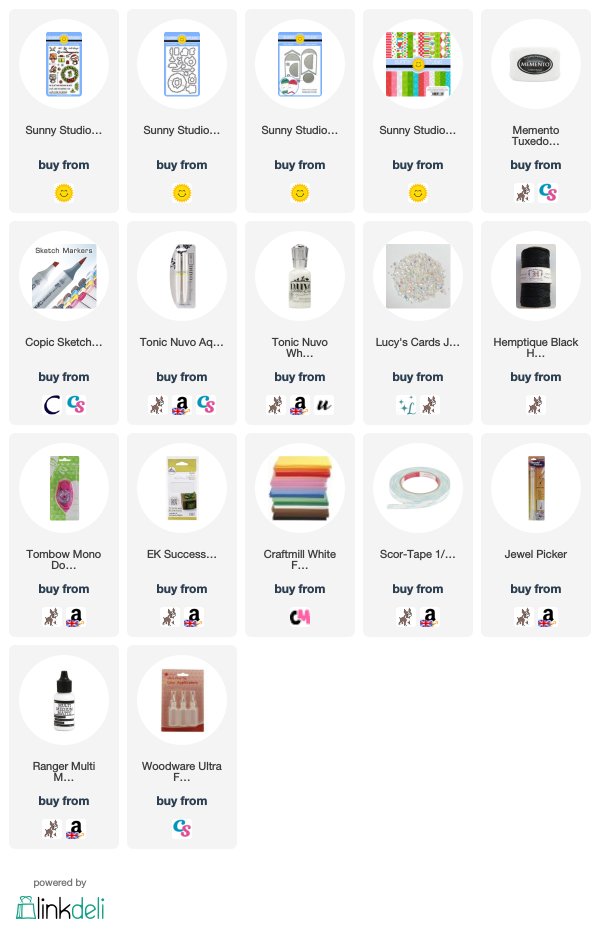
My card uses the adorable new Happy Owlidays stamp set. Oh my word! This set is so cute! I started off by taking a panel of white cardstock and stamping the wreath image on to it with Memento Tuxedo Black ink. I then stamped the string so that it look like it hanging from the top of the card. I coloured the wreath with Copic Markers, adding light blue dots around it for some interest (the colours I used are listed below the supplies section).


I then stamped the sentiment from the set below. On a separate piece of cardstock, I stamped one of the owls from the set using more black ink. I coloured him with Copic Markers and die cut him out using the coordinating dies. The panel was added to a white A2 card base with foam sheet and DST and then the owl added to the wreath, so that it looks like he is standing on the bow, with thin foam tape. To finish off, I added Nuvo White Blizzard Drops to the hat.


Next up I created two tags using the other two owls in the set. I took the Build A Tag #1 Die set and cut two tags from white cardstock. I then die cut another two with paper from the new Holiday Cheer Paper Pad. I also die cut a third white tag from white and further cut that down with the topper piece. Each patterned paper tag was added to a white cardstock one for stability and then the topper piece added to the red one.


I took the sentiment from the set and stamped this on to the topper piece. I then stamped the present, present top, branch and owls on to more white cardstock. They were coloured with Copic Markers and die cut out using the coordinating dies. For the red tag, I adhered the owl first with foam tape and then the present bottom and top were added on with tape runner. I then added Aqua Shimmer Pen to the present. For the grey tag, I adhered the branch on to the tag with tape runner and then the owl on top with foam tape. I added White Blizzard Nuvo Drops to the snow and finished off with a few iridescent jewels. To finish off, I added twine through the top of the tags.


SUPPLIES:

Here are the links to what I have used on the card. Affiliate links are used on some products. This means that if you make a purchase after clicking on my link, I receive a small commission with no extra cost to you. I truly appreciate your support when using these links. Please click on the logo below the product to shop at your favourite store. Products marked with an asterisk (*) were kindly sent to me to use.
 

COPIC MARKERS: Owls - W7, W5, W3, W1, W00, Y26. Wreath - YG67, YG17, YG23, YG03, YG01, R89, R37, R27, R24. Branch - E57, E55, E53. Leaves - Y67, Y17, Y23. Present, scarfs and hat - the same reds and greens used already.


BLOG HOP:


For the hop, you should have arrived here from the fabulous Vanessa. Next on the hop is the amazing Lexa. However, if you get lost along the way, you can always start back at the Sunny Studio Blog.


To celebrate Sunny Studio's third birthday, they are offering 15% off all retail orders using the code "CELEBRATE" until October 1st 2018.


GIVEAWAY:


Sunny Studio are kindly offering a $25 gift certificate to the Sunny Studio Store for each stop on the hop. To be in with a chance of winning, leave a comment here by October 1st 2018 at 11.59pm PDT. The winner will be announced on the Sunny Studio Blog on the 5th October 2018. Good luck!

Thank you so much for visiting me today, I really do appreciate it. I hope you have fun on the rest of the hop! Have a great day!

Clearly Besotted Teasers | May All Your Wishes Come True

Hello there and welcome to day two of the Clearly Besotted October 2018 release teasers. Today I am using another of the smaller sets, along with a larger sentiment set. Both of these sets can be used for Christmas cards but also for all year round cards too, as I have done today.


I started off by stamping one of the unicorns from the All I Want stamp set on to white cardstock with Memento Tuxedo Black Ink. I coloured her with Copic Markers (the colours I used are listed below the supplies section) and fussy cut her out with scissors (but there will be coordinating dies available) and set aside.
 
 
To create the background, I took a panel of mask paper and die cut a circle from the centre. This was placed over a panel of white cardstock. I then took the MFT Cloud Stencil and placed this over the bottom of the circle to create a cloud for the unicorn to sit on. I then blended Distress Inks in to the top portion of the circle. I used Broken China, Wilted Violet and Dusty Concord. With the masks still in place, I splattered over some Copic Opaque White with a paintbrush. I removed the masks and set aside to dry.
 
 
Once dry, I took the sentiment from the Just Saying stamp set and stamped this below the sky background with black ink. The panel was added to a white A2 card base with foam sheet and DST. I then added the unicorn on top with thin foam tape. To finish off, I added Nuvo Aqua Shimmer Pen to the purple areas on the unicorn and Nuvo White Blizzard Drops to the bell on the hat.


SUPPLIES:

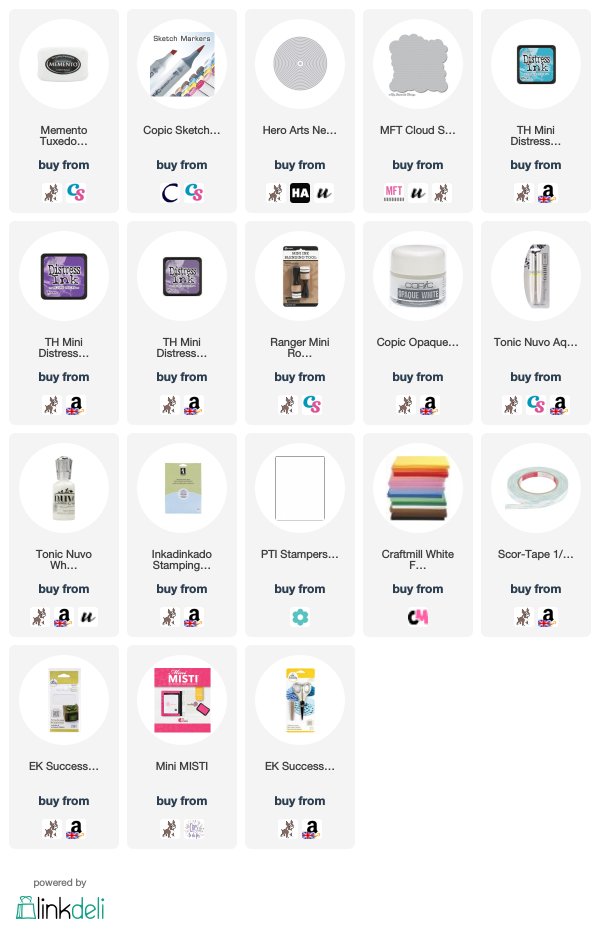
Here are the links to what I have used on the card. Affiliate links are used on some products. This means that if you make a purchase after clicking on my link, I receive a small commission with no extra cost to you. I truly appreciate your support when using these links. Please click on the logo below the product to shop at your favourite store. Products marked with an asterisk (*) were kindly sent to me to use.
 

COPIC MARKERS: Unicorn body - E50, R000, R20. Horn - R20, R000. Hair - BG13, BG11, BG10. Hat - V17, V15, V12, B02, B00, B000. Scarf - V17, V15, V12.

These unicorns are just so cute! The sentiment stamp set is wonderful too, it is jam packed with sentiments that can be used all year round. Please do head over to see what my teamies Stephanie, Keren and Lisa have been up to. Thank you so much for popping by today, I will be back later with a post for Sunny Studio :)

27 September 2018

Clearly Besotted Teasers | Merry Christmoose

Hello there and welcome to day one of the Clearly Besotted October 2018 release teasers. It is an amazing release with lots of Christmas/winter/holiday sets and a lot of them are the smaller sets, so great price point too. I am using one of the smaller sets today, it is called Merry Christmoose and is adorable!
 

I started off by taking a panel of white cardstock and die cutting it using one of the SSS Stitched Rectangle dies. I then stamped one of the moose from the Merry Christmoose set on to it, as well as the box of Christmas lights, using Memento Tuxedo Black ink. I stamped the sentiment in the top right hand corner, again with black ink.
 
 
I then created a snowy scene background for the moose to stand in. I used Copic Markers for this, adding in the sky first and then the trees on top. Followed by the snowy ground. I then coloured the moose and box of lights. All of the colours that I used are listed below the supplies section for reference. The panel was added to an A2 white card base with foam sheet and DST. I then added dots of snow with a white gel pen.
 
SUPPLIES:

Here are the links to what I have used on the card. Affiliate links are used on some products. This means that if you make a purchase after clicking on my link, I receive a small commission with no extra cost to you. I truly appreciate your support when using these links. Please click on the logo below the product to shop at your favourite store. Products marked with an asterisk (*) were kindly sent to me to use.
 
 
COPIC MARKERS: Moose - E49, E59, E57, E55, E53, E51. Scarf plus ornament - BG13, BG11, BG10. Lights - V15, V12, R85, R81, BG13, BG11. Box - E55, E53, E51. Snow - B00, B000, C2. Sky - B26, B24, B21. Trees - B45.
 
Isn't that moose adorable?! I love him! Please do head over to see what my teamies Stephanie, Keren and Lisa have been up to. Thank you so much for stopping by to see me today, see you tomorrow for day two. Have a great day!
26 September 2018

Altenew Refresh Your Alcohol Markers Giveaway Winner

Hello there, I am popping in today to share the winner on my stop of the Altenew Refresh Your Alcohol Markers Hop. Thank you so much to everyone that left me such lovely comments. I really do appreciate them.


The winner is: BECCA YAHRLING
 
 
Congratulations, Becca , please can you email me using the 'email me' button on my sidebar. Thank you again to everyone that entered. Have a great day!

24 September 2018

VIDEO | MFT Simple Scene Building + Giveaway

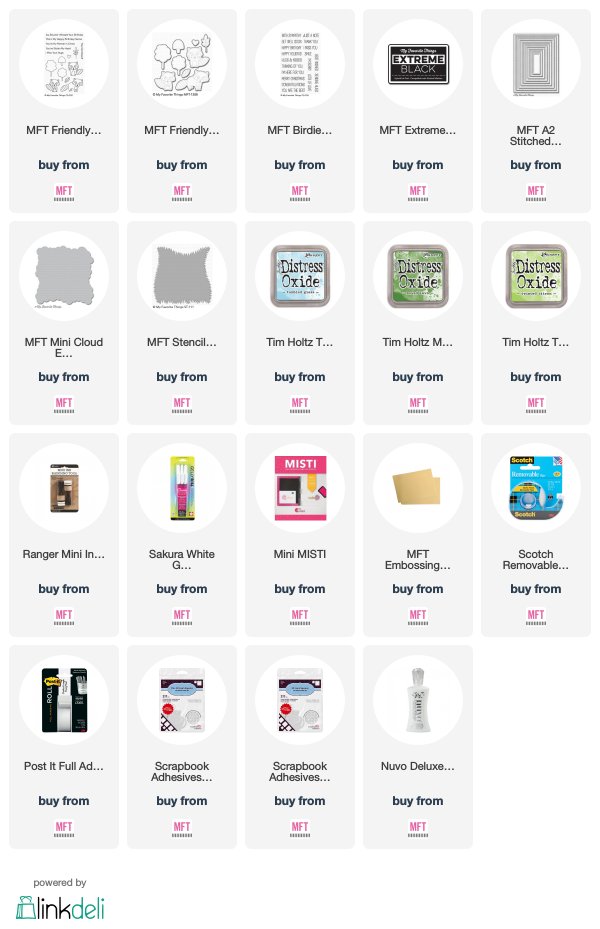
Hello there, I am back today to share a card and video using My Favorite Things products. MFT kindly sent me some of their September 2018 release and are also sponsoring the giveaway today too (more on that below). The Friendly Raccoons set caught my eye straight away, so I thought I would use that on my card today.
 
 
I started off by embossing one of the A2 Stitched Rectangle Stax dies on to a 5.5" x 4.25" panel of white cardstock. This gives the impression of another layer, without having an actual layer. I then masked off the edges of the panel, and using the Mini Cloud Edges Stencil, I blended on Tumbled Glass Distress Oxide Ink to create the sky. I then took the Grassy Edges Stencil and created grass with Twisted Citron and Mowed Lawn Distress Oxide Inks. The post-it tape masks were then removed.

 
I took one of the raccoons from the set, along with one of the trees and stamped these on to white cardstock with Extreme Black Ink. They were coloured with Copic Markers (the colours I used are listed below the supplies section) and die cut with the coordinating Die-namics dies.

 
I took the 'just a note' sentiment from the Birdie Brown Greetings Galore Stamp Set and stamped this at the top of the panel with more Extreme Black Ink. The panel was then added to a white A2 card base. The tree was added on top with thin foam squares and the raccoon with thicker foam squares. To finish off, I added white gel pen highlights and black glaze pen to the raccoon's eyes and nose.
 
VIDEO:
 
Here is a look at how I made the card:


If you are viewing this post via email subscription. Please click here to watch the video on YouTube.
 
SUPPLIES:

Here are the links to what I have used on the card and in the video. Affiliate links are used on some products. This means that if you make a purchase after clicking on my link, I receive a small commission with no extra cost to you. I truly appreciate your support when using these links. Please click on the logo below the product to shop at your favourite store. Products marked with an asterisk (*) were kindly sent to me to use.
 
 
COPIC MARKERS: Raccoon - W7, W6, W5, W4, W3, W1, W00, R12, R00, R000. Tree - E57, E55, YG17, YG23, YG03, YG01.
 
GIVEAWAY:
 
To be in with a chance of winning a $25 gift certificate to the MFT Store, you need to leave a comment directly on the video on my YouTube channel, you also need to be a subscriber of my YouTube channel and a subscriber on the MFT YouTube channel as well. Please comment by 1st October 2018. The giveaway is open internationally and the winner will be announced here on my blog, shortly after the closing date. Good luck!
 
Thank you so much for stopping by today, I really do appreciate it and a big thank you goes to MFT for sponsoring the giveaway. Have a great day!

21 September 2018

Gerda Steiner Designs | Whooo Is Having A Birthday?

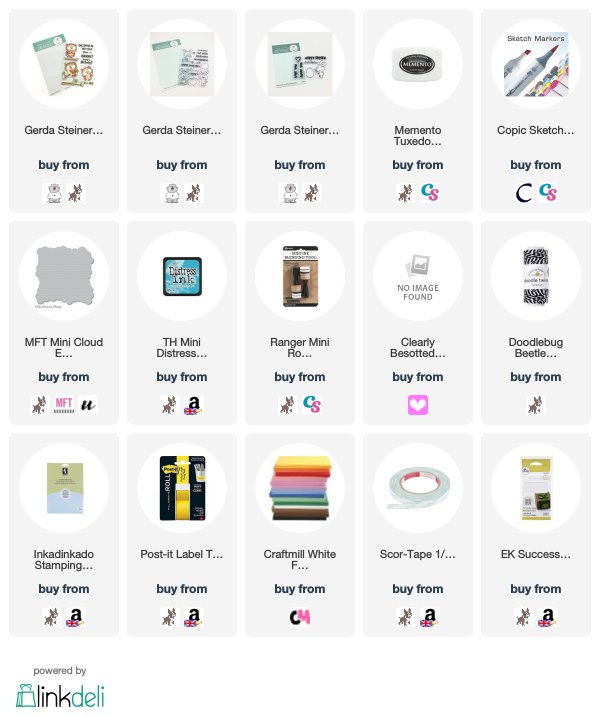
Hello there, I am delighted to be guest designing with Gerda Steiner Designs today. They kindly sent me the Owl Rather Be With You stamp set to play with and let me tell you, it is so cute! Great for so many different occasions.
 

I started off my card by taking a panel of white cardstock and stamping one of the owls from the set on to it using Memento Tuxedo Black Ink. I then masked this off and stamped the branch below him so that it look like he is standing on it. I masked this off also and then stamped three balloons from the Happy Hoppy set above. These again were masked off as I went. I then added masking tape around the sides of the panel.
 
 
I took the MFT Mini Cloud Border Stencil and using an ink blending tool, blended Broken China Distress Ink across the background to create a sky. All the masks were removed and the sentiments stamped with more black ink. The images were coloured with Copic Markers (the colours I used are listed below). The panel was then added to the front of an A2 black card base with foam sheet and DST.
 
 
For the inside, I took another panel of white cardstock and blended clouds on to this too. I then stamped the sentiment with black ink to complete the sentiment from the front of the card.
 
 
I had such great fun creating the card that I decided to create a little tag too. I die cut the rounded tag from the Clearly Besotted Tag Along set from white cardstock and blended clouds on to this, as I did with the card. I then stamped the 'thank you' sentiment from the Brush Bunny set along the bottom. On a separate piece of cardstock I stamped another of the owls from the Owl Rather Be With You set, coloured with Copic Markers and fussy cut out (although there are dies available). This was added on to the tag with foam tape. To finish off, I added twine through the top of the tag.
 
SUPPLIES:

Here are the links to what I have used on the card. Affiliate links are used on some products. This means that if you make a purchase after clicking on my link, I receive a small commission with no extra cost to you. I truly appreciate your support when using these links. Please click on the logo below the product to shop at your favourite store. Products marked with an asterisk (*) were kindly sent to me to use.
 
 
COPIC MARKERS: Owls - W7, W5, W3, W2, W1, W00, Y26, YR24, Y28. Branches - E57, E55, E53. Leaves - YG17, YG23, YG01. Balloons - R85, R83, R81/BG13, BG11, BG10/V17, V15, V12.
 
Aren't those owls adorable?! Thank you so much for visiting me today, I really do appreciate it. For more inspiration using Gerda Steiner Designs products, please do visit their blog. Have a great rest of the day!

20 September 2018

Altenew Refresh Your Alcohol Markers Blog Hop + Giveaway

Hello there, I am delighted to be joining Altenew for their Refresh Your Alcohol Markers Blog Hop today. Altenew have released refills for their Artist Markers so that you can refill them, but as you will see from my cards, you can use them in other fun ways too! More details on the hop below :)
 

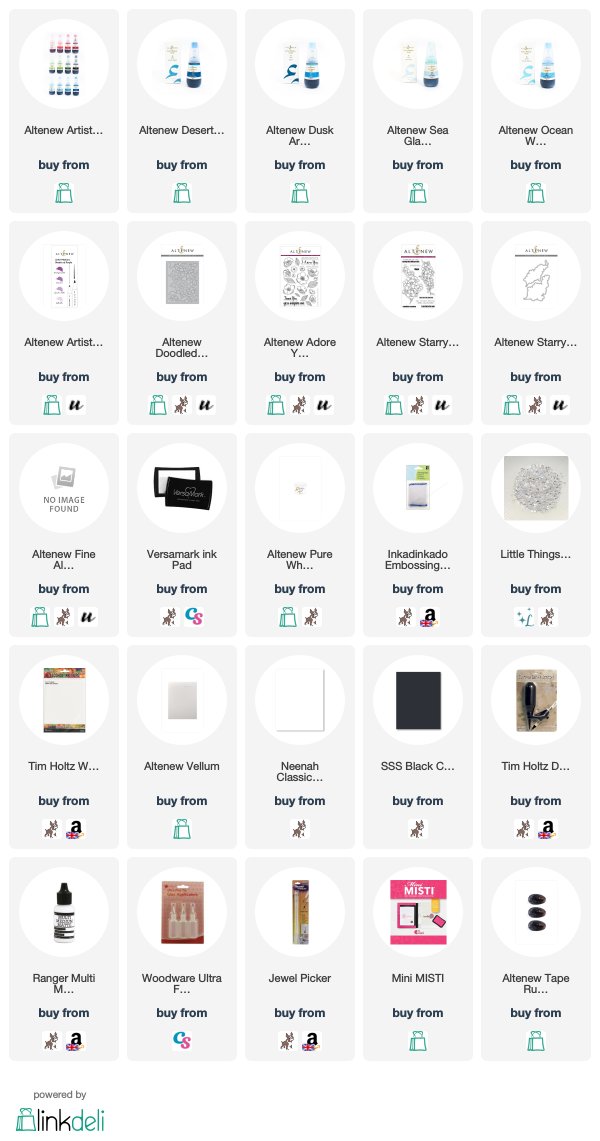
My first card uses the blues from the Artist Marker Refill Set A (the refills can be purchased either in sets or individually) for an alcohol ink background. I took a panel of Yupo paper and dropped the refills on this. I used all four blue colours from the set - Sea Glass, Ocean Waves, Desert Night and Dusk. I took an air spritzer and used this to spread the alcohol ink on the paper and it also helps to dry it too. I then set the piece aside to fully dry.
 
 
I took the Doodled Lace Cover Die and ran this through my die cutting machine on to a panel of white cardstock. I then added the dry alcohol background piece on to an A2 white card base with tape runner. The Doodled Lace piece was added on top with foam tape. I took the sentiment from the Adore You stamp set and stamped this on to a piece of black cardstock with Versamnark Ink. I applied white embossing powder and heat set. This was cut in to a strip and added to the card with thin foam tape.
 

My next card uses a similar technique but this time with just the two lightest blue shades of refills - Sea Glass and Ocean Waves. I added these to a panel of Yupo paper but this time, instead of using the air spritzer, I blew on the piece and lifted it up and moved the ink to create a more blended look. This was then set aside to dry.
 
 
I took one of the flower images from the Starry Flowers set and stamped this on to vellum using Versamark Ink. I applied white embossing powder and heat set. This was then die cut using the coordinating die. I adhered the alcohol ink background to an A2 white card base with foam sheet and DST and then adhered the Starry Flower piece on top with small dots of Multi Medium Matte. I white heat embossed the sentiment on to a black cardstock strip and added this to the card with thin foam tape. To finish off, I added a few clear gems.
 

My final card uses the refills in a more traditional way of refilling the markers. I took three purple shades of markers from the Shades of Purple Artist Marker set and using the three darkest (Lavender Fields, Deep Iris & Midnight Violet), I drew lines on to Yupo paper. This creates a fun ombre look. I left the piece to dry for a minute or so and cut the piece using the Fine Alphabet Dies to spell the word 'hugs'.
 
 
I also die cut three more of each letter from white cardstock. These were stacked up with the Artist Marker letters on the top. I took the Doodled Lace Cover Die again and die cut this from white cardstock, but I made sure not to cut all the way through so it gives an embossed look. I added the panel flat on to a white A2 card base. The letters were then added on top with liquid glue.
 
SUPPLIES:

Here are the links to what I have used on the card. Affiliate links are used on some products. This means that if you make a purchase after clicking on my link, I receive a small commission with no extra cost to you. I truly appreciate your support when using these links. Please click on the logo below the product to shop at your favourite store. Products marked with an asterisk (*) were kindly sent to me to use.
 
 
BLOG HOP:


There is a huge blog hop happening to celebrate the release of the Artist Marker Refills. You should have arrived here from Lilith Eeckels. I am the last on the hop but you can always start back from the beginning over on the Altenew Card Blog.
 
GIVEAWAY:
 
Altenew are giving away a £30 gift certificate to six lucky winners! Please leave a comment on the Altenew Card Blog and/or Altenew Scrapbook Blog by Wednesday, September 26th for a chance to win. The six winners will be announced on the Altenew blogs on 29th September 2018.
 
I also have a $20 gift certificate to giveaway to the Altenew store. All you need to do to enter is to leave me a comment on this post by 25th September 2018 at 23.59hrs BST. The winner will be announced here on my blog on the 26th September 2018. Good luck!
 
Thank you so much for stopping by to see me today. I really do appreciate it. I hope you have had a great time on the hop! Have a great day!
19 September 2018

Celebrate You Stamp Set Winner

Hello there, I apologise for the delay in getting this up, but I am here today to share the winner of my Neat & Tangled Celebrate You stamp set giveaway. Thank you so much to all that entered and left me lovely comments too, I really do appreciate it.
 
 
Congratulations Claire Louise! Please could you email me at michshort@gmail.com or use the email me button on my sidebar with your address and I will get it out to you asap.
 
Thanks again to all the entrants, have a great day!

17 September 2018

Simply Hello

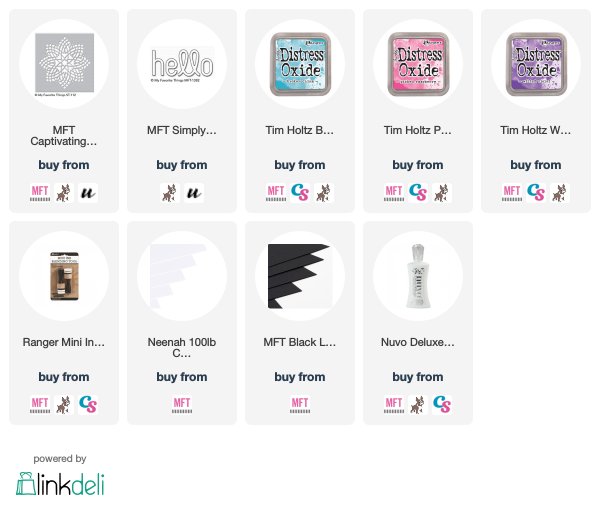
Hello there, today I have a super simple card to share with you using the MFT Captivating Mandala Stencil, along with the Simple Hello die, which is free with any order over $60 this month.
 

I started off by taking a panel of white cardstock and placed the Captivating Mandala Stencil towards the top. I then blended on Distress Oxide ink in Picked Raspberry, Wilted Violet and Broken China with an ink blending tool.
 
 
I took the Simply Hello die and die cut this in to the panel. The panel was then adhered to a white A2 card base with tape runner. I die cut the Simply Hello three more times, this time from black cardstock. I layered these up with liquid glue and then popped back in to place on the card front. The stencilled pieces were then added on top, as well as the insides of the letters.
 
SUPPLIES:

Here are the links to what I have used on the card. Affiliate links are used on some products. This means that if you make a purchase after clicking on my link, I receive a small commission with no extra cost to you. I truly appreciate your support when using these links. Please click on the logo below the product to shop at your favourite store. Products marked with an asterisk (*) were kindly sent to me to use.
 
 
I love how the black cardstock underneath the letters adds some shadow to them. Thank you so much for stopping by to see me today, I really do appreciate it. Have a great day!

15 September 2018

Be A Mermaid

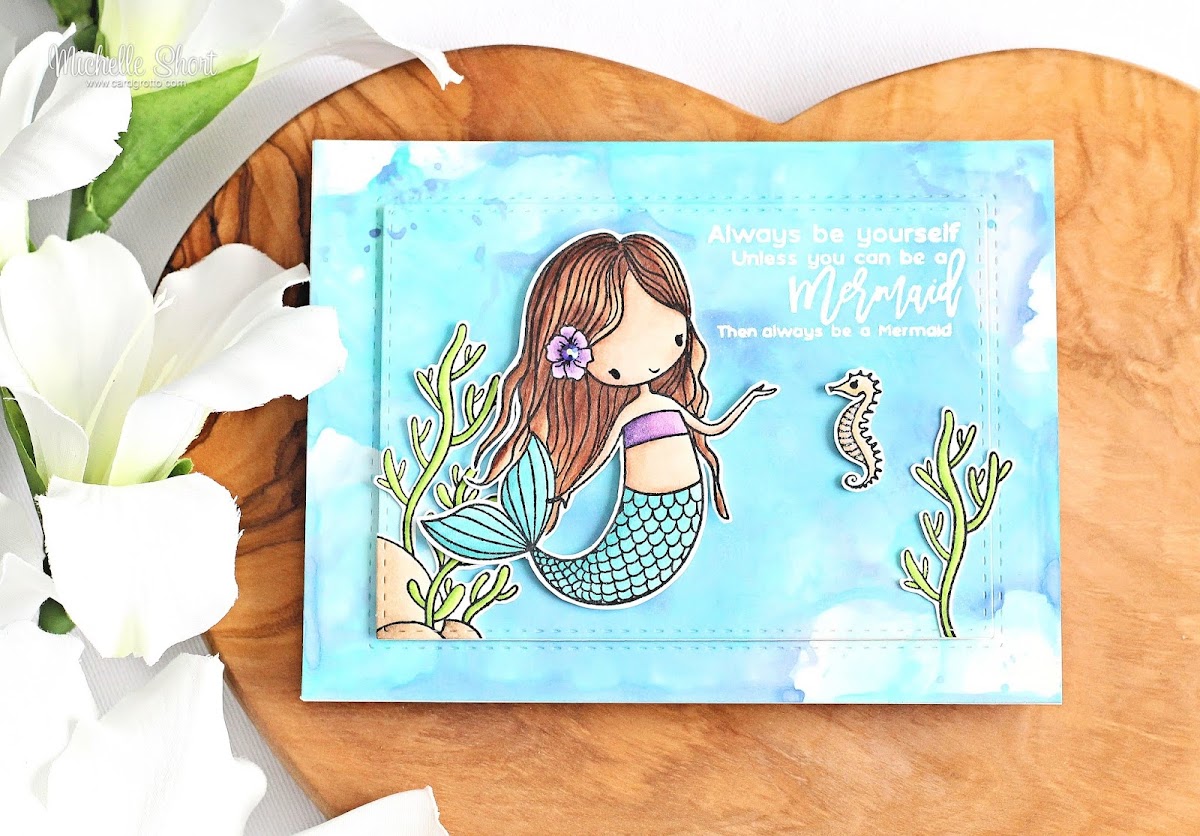
Hello there, today I have a card to share using the Picket Fence I am A Mermaid stamp set that Picket Fence Studios kindly sent me to use. What an adorable set!
 

I started off by stamping the mermaid and seahorse from the set, along with the seaweed from the Little Coral Girl stamp set on to white cardstock with black ink. I coloured the images with Copic Markers (the colours I used are listed below the supplies section) and fussy cut them out with scissors.
 
 
I then created the background piece. I took Tumbled Glass Distress Oxide Ink and smooshed this on to a craft mat, I spritzed it with water and then pounced a piece of alcohol ink cardstock in to it. The piece was dried and then I moved on to the next colour. I used layers of Broken China, Salty Ocean, Peacock Feathers and Faded Jeans, drying the cardstock in between each colour. Once the final layer was dry, I took an ink blending tool and added Distress Micro Glaze on to it. This was then blended on to the panel and the excess buffed off with a dry cloth. This really brings out the colours of the oxide inks.
 

I took the panel and die cut a SSS Stitched Rectangle die in to the middle. I then stamped the sentiment from the I Am A Mermaid set on to the smaller panel with Versamark Ink. I applied white embossing powder and heat set. The outside ink panel was added to a white A2 card base with tape runner. I then added the inside piece with foam tape. The seaweed was added on with tape runner and the mermaid and seahorse added with thin foam tape. To finish off, I added shimmer pen to the mermaid's top and tail and a jewel to the flower in her hair. I also added White Blizzard Nuvo Drops to the seahorse's belly.
 
SUPPLIES:

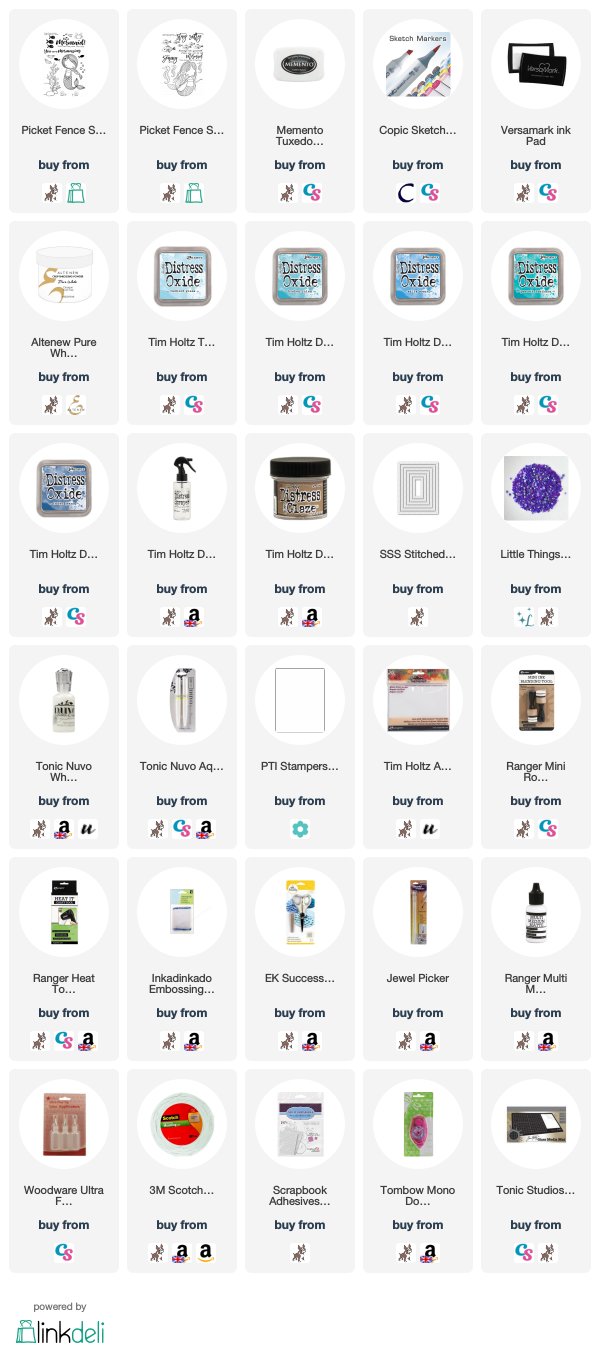
Here are the links to what I have used on the card. Affiliate links are used on some products. This means that if you make a purchase after clicking on my link, I receive a small commission with no extra cost to you. I truly appreciate your support when using these links. Please click on the logo below the product to shop at your favourite store. Products marked with an asterisk (*) were kindly sent to me to use.
 
 
COPIC MARKERS: Mermaid skin - E13, E11, E00, E000, E50, R20. Hair - E47, E27, E25, E23, E21. Top & flower - V17, V15, V12. Tail - BG57, BG53, BG13, BG11. Seahorse - YR21, YR000, YR0000. Seaweed - YG17, YG23, YG01. Stones - E44, E43, E42, E41.
 
How adorable is that mermaid? I love her! I am looking forward to using more Picket Fence Studios products soon. Thank you so much for visiting me today. I hope you have a great day!

12 September 2018

STAMPtember | Magnificent Magnolias

Hello there, have you been enjoying seeing all of the Simon Says Stamp STAMPtember collaboration sets? Yesterday was the turn of Clearly Besotted. There are two sets to choose from, or of course, you don't have to choose and get both! ;)
 
I received the sets this early afternoon, so I apologise that the stamp and die combos have already sold out for both sets, but the stamp sets are still in stock (at the moment!). Today I am using the Magnificent Magnolia set but there is also the Lift Me Up set to check out too.


I started off by stamping the open magnolia image on to white cardstock with Memento Tuxedo Black Ink. I then coloured it using Polychromos pencils (the colours that I used are listed below the supplies section). Once coloured, I embossed the panel using one of the Hero Arts Rectangle Infinity dies. The panel was then added to an white A2 card base with tape runner.
 

I took the sentiment from the set and stamped this on to black cardstock with Versamark ink. I applied white embossing powder and heat set. This was then cut in to a strip and added to the card with foam tape. To finish off, I added a few Moonshine sequins.


SUPPLIES:

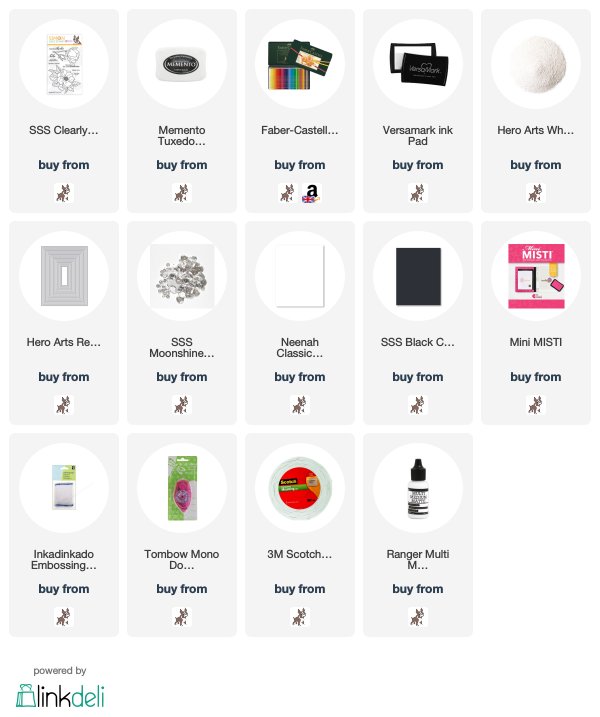
Here are the links to what I have used on the card. Affiliate links are used on some products. This means that if you make a purchase after clicking on my link, I receive a small commission with no extra cost to you. I truly appreciate your support when using these links. Please click on the logo below the product to shop at your favourite store. Products marked with an asterisk (*) were kindly sent to me to use.


POLYCHROMOS: Flower centre - 177. Flower petals - 133, 129, 132. Leaves - 267, 112, 171.

I apologise for the not so good photos, it is so dark and gloomy in London today. Please do check out the sets, they are wonderful! As well as all of the other collaboration sets as they are selling out fast! Thanks so much for stopping by to see me today, I really do appreciate it. Have a great day!
End of code