Showing posts with label Neat & Tangled. Show all posts

5 October 2017

VIDEO | Foxes Copic Speed Colour and Feedback Request

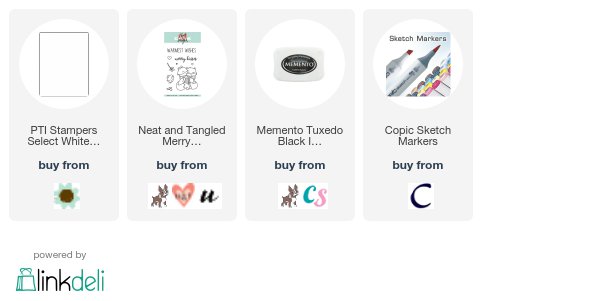
Hello there, today I have a quick video to share of me colouring the adorable foxes from the Neat and Tangled Merry Kisses stamp set. I do have another motive for making the video though, I would really like some feedback from you regarding what videos you would like to see from me in the future.
 
 
Do you enjoy card making tutorials? haul videos? storage/organisation videos? reviews? colouring videos? I would love to hear your thoughts!


SUPPLIES:
Here are the links to what I have used in the video. Affiliate links are used on some products. This means that if you make a purchase after clicking on my link, I receive a small commission with no extra cost to you. I truly appreciate your support when using these links. Please click on the logo below the product to shop at your favourite store. Products marked with an asterisk (*) were kindly sent to me to use.
 

 COPIC MARKERS: Foxes - W7, W5, W3, W2, W1, W0, R00. Scarf - V17, V15, V12.
 
Any feedback you can give me will be very gratefully received, I know that I cannot please everyone and everyone will have a difference of opinion, but I would like to try! Thanks so much for popping in today, I hope you have a great rest of the day!

29 September 2017

Hugs

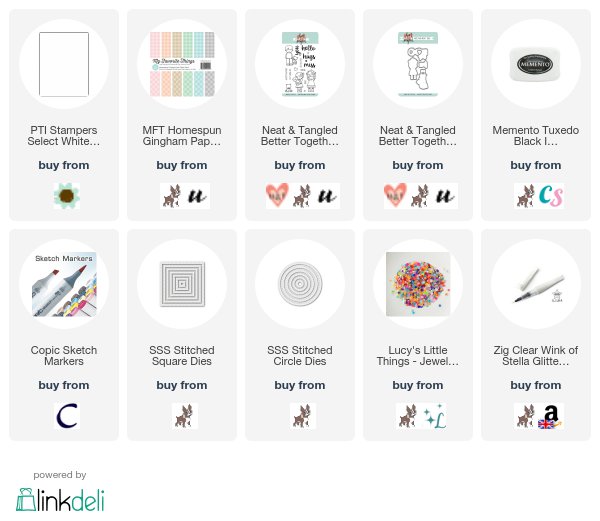
Hello there, today is my final post for Neat and Tangled. I have loved Guest Designing with them and for today's card, I thought I would share some hugs with you all! I am using the super cute Better Together set, along with the coordinating dies.


I started off by stamping the girl with her owl and the bear on to some white cardstock using Memento Tuxedo Black Ink. I then coloured the images using Copic Markers (the colours I used are listed below the supplies section). The images were then cut out using the coordinating Nice & Neat Dies.
 
 
I die cut a square using a SSS Stitched Square Die and then cut a stitched circle from the middle of this to create a frame. I took a piece of paper from the MFT Homespun Gingham Paper Pad and added this to a white 4.75" x 4.75" square card base. I then stamped the hugs sentiment on top. The frame was added on top with foam tape and then the images were added with a combination of foam tape and tape runner. To finish off, I added a little jewel to the centre of the girl's bow.
 
SUPPLIES:
Here are the links to what I have used on the card. Affiliate links are used on some products. This means that if you make a purchase after clicking on my link, I receive a small commission with no extra cost to you. I truly appreciate your support when using these links. Please click on the logo below the product to shop at your favourite store. Products marked with an asterisk (*) were kindly sent to me to use.
 
 
COPIC MARKERS: Girl skin - E13, E11, E51, E50, R20. Hair - E59, E27, E25, E23. Clothes - R12, R00, R000. Owl - W6, W4, W2, W1, W0, W00, Y11. Bear - E59, E27, E25, E23, E21, E51, E50.
 
It has been a pleasure Guest Designing with Neat and Tangled this month. A big thank you goes to Miriam and Danielle for having me. For more inspiration using Neat and Tangled products, please head over to their blog. Thanks so much for visiting me today. I hope you have a great day!

22 September 2017

Big Hugs

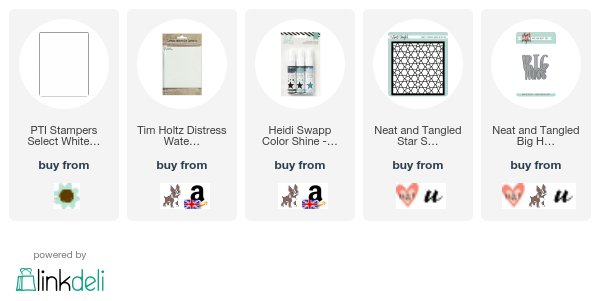
Hello there, today I have a card to share for my Guest Design post for Neat and Tangled. Today I am using the Big Hugs Die along with the Star Stencil. I wanted to keep the card simple to focus on the die so I made a simple background to go with it.
 

I started off by embossing the Star Stencil on to some TH watercolor paper. I then sprayed the piece using Heidi Swapp Color Shine in Teal and Ocean. It is difficult to see in the photos but the background has a beautiful shimmer to it from the sprays.


I wasn't sure whether to emboss the stencil first or after adding the colour but I am glad that I did it before, as the colour ran into the embossed edges and I think it made the background more interesting.
 
 
I die cut the Big Thanks Die three times from white cardstock and stacked these up using liquid glue. I added the background piece to a white A2 card base with foam tape and then added the hugs die on top with more liquid glue.
 
SUPPLIES:
Here are the links to what I have used on the card. Affiliate links are used on some products. This means that if you make a purchase after clicking on my link, I receive a small commission with no extra cost to you. I truly appreciate your support when using these links. Please click on the logo below the product to shop at your favourite store. Products marked with an asterisk (*) were kindly sent to me to use.
 
 
Like I said, very simple but I have to say, I really like how this card came out. I think I might make some more with different colours for the backgrounds. For more inspiration using Neat and Tangled products, please head over to their blog. Thanks so much for visiting me today. I hope you have  a great day!

15 September 2017

Birthday Monkey

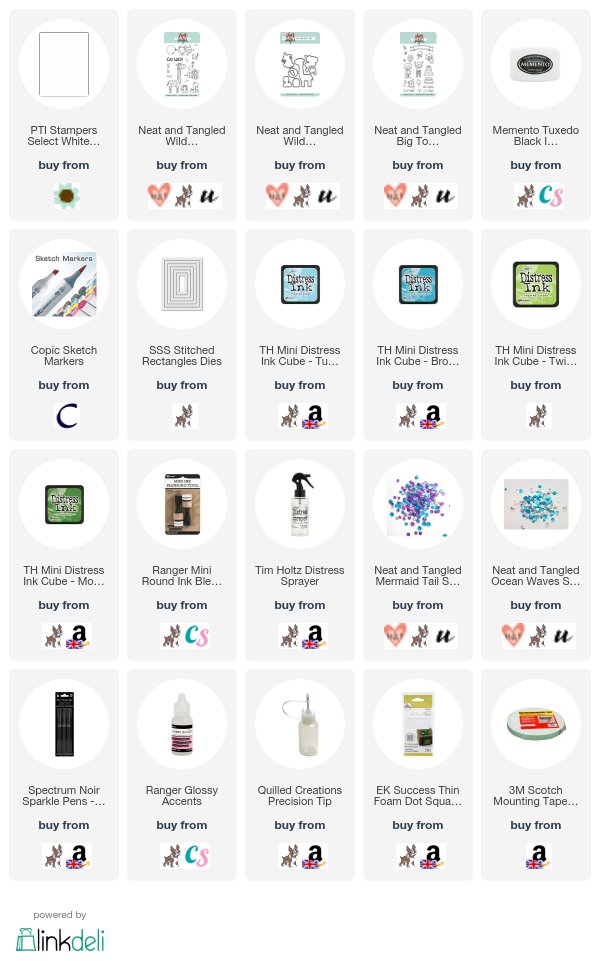
Hello there, I am delighted to be guest designing for Neat and Tangled this month. I will be sharing cards for the next three weeks on a Friday. My card today uses the super cute Wild Ones stamp set and coordinating Nice & Neat Dies. I just love that cute monkey!
 

I started off by stamping the monkey from the set in Memento Tuxedo Black Ink. the image was then coloured using Copic Markers (the colours I used are listed below the supplies section) and cut out using the coordinating dies.


I took a panel of Bristol cardstock, cut this using a SSS Stitched Rectangle die and blended over Distress Inks for a soft background. I used Broken China and Tumbled Glass for the sky and Twisted Citron and Mowed Lawn for the grass. I then flicked on a little water for some interest.
 
 
Once the piece was dry, I stamped the 'happy birthday' sentiment from the Big Top Birthday stamp set on to it using black ink. The panel was then adhered to an A2 white card base with foam tape. I adhered the monkey to the background piece, also with foam tape. To finish off I added a few sequins from the Mermaid Tail and Ocean Waves mixes. I then added a coating of shimmer pen and Glossy Accents to the balloon.
 
SUPPLIES:
Here are the links to what I have used on the card. Affiliate links are used on some products. This means that if you make a purchase after clicking on my link, I receive a small commission with no extra cost to you. I truly appreciate your support when using these links. Please click on the logo below the product to shop at your favourite store. Products marked with an asterisk (*) were kindly sent to me to use.
 
 
COPIC MARKERS: Monkey - E59, E57, E55, E53, E51, E50, R00. Balloon - V17, V15, V12, V01.
 
This is such a cute set and I cannot wait to use the other animals in it for more cards :) Thanks so much for visiting me today. For more inspiration using Neat and Tangled products, please visit their blog. I hope you have a great day!

23 December 2016

Santa's Wonderland

Hello there, today I have a card to share using the Neat & Tangled Santa's Wonderland stamp set that I made for a friend. This is such a cute stamp set, I will definitely be using it again next year.
 

I started off by taking a piece of white cardstock and cutting it with the largest of the SSS Stitched Rectangle dies. I then cut a piece of mask paper using the MFT Snow Drifts die. I added this to the bottom of the cardstock panel and then inked the sky with Distress Inks. I used Tumbled Glass and Salty Ocean. The Santa, sign and penguin from the set were stamped on to white cardstock, coloured with Copic Markers and then cut out using the coordinating dies.
 
 
The background panel was added to a white A2 card base with foam sheet and then I added the images on top with more foam tape. The sentiment, from the Clearly Besotted Many Mini Messages set, was stamped on to cardstock and cut out using one of the MFT Stitched Sentiment Strips dies. This was also added to the card with foam tape. To finish off, I added Star Dust Stickles to the images.
 
SUPPLIES:
Here are the links to what I have used on the card. Please click on the picture or wording to be taken to where I purchased it. Affiliate links are used on some products. This means that if you make a purchase after clicking on my link, I receive a small commission with no extra cost to you. I truly appreciate your support when using these links.
 
COPIC MARKERS - Penguin: BV29, BV25, BV23, YR18, YR15, Y11, Y000. Hat: R89, R37, R29, R17, R24. Lights: B05, B01, R89, R24, YR18, YR15, TG23, YG01, V05, V01. Santa: E11, E13, E00, E000. W2, W0. Santa's Clothes: R89, R37, R29, R27, R24, C2, C00, C9, C8, C6. Tree: YG17, YG23, YG03, YG01, E59, E57, E55, Y15, Y13, Y11. Sign: E59, E57, E55, Y13, Y11, R37, R27, R24, C2, C00.
 
Unfortunately the photos haven't come out well again. The lighting is all off and I do apologise for that but it was the best that I could do before I had to post it off sadly! Thanks so much for visiting me today. I hope you have a great Christmas eve eve! :)  

14 December 2016

Rudolph With A Present On Top

Hello there, I have to apologise for my absence. Life has been so busy with getting things ready for Christmas that I haven't had time to blog. I am crafting though so I do still have a bit to share. Today I have a card to share using the Rudolph With A Present On Top stamp from Stamping Bella. It is so cute!
 

I started off by taking a piece of white cardstock and cutting it using the largest of the SSS Stitched Rectangle die. I then chopped the sides off so it would fit on my card base. I used the die as it was a quick way to get the stitching details on the top and the bottom of the panel. Rudolph was stamped and then the sentiment, from the Neat & Tangled Beary Merry set, was stamped above. The image was then coloured with Copic Markers.
 
 
I took some white cardstock and made it in to a 5x5" card base and then added a piece of paper from the Doodlebug Here Comes Santa Claus paper pad on the front. The image panel was then added with foam tape. To finish off, I added Star Dust Stickles to the baubles.
 
SUPPLIES:
Here are the links to what I have used on the card. Please click on the picture or wording to be taken to where I purchased it. Affiliate links are used on some products. This means that if you make a purchase after clicking on my link, I receive a small commission with no extra cost to you. I truly appreciate your support when using these links.
 
COPIC MARKERS - Rudolph: E39, E37, E35, E33, E47, E44, T7, T5. Present: R89, R39, R37, R29, R27, YR17, YR23, YR03. Ground: E44, E43, E41. Background shadow: W3, W1, W00.
 
I have to apologise for the appalling photographs. To say it is dark here is an understatement! I am having to have the lights on all day it is so dark - not good for photography or filing videos sadly. I hope it is better where you are! Thanks so much for visiting me today. I hope you are having a great week and have a lovely day.
End of code