Showing posts with label Watercolour. Show all posts

15 July 2021

VIDEO | Creating Layers of Rainbows

Hello there, today I have a card to share that I shared before over on the Hero Arts YouTube Channel. I am now sharing it over here too. I have created layers of rainbows using different mediums and the Hero Arts Succulent Bouquet set. 


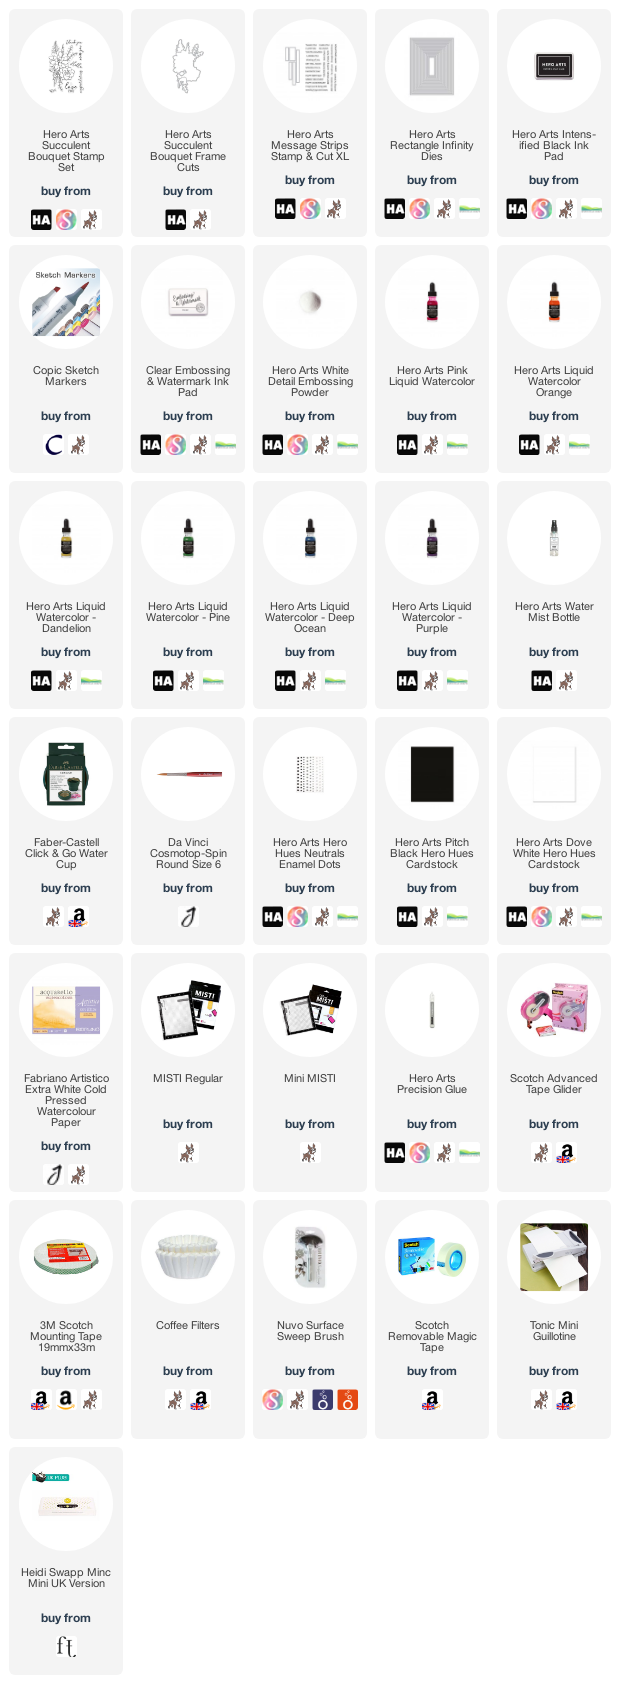
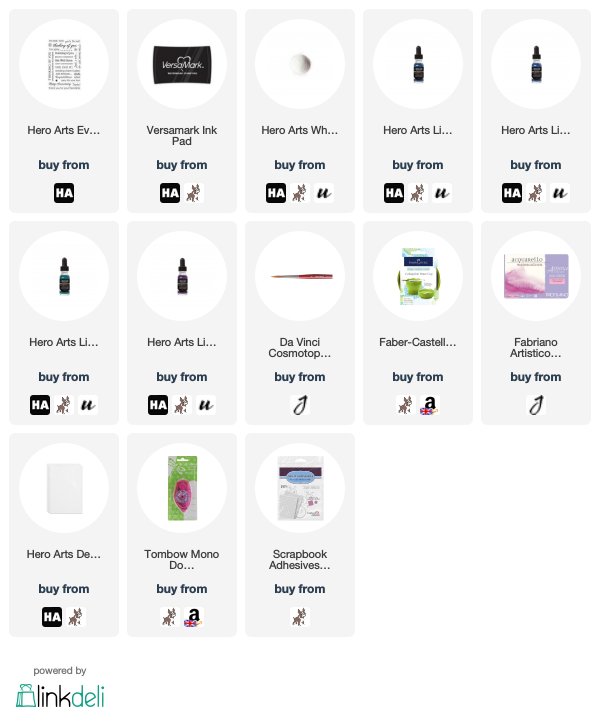
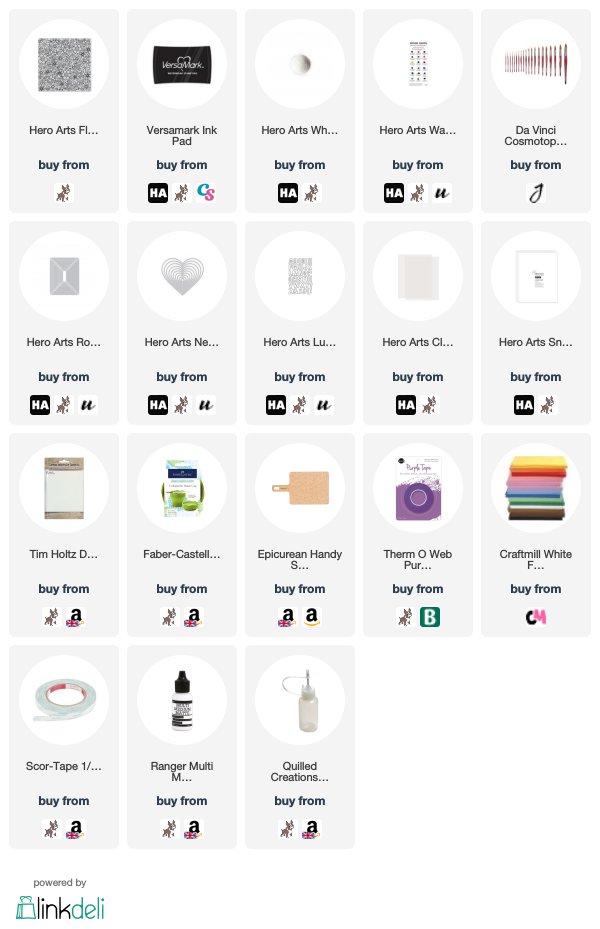
I started off my card by taking a panel of Fabriano Artistico Extra White Cold Pressed Watercolour Paper and stamping the Hero Arts Succulent Bouquet Stamp Set image on top. This is just to be used as a guide for the colours, you will not see it on the finished card. I then spritzed the panel with a Hero Arts Water Mist Bottle and dropped in Hero Arts Liquid Watercolors. 


I used Pink, Orange, Dandelion, Pine, Deep Ocean and Purple. I then misted the area again and ideally at this point, I would let it sit to dry but I did fiddle with it for some time as you will see in the video! Eventually, I set the piece aside to dry. Once dry, it was die cut out using one of the Hero Arts Nesting Rectangle Infinity Dies and adhered flat to an A2 card base made from Hero Arts Pitch Black Cardstock


I took the same Hero Arts Succulent Bouquet stamp and stamped it on to white cardstock with Hero Arts Intens-ified Black Ink. It was coloured using Copic Markers (the colours that I used are listed below the supplies area) and die cut out using the coordinating die. I also die cut the piece another two times just from white cardstock so I could stack the die cuts up for dimension. This was then adhered on top of the panel on the card. 


I took a sentiment from the Hero Arts Message Strips Stamp & Cut XL and stamped it on to more Pitch Black Cardstock with Hero Arts Clear Embossing & Watermark Ink. I applied White Detail Embossing Powder and heat set. It was cut out with the coordinating die and added to the card with foam tape. To finish off, I added a few Hero Arts Neutrals Enamel Dots

VIDEO:

Here is the video showing how I made the card:


If you are viewing this blog post via email subscription, you can watch the video HERE on YouTube. 

SUPPLIES:


Here are the links to what I have used on the project. Affiliate links are used on some products. This means that if you make a purchase after clicking on my link, I receive a small commission with no extra cost to you. I truly appreciate your support when using these links. Please click on the logo below the product to shop at your favourite store. All products were personally purchased except those from Clearly Besotted, Hero Arts or those marked with an asterisk (*) which were kindly sent to me to use. You can read my full disclosure here.


COPIC MARKERS: R85, R83, R81, YR68, YR65, YR61, Y17, Y15, Y11, YG17, YG23, YG03, YG01, B06, B04, B02, B01, V17, V15, V12. 

Thank you so much for stopping by to see me today, I really do appreciate it. I hope you have a wonderful day. Take care. 

30 June 2020

Hero Arts + Ink Blot Shop Partner Release Blog Hop + Giveaway

*This is my second post of the day, please see below for my Clearly Besotted Teaser*
 
Hello there and welcome as we continue to celebrate Hero Arts 45th Anniversary collaborating with fabulous companies. Today, Hero Arts is partnering with Ink Blot Shop to bring you the wonderful Please Deliver stamp set. The set is designed by Ink Blot Shop but works with lots of Hero Arts sets too. It has been designed to use with envelopes, but as you can see by my card, it works perfectly for cards and other projects too!
 
If you are following along in the hop, you should have arrived from the amazing Libby, but if you get lost along the way, I have the full list of participants below.
 

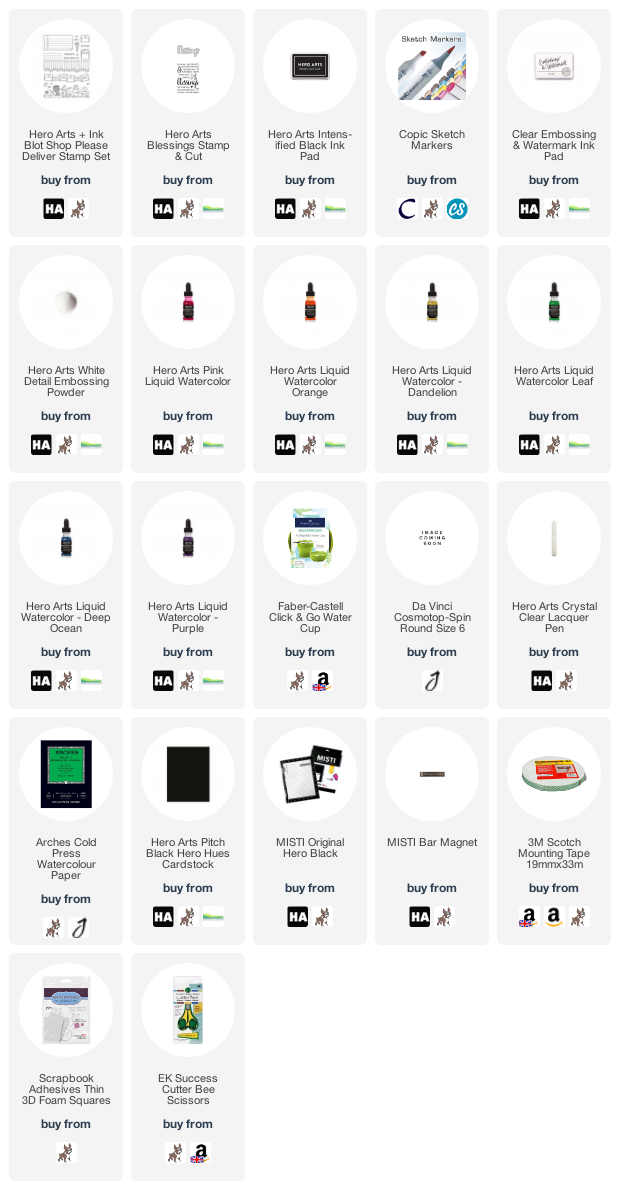
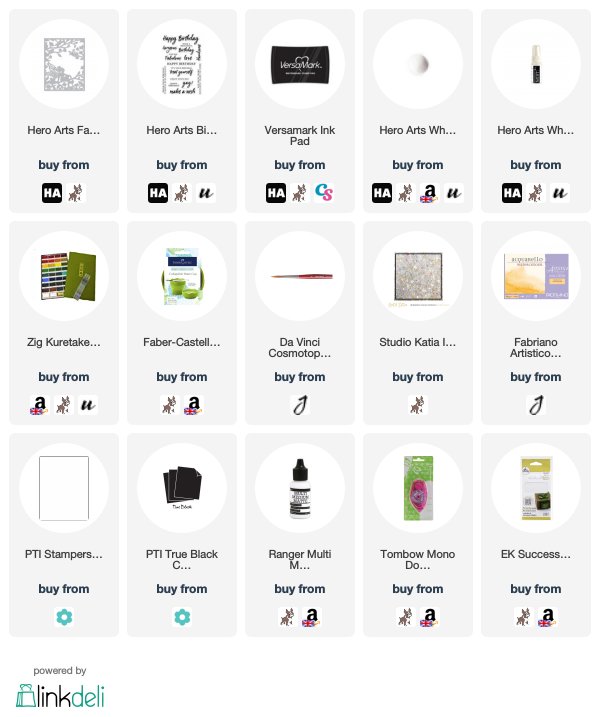
I started off my card by stamping the set of envelope stamps from the Hero Arts + Ink Blot Shop Please Deliver Stamp Set on to white cardstock with Hero Arts Intens-ified Black Ink. I then coloured the envelopes with Copic Markers (the colours that I used are listed below the supplies) and then fussy cut out with scissors.
 
 
I took a panel of watercolour paper (3.25" x 8.25") and using a paintbrush and water, messily added on Hero Arts Liquid Watercolours in the same order that I coloured the envelopes. I used Pink, Orange, Dandelion, Leaf, Deep Ocean and Purple. It was set aside to dry before adhering to a 3.5" x 8.5" slimline card base, made from Hero Arts Pitch Black Cardstock, with foam tape. I took the envelope image and added it on top using thin foam tape.
 
 
I then took the sentiments from the Hero Arts Blessings Stamp & Cut set and stamped them on to more Pitch Black cardstock with Hero Arts Clear Embossing & Watermark Ink. I applied Hero Arts Detail White Embossing Powder and heat set. They were cut in to strips and added to the card with more foam tape. To finish off, I added Hero Arts Crystal Clear Lacquer Pen to the hearts on the envelopes.


Here is a look at the set in full, as you can see there are lots of images that would perfectly for cards and envelopes especially, but also for tags too. Plus lots of smaller images as well.
 
SUPPLIES:

Here are the links to what I have used on the card. Affiliate links are used on some products. This means that if you make a purchase after clicking on my link, I receive a small commission with no extra cost to you. I truly appreciate your support when using these links. Please click on the logo below the product to shop at your favourite store. All products were personally purchased except those from Clearly Besotted, Hero Arts or those marked with an asterisk (*) which were kindly sent to me to use. You can read my full disclosure here.
 
 
COPIC MARKERS: Pink - RV66, RV55, RV52. Orange - YR18, YR16, YR15, YR12. Yellow - Y17, Y15, Y13, Y11. Green - YG17, YG23, YG01. Blue - B04, B01, B00, B000. Purple - V28, V25, V15, V12.
 
BLOG HOP:
 
Here is the full list of participants taking part in the hop today:
 
Michelle Short - you are here!
 
 
GIVEAWAY:

There are two $50 shopping sprees up for grabs today. One to the Hero Arts store and another over at the Ink Blot Shop store. Winners will be drawn from the comments left across the stops in the hop. The more you comment, the more chances there are to win! Enter by Sunday 5th July at 11.59pm PDT and the winner will be announced on the Hero Arts blog the following week. Good luck!
 
I am the last stop in the hop but please head over to the Hero Arts Blog to start at the beginning. Thanks so much for visiting me today, I really do appreciate it. I hope you have a wonderful rest of the day!

12 February 2020

Birthday Dip Dye

Hello there, today I have a card to share that I made for my uncle for his birthday. I thought it would be fun to try Kristina's Faux Dip Dye Technique for it.
 

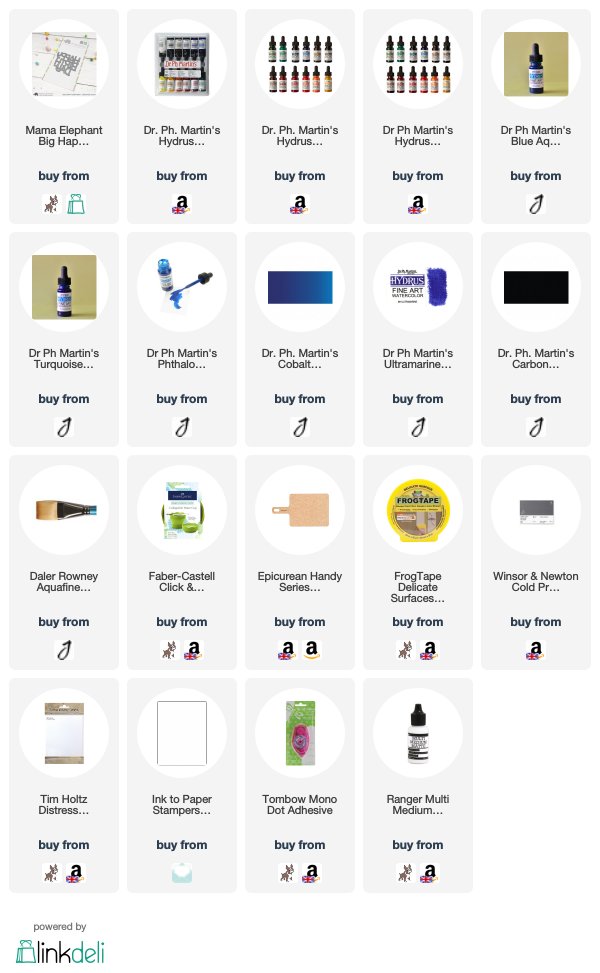
I first took a sheet of watercolour paper and ripped the bottom edge. I then taped it to a board and added layers of Dr Ph. Martin's Hydrus Watercolours on top. I used various blues and teals and dried each layer in between. I did end up doing two layers of each colour to intensify the colours. Once dry, the panel was adhered flat to an A2 white card base.
 
 
I took the Mama Elephant Big Happy Birthday Die and die cut this three times from white cardstock. They were stacked up and glued together using Multi Medium Matte. I then die cut the top layer from Tim Holtz Distress Woodgrain Cardstock. The die was adhered to the card with more Multi Medium Matte Glue.
 
SUPPLIES:

Here are the links to what I have used on the card. Affiliate links are used on some products. This means that if you make a purchase after clicking on my link, I receive a small commission with no extra cost to you. I truly appreciate your support when using these links. Please click on the logo below the product to shop at your favourite store. All products were personally purchased except those from Clearly Besotted, Hero Arts or those marked with an asterisk (*) which were kindly sent to me to use. You can read my full disclosure here.
 
 
A really simple card but I do like how it turned out. I think the woodgrain texture on the die cut gives a slight bit more interest to the card. Thanks so much for stopping by today, I really do appreciate it. I hope you have a wonderful day!

7 February 2019

No-Line Floral Spray

Hello there, today I have a card to share that I showed in my Clearly Besotted February 2019 Release video. I had originally made it for the release but wasn't sure about it. I had positive comments about it so I thought I would share it here too.
 

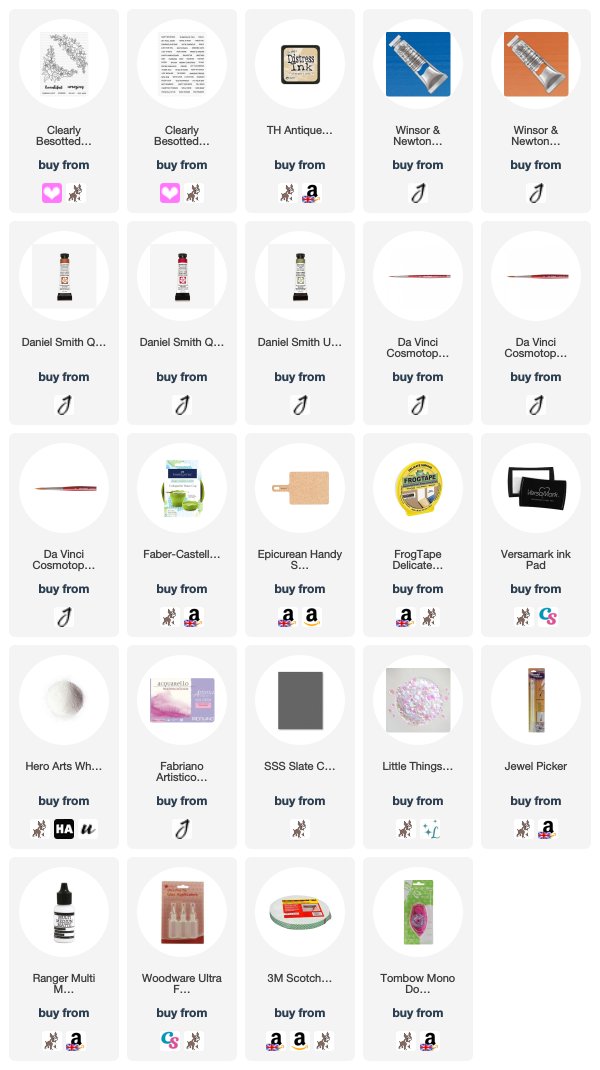
I started off with a piece of Fabriano Extra White Hot Pressed Watercolour Paper and stamped the corner floral  image from the Clearly Besotted Floral Spray Stamp Set on to it with Antique Linen Distress Ink. I then taped the paper to a board and water coloured the image with a combination of Winsor & Newton and Daniel Smith watercolours. The colour combination was inspired by Debby Hughes. Once coloured the piece was set aside to dry.
 
 
The panel was cut down and added to a 3.75" x 5.25" card base made from SSS Slate Cardstock with tape runner. I then took the sentiment from the Tiny Type set and stamped this on to more Slate cardstock with Versamark Ink. I applied Detail White Embossing Powder and heat set. This was cut in to a strip and added to the card with foam tape. To finish off, I added a few Lucy's Pink Moonstone Sequins.
 
SUPPLIES:

Here are the links to what I have used on the card. Affiliate links are used on some products. This means that if you make a purchase after clicking on my link, I receive a small commission with no extra cost to you. I truly appreciate your support when using these links. Please click on the logo below the product to shop at your favourite store. All products were personally purchased except those from Clearly Besotted, Hero Arts or those marked with an asterisk (*) which were kindly sent to me to use. You can read my full disclosure here.
 
 
I am still not sure about the card, I do not know why but after spending over an hour water colouring, I would still like to send it out! Does this happen to you too? Thank you so much for visiting me today. Have a great day!

8 January 2019

Hearts Are Not Just For Valentine's

*This is my second post for the day, please see below for the Reverse Confetti January Blog Hop*

Hello there, today I am over on the Hero Arts Blog sharing a card made using the new All My Love Decorative Hearts stamp set that was released as an add-on to the January MMH Kit. It is perfect for Valentine's but as you can see from my card, it can be used for other occasions too.


SUPPLIES:

Here are the links to what I have used on the card. Affiliate links are used on some products. This means that if you make a purchase after clicking on my link, I receive a small commission with no extra cost to you. I truly appreciate your support when using these links. Please click on the logo below the product to shop at your favourite store. Products marked with an asterisk (*) were kindly sent to me to use.
 

I love how the Liquid Watercolors work with the heat embossing on the heart. For details on how I made the card, please pop over to the blog post here. Thank you so much for stopping by today!

21 December 2018

Fairy Window

Hello there, today I have a card to share using the beautiful Fairy Window Fancy Die from Hero Arts. This was released as an add-on for the December 2018 My Monthly Hero Kit.
 

I started off by die cutting the window from white cardstock and set that aside. For the background I first took some watercolour paper and added Gansai Tambi watercolours to it. I took inspiration for the colours from this card. I wanted to create a bit of a magical/fairy sky background. Once dry, I spritzed on White Iridescent Shimmer Spray for some added sparkle and set aside to dry again.
 
 
The background piece was added flat to a white A2 card base with tape runner and then I added on the die cut window on top with liquid glue. I took the sentiment from the Birthday Messages stamp set and stamped it on to black cardstock with Versamark Ink. I applied white embossing powder and heat set. This was cut down and added to the card with foam tape. To finish off, I added a few iridescent jewels.
 
SUPPLIES:

Here are the links to what I have used on the card. Affiliate links are used on some products. This means that if you make a purchase after clicking on my link, I receive a small commission with no extra cost to you. I truly appreciate your support when using these links. Please click on the logo below the product to shop at your favourite store. Products marked with an asterisk (*) were kindly sent to me to use.
 
 
I think this die would work with so many different backgrounds. Thank you so much for visiting me today, I really do appreciate it. Have a great day!

12 December 2018

Soft & Serene Dandelion

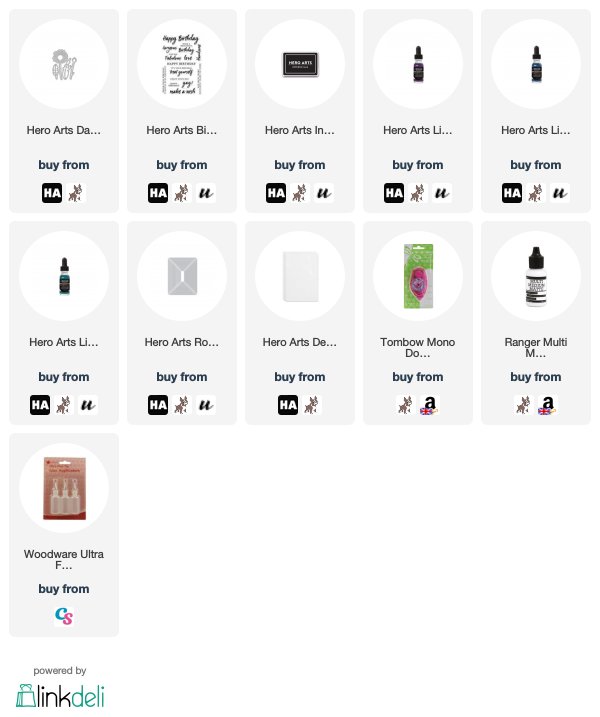
Hello there, today I am over on the Hero Arts Blog sharing a card made using the new Dandelion & Leaves Fancy Die. This was released as an add-on for the December 2018 My Monthly Hero and it is so pretty! I created a soft watercolour background for it with liquid watercolours and tried to keep the card serene.


SUPPLIES:

Here are the links to what I have used on the card. Affiliate links are used on some products. This means that if you make a purchase after clicking on my link, I receive a small commission with no extra cost to you. I truly appreciate your support when using these links. Please click on the logo below the product to shop at your favourite store. Products marked with an asterisk (*) were kindly sent to me to use.
 
 
For more details on the card, please head over to the blog post here. Thanks so much for popping by today, I hope you have a great day!

26 October 2018

Christmas Deer

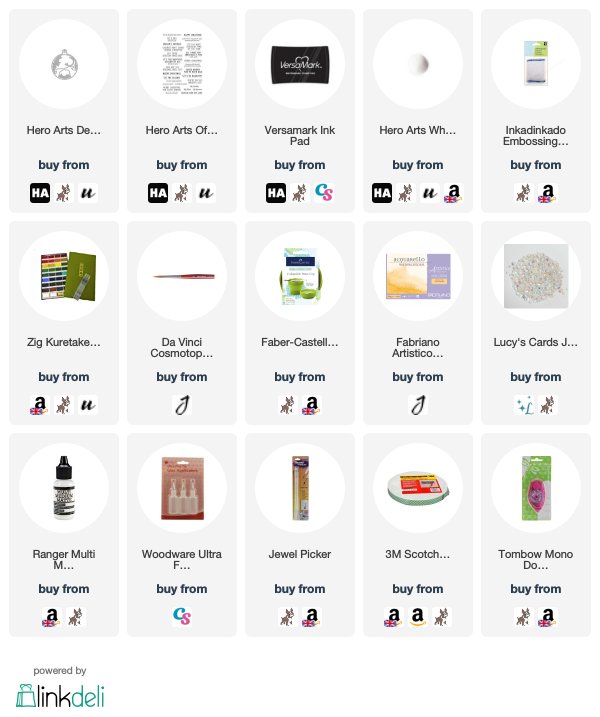
Hello there, today I have a card to share using the Hero Arts Deer and Ornament Fancy Die. I fell in love with it when I made this card and wanted to create another with a watercolour background.
 

I started off by creating the watercolour background. I took a panel of Fabriano watercolour paper and applied clean water to it. I then added in pink and purples, aqua and blues to create an interesting background. I let the colours mix and then set aside to dry. Once dry, I messily added another layer to create more interest and depth of colour and set aside to dry again.
 
 
I took a panel of white cardstock and cut the inside portion of the Deer and Ornament Fancy Die (I removed the ornament part) on to it. The middle pieces were removed and then I added foam tape to the back. I added the watercolour piece to an A2 card base with tape runner and then added the deer panel on top.
 
 
I took the 'Merry Christmas' sentiment from the Off-Beat Holiday Messages set and stamped this on to black cardstock with Versamark Ink. I applied white embossing powder and heat set. This was then cut in to a strip and added to the card with foam tape and tape runner. To finish off, I added a few Iridescent Jewels.
 
SUPPLIES:

Here are the links to what I have used on the card. Affiliate links are used on some products. This means that if you make a purchase after clicking on my link, I receive a small commission with no extra cost to you. I truly appreciate your support when using these links. Please click on the logo below the product to shop at your favourite store. Products marked with an asterisk (*) were kindly sent to me to use.
 
 
I really like how this card came out. I love how the colours work nicely with the white panel. Thank you so much for visiting me today, I really do appreciate it. I hope you have a lovely day and a wonderful weekend.

17 October 2018

With Thanks

Hello there, today I have another card to share with you that I have made as part of my guest designing with WOW Embossing Powder. Since the theme this month is shimmers, I wanted to use one of the Glintz powders. These have a beautiful pearlescent finish to them.


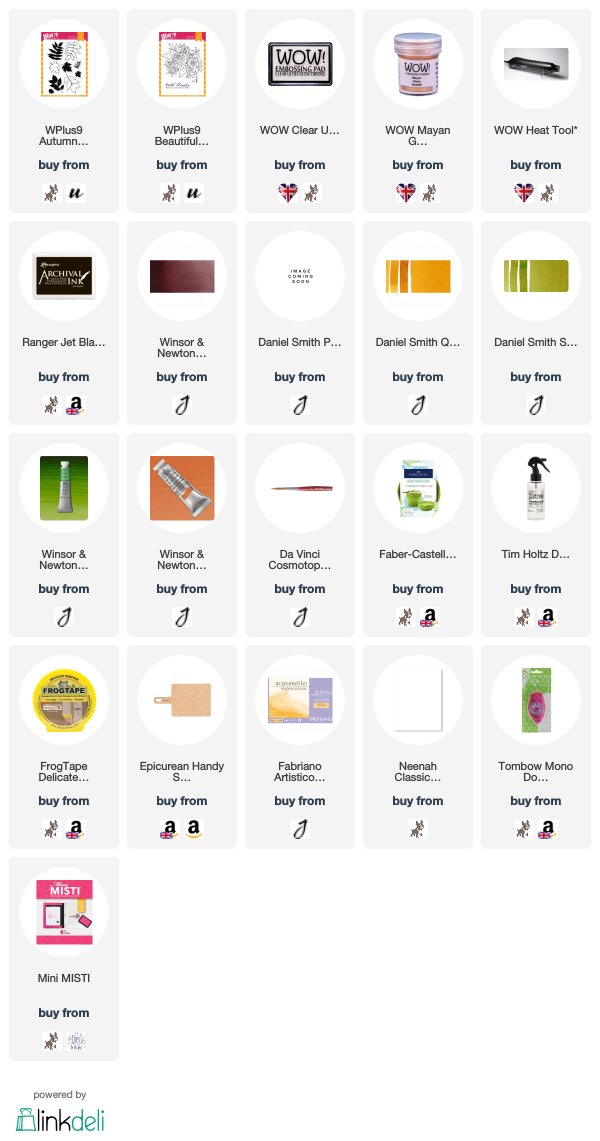
I started off with a panel of watercolour paper. I added masking tape to the edges to create my focal point in the centre. I took one of the leaves from the WPlus9 Autumn Leaves stamp set and stamped this three times on to the panel. I stamped it using WOW Clear Ultra Slow Drying Embossing Ink and then applied WOW Mayan Glintz Embossing Powder.
 
 
I then taped the piece down to a board and added the watercolour. I used purple going into pink/red that goes into yellow and finally green in the bottom right hand corner. I thought these colours would work well for an autumn card and also go well with the tone of the embossing powder. I added the watercolour in layers, deepening the colour as I went. I then set the piece aside to dry.
 
 
Once dry, I removed the masking tape and stamped the sentiment from the WPlus9 Beautiful Bouquets: Ranunculus set using Archival Ink. The piece was adhered flat to an A2 white card base with tape runner.
 
SUPPLIES:

Here are the links to what I have used on the card. Affiliate links are used on some products. This means that if you make a purchase after clicking on my link, I receive a small commission with no extra cost to you. I truly appreciate your support when using these links. Please click on the logo below the product to shop at your favourite store. Products marked with an asterisk (*) were kindly sent to me to use.
 
 
I am not usually a fan of gold tones but I really love the colour of this embossing powder, it is like a softer honey-ish tone of gold. Really pretty! For this card, I was inspired by a previous card that I had made as part of an Online Card Classes class. For more inspiration using WOW Embossing Powder, please do check out their blog. Thank you so much for visiting me today, I hope you have a great day!

22 July 2018

Hey Friend + Giveaway

Hello there, today I have another card to share using a wonderful stamp set from Tracey Hey and Alpaca Pals. This time I am using the adorable Hey Cutie set.
 

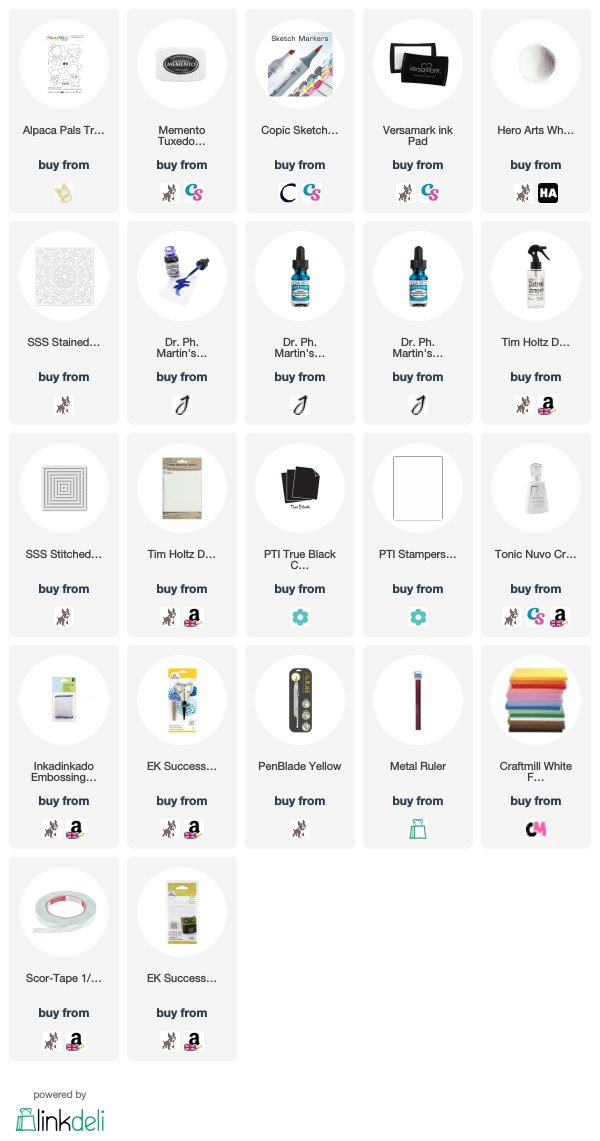
I started off by stamping the elephant on to white cardstock with Memento Tuxedo Black Ink. I coloured her using Copic Markers (the colours I used are listed below the supplies section) and fussy cut her out with scissors. I stamped the sentiment on to black cardstock with Versamark Ink and applied white embossing powder and heat set. These were then cut in to strips.

 
When I made this card, I created a couple of extra backgrounds so I thought it would be good to use for this card. The background was made by embossing the SSS Stained Glass 1 Stencil and adding Dr. Ph. Martin's Radiant Watercolours on top. The background piece was then die cut using a SSS Stitched Rectangle Die and then adhered to a white 4.5" x 4.5" card base with foam sheet and DST. I added the elephant and sentiments on top with thin foam squares. To finish off, I added Aqua Shimmer Pen and Crystal Glaze to the heart on her top.
 
SUPPLIES:

Here are the links to what I have used on the card. Affiliate links are used on some products. This means that if you make a purchase after clicking on my link, I receive a small commission with no extra cost to you. I truly appreciate your support when using these links. Please click on the logo below the product to shop at your favourite store. Products marked with an asterisk (*) were kindly sent to me to use.
 
 
COPIC MARKERS: Elephant - W7, W5, W3, W1. Top - V28, V25, V15, V12, V01, B04, B02, B000.
 
GIVEAWAY:
 
I had so much fun using these stamps from Alpaca Pals that Tracey has kindly provided me with three stamps sets for me to giveaway, so that you can enjoy them too. The sets I am giving away are the three that I used this week - Koality, Hey Cutie and Make A Splash.


All you have to do to enter the giveaway is to leave me a comment on this post telling me what your favourite animal is. The giveaway closes on 26th July 2018 at 23.59hrs BST. The winner will be announced here on my blog on the 27th July 2018. Good luck!
 
For more inspiration using the Alpaca Pals stamps, please head over to Tracey's website and Facebook page. Thank you so much for stopping by to see me today. I hope you have a great rest of the weekend!

20 May 2018

Birthday Peony

Hello there, today I have a card to share using the new Peonies Stamp Set from Hero Arts. I am in love with all the new florals that they have brought out, perfect for colouring!
 

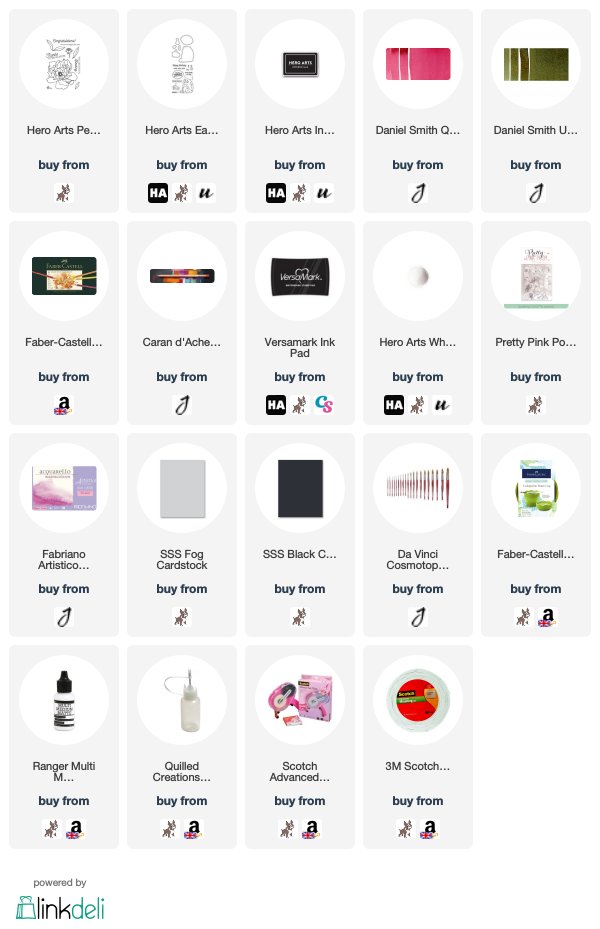
I started off by stamping the large peony image using black ink on to Fabriano Artistico watercolour paper. I then did a light wash of Daniel Smith Quinacridone Rose watercolour to the petals and Undersea Green to the leaves. Once dry, I coloured the peony with colored pencils. I used mainly Polychromos and then added some white highlights with a Caran d'Ache Luminance white pencil. The colours I used are listed below the supplies section.
 
 
The image panel was then cut down to 5.25" x 4" and added to a Fog card base with ATG. I took the 'happy birthday' sentiment from the Eat Cake All Day Stamp & Cut and stamped this on to black cardstock using Versamark Ink. I applied white embossing powder and heat set. This was then cut in to a strip and added to the card with foam tape. To finish off, I added a few Sparkling Clear sequins.
 
SUPPLIES:

Here are the links to what I have used on the card. Affiliate links are used on some products. This means that if you make a purchase after clicking on my link, I receive a small commission with no extra cost to you. I truly appreciate your support when using these links. Please click on the logo below the product to shop at your favourite store. Products marked with an asterisk (*) were kindly sent to me to use.
 
 
COLOUR PENCILS: Flower petals - Polychromos 199, 133, 125, 129, Luminance 001 White. Leaves - Polychromos 199, 174, 168, Luminance 001 White.
 
Unfortunately the photos aren't quite doing the colouring justice but I think the watercolour helped to give a base to the colour pencils. Thank you so much for visiting me today. I hope you have a great rest of the weekend!

18 May 2018

Flowers for Colouring

Hello there, today I am over on the Hero Arts Blog sharing a card made using the new Hero Arts Flowers for Coloring Bold Prints. I tend to go for softer backgrounds, so this time I challenged myself to create a fairly bold one. I loved colouring the flowers with watercolours.
 
 
SUPPLIES:

Here are the links to what I have used on the card. Affiliate links are used on some products. This means that if you make a purchase after clicking on my link, I receive a small commission with no extra cost to you. I truly appreciate your support when using these links. Please click on the logo below the product to shop at your favourite store. Products marked with an asterisk (*) were kindly sent to me to use.
 
 
For more information on how I made the card, please head over to the blog post. Thank you so much for visiting me today. I hope you have a great rest of the day and a wonderful weekend!

25 April 2018

Birthday Dahlia

Hello there, today I have a card to share using the beautiful Artistic Dahlia stamp from Hero Arts. I have used this a couple of times in the past and really enjoyed colouring it, so this time I thought I would use watercolours with it.
 

I started off by stamping the Artistic Dahlia stamp with Versamark Ink on to watercolour paper. I applied white embossing powder and heat set. I then water coloured the image using Daniel Smith watercolour paints. I went with more of a loose look for this image and I really like how it came out. I set the image aside to dry and once dry, die cut it with the coordinating dies.
 
 
I took a panel of white cardstock and ran this through my die cutting machine with the Pop Pattern Stencil and embossed it. This was added flat to the card base with ATG. The flower was then added on top with thin foam tape. I took the 'happy birthday' sentiment from the Birthday Hugs and Kisses stamp set and stamped this on to black cardstock with Versamark Ink. I applied white embossing powder and heat set. This was cut in to a strip and also added to the card with thin foam tape. To finish off, I added a few Ice Cube Jewels.
 
SUPPLIES:

Here are the links to what I have used on the card. Affiliate links are used on some products. This means that if you make a purchase after clicking on my link, I receive a small commission with no extra cost to you. I truly appreciate your support when using these links. Please click on the logo below the product to shop at your favourite store. Products marked with an asterisk (*) were kindly sent to me to use.
 
 
I usually shy away from this look of watercolour and go for more of a blended look, I really enjoy it though and it was fun to experiment with different colours and shades of watercolour. Thank you so much for visiting me today. I hope you have a great day!

12 February 2018

VIDEO | Embossing With Stencils

Hello there, today I have a card to share with you using the beautiful Stained Glass 1 Stencil from Simon Says Stamp, along with Dr. Ph. Martin's Radiant Watercolours.
 
 
I started off by embossing the stencil on to some Tim Holtz Watercolour paper. I find that this watercolour paper embosses with stencils really well. I then added colour to the panel using Dr. Ph. Martin's Radiant Watercolours in Hyacinth Blue, Juniper Green and Turquoise Blue. These are highly pigmented watercolours but I added lots of water to them to get them to be more pastel shades. I misted over some Sheer Shimer Spritz in Sparkle to give a little shine and set aside to dry.
 
 
Once dry, the piece was cut down to 5.25" x 4" and added to a white A2 card base with ATG. I die cut the SSS Sending die three times from white cardstock (with Stick It adhesive on the back), layered these up and added the piece to my card. I took the 'you love and hugs' sentiment from the SSS Sending And Wishing stamp set and stamped this on to black cardstock with Versamark Ink. I applied white embossing powder and heat set. This was cut in to a little strip and added to the card with foam tape. To finish off, I added Lucy's Clear Iridescent Jewels around the sentiment with Multi Medium Matte glue.
 
VIDEO:

Here is the video showing how I made the card:


To enter the prize for the hop, you need to leave a comment directly on the video over on YouTube HERE.
SUPPLIES:

Here are the links to what I have used on the card and in the video. Affiliate links are used on some products. This means that if you make a purchase after clicking on my link, I receive a small commission with no extra cost to you. I truly appreciate your support when using these links. Please click on the logo below the product to shop at your favourite store. Products marked with an asterisk (*) were kindly sent to me to use.
 
 
As mentioned in the video, this is part of the Save The Crafty YouTuber Video Hop. A bunch of YouTubers have got together to create some tutorials, so that you may find some new channels to subscribe to. This in turn will hopefully help out the smaller channels that will be affected by the changes that You Tube are brining in, with regards to participation in the You Tube Partnership Programme. You can find more details about the hop HERE. Thanks so much for visiting me today. I really do appreciate it.

8 February 2018

Let Your Dreams Take Flight

Hello there, today I am over on the Hero Arts Blog sharing a card using the new Come Fly With Me Stamp Set. I kept the card really simple and just did some emboss resist with watercolours. I actually only used one colour of paint, as it is a really interesting paint and has lots of texture to it.


SUPPLIES:

Here are the links to what I have used on the card. Affiliate links are used on some products. This means that if you make a purchase after clicking on my link, I receive a small commission with no extra cost to you. I truly appreciate your support when using these links. Please click on the logo below the product to shop at your favourite store. Products marked with an asterisk (*) were kindly sent to me to use.
 

Because of the texture in the paint, it did make this card rather difficult to photograph but it is pretty in real life! For more details on the card, please head over to the blog post. Thank you so much for visiting me today. I hope you have a lovely day!
End of code