30 September 2021

Clearly Besotted Teasers | Yuletide Yeti

Hello there and welcome to day four of the Clearly Besotted October 2021 Teasers. Release day is tomorrow but I have a few more teasers to share with you before then. Today I am using the new Yuletide Yeti set. This is such an adorable set that features lots of yetis, as well as little penguins and really fun sentiments. 

PLEASE NOTE: This post contains affiliate links. Please see below for my full disclosure.

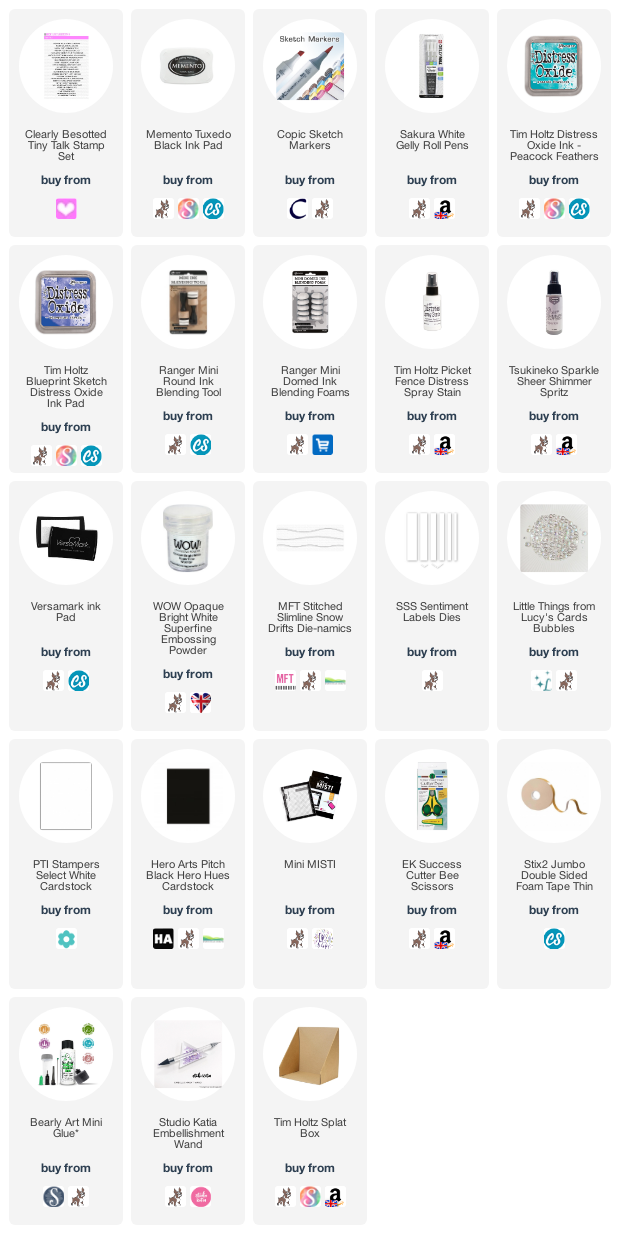
I started off my card by stamping the yeti, penguin and birch trees (three times) from the Clearly Besotted Yuletide Yeti Stamp Set on to white cardstock with Memento Tuxedo Black Ink. I coloured them with Copic Markers (the colours that I used are listed below the supplies area) and fussy cut out with scissors. I set them aside while I worked on my background. 

I took a panel of white cardstock and using ink blending tools, blended on Distress Oxide Inks for the sky. I used Peacock Feathers and Blueprint Sketch. I then placed the panel in my Splat Box and spritzed on Tim Holtz Picket Fence Distress Spray Stain, followed by Sparkle Sheer Shimmer Spritz and set it aside to dry. 

I die cut a panel of white cardstock using the MFT Stitched Slimline Snow Drifts Die-namics. The birch trees were adhered to the background and then the snow bank added at the bottom. I cut off the excess from the trees and added the panel to a mini slimline card base (6.25" x 3.25") with thin foam tape. The characters were then added on top with more tape. 

I took the sentiment from the Clearly Besotted Tiny Talk Stamp Set and stamped it on to black cardstock with Versamark Ink. I applied white embossing powder and heat set. It was cut in to a strip and added to the card with more foam tape. To finish off, I added white gel pen highlights to the images and black glaze pen to their eyes. I also added a few Lucy's Bubbles around the sentiment. 

SUPPLIES:


Here are the links to what I have used on the project. Affiliate links are used on some products. This means that if you make a purchase after clicking on my link, I receive a small commission with no extra cost to you. I truly appreciate your support when using these links. Please click on the logo below the product to shop at your favourite store. All products were personally purchased except those from Clearly Besotted, Hero Arts or those marked with an asterisk (*) which were kindly sent to me to use. You can read my full disclosure here.


COPIC MARKERS: Yeti - B02, B01, B00, B000, B000, E53, E51, E50. Hat and candy cane - R89, R37, R27, R24, R14, C5, C3, C1. Penguin - BV29, BV25, BV23, YR18, YR15, YR12, Y17, Y15, Y11, Y000. Birch Trees - W5, W3, W1. 

I love those yetis and the penguins are super cute too! For more inspiration using the new sets, please head over to the Clearly Besotted BlogKerenLisa and our wonderful guests Alberto (Instagram) and Francine. Thank you so much for stopping by today, I hope you have a wonderful day! 

29 September 2021

Clearly Besotted Teasers | Snowy Scenes

Hello there and welcome to day three of the Clearly Besotted October 2021 Teasers. Release day is Friday, 1st October so not too long to wait now! For my card today, I am using the new Snow Scenes set. This set has two beautiful London scenes on it that can be used in different ways. They would make perfect backgrounds for critters but I thought I would use one of them alone for a lovely winter scene.

PLEASE NOTE: This post contains affiliate links. Please see below for my full disclosure.

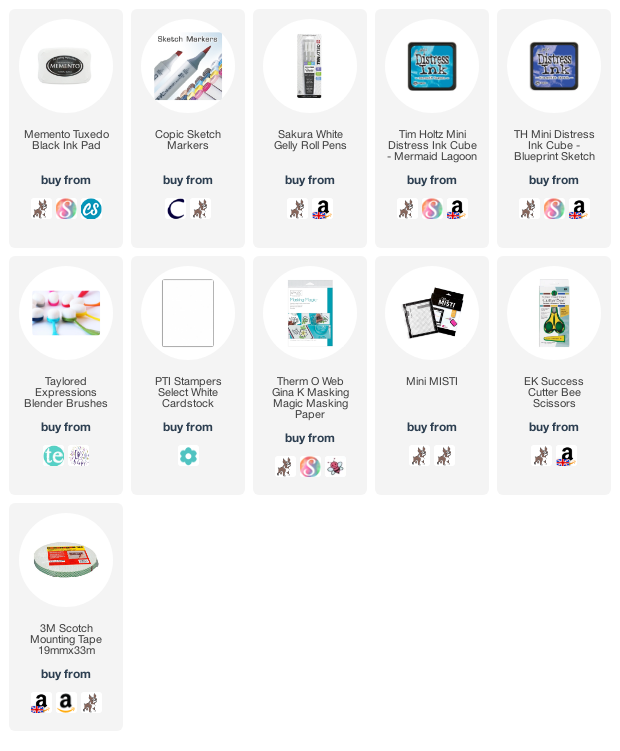
I started off my card by taking a panel of white cardstock and stamping the scene on to the top part of it from the Clearly Besotted Snow Scenes Stamp Set, using Memento Tuxedo Black Ink. I then made a mask for the buildings by stamping the image on to masking paper and fussy cutting out with scissors. It was placed on top of the panel. 

Using Ink Blending Brushes, I blended on Distress Ink for the sky. I used Mermaid Lagoon and Blueprint Sketch. The mask was removed and the images coloured with Copic Markers (the colours that I used are listed below the supplies area). I also added a little colour below the buildings for snow. 

I took the sentiment from the set and stamped it below the scene with more black ink. I then adhered the panel to an A2 white card base with foam tape. To finish off, I added white gel pen snow to scene. 

SUPPLIES:


Here are the links to what I have used on the project. Affiliate links are used on some products. This means that if you make a purchase after clicking on my link, I receive a small commission with no extra cost to you. I truly appreciate your support when using these links. Please click on the logo below the product to shop at your favourite store. All products were personally purchased except those from Clearly Besotted, Hero Arts or those marked with an asterisk (*) which were kindly sent to me to use. You can read my full disclosure here.


COPIC MARKERS: Snow - B00, B000, B000. Pink - R85, R83, R81. Orange - YR16, YR15, YR12. Yellow - Y17, Y15, Y13, Y11, Y00. Green - YG17, YG23, YG03, YG01. Blue - B06, B04, B02. Indigo - B69, B66, B63, B60. Violet - V17, V15, V12, V01. 

I know that the buildings in London are not usually rainbow coloured (sadly!) but I thought it would make a lovely scene! For more inspiration using the new sets, please head over to the Clearly Besotted BlogKerenLisa and our wonderful guests Alberto (Instagram) and Francine. Thank you so much for stopping by today, I hope you have a wonderful day! 

28 September 2021

Clearly Besotted Teasers | Magical Christmas

Hello there and welcome to day two of the Clearly Besotted October 2021 Teasers. For my card today, I am using the new Flaming Festivities set which features lots of adorable dragons. I coloured my dragon purple today, I am not sure you get many purple dragons but I thought it went well with the background! 

PLEASE NOTE: This post contains affiliate links. Please see below for my full disclosure.

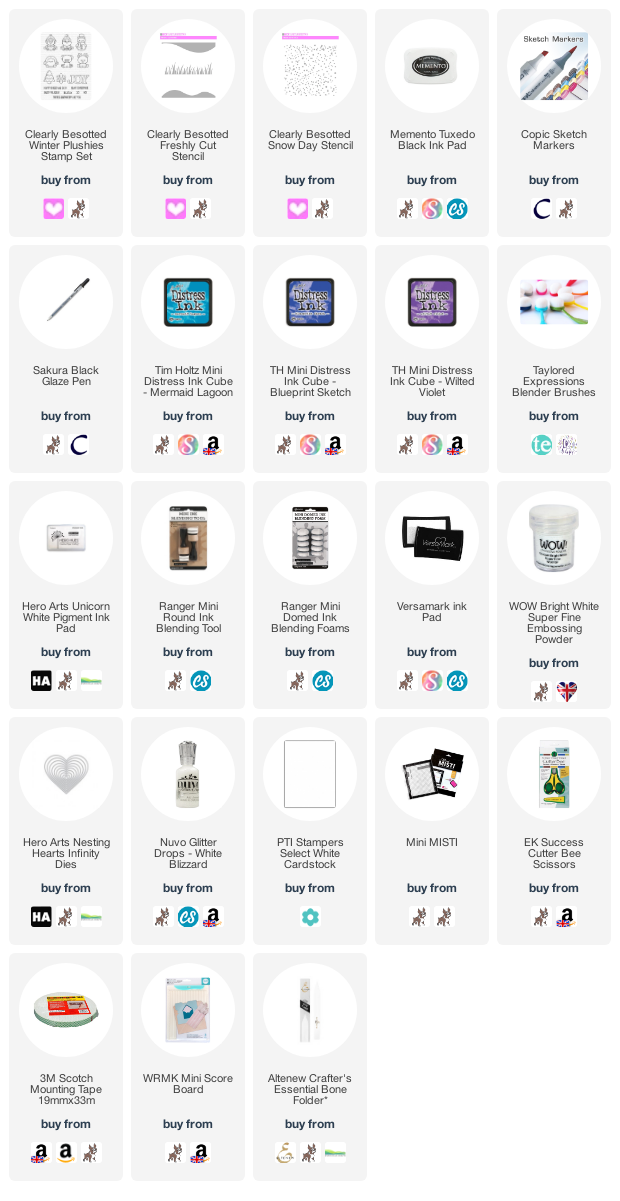
I started off by stamping the dragon from the Clearly Besotted Flaming Festivities Stamp Set, as well as the tree from the older Clearly Besotted Winter Plushies Stamp Set on to white cardstock with Memento Tuxedo Black Ink. I coloured them with Copic Markers (the colours that I used are listed below the supplies area) and fussy cut them out with scissors. 

I then took a Hero Arts Nesting Hearts Infinity Die and cut two pieces of white cardstock with it (one for the front of the card and one for the back). I took the Clearly Besotted Freshly Cut Stencil and placed it over the bottom portion of the heart. Using Ink Blending Brushes and Distress Ink, I added ink to the top half for the sky. I used Mermaid Lagoon, Blueprint Sketch and Wilted Violet

With the stencil still in place, I placed the Clearly Besotted Snow Day Stencil over the top and using an ink blending tool, pounced Hero Arts Unicorn White Pigment Ink in to the gaps for the snow. After cleaning the stencils, I moved the Freshly Cut one down and blended in snow banks. The sentiment from the set was stamped in the upper right corner with Versamark Ink. I applied white embossing powder and heat set. 

I cut a small section off the bottom of the white cardstock heart and then made a score line at the top. It was adhered to the back on the inked one to create the card base, which does stand up. I will share more on how I made this in my release video. The trees and dragon were then added on top with foam tape. To finish off, I added Tonic White Blizzard Nuvo Drops to the dragon's hat and black glaze pen to his eye. 

SUPPLIES:


Here are the links to what I have used on the project. Affiliate links are used on some products. This means that if you make a purchase after clicking on my link, I receive a small commission with no extra cost to you. I truly appreciate your support when using these links. Please click on the logo below the product to shop at your favourite store. All products were personally purchased except those from Clearly Besotted, Hero Arts or those marked with an asterisk (*) which were kindly sent to me to use. You can read my full disclosure here.


COPIC MARKERS: Dragon - V09, V17, V15, V12, V01. Hat - R89, R39, R37, R35, R32. Trees - G29, YG17, YG23, YG03, YG01, E59, E57, E55. 

It is nice to make a little shaped card occasionally. I do think this would work well as a tag too! For more inspiration using the new sets, please head over to the Clearly Besotted BlogKerenLisa and our wonderful guests Alberto (Instagram) and Francine. Thank you so much for stopping by today, I hope you have a wonderful day! 

27 September 2021

Clearly Besotted Teasers | Merry Meerkat

Hello there and welcome to day one of the Clearly Besotted Teasers for the October 2021 release. Release day is Friday, 1st October and from now until then, we will be sharing teasers with you using the new sets. Today I am using the super cute Merry Meerkat set. I love these meerkats and paired it with last month's Meerkat Mischief set. 

PLEASE NOTE: This post contains affiliate links. Please see below for my full disclosure.


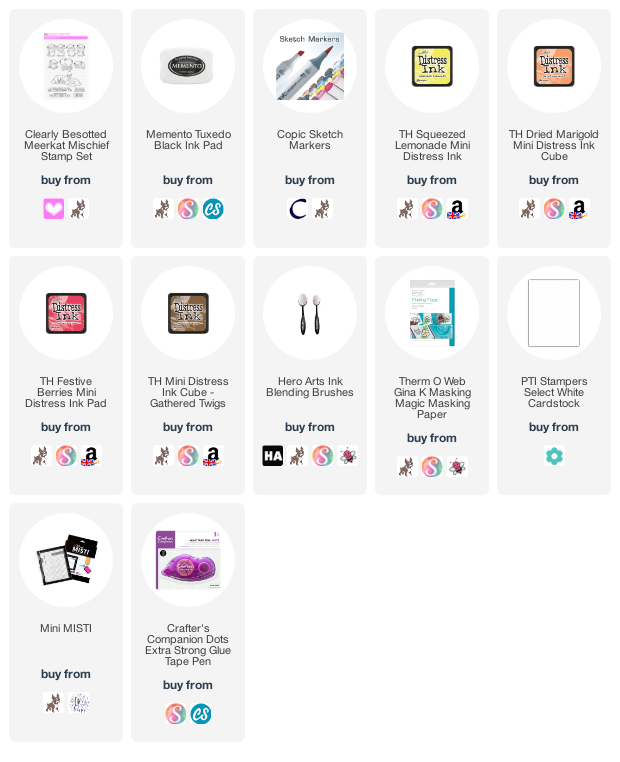
I started off by taking the cactus and the meerkat holding the sign from the Clearly Besotted Merry Meerkat Stamp Set and stamped them on to a panel of white cardstock with Memento Tuxedo Black Ink. I made a mask for them from masking paper and placed the masks over the top of the images. I then stamped the other meerkat and masked him off too. 


I took the landscape image from the Clearly Besotted Meerkat Mischief Stamp Set and stamped it below the meerkats so that they were standing on it. I then made a mask for this as well and placed it over the image. Using ink blending brushes, I blended Distress Inks in Festive Berries, Dried Marigold and Squeezed Lemonade for the sky and a little Gathered Twigs for the ground. 


The masks were all removed and the images coloured with Copic Markers (the colours that I used are listed below the supplies area). I added some dot detail for the ground/sand and then simply adhered the panel to an A2 white card base with tape runner. It is rare that I make a completely one layer card these days but they are perfect for mailing/posting!

SUPPLIES:


Here are the links to what I have used on the project. Affiliate links are used on some products. This means that if you make a purchase after clicking on my link, I receive a small commission with no extra cost to you. I truly appreciate your support when using these links. Please click on the logo below the product to shop at your favourite store. All products were personally purchased except those from Clearly Besotted, Hero Arts or those marked with an asterisk (*) which were kindly sent to me to use. You can read my full disclosure here.


COPIC MARKERS: Meerkats - E39, E37, E35, E33, E31. Ground/sand mounds - E44, E43, E42, E41. Grass - YG17, YG23, YG01. Cactus - G29, YG17, YG23, YG03, YG01. Hats and cactus pot - R89, R37, R27, R24, R14/C5, C3, C1. 

It was nice to do something else for Christmas rather than my usual blues or even red. I tried to make it look a bit like a sunset/sunrise but in reverse. I am not sure it worked but I do like the end result anyway! For more inspiration using the new sets, please head over to the Clearly Besotted Blog, Keren, Lisa and our wonderful guests Alberto (Instagram) and Francine. Thank you so much for stopping by today, I hope you have a wonderful day! 

22 September 2021

Altenew | Paint-A-Flower African Daisy Outline Stamp Release Blog Hop + Giveaway

Hello there, today we are celebrating the release of the new Paint-A-Flower African Daisy Outline Stamp from Altenew. This is a beautiful set that can be used with lots of different colouring mediums, or not coloured at all! The set can be purchased on it's own, or as a bundle with the Watercolor Essential 12 Pan Set or the 24 Pan Set. We are celebrating the release with a fun blog hop, more on that below. 

PLEASE NOTE: This post contains affiliate links. Please see below for my full disclosure.


I started off my card by stamping the Altenew Paint-A-Flower African Daisy Outline Stamp Set on to white cardstock with Altenew Permanent Black Ink. I then coloured the image with Copic Markers. I did have to Google the flowers as I assumed they would be white with a yellow centre. They are in fact lots of different bright colours, so I went with pink shades for mine. 

I fussy cut the image out with scissors and then took a panel of white cardstock and masked off the edges. Using an Altenew Large Ink Blending Tool, I blended on Altenew Cherry Blossom Crisp Dye Inks. I removed the masks and then adhered it flat to a 4.5" x 4.5" card base. The flowers were then added on top with Altenew Instant Dimension Foam Tape

I took the sentiment from the set and stamped it on to black cardstock with Altenew Embossing Ink. I applied Altenew Pure White Crisp Embossing Powder and heat set. It was cut in to a strip and added to the card with more foam tape. 

SUPPLIES:


Here are the links to what I have used on the project. Affiliate links are used on some products. This means that if you make a purchase after clicking on my link, I receive a small commission with no extra cost to you. I truly appreciate your support when using these links. Please click on the logo below the product to shop at your favourite store. All products were personally purchased except those from Clearly Besotted, Hero Arts or those marked with an asterisk (*) which were kindly sent to me to use. You can read my full disclosure here.


BLOG HOP:

As mentioned, this post is part of a fun, inspiration filled blog hop with prizes (see below!). For the hop, you should have arrived here from the amazing Jenny Colacicco. Next on the hop is the fabulous Nathalie DeSousa. If you get lost along the the way or want to start the hop from the beginning, please head over to the Altenew Blog

GIVEAWAY:

$200 in total prizes! To celebrate this release, Altenew is giving away a $50 gift certificate to 2 lucky winners and a $20 gift certificate to 5 winners! Please leave a comment on the Altenew Card Blog and/or each designer’s blog post on the blog hop list below by 27th September 2021 for a chance to win. Altenew will draw 7 random winners from the comments left on each stop of this blog hop and announce the winners on the Altenew Winners Page on 29th September 2021.

You can also subscribe to the Paint-A-Flower Monthly Subscription Plan here. Thank you so much for stopping by to see me today. I really do appreciate it. Take care! 

STAMPtember | Magical Christmas

Hello there and happy 22nd day of STAMPtember 2021! As part of the STAMPtember collaborations, Simon Says Stamp have paired with Clearly Besotted to bring you the super cute Magical Christmas set. This set can be purchased on it's own or with dies. Both are exclusive to Simon Says Stamp and will not be restocked. I am guessing it will go quickly, so if you like it, grab it while you can! 

PLEASE NOTE: This post contains affiliate links. Please see below for my full disclosure.


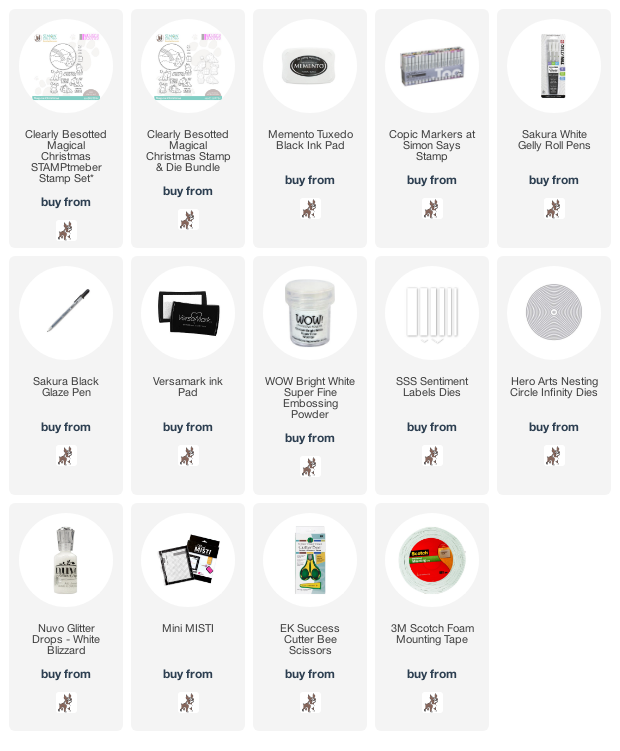
For my card, I thought I would create a little circle card. I love making shaped cards and do not do it enough! I started off by stamping the background element from the Simon Says Stamp + Clearly Besotted Magical Christmas Stamp Set on to white cardstock with Memento Tuxedo Black Ink. I then stamped one of the unicorns from the set on to a separate piece of cardstock with the same ink.


They were both coloured with Copic Markers (the colours that I used are listed below the supplies area) and the unicorn fussy cut out with scissors. I die cut the circle element with a Hero Arts Nesting Circle Infinity Die and then cut a further two circles (a slightly larger size) from blue cardstock. On one, I cut a slither off the bottom and then scored towards the top. I adhered it to the other circle to create a card base (that stands up!). 


The background piece was then added on top with foam tape, followed by the unicorn with more foam tape. I took the sentiment from the set and stamped it on to black cardstock with Versamark Ink. I applied white embossing powder and heat set. It was cut in to a strip using a Simon Says Stamp Sentiment Label Die and then added to the card with more foam tape. To finish off, I added white gel pen sparkles and stars to the sky, black glaze pen to the unicorn's eyes and Tonic White Blizzard Nuvo Drops to the ornaments on the tree. 

SUPPLIES:


Here are the links to what I have used on the project. Affiliate links are used on some products. This means that if you make a purchase after clicking on my link, I receive a small commission with no extra cost to you. I truly appreciate your support when using these links. Please click on the logo below the product to shop at your favourite store. All products were personally purchased except those from Clearly Besotted, Hero Arts or those marked with an asterisk (*) which were kindly sent to me to use. You can read my full disclosure here.


COPIC MARKERS: Unicorn - E53, E51, E50, R30, R00, R000, R000. Antlers - E59, E57, E55. Tree - G29, YG17, YG23, YG03, YG01. Rainbow and ornaments - R85, R83, R81, YR18, YR15, YR12, Y17, Y15, Y11, YG17, YG23, YG01, B01, B00, B000. Clouds - BG11, BG10, BG000. Mountain - BG73, BG72, BG70. Sky - B99, B97, B95, B93. 

There are lots of other adorable unicorns in the set but I loved this one dressed up as a reindeer! For more inspiration using the set, please head over to the Simon Says Stamp Blog. Thanks so much for stopping by today, I really do appreciate it. I will be back later with a blog hop. Have a great day!  

21 September 2021

VIDEO | Quick & Easy Colouring with Stencils and Ink Blending

Hello there, if you saw my announcement a little while ago, you will know that I am excited to have joined the Altenew Card Design Team, as well as the Video Inspiration Team. My first official DT video went up on their channel a few days ago so I can now share it over here on my blog and YouTube channel too :)


For my first tag and card, I am sharing how to you can add quick and easy colouring to stamped images using stencils and ink blending. I still love colouring but it is nice occasionally to not colour stamped images and colour them with ink blending, which is a lot quicker! 


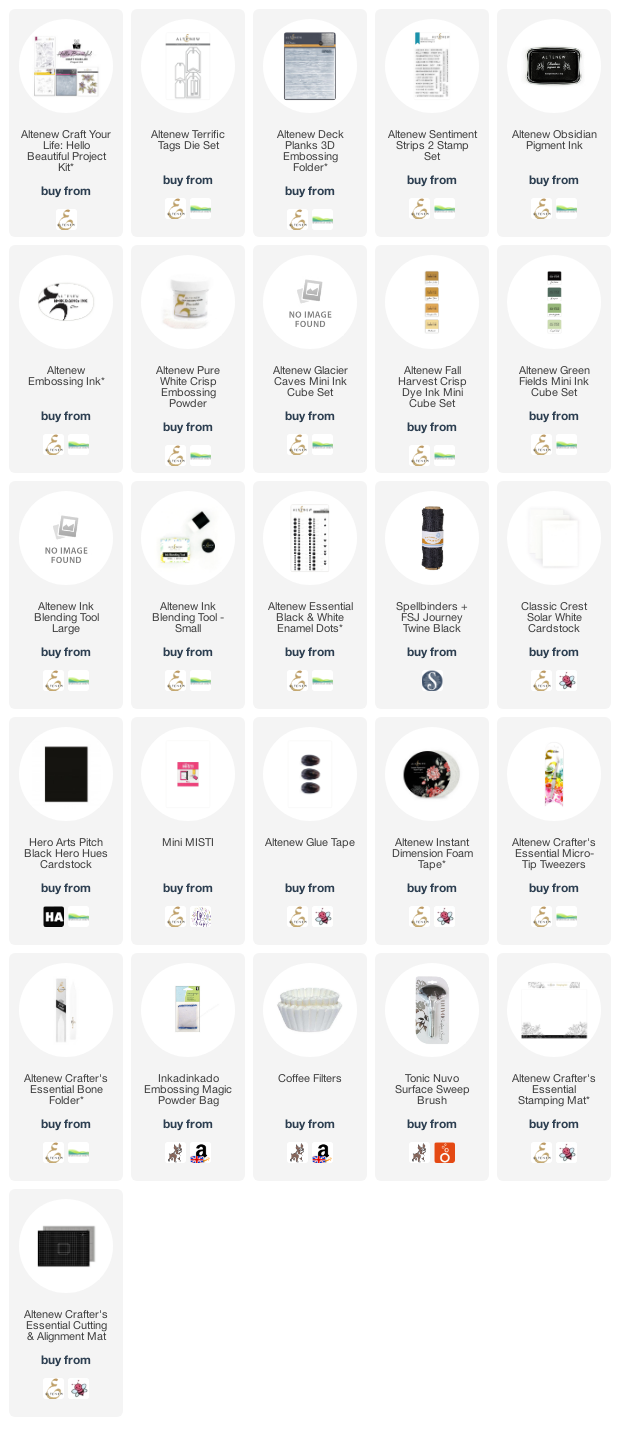
I started off my tag by die cutting an Altenew Terrific Tag Die from Classic Crest 110lb Solar White Cardstock. I then ran it through my die cutting machine with the Altenew Deck Planks 3D Embossing Folder. To bring out the woodgrain texture a little more, I blended on Altenew Glacier Caves Crisp Dye Ink to the bottom of the tag, blending up to white at the top. 


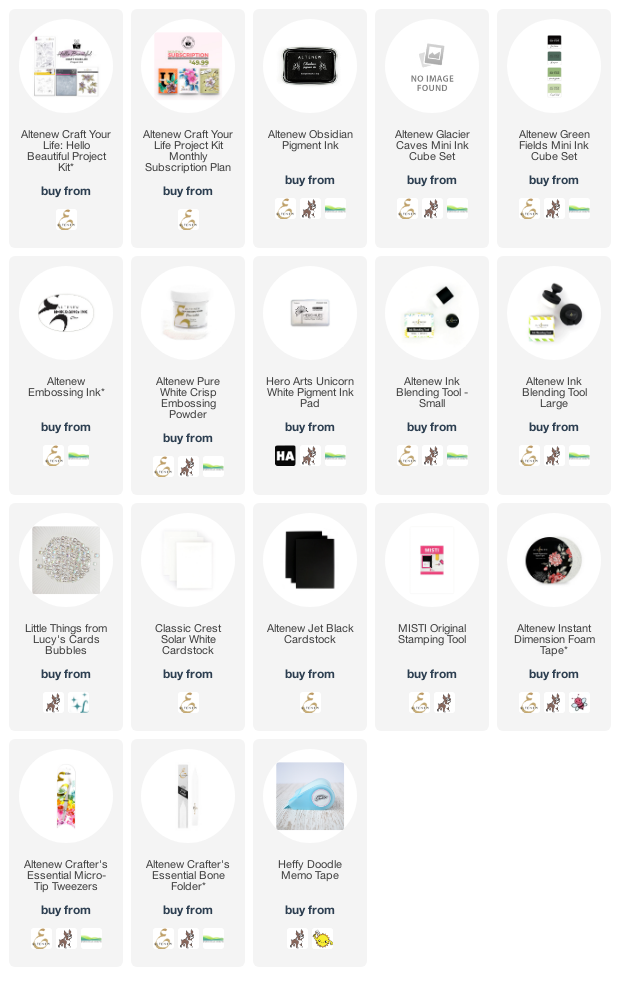
I took the image from the Altenew Craft Your Life Hello Beautiful Project Kit stamp set and stamped it on to white cardstock with Altenew Obsidian Pigment Ink. I then used the Simple Coloring Stencils from the kit to colour the flowers. I used Small Ink Blending Brushes and more Glacier Caves Inks, plus Altenew Fall Harvest Crisp Dye Inks for the flower centres and Altenew Green Fields Crisp Dye Inks for the leaves. The image was then die cut out using the coordinating dies. 


I also die cut the image another two times from white cardstock so that I could stack it up for dimension. I then added it on to the tag, followed by the sentiment, using Altenew Instant Dimension Foam Tape. I added twine through the top of the tag and then embellished with a few Altenew Essential Black & White Enamel Dots


Since I know that tags aren't for everyone. I thought that I would show how to incorporate the tag on to a card. I took an A2 white card base and blended ink at the bottom of it, using the same Caribbean Sky Ink that I used on the tag. I made sure to bring the ink blending on the card to the same height as the tag. 


I adhered the tag on top with foam tape and then added a few more enamel dots popped behind the tag. This, as well as the ink blending, brings the tag and card together, I think. 

VIDEO:


If you are viewing this post via email subscription, you can watch the video HERE on YouTube. 

SUPPLIES:


Here are the links to what I have used on the projects. Affiliate links are used on some products. This means that if you make a purchase after clicking on my link, I receive a small commission with no extra cost to you. I truly appreciate your support when using these links. Please click on the logo below the product to shop at your favourite store. All products were personally purchased except those from Clearly Besotted, Hero Arts or those marked with an asterisk (*) which were kindly sent to me to use. You can read my full disclosure here.


Thank you so much for stopping by today, I really do appreciate. I hope that you enjoy my new series, Terrific Tags with Michelle and if you have any requests for techniques you would like to see me use on tags, I would love to hear your thoughts. Have a wonderful day! 

18 September 2021

STAMPtember 2021 | Make A Wish

Hello there, and happy 18th STAMPtember! As part of the STAMPtember collaborations, Simon Says Stamp is teaming up with Hero Arts today to bring you the Make A Wish set. This stamp set is exclusive to Simon Says Stamp and once it sells out, it will not be restocked so if you like it, grab it while you can! The set is perfect for birthdays but great for any celebrations and anyone who loves desserts! 


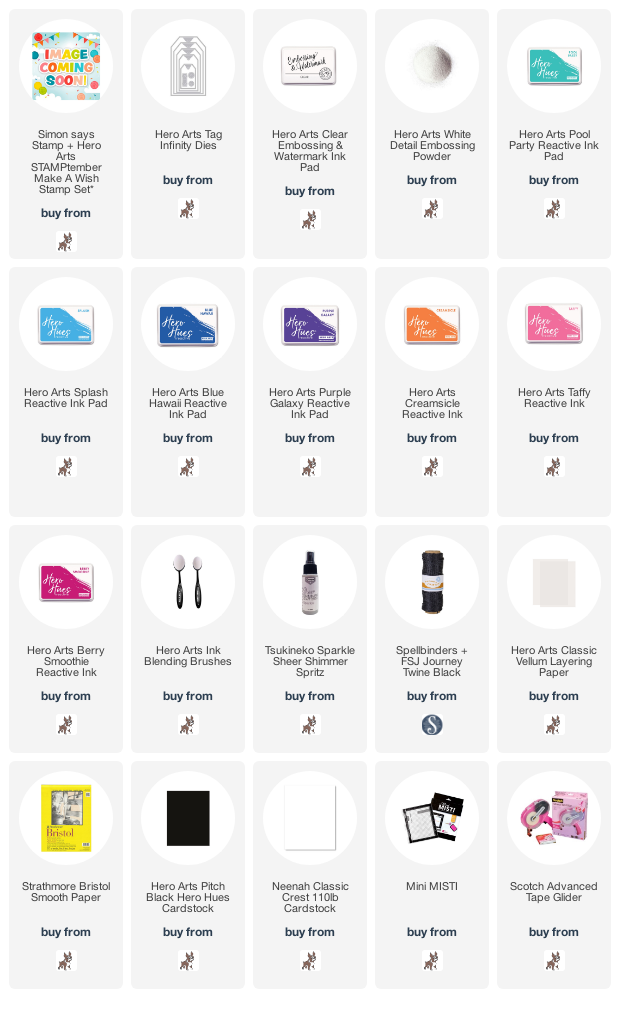
I thought I would create some birthday tags, as I always need birthday cards and tags! I started off by die cutting the Hero Arts Nesting Tags Infinity Dies from Bristol Smooth Cardstock for the fronts and white cardstock for the back. On the Bristol Smooth tags, I added ink blending using Ink Blending Brushes and Hero Arts Reactive Inks. 


I used Pool Party, Splash, Blue Hawaii and Purple Galaxy for the larger tag and Creamsicle, Taffy and Berry Smoothie for the smaller one. I then sprayed and splattered on Sparkle Sheer Shimmer Spritz and set them aside to dry. Once dry, I adhered the white cardstock tags to the back for more stability and to make sure the backs are clean. 


I took two of the images from the Simon Says Stamp + Hero Arts Make A Wish Stamp Set and stamped them on to Classic Vellum Layering Paper with Clear Embossing & Watermark Ink. I applied White Detail Embossing Powder and heat set. I then cut them with the same tag dies, as well as as the topper pieces from Pitch Black Cardstock. The tags were secured together with twine. 

SUPPLIES:


Here are the links to what I have used on the project. Affiliate links are used on some products. This means that if you make a purchase after clicking on my link, I receive a small commission with no extra cost to you. I truly appreciate your support when using these links. Please click on the logo below the product to shop at your favourite store. All products were personally purchased except those from Clearly Besotted, Hero Arts or those marked with an asterisk (*) which were kindly sent to me to use. You can read my full disclosure here.


Although you cannot see much of the background in the photos, in real life, since the vellum layer is not attached, it can be lifted up to see the sparkly goodness underneath! There are lots of other fun images in this set, including lots of desserts. Please head over to the Simon Says Stamp Blog for more inspiration. Thanks so much for stopping by today, wishing you a wonderful weekend! 

17 September 2021

VIDEO | MFT Autumn Fox

Hello there, I am over on the My Favorite Things YouTube channel today, sharing a card using the Let's Curl Up set from last year. This is definitely one of my favourites. I just love those foxes! Since we are going into autumn now, I thought I would create an autumnal feel to the card. 


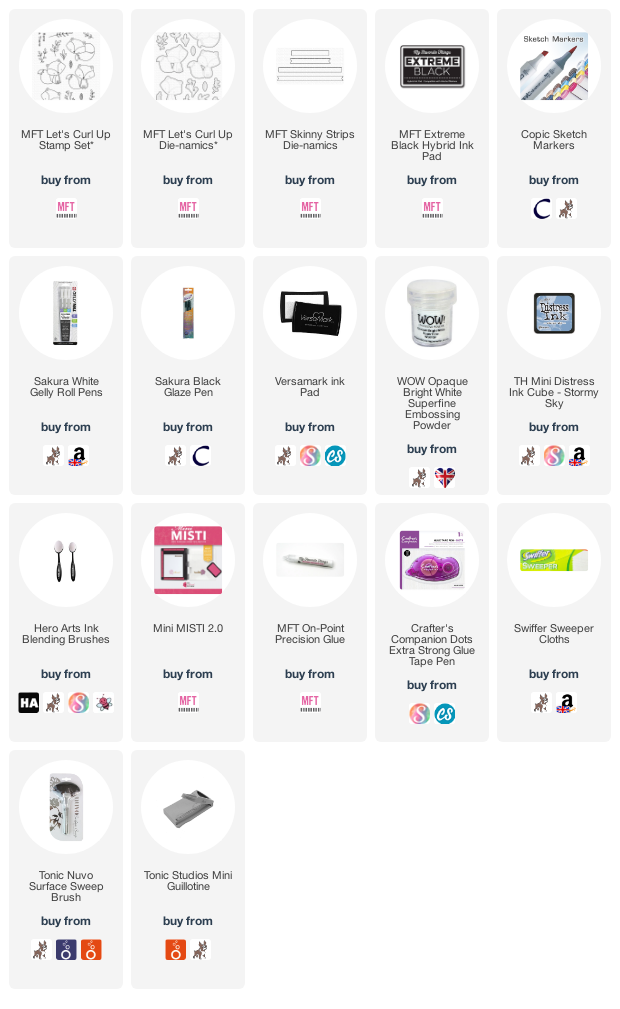
I started off by stamping the fox, leaves and mushrooms from the MFT Let's Curl Up Stamp Set on to white cardstock with MFT Extreme Black Ink. I coloured them with Copic Markers (the colours that I used are listed below the supplies area) and then die cut them out using the MFT Let's Curl Up Die-namics
 

I then stamped the sentiment from the set on to black cardstock with Versamark Ink. I applied white embossing powder and heat set. It was cut in to a strip using the MFT Skinny Strips Die-namics. I took a panel of white cardstock and using an ink blending brush, blended Tim Holtz Stormy Sky Distress Ink at the top of the panel, blending down to white. 


The panel was adhered to an A2 white card base and then the sentiment strip added with foam tape. The mushrooms and leaves were adhered on top with MFT On-Point Precision Glue. The fox was then adhered with foam tape. To finish off, I added white gel pen highlights to the fox and glaze pen to his eyes. 

VIDEO:

Here is the video showing how I made the card:


If you are viewing this blog post via email subscription, you can watch the video HERE on YouTube. 

SUPPLIES:


Here are the links to what I have used on the project. Affiliate links are used on some products. This means that if you make a purchase after clicking on my link, I receive a small commission with no extra cost to you. I truly appreciate your support when using these links. Please click on the logo below the product to shop at your favourite store. All products were personally purchased except those from Clearly Besotted, Hero Arts or those marked with an asterisk (*) which were kindly sent to me to use. You can read my full disclosure here.


COPIC MARKERS: Fox - E09, E19, E17, E15, E13, E11, W3, W1, W0, W00, R32, R30. Mushrooms - R89, R39, R37, R35, R32. Leaves - G28, YG17, YG23, YG01. 

Thank you so much for stopping by today, I really do appreciate it. I hope you are keeping well and staying safe. Wishing you a wonderful day and a great weekend! 

15 September 2021

Altenew | Mini Delight Very Berry Release Hop

Hello there, I am delighted to be joining Altenew today to celebrate the release of the new Mini Delight Very Berry Stamp & Die Set. This is such a sweet set! Perfect for winter and holiday projects. We are celebrating the release with a fun Instagram hop with prizes. So please do head over there to follow along. I thought I would share my projects here though too. 

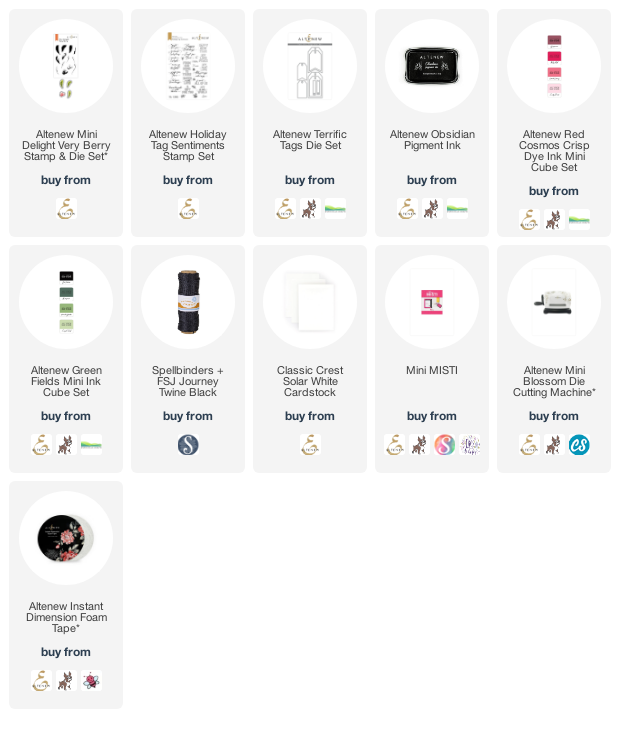
I started off my tags by die cutting the Altenew Terrific Tags Dies from white cardstock. I then stamped the vine from the Altenew Mini Delight Very Berry Stamp & Die Set on top with Altenew Obsidian Black Ink. The leaves were stamped next with Altenew Green Fields Crisp Dye Inks

On a separate piece of cardstock, I stamped the berries using Altenew Red Cosmos Crisp Dye Inks. They were die cut out using the die set and then set aside. I took the Altenew Holiday Tag Sentiments Stamp Set and stamped the sentiments on to the tags. 

I used Altenew Obsidian Black Ink again and then added the berries on to the tags with Altenew Instant Dimension Foam Tape. To finish off, I added twine through the top of the tags. 

SUPPLIES:


Here are the links to what I have used on the project. Affiliate links are used on some products. This means that if you make a purchase after clicking on my link, I receive a small commission with no extra cost to you. I truly appreciate your support when using these links. Please click on the logo below the product to shop at your favourite store. All products were personally purchased except those from Clearly Besotted, Hero Arts or those marked with an asterisk (*) which were kindly sent to me to use. You can read my full disclosure here.


INSTAGRAM HOP + GIVEAWAY

As mentioned, these projects are part of a fun, inspiration filled Instagram hop with prizes. You can find my post on Instagram HERE. Next on the hop is the wonderful Joy Baldwin. If you get lost along the way, please head over to Altenew's Instagram profile. Make sure to leave a comment on my Instgram post for a chance to win a prize!

Thanks so much for stopping by today, I really do appreciate it. I hope you are well and have a wonderful rest of the day! 

12 September 2021

Altenew | Craft Your Life Project Kit: Hello Beautiful Release Blog Hop + Giveaway

Hello there, today we are releasing the third Altenew Craft Your Life Project Kit. This month is Hello Beautiful and let me tell you, it really is beautiful! The kit can be purchased separately or as part of the Craft Your Life Subscription, so that you never miss a kit. More on the kit below. We are celebrating the release with a fun blog hop with prizes, more on that below too. 


For my first card, I started off by stamping one of the floral bouquets from the Hello Beautiful stamp set in the Altenew Craft Your Life: Hello Beautiful Project Kit, on to white cardstock with Altenew Obsidian Black Ink. I then took the Simple Coloring Stencil in the kit and used this to colour the images. There are lots of layers to build up the colour but I decided to use just one for a minimal look.

I used Altenew Glacier Caves Crisp Dye Inks for the flowers and Altenew Green Fields Crisp Dye Inks for the leaves using Altenew Small Ink Blending Tools. They were die cut out with the Hello Beautiful dies (also in the kit) and set aside. I took an A2 white card base and masked off the edges. Using an Altenew Ink Blending Tool, I blended on more Glacier Caves inks, focusing most of the colour in the top left hand corner. 

I took the sentiment from the stamp set and stamped it on to black cardstock with Altenew Embossing Ink. I applied Altenew Pure White Crisp Embossing Powder and heat set. It was cut in to a strip. I adhered the flower on to the card base first and then the sentiment on top, both with Altenew Instant Dimension Foam Tape. To finish off, I added a few Bubbles. 

For my next card, I started off by taking a panel of white cardstock and using Altenew Ink Blending Tools, blended Altenew Glacier Caves and Green Fields Crisp Dye Inks on to it. The blue in the upper left corner and the green in the bottom right, meeting in the middle. The panel was run through my die cutting machine with the Hello Beautiful 3D Embossing Folder (also in the kit). 

I took white pigment ink and blended it over the raised areas on the panel. The panel was adhered to an A2 white card base with foam tape. I then heat embossed the sentiment from the stamp set on to black cardstock, heat set and cut out. It was added to the card with foam tape also. To finish off, I added a few Bubbles. 

SUPPLIES:


Here are the links to what I have used on the project. Affiliate links are used on some products. This means that if you make a purchase after clicking on my link, I receive a small commission with no extra cost to you. I truly appreciate your support when using these links. Please click on the logo below the product to shop at your favourite store. All products were personally purchased except those from Clearly Besotted, Hero Arts or those marked with an asterisk (*) which were kindly sent to me to use. You can read my full disclosure here.


CRAFT YOUR LIFE KIT: HELLO BEAUTIFUL

There is nothing like a bouquet of flowers to bring you joy and contentment! Enjoy our Craft Your Life Project Kit, an exciting monthly package that is sure to get the creative juices flowing! Featuring a 6x8 stamp set, coordinating die set, as well as a stencil and embossing folder to fit the theme, this project kit has almost everything you need to start crafting. 

Just add ink and cardstock, and you'll be good to go! This kit features a gorgeous stamp set with three beautiful floral clusters. The flowers and leaves were drawn with great care, giving special attention to the folds and curves of the petals. The set includes eight messages great for everyday occasions. The kit also features FIVE coloring stencils which will allow you to color the floral clusters in two coloring layers. Furthermore, there is a matching die for each of the floral clusters and an embossing folder featuring an elaborate version of one of the floral clusters from the stamp set. Pair them together for the best results.

BLOG HOP:

As mentioned, this blog post is part of a fun, inspiration filled blog hop with prizes (see below). For the hop, you should have arrived here from the wonderful Nenette S. Madero. Next on the hop is the fabulous LauraJane. If you get lost along the way, or want to start the hop from the beginning, please head over to the Altenew Blog

GIVEAWAY:

$300 in total prizes! To celebrate this release, Altenew is giving away a $50 gift certificate to 2 lucky winners and a $ 25 gift certificate to 8 winners! Please leave a comment on the Altenew Card Blog and/or each designer’s blog post on the blog hop list below by 18th September 2021 for a chance to win. Altenew will draw 10 random winners from the comments left on each stop of this blog hop and announce the winners on the Altenew Winners Page on 20th September 2021.

Thank you so much for stopping by today, I hope you will check out the kit and have a wonderful time on the rest of the hop. Have a lovely day! 
End of code