Showing posts with label Karin Brushmarker Pro. Show all posts

26 March 2025

Alex Syberia Designs | March 2025 BetterPress Release Blog Hop + Giveaway

Hello there, I am delighted to be joining Alex Syberia Designs today to celebrate the release of their new BetterPress products with a fun blog hop. 

Whilst press plates can be hot foiled, I decided to press them for all three of my projects today. For the two background plates, I did re-ink my ink pad each time to try and get the best impression possible. I find this really helpful when using plates with solid parts of the image. 

PLEASE NOTE: This post contains affiliate links. Please see below for my full disclosure.


CHARMING FLORAL BACKGROUND + CLASSIC SENTIMENTS


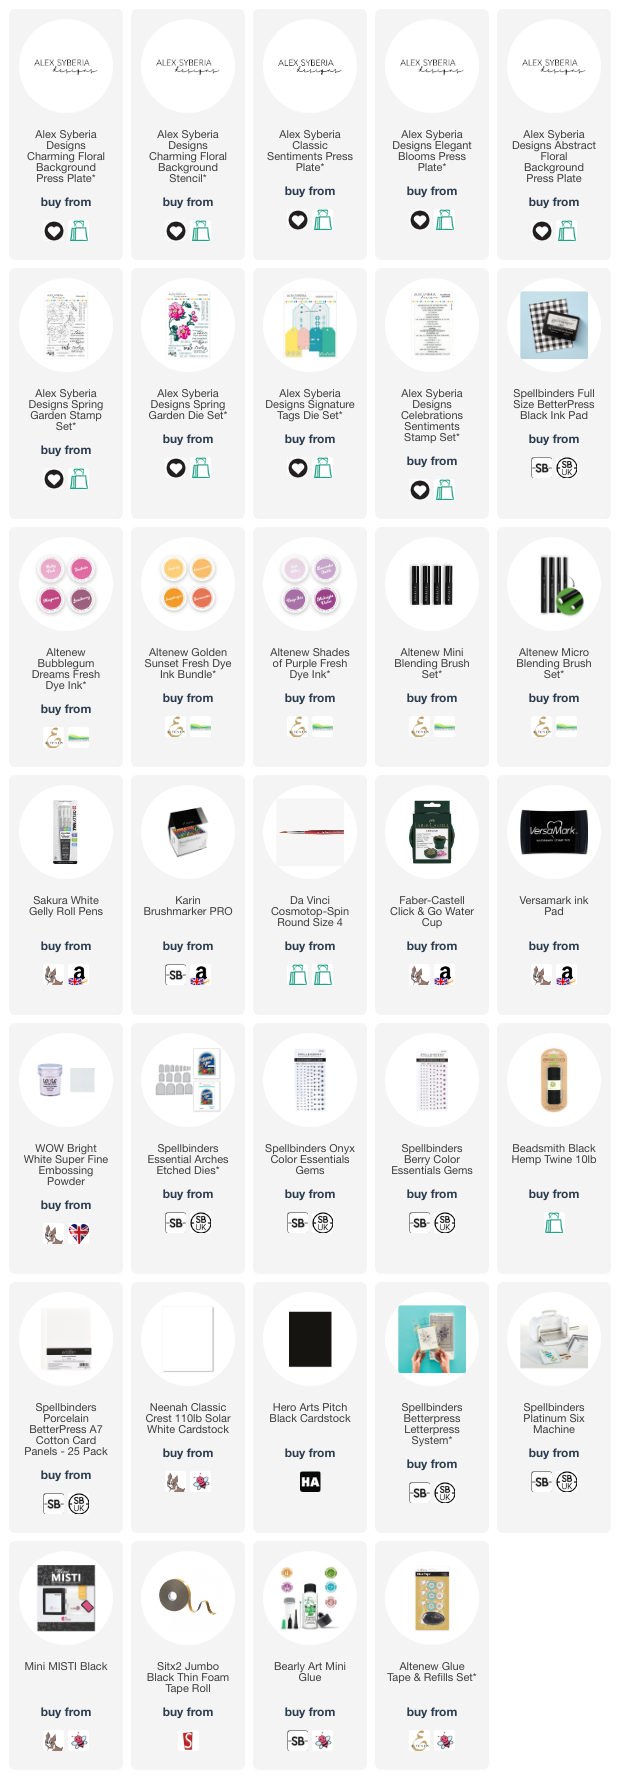
I then took the Alex Syberia Designs Charming Floral Background Stencils and placed the first one over the top of the panel, holding in place with low-tack tape. Using blending brushes, I blended Altenew Bubblegum Dreams Fresh Dye Inks on top for the petals. I used the 3 lightest shades and then for some added depth, blended a little Altenew Midnight Violet Fresh Dye Ink on top. 


For the second stencil (the darker areas on the petals) I used Altenew Magenta and Midnight Violet Fresh Dye Inks. For the third stencil (the flower centres), I used Altenew Golden Sunset Fresh Dye Inks (the three lightest shades). I decided not to use stencils four and five, which colour in the leaves. I thought I would keep them white instead for a different look. 


The panel was adhered to a white US A2 sized card base with tape runner adhesive. I then pressed the Alex Syberia Classic Sentiments Press Plate onto Spellbinders BetterPress A7 Porcelain Cotton Card with Spellbinders BetterPress Black Ink. It was die cut out using the coordinating die and I adhered the 'thank you' onto the card with foam tape. To finish, I added white gel pen dots. 

ELEGANT BLOOMS + CLASSIC SENTIMENTS


For my second project, I started off by pressing the Alex Syberia Designs Elegant Blooms Press Plate onto Spellbinders BetterPress A7 Porcelain Cotton Card with Spellbinders BetterPress Black Ink. I then watercoloured the image using Karin Brushmarker Pro markers, water and a paintbrush. I scribbled a little Magenta to an acrylic block, picked it up with a wet paintbrush and painted it lightly on the flowers.


Once dry, the panel was cut into a tag using the Alex Syberia Designs Signature Tags Dies (one of the largest ones). I took the 'hello' sentiment from the Alex Syberia Classic Sentiments Press Plate that I pressed when making the first card and die cut the die another two times from white cardstock and adhered them behind the pressed one (for added dimension). It was adhered onto the tag using liquid glue. 


I stamped an accompanying sentiment from the Alex Syberia Designs Spring Garden Stamp Set onto black cardstock using Versamark Ink. I applied white embossing powder and heat set. It was cut out using the Alex Syberia Designs Spring Garden Die Set and adhered onto the tag using thin foam tape. To finish, I embellished with Spellbinders Onyx Color Essentials Gems and threaded twine through the top of the tag and tied in a bow. 

ABSTRACT FLORAL BACKGROUND


For my last project today, I started off by pressing the Alex Syberia Designs Abstract Floral Background Press Plate onto Spellbinders BetterPress A7 Porcelain Cotton Card with Spellbinders BetterPress Black Ink. I watercoloured the flowers using Karin Brushmarker Pro markers (Cerise, Magenta, Red Lilac & Lilac), water and a paintbrush. 


I then die cut the panel using a Spellbinders Essential Arches Etched Die. I cut another from white cardstock and added a score line towards the top to create a hinge. I added adhesive to the hinge and adhered it to the back of the pressed one to create the card base. 


I stamped two sentiments from the Alex Syberia Designs Celebrations Sentiments Stamp Set onto black cardstock using Versamark Ink. I applied white embossing powder and heat set. They were cut into strips and adhered to the card with foam tape. To finish, I embellished with Spellbinders Berry Color Essentials Gems

BLOG HOP:


As mentioned, this post is part of a fun blog hop. For the hop, you should have arrived here from Martin. Next on the hop is Lien. If you get lost along the way, or want to start the hop from the beginning, please head over to the Alex Syberia Designs Blog

GIVEAWAY:

Alex Syberia Designs is giving away a £40 ($50 for the USA) gift certificate to 1 winner and a £15 ($15 for the USA) gift card to 3 lucky winners. This giveaway is open internationally, with prizes awarded in GBP (£) for non-U.S. winners and in USD ($) for U.S. winners. All 4 winners will be drawn from the entrants that have played along with this blog hop (by leaving a comment) by April 6th 2025 at midnight BST. Winners will be announced on the Alex Syberia Designs blog 'Giveaway Winners' page on April 7th 2025.


SUPPLIES:


Here are the links to what I have used on the projects. Affiliate links are used on some products. This means that if you make a purchase after clicking on my link, I receive a small commission with no extra cost to you. I truly appreciate your support when using these links. Please click on the logo below the product to shop at your favourite store. All products were personally purchased except those marked with an asterisk (*) which were kindly sent to me to use. You can read my full disclosure here.


Thank you so much for stopping by today, I really do appreciate it. I hope you have a wonderful day and a great time on the rest of the hop! Take care!

20 December 2024

Spellbinders | Floral Garden

Hello there, I hope you are well. Today I have a card to share using the Spellbinders Floral Garden stamp from the Stampendous Beautiful Collection which was released earlier in the year. I thought this stamp was a great opportunity to get my watercolour pens out and have a play!

PLEASE NOTE: This post contains affiliate links. Please see below for my full disclosure.


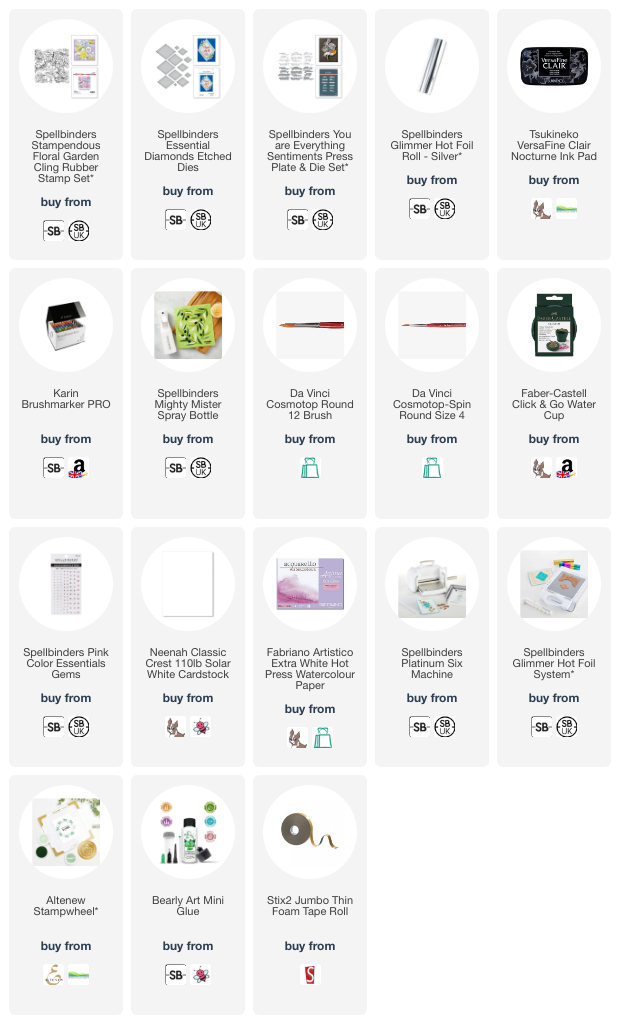
I started off by stamping the Spellbinders Stampendous Floral Garden Cling Rubber Stamp onto Fabriano Artistico Extra White Hot Press Watercolour Paper using Versafine Clair Nocturne Ink. I set it aside to dry before spritzing it with water using the Spellbinders Mighty Mister

I mixed Karin Brushmarker Pro pens with water and dabbed the colour onto the panel to get a light wash. Using the pens directly to the paper, I then added the colour where I wanted it to be the darkest and then blended it out with water and a brush. Since the image is a sketchy image, I kept my water colouring loose. I used four colours - Cerise, Pale Violet, Apple and Turquoise. 

Once the panel was dry, I die cut it using one of the Spellbinders Essentials Diamonds Etched Dies and adhered it to a US A2 sized white card base with thin foam tape. I hot foiled the Spellbinders You Are Everything Sentiments Press Plate & Die Set onto white cardstock using Spellbinders Silver Foil and the Glimmer Hot Foil System. It was die cut out and adhered to the card. To finish, I embellished with Spellbinders Pink Color Essentials Gems

SUPPLIES:


Here are the links to what I have used on the project. Affiliate links are used on some products. This means that if you make a purchase after clicking on my link, I receive a small commission with no extra cost to you. I truly appreciate your support when using these links. Please click on the logo below the product to shop at your favourite store. All products were personally purchased except those from Clearly Besotted, Hero Arts or those marked with an asterisk (*) which were kindly sent to me to use. You can read my full disclosure here.


It was nice to have a break from making Christmas cards! Every year I say that I am going to make them earlier and every year I fail, sadly, so I still have a few more to share here. Thank you so much for stopping by today, I really do appreciate it. I hope you have a wonderful day! 

End of code