*This is my second post of the day, please see below for my Clearly Besotted Teaser*
Hello there and welcome as we celebrate the release of the Hero Arts February 2021 My Monthly Hero Kit and add-ons. The kit this month has a wonderful Hawaii/beach theme to it and it's giving me summer vibes! We are celebrating the release with a fun blog hop. For the hop, you should have arrived here from the amazing Maria but if you get lost along the way, I have the full list of participants below.
For my first project, I am using the wonderful sea turtles and fish from the kit stamp set. I adore turtles and would love to swim with them in the ocean one day! I started off my card by stamping the turtles and fish on to white cardstock using Hero Arts Intens-ified Black Ink. I then coloured them with Copic Markers and die cut the turtles using the coordinating dies in the kit. There isn't a die for the fish, so I simply fussy cut them out with scissors.
Next, I took a panel of Yupo paper and blended Alcohol Inks on to it, moving the inks around with Alcohol Ink Blending Solution and an air blower. I used Tim Holtz Aqua, Turquoise, Mermaid and Patina Alcohol Inks. The piece was left to dry and then adhered on to a top folding A2 card base with a little cut off the edge (I had planned on a different design but it didn't work so the card ended up being 4" x 5.5").
The turtles and fish were added on to the card with foam tape. The sentiment, from the same kit stamp set was stamped on to Hero Arts Pitch Black Cardstock with Hero Arts Clear Embossing & Watermark Ink. I applied Hero Arts White Detail Embossing Powder and heat set. It was cut in to a strip and added to the card with foam tape. To finish off, I added a few Hero Arts Clear Enamel Dots.
My next project uses the floral images in the stamp set. Hibiscus definitely make me think of Hawaii and all the gorgeous tropical colours! I started off by stamping the flowers and leaves on to white cardstock using Hero Arts Intens-ified Black Ink. They were coloured with Copic Markers and cut out using the coordinating dies in the kit.
I took the second smallest of the Hero Arts Nesting Tag Infinity Dies and die cut it from watercolour paper. I blended on Hero Arts Reactive Inks in Taffy, Creamsicle and Lemon Drop and splattered on some water for the reaction. I also die cut the hole reinforcer from black cardstock and adhered that on top.
The flowers were adhered to the tag using Hero Arts Precision Glue and foam tape. I then stamped the sentiment from the stamp set, heat embossed it, cut out out and added it to the tag with more foam tape. To finish off, I added twine through the top of the tag and Hero Arts Enamel Dots from the Sunset and Pinks sets.
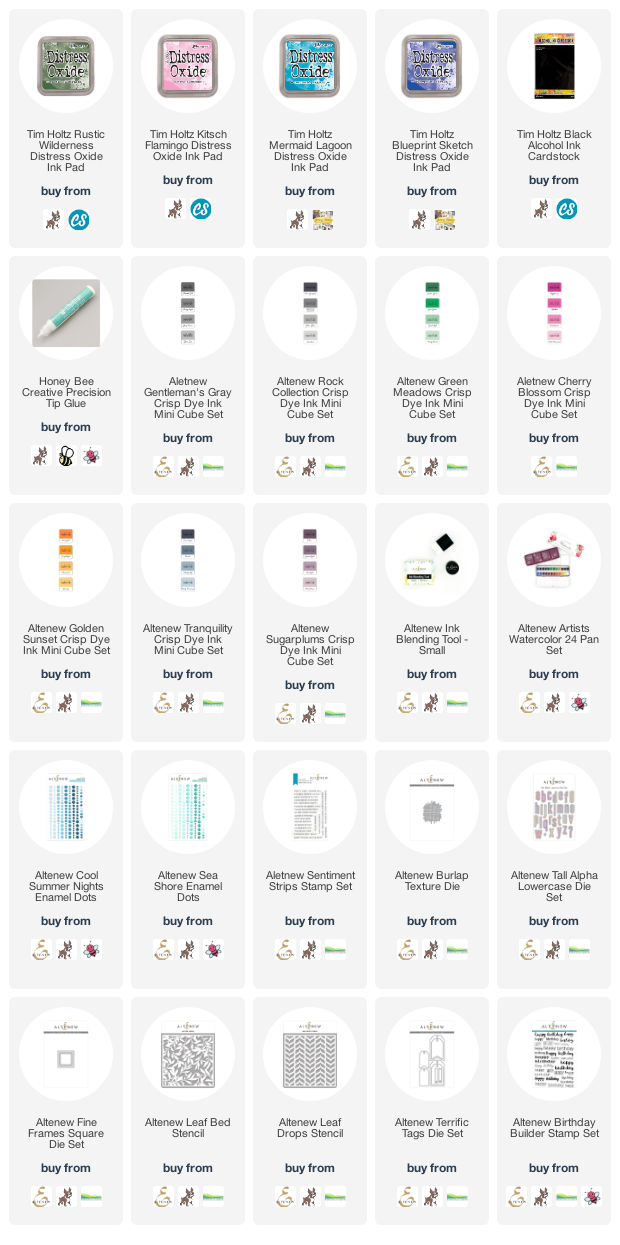
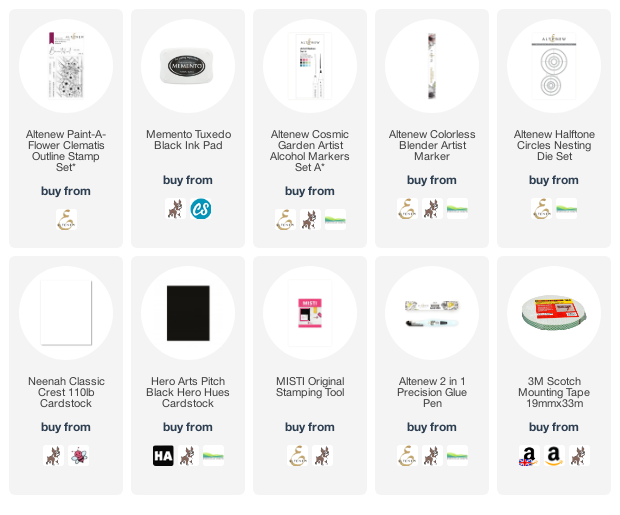
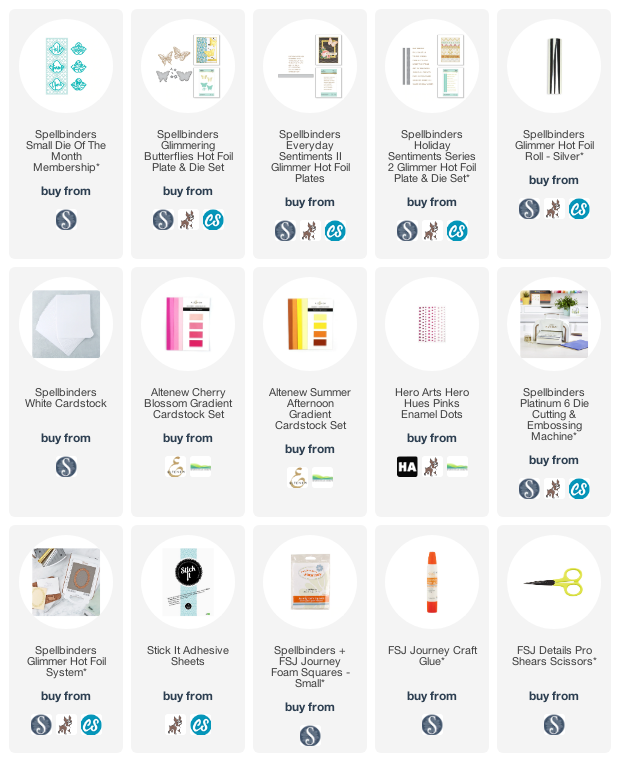
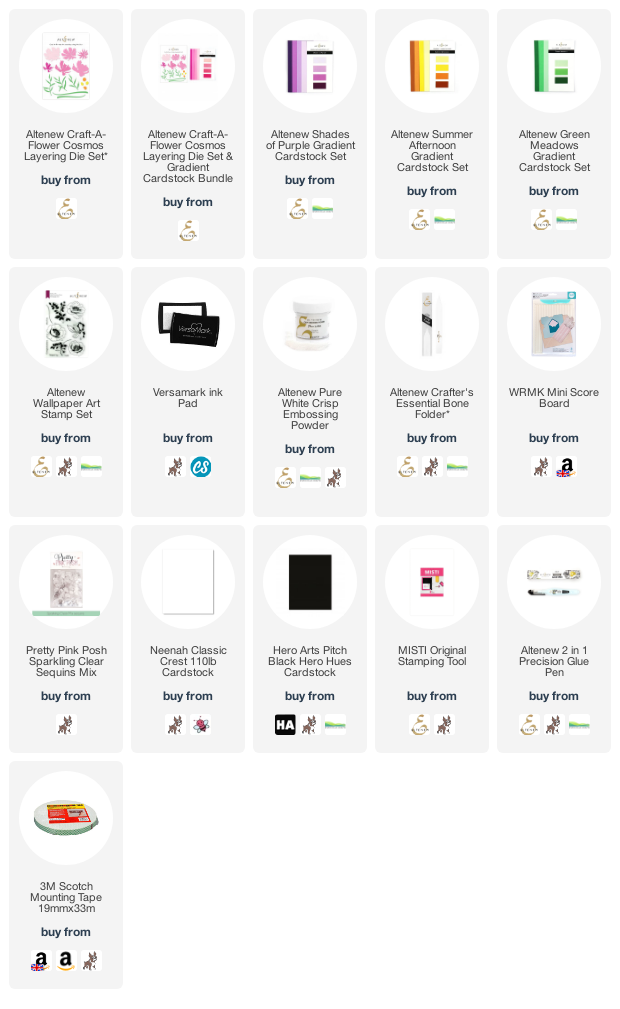
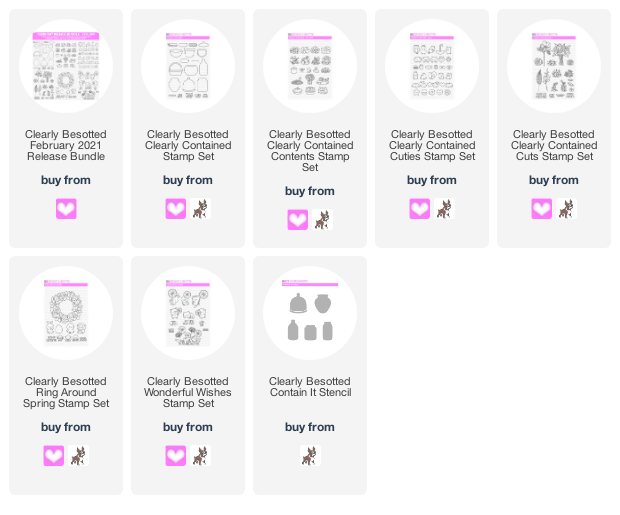
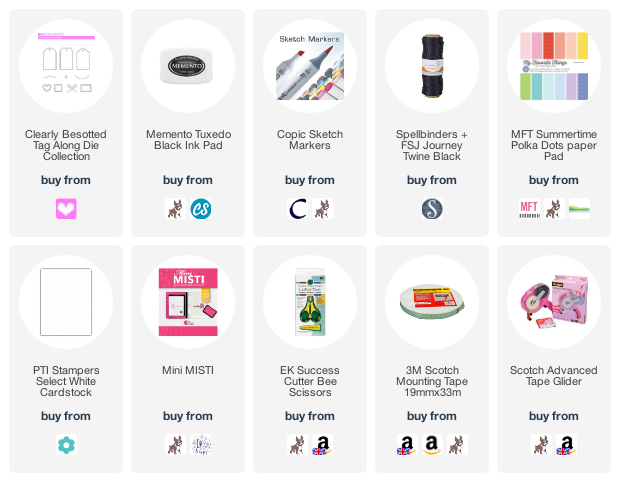
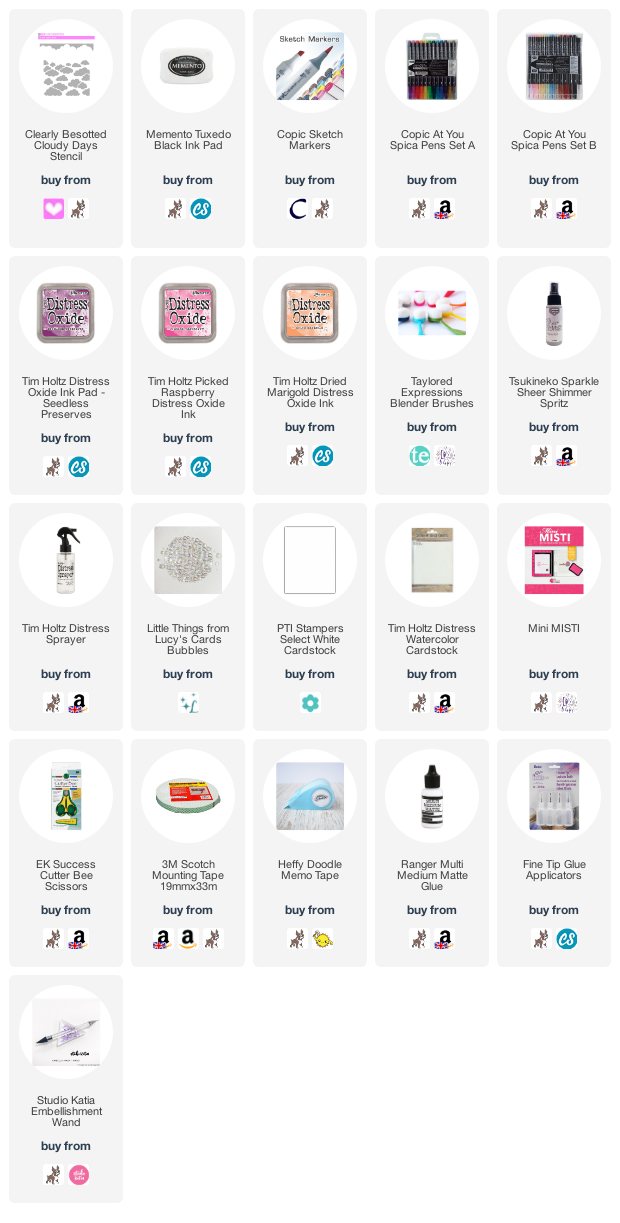
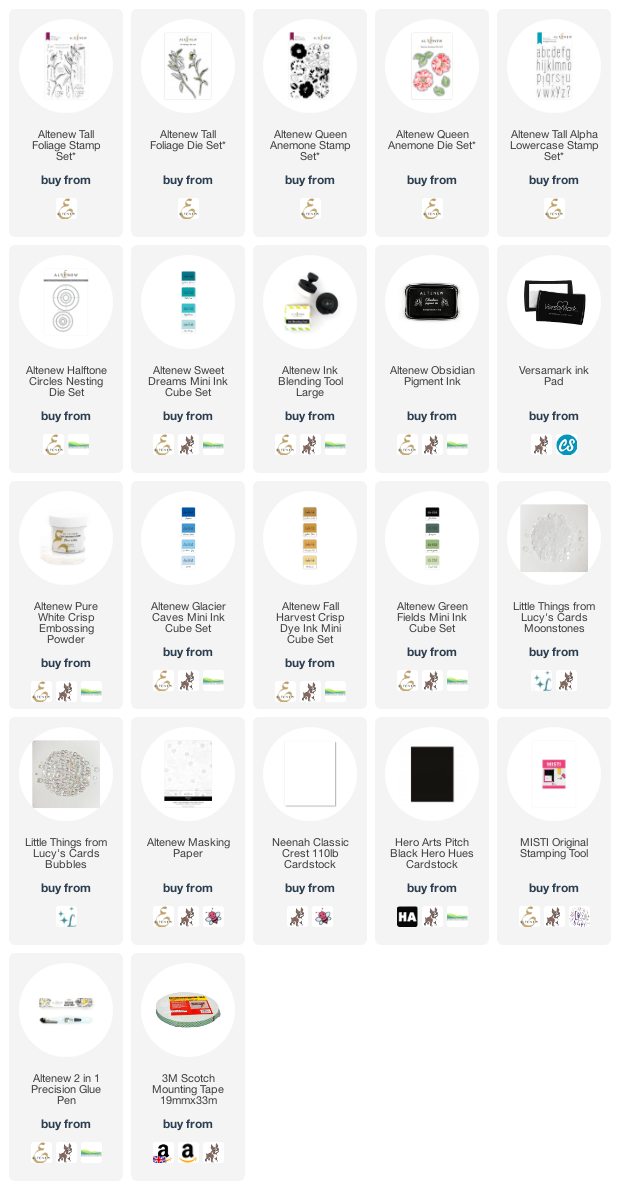
SUPPLIES:
Here are the links to
what I have used on the card. Affiliate
links are used on some products. This means that if you make a purchase after
clicking on my link, I receive a small commission with no extra cost to you. I
truly appreciate your support when using these links. Please click on the logo below
the product to shop at your favourite store. All products were personally
purchased except those from Clearly Besotted, Hero Arts or those marked with an
asterisk (*) which were kindly sent to me to use. You can read my full
disclosure here.
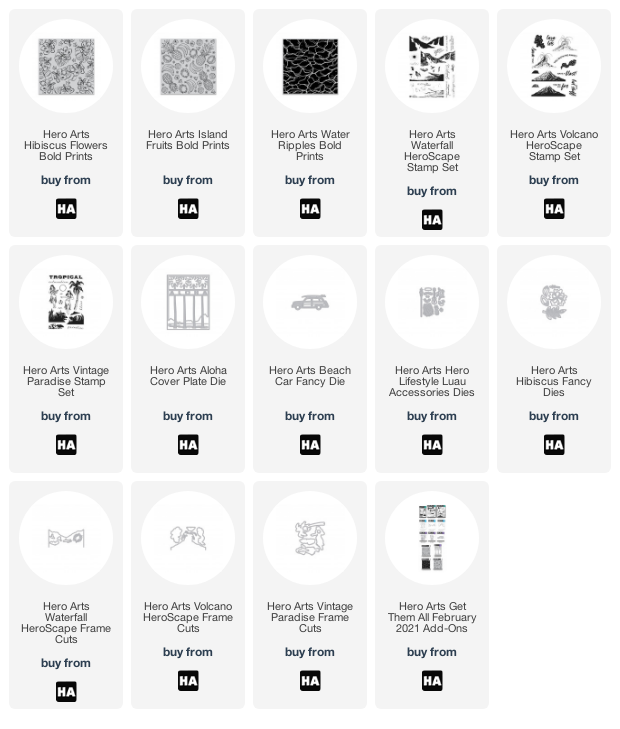
THE KIT:

6" x 8" Stamp Set
21 Coordinating Frame Cuts
Tropical Flower Washi Tape
Sand Embossing Powder
6 5.5" x 8.5" Cardstock (Turquoise, Marrs Green and Coral)
The kit is valued at $70 but you can get it all for $34.99 (approximately £28 depending on exchange rate and taxes). The kits are limited edition and often sell out quickly. You can
subscribe to the kit though, so that you never miss one. Kits begin shipping 5th February 2021.
There are some wonderful add-on products this month. These coordinate with the theme of the main kit but are not limited edition and can be purchased alongside your kit from Hero Arts, or from your favourite Hero Arts retailer. Here is a look at them:
As mentioned, this post is part of an inspiration filled blog hop.
Here are all the participants in the hop today:
Hero Arts are giving away one $50 gift card to one lucky blog hop winner, drawn from all of the comments left across all of the stops in the hop. The more you comment, the more chances you have to win (one comment per stop). Enter by Sunday 7th February at 11.59pm PT. The winner will be announced the following week on the Hero Arts Blog. Good luck!
Next on the hop is the wonderful Mindy. Thanks so much for stopping by today, I hope you enjoy the rest of the hop!