Showing posts with label WOW!. Show all posts

24 October 2018

VIDEO | Embossing on Vellum

Hello there, today I have my last card to share as part of guest designing with WOW Embossing Powder. Today I am creating a Christmas card and embossing on to vellum.

 
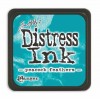
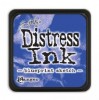
For my card, I started off by creating the background. I took a panel of watercolour paper and masked off the edges with Post-It tape. I then blended Distress Inks in to the centre. I used Candied Apple, Festive Berries and Worn Lipstick. I spritzed the piece with Altenew Iridescent Spay before removing the Post-It tape and setting aside to dry.
 
 
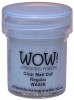
Next, I took the Altenew Festive Poinsettia stamp set and stamped the poinsettia image on to vellum using WOW Clear Ultra Slow Drying Embossing Ink. I applied WOW Oyster Glintz Embossing Powder (a pretty shimmery cream colour) and heat set. The image was then die cut out using the coordinating die. I adhered the background piece on to a white A2 card base with tape runner and then added the vellum poinsettia on top with small dabs of Multi Medium Matte glue.
 
 
I took the 'Merry Christmas' sentiment from the Clearly Besotted Tiny Type stamp set and stamped this on to black cardstock with WOW Embossing Ink. I then applied WOW Opaque Bright White Superfine Embossing Powder and heat set. This was cut in to a strip and added to the card with foam tape. To finish off the card, I added a few Studio Katia White Diamond Crystals.
 
VIDEO:
 
Here is the video showing how I made the card:


 If you are viewing this blog post via email subscription, please watch the video here on YouTube.
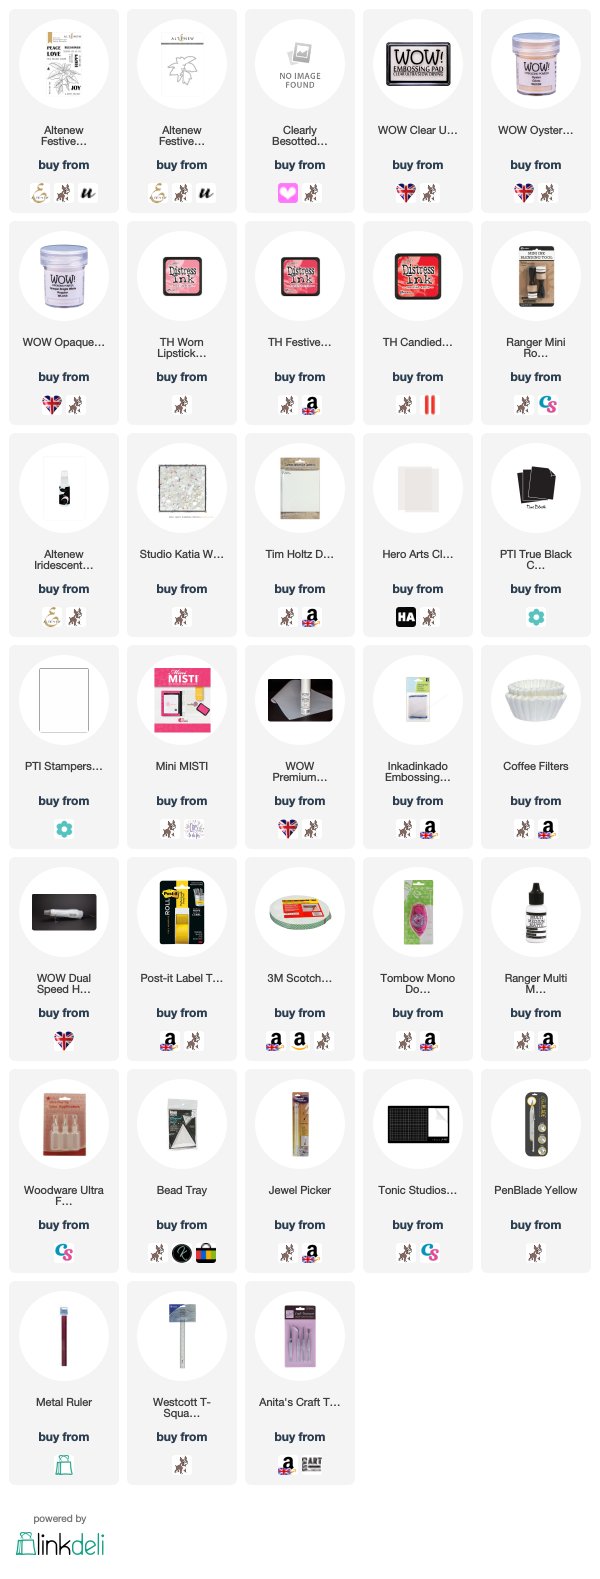
 
SUPPLIES:

Here are the links to what I have used on the card. Affiliate links are used on some products. This means that if you make a purchase after clicking on my link, I receive a small commission with no extra cost to you. I truly appreciate your support when using these links. Please click on the logo below the product to shop at your favourite store. Products marked with an asterisk (*) were kindly sent to me to use.
 
 
I really love the cream colour embossing powder with the reds for Christmas. For more inspiration using WOW Embossing Powder products, please head over to their blog. A big thank you goes to WOW for having me guest with them this month. Thank you so much for visiting me today, I hope you have a great day!

19 October 2018

WOW Embossing Powder with Pink & Main Blog Hop + Giveaway

Hello there, I am delighted to be taking part in the collaboration blog hop with WOW Embossing Powder and Pink & Main today. Both companies have wonderful products and it has been fun to combine them both. More info on the hop below :)
 

For my first card, I started off by stamping the Pink & Main Butterfly Background on to a piece of watercolour paper with WOW Clear Ultra Slow Drying Embossing Ink. I applied WOW Opaque Bright White Superfine Embossing Powder and heat set. I blended Distress Oxide Ink on to the piece, with Salty Ocean at the bottom, Broken China in the middle and Tumbled Glass at the top. This piece was cut down and added to an A2 white card base with foam tape.


I took a piece of white cardstock and added adhesive sheet to both sides. I took the backing paper off one side and applied WOW Santorini Sparkles glitter. I burnished this in to the adhesive and then die cut it using the Pink & Main Thanks die. I also die cut this another two times from white cardstock. They were stacked up with the glitter piece added to the top layer. This was then added to the card.


For my second card, I again stamped the Butterfly Background on to a piece of watercolour paper with WOW Clear Ultra Slow Drying Embossing ink. I applied WOW Opaque Bright White Superfine Embossing Powder and heat set. I then spritzed the piece with water and applied Tonic Nuvo Shimmer Powder in Violet Brocade. I let the powder combine with the water to create some shimmery loveliness and set aside to dry.
 
 
I took the second largest of the Pink & Main Double Stitched Heart Dies and embossed one of these on to an A2 white card base. Once the butterfly piece was dry, I die cut it using the same heart die and adhered this inside the embossed one on the card front with tape runner. I took the sentiments from the Pink & Main Hello Sweet stamp set and stamped this on to black cardstock with WOW Clear Ultra Slow Drying Embossing ink. I applied the same white embossing powder and heat set. This was cut in to a strip and added to the card with foam tape. To finish off, I added a few silver Glossy Dots.
 

SUPPLIES:

Here are the links to what I have used on the card. Affiliate links are used on some products. This means that if you make a purchase after clicking on my link, I receive a small commission with no extra cost to you. I truly appreciate your support when using these links. Please click on the logo below the product to shop at your favourite store. Products marked with an asterisk (*) were kindly sent to me to use.
 

BLOG HOP:
 
 
If you are following along in the hop, you should have arrived here from Lynnea. Next on the hop is Olga. If you get lost along the way, you can start here over on the WOW Embossing Powder blog.
 

GIVEAWAY:
 
WOW Embossing Powder are kindly giving away six embossing powders with carry case and Pink & main are kindly giving away a $25 gift certificate to their shop.  The winners will be picked from the comments left across all of the stops in the hop. The winners will be announced on Wednesday October 22nd at 9am EST on both the WOW Embossing Powder blog and the Pink & Main blog.
 
Thank you so much for visiting me today, I really do appreciate it. I hope you have a great time on the rest of the hop and have a wonderful day!

17 October 2018

With Thanks

Hello there, today I have another card to share with you that I have made as part of my guest designing with WOW Embossing Powder. Since the theme this month is shimmers, I wanted to use one of the Glintz powders. These have a beautiful pearlescent finish to them.


I started off with a panel of watercolour paper. I added masking tape to the edges to create my focal point in the centre. I took one of the leaves from the WPlus9 Autumn Leaves stamp set and stamped this three times on to the panel. I stamped it using WOW Clear Ultra Slow Drying Embossing Ink and then applied WOW Mayan Glintz Embossing Powder.
 
 
I then taped the piece down to a board and added the watercolour. I used purple going into pink/red that goes into yellow and finally green in the bottom right hand corner. I thought these colours would work well for an autumn card and also go well with the tone of the embossing powder. I added the watercolour in layers, deepening the colour as I went. I then set the piece aside to dry.
 
 
Once dry, I removed the masking tape and stamped the sentiment from the WPlus9 Beautiful Bouquets: Ranunculus set using Archival Ink. The piece was adhered flat to an A2 white card base with tape runner.
 
SUPPLIES:

Here are the links to what I have used on the card. Affiliate links are used on some products. This means that if you make a purchase after clicking on my link, I receive a small commission with no extra cost to you. I truly appreciate your support when using these links. Please click on the logo below the product to shop at your favourite store. Products marked with an asterisk (*) were kindly sent to me to use.
 
 
I am not usually a fan of gold tones but I really love the colour of this embossing powder, it is like a softer honey-ish tone of gold. Really pretty! For this card, I was inspired by a previous card that I had made as part of an Online Card Classes class. For more inspiration using WOW Embossing Powder, please do check out their blog. Thank you so much for visiting me today, I hope you have a great day!

11 October 2018

Hello, Amazing Friend

Hello there, today I am back to share my second card as a guest designer with Wow Embossing Powder this month. Today, I thought I would do something that I do not usually do and emboss an image and colour with colour pencils (usually I use watercolour with embossed images).
 

I started off by taking a panel of Fog cardstock and stamping the floral image from the Clearly Besotted Make A Wish stamp set on to it using WOW Clear Ultra Slow Drying Embossing Ink. I applied WOW Silver Pearl Embossing Powder and Heat Set. This is such a pretty powder as it picks up a lot of the colour from the cardstock and gives a lovely pearlescent look too. I then coloured the image using Polychromos Pencils (the colours I used are listed below the supplies section).

 
The panel was adhered to an A2 white card base with foam tape and DST. I took a piece of white cardstock and added an adhesive sheet on the top. I removed the backing paper off the adhesive sheet and then sprinkled over WOW Santorini Sparkles. I pressed the glitter into the adhesive sheet and burnished it in. I then die cut this using the Birch Press Design Sugar Script Hello die. I cut an additional two words from white cardstock and adhered these one on top of another to create a thicker die cut. This was added to the card with liquid glue.
 
 
I then took the Clearly Besotted Tiny Type set and stamped the sentiment on to black cardstock with WOW Clear Ultra Slow Drying Embossing Ink. I applied WOW Opaque White Superfine Embossing Powder and heat set. This was cut in to a strip and added to the card with thin foam tape. To finish off, I added a few Iridescent Jewels.
 
SUPPLIES:

Here are the links to what I have used on the card. Affiliate links are used on some products. This means that if you make a purchase after clicking on my link, I receive a small commission with no extra cost to you. I truly appreciate your support when using these links. Please click on the logo below the product to shop at your favourite store. Products marked with an asterisk (*) were kindly sent to me to use.
 
 
POLYCHROMOS PENCILS: Petals - 156, 153, Luminance 001 White. Leaves - 267, 174, 168, 171. Branch - 274, 272, 271.
 
For more inspiration using WOW products, please do head over to their blog. Thank you so much for visiting me today. I hope you have an amazing day!

3 October 2018

VIDEO | Dipped Embossed Butterfly

Hello there, I am delighted to be guest designing with WOW Embossing Powder this month. They have a huge range of embossing powders in all different finishes, foiling supplies, tools, glitter and lots more as well. Today I am creating a clean and simple card using a dipped embossed technique.
 

I started off my card by die cutting a butterfly from the MFT Flutter of Butterflies Lace set, from white cardstock. I then took an ink blending tool and pressed this in to the WOW Clear Ultra Slow Drying Embossing Pad so that the ink is on the foam. I pounced this on to the edges of the wings of the butterfly, trying to get more on the edges and less in the middle. I applied WOW Metallic Silver Sparkle Embossing Glitter and heat set. I think it looks like the butterflies wings have been dipped in the embossing glitter. So pretty!
 
 
I took a panel of white cardstock and dry embossed the MFT Geometric Stars stencil on to it. The panel was then added to a white A2 card base with tape runner. The butterfly was added on top with liquid glue, only adding it to the centre so that I can lift the wings up for some dimension.
 
 
I took a sentiment from the Clearly Besotted Tiny Type set and stamped this on to black cardstock with the WOW Embossing Pad and applied WOW Opaque Bright White Superfine Embossing Powder. This was heat set and die cut out using one of the dies from the MFT Hearts in a Row Vertical set. The sentiment piece was then added to the middle of the butterfly using foam tape.
 
VIDEO:
 
Here is the video showing how I made the card:


If you are viewing this blog post via email subscription. Please click here to watch the video on YouTube.
 
SUPPLIES:

Here are the links to what I have used on the card and in the video. Affiliate links are used on some products. This means that if you make a purchase after clicking on my link, I receive a small commission with no extra cost to you. I truly appreciate your support when using these links. Please click on the logo below the product to shop at your favourite store. Products marked with an asterisk (*) were kindly sent to me to use.
 
 
I really love the added texture that the embossed stencil gives to the card but keeps the butterfly the star of the show. For more inspiration using WOW products, please head over to their blog. Thank you so much for visiting me today. Have a great day!

22 August 2016

Anniversary Pandas

Hello there, today I have a card to share that I sent to my aunt and uncle to celebrate their wedding anniversary. I thought the ME Pandamonium pandas would be perfect for the card.
 

I started off by stamping the pandas using black ink to a piece of white cardstock. I then added a little bit of colour with Copics before fussy cutting out. I then took the sentiment, from the Clearly Besotted Round Roses stamp set, and stamped this on to black cardstock using Versamark ink. I added white embossing powder to this and then heat set. It was then cut out.
 
 
I took a piece of PTI Pure Poppy cardstock and cut this using a Nestabilities Classic Heart die. I then added a little ink blending around the edges for some depth. I used Festive Berries and Aged Mahogany Distress Inks. I took a white 4.75" card base and used the largest of the SSS Stitched Square dies to emboss the image on to the front. I have a video showing how to do this here.
 
 
I added the heart on to the card base with tape runner, along with the sentiment piece. I then added the pandas on top with foam tape.
 
SUPPLIES:
Here are the links to what I have used on the card. Please click on the picture or wording to be taken to where I purchased it. Affiliate links are used on some products. This means that if you make a purchase after clicking on my link, I receive a small commission with no extra cost to you. I truly appreciate your support when using these links.
 
 COPIC MARKERS: R00, W3, W1, W0.
 
I hope they like it! I really like how it turned out. Those pandas are just so cute! Thank you so much for visiting me today. I hope you have a great day.

11 July 2016

VIDEO | Emboss Resist with Distress Inks

Hello there, today I have two cards to share using the emboss resist technique with Distress Inks. This is one of my favourite ways to make simple backgrounds and I think the cards I have made today make great simple male birthday cards.
 

I started off with two piece of Bristol Smooth cardstock (this works really well with blending Distress Inks and it can take a bit of water without warping so I really loved using it). I stamped the MFT Transparent Triangle Background stamp on to it using Versmark ink. I then coated the cardstock with WOW! Clear Matte Dull Embossing Powder and heat set it.
 

I then applied the embossing powders using an ink blending tool. I used Twisted Citron, Cracked Pistachio and Peacock Feathers on the first panel and Twisted Citron, Peacock Feathers and Blueprint Sketch on the second. I love how when you add the ink over the embossing powder it resists it and you can see the great pattern. For some added interest (since the cards are so simple), I spritzed some water over it using the Distress Sprayer.
 

I then ran the pieces through my Cuttlebug using the largest of the SSS Stitched Rectangle dies. I then ran it through a second time with the MFT Happy Birthday To You die. I was careful to keep the insides of the letters so that I could pop them back in later. The panels were adhered to black A2 card bases using foam tape. I then added in the insides of the letters. I thought about adding enamel dots to the cards but I liked them clean and simple, so I left them as that! :)


VIDEO:

Here is the video showing how I made them:


SUPPLIES:

Here are the links to what I have used on the card. Please click on the picture or wording to be taken to where I purchased it. Affiliate links are used on some products. This means that if you make a purchase after clicking on my link, I receive a small commission with no extra cost to you. I truly appreciate your support when using these links.


I am really glad to have another couple of male birthday cards to add to my box. Thank you so much for visiting me today, I really appreciate it. I hope you have a great day!
End of code