26 April 2024

VIDEO | Sending Tons of Love

Hello there, I am delighted to be over on the My Favorite Things YouTube channel, sharing a card using the adorable YUZU Ear For You set. These elephants and mice are so cute! I thought I would make a one layer card today using masking. 

PLEASE NOTE: This post contains affiliate links. Please see below for my full disclosure.


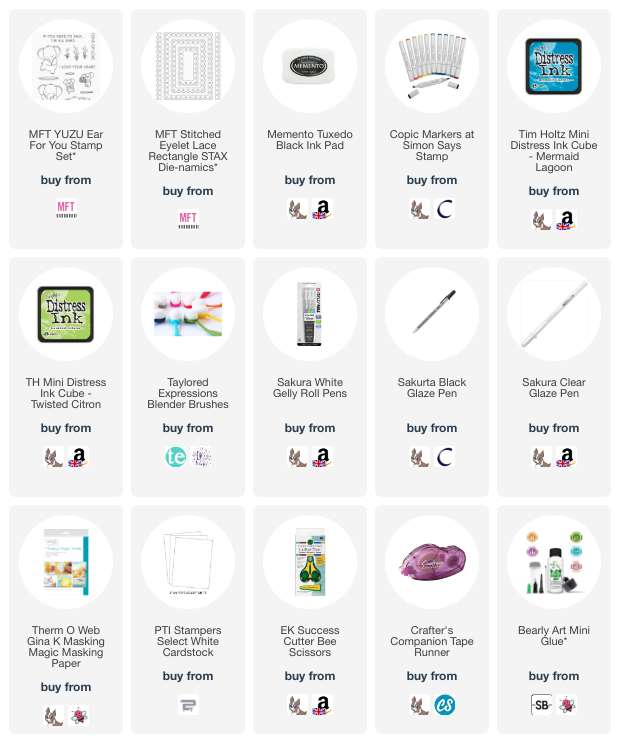
I started off my card by stamping the images (elephant, mouse and tree log) from the MFT YUZU Ear For You Stamp Set onto masking paper. I then fussy cut them out using scissors. I placed them onto a scrap piece of paper so that I could figure out where I wanted to stamp them on the panel. This masking map/template is a great way to make sure you get the placement of the images exactly where you want them. 


I die cut a panel of white cardstock using the largest of the MFT Stitched Eyelet Lace Rectangle STAX Die-namics. Using the masking map/template as a guide, I stamped the images on top using black ink, adding the masks for the images where needed. I also stamped the sentiment from the set onto the panel too. I added ink blending around the images with Distress Inks and blending brushes. 


I used Twisted Citron for the grass/ground and Mermaid Lagoon for the sky. I then removed the masks and coloured the images using Copic Markers (the colours that I used are listed below the supplies area). I adhered another of the die cut panels to the back of the stamped one (for stability) and then adhered a mini (3.5" x 4.75") card base to the back. To finish off, I added white gel pen dots to the elephant's cheeks, black glaze pen to his eyes and clear glaze pen to the nose of the mouse. 

VIDEO:

Here is the video showing how I made the card:


If you are viewing this blog post via email subscription, you can watch the video HERE on YouTube. 

SUPPLIES:


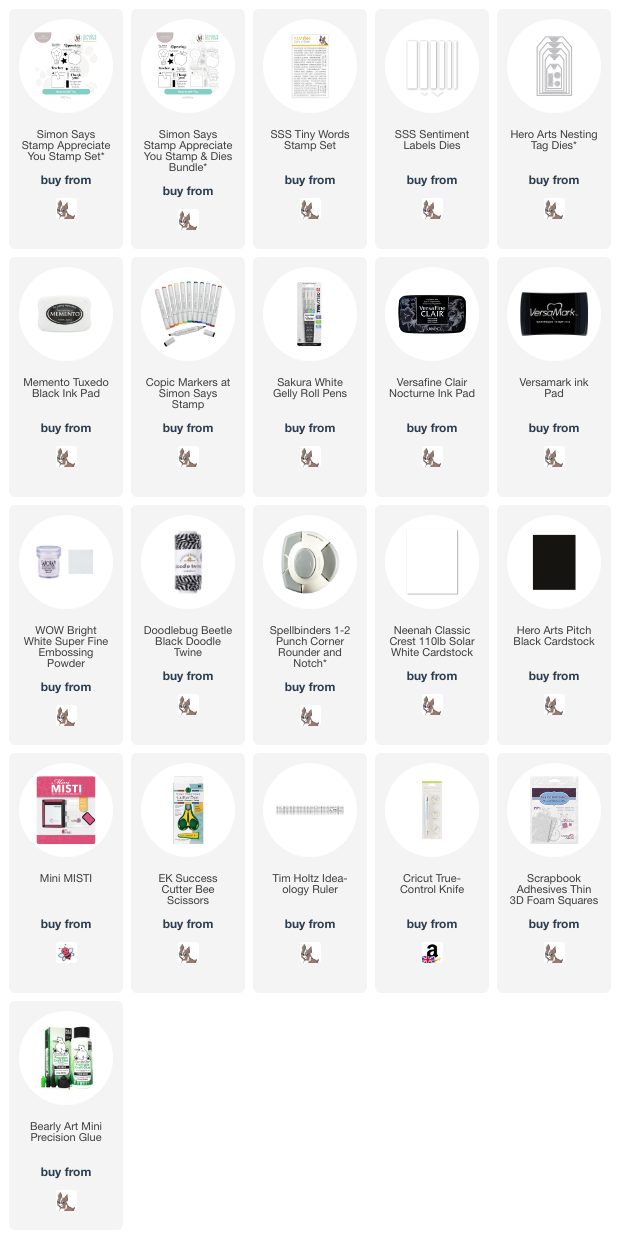
Here are the links to what I have used on the project. Affiliate links are used on some products. This means that if you make a purchase after clicking on my link, I receive a small commission with no extra cost to you. I truly appreciate your support when using these links. Please click on the logo below the product to shop at your favourite store. All products were personally purchased except those from Clearly Besotted, Hero Arts or those marked with an asterisk (*) which were kindly sent to me to use. You can read my full disclosure here.


COPIC MARKERS: Tree log - E49, E59, E57, E55. Elephant - C8, C6, C5, C4, C3, C1, C0, RV55, RV52. Mouse - E27, E25, E23, E21, RV66, RV55, RV52. Grass - G29, YG17, YG23, YG01. Sky - B02, B01. 

Whilst it is a little more work, I do like that the images are all one, rather than them being die cut and then adhered. However, I still think that would look good too! Thank you so much for stopping by today, I hope you have a wonderful day! 

18 April 2024

Simon Says Stamp | Appreciate You

Hello there, today I have a card and tag to share using the Appreciate You Stamp Set from the new Simon Says Stamp Celebrate release, which is out today. They kindly sent me the set to use that is aimed towards teachers. 

PLEASE NOTE: This post contains affiliate links. Please see below for my full disclosure.


I kept the projects simple, keeping lots of white space. I started off by stamping the apple from the Simon Says Stamp Appreciate You Stamp Set onto white cardstock using Memento Tuxedo Black Ink, twice. I then coloured them using Copic Markers (the colours that I used are listed below the supplies area). 


I stamped two of the sentiments from the set (stamping the teacher one twice) onto white cardstock using Versafine Clair Nocturne Ink. I fussy cut the apples and sentiments out using scissors, but there are dies available for the set. 


For the card, I took a US A2 sized white card base and rounded the corners using the Spellbinders 1-2 Corner Rounder and Notch Punch. I then simply adhered the apple and sentiments on top using thin foam tape. To finish, I added white gel pen highlights to the apple. 


For the tag, I die cut a middle size tag from the Hero Arts Nesting Tag Dies from white cardstock. I then cut it down so that it was shorter. I cut the hole reinforcer from black cardstock and adhered that on top using liquid glue. I adhered the apple on top using thin foam tape, as well as the 'teacher' sentiment.


I then stamped the 'thank you' sentiment from the Simon Says Stamp Tiny Words Stamp Set onto black cardstock using Versamark Ink. I applied white embossing powder and heat set. It was cut into a strip and then adhered to the tag with more thin foam tape. To finish, I added twine through the top of the tag and added white gel pen highlights to the apple. 

SUPPLIES:


Here are the links to what I have used on the projects. Affiliate links are used on some products. This means that if you make a purchase after clicking on my link, I receive a small commission with no extra cost to you. I truly appreciate your support when using these links. Please click on the logo below the product to shop at your favourite store. All products were personally purchased except those from Clearly Besotted, Hero Arts or those marked with an asterisk (*) which were kindly sent to me to use. You can read my full disclosure here.


COPIC MARKERS: Apple - R89, R39, R29, R27, R24, R22. Stem - E49, E29, E27, E25, E23. Leaves - G29, YG17, YG23, YG01. 

Thank you so much for stopping by today, I hope you have a wonderful day! 

16 April 2024

Spellbinders | Handmade For You

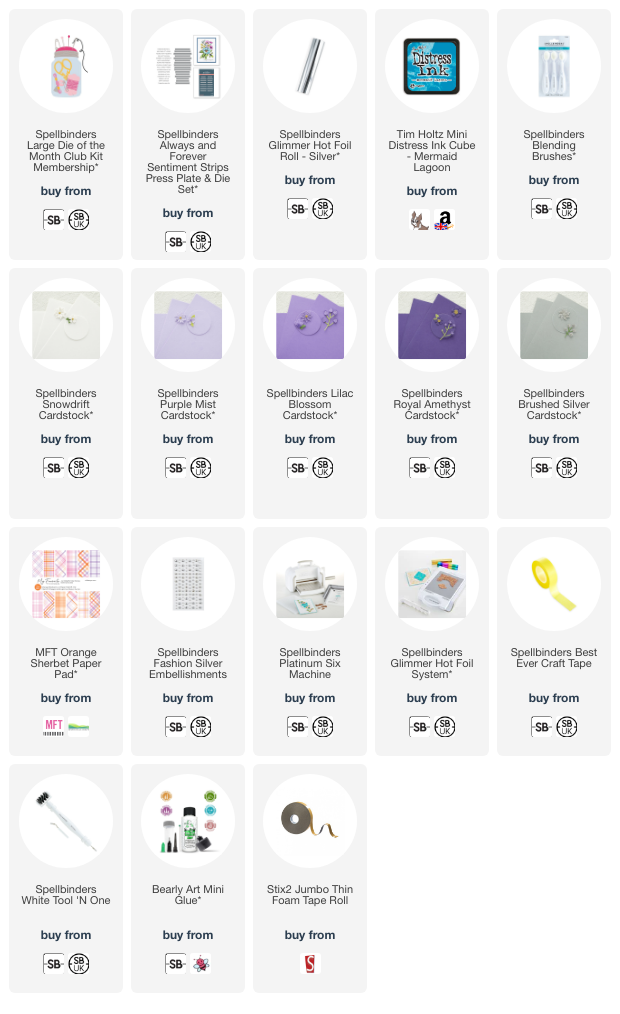
Hello there, today I have a card to share using the Spellbinders April 2024 Large Die of the Month Club Kit called "Pins and Needles Jar". As you can see, the theme for the kits this month is sewing. This kit includes the sewing jar, plus all the sewing items to go in it, but you can use them separately too! 

PLEASE NOTE: This post contains affiliate links. Please see below for my full disclosure.


I started off by die cutting the jar from the Spellbinders April 2024 Large Die of the Month Club Kit twice from white cardstock. I made a score line at the top of one to create a hinge. I adhered that to the top of the other piece to create a card base. I blended Mermaid Lagoon Distress Ink around the edges using a Blending Brush


I cut the pin cushion bit from MFT Orange Sherbet Paper and the metal piece from Spellbinders Brushed Silver Cardstock. They were adhered to the base using Bearly Art Glue. I then die cut all the sewing pieces from Spellbinders Snowdrift, Purple Mist, Lilac Blossom, Royal Amethyst and Brushed Silver Cardstock. The pieces were adhered together using Bearly Art Glue and then adhered to the base using Bearly Art Glue and thin foam tape. 


I hot foiled a sentiment from the Spellbinders Always and Forever Sentiment Strip Press Plate & Die Set onto white cardstock using Spellbinders Silver Foil. It was then die cut out using coordinating die. I added Spellbinders Fashion Silver Embellishments to the scissors and then adhered the sentiment with thin foam tape. 

SPELLBINDERS CLUB KITS

I hope that you will check out the Spellbinders Club Kits. It is a wonderful monthly subscription where you receive the kit each month. Designers like myself share inspiration using the kit at the beginning of the month to show you lots of different ways that you can use it. 

There are also lots of other club kits too, like the Small Die of the Month, Clear Stamp & Die of the Month, Embossing Folder of the Month (plus lots more!), so there is something for everyone! If you do subscribe, you will get other benefits from Spellbinders too. Please see here for more information. You can also buy older kits here too. 

To buy the kit - if you are a current subscriber to the Large Die of the Month Club Kit (or any kit), you do not need to do anything. You will be charged as normal on the 5th of the month and your kit will be shipped to you. If you are a new subscriber, you can purchase the kit from the 6th - 27th April 2024. Members can cancel their membership at any time.


SUPPLIES:


Here are the links to what I have used on the project. Affiliate links are used on some products. This means that if you make a purchase after clicking on my link, I receive a small commission with no extra cost to you. I truly appreciate your support when using these links. Please click on the logo below the product to shop at your favourite store. All products were personally purchased except those from Clearly Besotted, Hero Arts or those marked with an asterisk (*) which were kindly sent to me to use. You can read my full disclosure here.


Without the pins in the top, the jar fits inside of an A2 sized envelope, but since I added them, I'll have to make a custom envelope for this card! Thank you so much for stopping by today, I really do appreciate it. I hope you have a wonderful day! 

13 April 2024

Spellbinders | Glimmering Flowers

Hello there, I hope things are well with you. Today I have a few cards to share using the new Spellbinders Glimmering Flowers collection. This is a small collection consisting of two beautiful glimmer hot foil plates (and coordinating stencils) and a sentiment set. 

PLEASE NOTE: This post contains affiliate links. Please see below for my full disclosure.


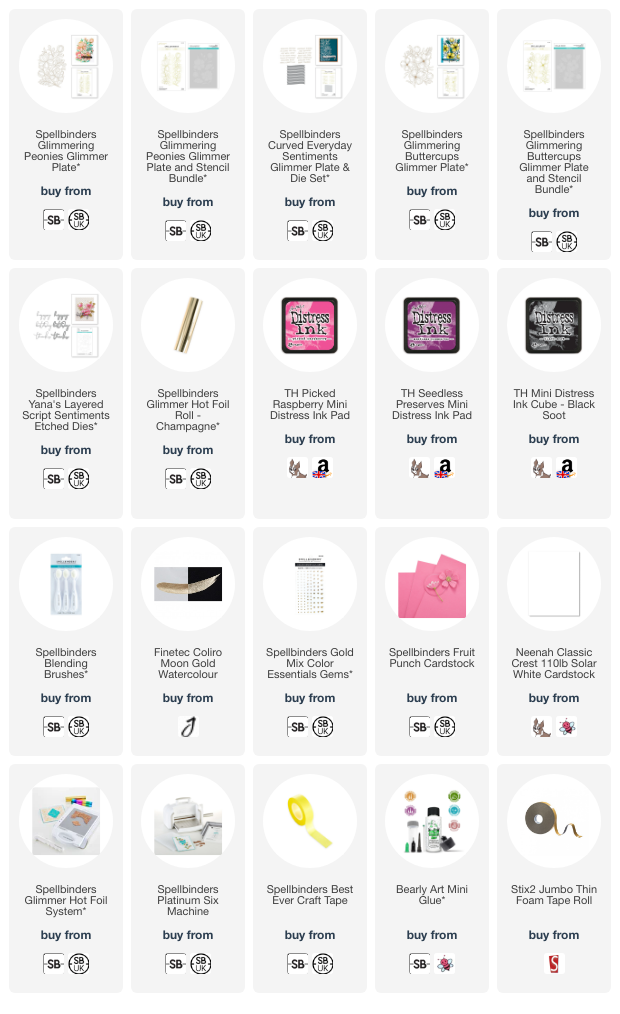
I started off this card by hot foiling the Spellbinders Glimmering Peonies Glimmer Plate onto Spellbinders Fruit Punch Cardstock with Spellbinders Champagne Foil using the Spellbinders Glimmer Hot Foil System. I then cut the panel down to 5" x 3.75" and added ink blending around the edges with Picked Raspberry, Seedless Preserves and Black Soot Distress Ink using Blending Brushes


I splattered on Coliro Finetec Moon Gold Watercolour before setting aside to dry. Once dry, the panel was adhered to a US A2 sized white card base with thin foam tape. I die cut the 'happy' die from the Spellbinders Yana's Layered Script Sentiment Etched Dies three times, adhered one on top of another using Bearly Art Glue and then adhered it on to the card. 


I took the Spellbinders Curved Everyday Glimmer Plate & Die Set and hot foiled it onto white cardstock with Spellbinders Champagne Foil. It was then die cut out using the coordinating die. I took the 'birthday wishes' sentiment, cut the edge off and adhered it to the card below the 'happy' with thin foam tape. To finish, I embellished with Spellbinders Gold Color Essentials Gems


I am also sharing three cards using this collection over on the Spellbinders Blog. The card above uses the Spellbinders Glimmering Buttercups Glimmer Plate and Stencil Bundle, along with the Spellbinders Curved Everyday Glimmer Plate & Die Set to create an oval shaped card. For more information on the card and to see the others, please head over to the Spellbinders blog

SUPPLIES:


Here are the links to what I have used on the projects. Affiliate links are used on some products. This means that if you make a purchase after clicking on my link, I receive a small commission with no extra cost to you. I truly appreciate your support when using these links. Please click on the logo below the product to shop at your favourite store. All products were personally purchased except those from Clearly Besotted, Hero Arts or those marked with an asterisk (*) which were kindly sent to me to use. You can read my full disclosure here.


Thank you so much for stopping by today. I hope you have a wonderful weekend! 

11 April 2024

Altenew | April 2024 Release Blog Hop + Giveaway

Hello there, I am delighted to be joining Altenew today to celebrate the April 2024 release with a fun blog hop. There are lots of lovely products in this release - stamps, dies, embossing folders, stencils, embellishments, tools and inks! 

I have quite a lot to share with you today, so grab a drink and a snack and I hope you like the inspiration that I am going to share!

PLEASE NOTE: This post contains affiliate links. Please see below for my full disclosure.


For my first card, I am using the Altenew Pink Star Tulip Layering Die Set that creates the most beautiful flower! I cut the flower petals and leaves from white cardstock and then added ink blending on top using Altenew Mini Blending Brushes. I used Altenew Sugarplums Fresh Dye Inks for the petals and Altenew Rock Collection Fresh Dye Inks for the leaves. 


I adhered the layers for the flower (using the keyhole system) together with liquid glue and then set the flower and leaves aside. I took a black A2 sized card base and splattered on a mixture of Altenew Titanium White Artists' Gouache and a little water on the front. The card base was then set aside to dry. Once dry, the leaves were adhered first, followed by the flower (both with liquid glue). 


I took the 'happy birthday' sentiment from the Altenew Soft Blossom Stamp Set and stamped it onto black cardstock using Altenew Embossing Ink. I applied Altenew Pure White Crisp Embossing Powder and heat set. It was cut into a strip and adhered to the card with Altenew Instant Dimension Foam Tape. To finish off, I embellished with Altenew Sugarplums Enamel Dots


My next card uses the new Altenew 10th Anniversary Bouquet of Poppies set. This huge (9" x 12") stamp set features a gorgeous bouquet of poppies, individual ones, plus lots of sentiments. I stamped the poppies arrangement onto white cardstock using Altenew Obsidian Pigment Ink and the Altenew Stampwheel. Using the sticky mat to keep them in place, I placed the Altenew Bouquet of Poppies Stencils on top, one by one. 


I added ink blending to the image with Altenew Mini and Micro Ink Blending Brushes. I used Altenew Rose Petal Fresh Dye Inks for the flowers, Altenew Golden Sunset Fresh Dye Inks for the flower centres, and Altenew Green Valley Fresh Dye Inks for the leaves. I then fussy cut the image out with scissors (there is a die set but it does not cut out the larger image that I used). 


I placed a panel of white cardstock inside the Altenew Deck Planks 3D Embossing Folder and ran it through my die cutting machine. I then adhered the poppy image on top, using Altenew Instant Dimension Foam Tape. I cut the overlapping edges off, before adhering to an A2 sized white card base with Altenew Glue Tape. I stamped and heat embossed a sentiment from the set onto black cardstock, cut it onto a strip and adhered it to the card. To finish off, I embellished with Altenew Crystal Clear Enamel Dots


My next card uses the new Altenew Floral Radiance Layering Stencil Set, which is so pretty! I started off by taking a panel of white cardstock and placing it onto the Altenew 9" x 12" Sticky Mat. I then took the stencils and one by one, placed them onto the panel (holding them in place with the sticky mat) to add ink blending. 


I used Altenew Sweet Dream Fresh Dye Inks for the aqua flowers, Altenew Enchanted Garden Fresh Dye Inks for the purple flowers, Cherry Blossom Crisp Dye Inks for the pink flowers and Altenew Green Valley Fresh Dye Inks for the leaves and stems. There is another layer for more detail on the leaves but I didn't use it on this card. 


Since the flowers are pretty close together on this stencil and I did not want to do much masking, I opted for using the new Altenew Micro Blending Brushes. This is a pack of four brushes - two 7mm brushes and two 10 mm brushes - both with a flat head. They have longer handles than the mini ones and are very easy to hold. I'll be using these a lot, I think! Great to get into smaller areas!


The panel was then adhered to an A2 sized white card base with Glue Tape. I die cut the 'have a good day' sentiment from the new Altenew Timeless Sentiments 2 Die Set - three times from white cardstock for the sentiment itself, and twice for the shadow piece from black cardstock. They were layered up and adhered to the card. To finish off, I embellished with Altenew Crystal Clear Enamel Dots


For my last card today, I am using the Altenew Mini Delight: Light My World Stamp & Die Set, which is something a little different this month - a floral image and a light bulb die! You can use them together or separately. I started off by taking a panel of white cardstock and stamped the floral image on top using Altenew Permanent Black Ink, followed by the sentiment to the side. 


I coloured it using Altenew Artists Alcohol Markers - Enchanted Garden, Summer Afternoon and Green Valley. I then die cut the outline of the light bulb from white cardstock and used this as a guide to add colour to the inside of the bulb to represent the water (as a vase!) using Sweet Dreams alcohol markers and the Colorless Blender


I cut the rest of the light bulb - the inside piece from acetate and the top piece from silver glitter paper (Altenew Milky Way Glitter Gradient Cardstock Set). They were adhered together and then onto the card. The panel was then adhered to a US sized purple card base with Altenew Instant Dimension Foam Tape. To finish off, I added white gel pen dots to the stamens on the flower. 

BLOG HOP:


As mentioned, this post is part of  a fun, inspirational blog hop with prizes. Please click on the pictures below for the other participants in the hop. 

You are invited to the Inlinkz link party!

Click here to enter

GIVEAWAY:

$300 in total prizes! To celebrate this release, Altenew is giving away a $100 gift certificate to 1 lucky winner and a $50 gift certificate to 4 winners! Please leave a comment on the Altenew Card Blog and/or each designer’s blog post on the blog hop list below by 17th April 2024 for a chance to win. Altenew will draw 5 random winners from the comments left on each stop of this blog hop and announce the winners on the Altenew Winners Page on 19th April 2024.*The winner of the $100 gift certificate will be chosen from comments left on the Altenew blog. 


SUPPLIES:

Thank you so much for stopping by today, I really do appreciate it. I hope you have a wonderful day! 

10 April 2024

Spellbinders | More Fresh Picked

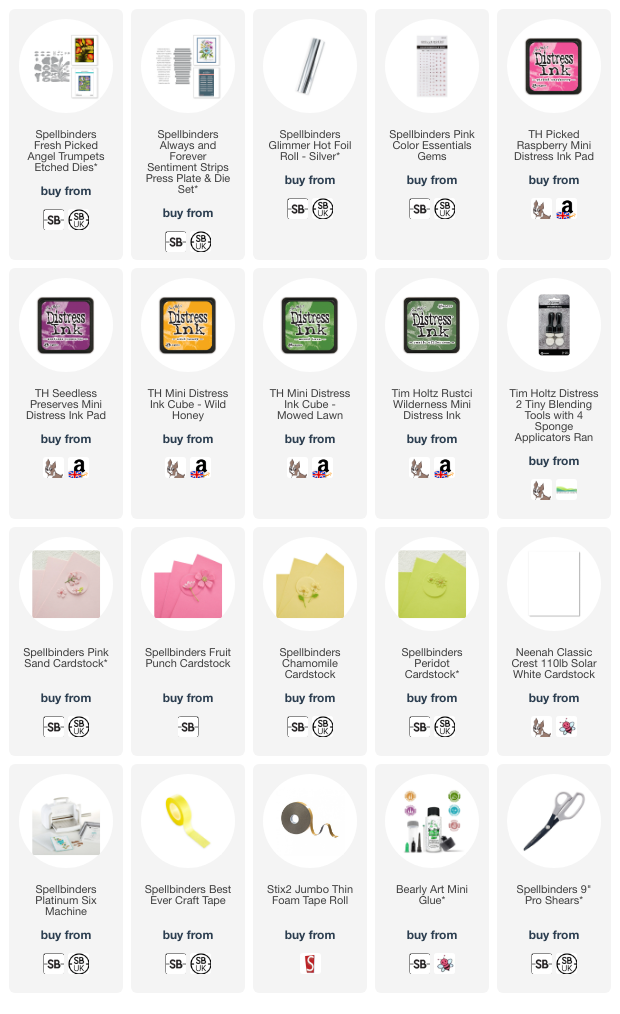
Hello there and happy Spellbinders release day to you! Today I am sharing a card using the Fresh Picked Angel Trumpets Etched Dies from the More Fresh Picked collection. These floral dies have a stylized look to them and cover an A2 card base. I decided, however for this card to cut the pieces down and create my own arrangement. 


PLEASE NOTE: This post contains affiliate links. Please see below for my full disclosure.


I started off by die cutting the base of the flowers from the Spellbinders Fresh Picked Angel Trumpets Etched Dies from Spellbinders Fruit Punch Cardstock, the tops of the flowers from Spellbinders Pink Sand Cardstock and the centres from Spellbinders Chamomile Cardstock. I cut the leaves/stem layer from Spellbinders Peridot Cardstock before cutting it down to the individual leaves and stems. 


I added ink blending to the pieces using Distress Inks and a Tiny Ink Blending Tool. I assembled the flowers using Bearly Art Glue and adhered them to a US A2 sized white card base with thin foam tape. I then tucked the stems and leaves around the flowers, adhering with Bearly Art Glue. 


I hot foiled the Spellbinders Always and Forever Press Plate & Die Set onto white cardstock using Spellbinders Silver Foil. I cut them out using the coordinating die and then adhered the 'thanks a million' sentiment to the card using thin foam tape. To finish off, I embellished with Spellbinders Pink Color Essentials Gems

SUPPLIES:


Here are the links to what I have used on the project. Affiliate links are used on some products. This means that if you make a purchase after clicking on my link, I receive a small commission with no extra cost to you. I truly appreciate your support when using these links. Please click on the logo below the product to shop at your favourite store. All products were personally purchased except those from Clearly Besotted, Hero Arts or those marked with an asterisk (*) which were kindly sent to me to use. You can read my full disclosure here.


I hope you will check out the new Spellbinders collections. I will be sharing more using them over the next few weeks. Thank you so much for stopping by today, I really appreciate it. I hope you have a wonderful day! 

9 April 2024

Spellbinders | Let's Celebrate

Hello there, today I have two cards to share with you using the Let's Celebrate Collection from Spellbinders, designed by Yana Smakula. 


The collection is beautiful and features press plates as well as a die set. I used the press plates for foiling on these cards but the plates would look beautiful with the letterpress technique too! 

PLEASE NOTE: This post contains affiliate links. Please see below for my full disclosure.


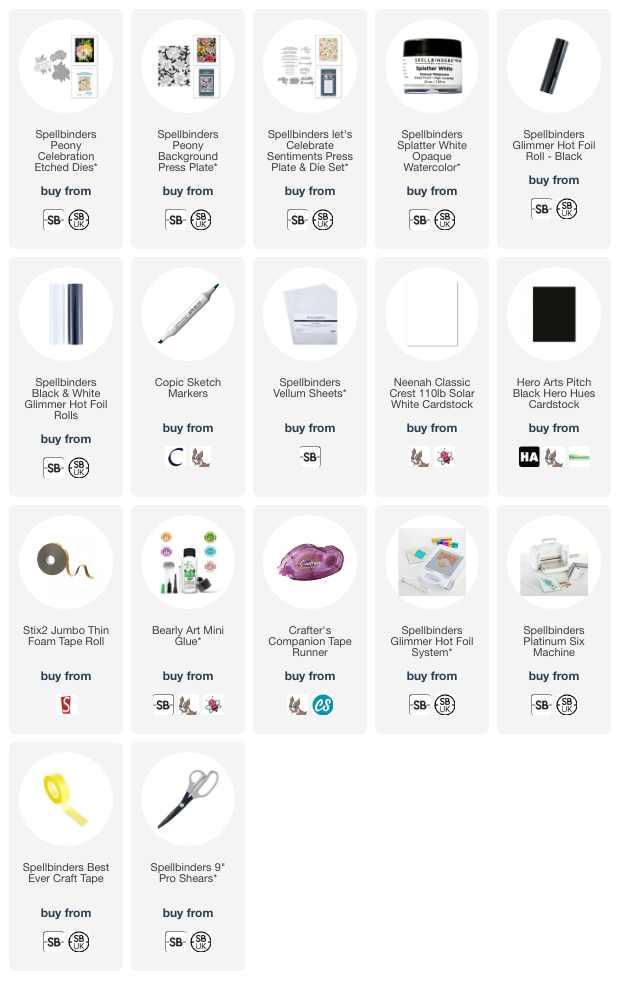
For my first card, I started off by die cutting the Spellbinders Peony Celebration Etched Die. I cut the flower layer from white cardstock twice. The first time I cut it, I tried not to add to much pressure so that it kept the inside pieces of the flower intact. The second time, I cut it perfectly, so that I just got the outline. I coloured the bottom (intact) layer using Copic Markers (V09, V17, V15 & V01).


I then adhered the outline layer on top to hide the colouring that went outside the lines. I die cut the base layer/shadow from vellum and adhered that behind. I took a black US A2 sized card base and taking Spellbinders Splatter White Opaque Watercolor (adding a little water to loosen it up), splattered it on to the card base before setting it aside to dry. 


Once dry, the flower piece was adhered on top using thin foam tape. I then foiled a sentiment from the Spellbinders Let's Celebrate Sentiments Press Plate & Die Set onto black cardstock using Spellbinders White Foil. It was cut into a strip and adhered to the card using more thin foam tape. 


For my next card, I took the Spellbinders Peony Background Press Plate and foiled it onto white cardstock using Spellbinders Black Foil


I then coloured the flowers and leaves using Copic Markers. I used V09, V17, V15 & V01 for the purple flowers, RV66, RV55 & RV52 for the pink flowers and G28, YG17, YG23 & YG01 for the leaves and stems. 


The panel was cut down and adhered to a US A2 sized white card base with tape runner adhesive. I then foiled the sentiment from the Spellbinders Let's Celebrate Sentiments Press Plate & Die Set onto white cardstock using more black foil. It was die cut out using the coordinating die and then I cut another two layers of the die from white cardstock to add dimension. It was adhered to the card with thin foam tape. 

SUPPLIES:


Here are the links to what I have used on the projects. Affiliate links are used on some products. This means that if you make a purchase after clicking on my link, I receive a small commission with no extra cost to you. I truly appreciate your support when using these links. Please click on the logo below the product to shop at your favourite store. All products were personally purchased except those from Clearly Besotted, Hero Arts or those marked with an asterisk (*) which were kindly sent to me to use. You can read my full disclosure here.


Thank you so much for stopping by to see me today, I really do appreciate it. I hope you have a wonderful day! 

3 April 2024

Simon Says Stamp | Groovy Blooms

Hello there, apologies once again for my lack of blog posts lately. I had a procedure to try and help with my migraines and unfortunately (although as to be expected), it made them worse for some time. I am finally back in my craft room today and wanted to share a card that I made before the procedure using the latest Simon Says Stamp Be Bold release. They kindly sent me the Groovy Blooms Layering Stencils to play with and they are a lot of fun! 

PLEASE NOTE: This post contains affiliate links. Please see below for my full disclosure.


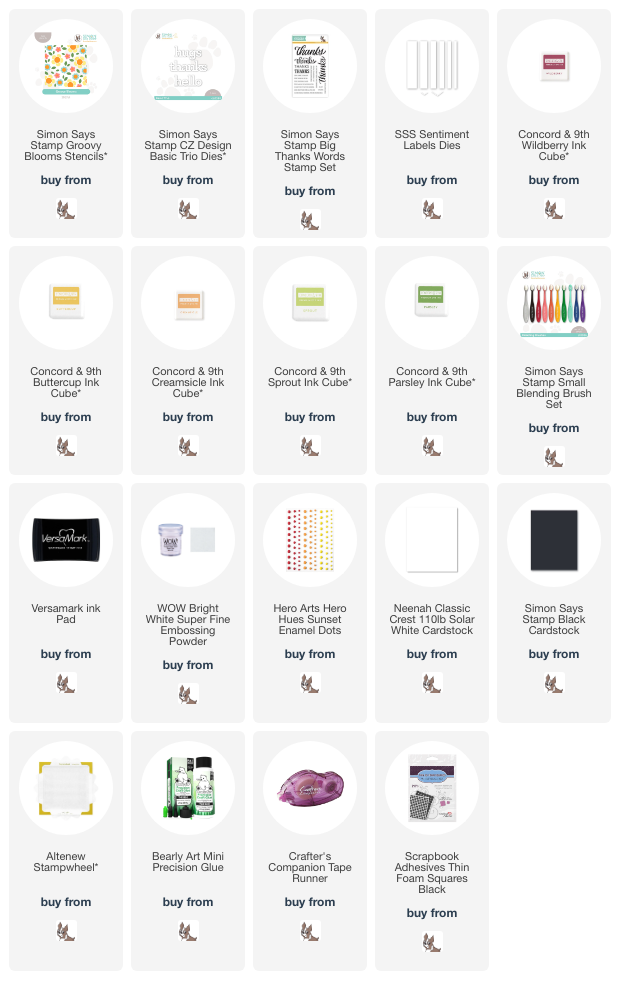
I started off my card by taking a panel of white cardstock and placed it in the corner of the Altenew Stampwheel. I then placed the first Simon Says Stamp Groovy Blooms Layering Stencils on top. These stencils are really easy to line up and I think you can use them in any order. 


I then added ink blending on top using Ink Blending Brushes. For the flowers I used Concord & 9th Wildberry Ink, the flower centres use Concord & 9th Buttercup and Creamsicle Inks. For the leaves, I used Sprout & Parsley Inks. It was then cut into panel and adhered to a US A2 (4.25" x 5.5") sized white card base. 


I die cut the 'thanks' sentiment from the Simon Says Stamp CZ Design Basic Trip Dies three times from black cardstock. They were adhered one on top of another and then onto the card using Bearly Art Glue. I stamped a sentiment from the Simon Says Stamp Big Thanks Words Stamp Set onto black cardstock using Versamark Ink. I applied white embossing powder and heat set. It was cut into a strip and adhered to the card with foam tape. To finish off, I added a few Hero Arts Sunset Enamel Dots

SUPPLIES:


Here are the links to what I have used on the project. Affiliate links are used on some products. This means that if you make a purchase after clicking on my link, I receive a small commission with no extra cost to you. I truly appreciate your support when using these links. Please click on the logo below the product to shop at your favourite store. All products were personally purchased except those from Clearly Besotted, Hero Arts or those marked with an asterisk (*) which were kindly sent to me to use. You can read my full disclosure here.


There are so many colour combinations that can be used with these stencils. I kept the flowers all the same colour, but they can be different colours, you would just have to do a bit of masking. Thank you so much for stopping by today, I really appreciate it. I hope you have a wonderful day! 
End of code