Hello there, today I have two cards to share with you using the Let's Celebrate Collection from Spellbinders, designed by Yana Smakula.
The collection is beautiful and features press plates as well as a die set. I used the press plates for foiling on these cards but the plates would look beautiful with the letterpress technique too!
PLEASE
NOTE: This post contains affiliate links. Please see below for my full
disclosure.
For my first card, I started off by die cutting the
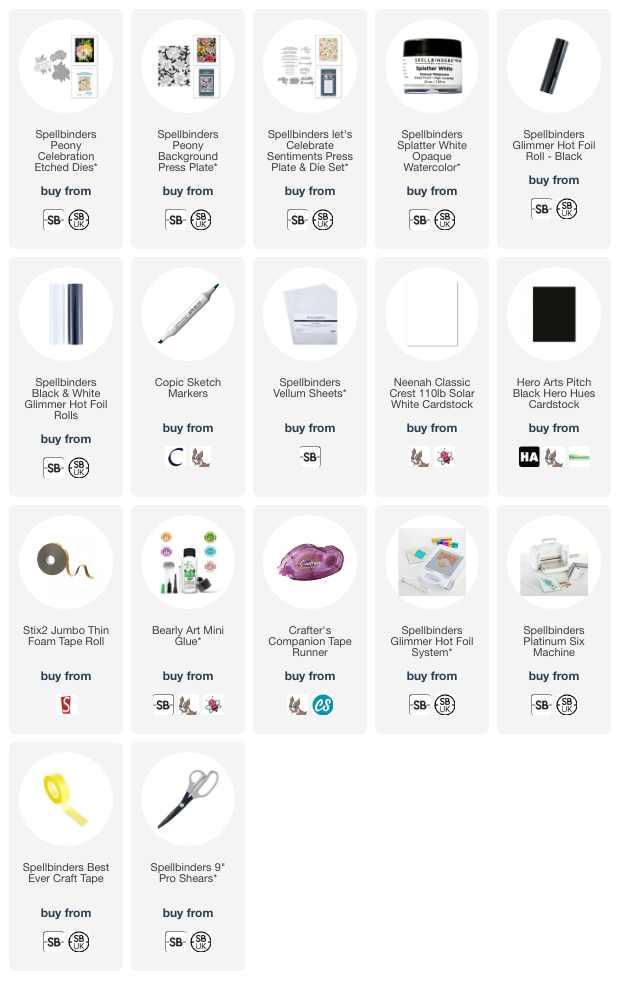
Spellbinders Peony Celebration Etched Die. I cut the flower layer from white cardstock twice. The first time I cut it, I tried not to add to much pressure so that it kept the inside pieces of the flower intact. The second time, I cut it perfectly, so that I just got the outline. I coloured the bottom (intact) layer using Copic Markers (V09, V17, V15 & V01).
I then adhered the outline layer on top to hide the colouring that went outside the lines. I die cut the base layer/shadow from vellum and adhered that behind. I took a black US A2 sized card base and taking
Spellbinders Splatter White Opaque Watercolor (adding a little water to loosen it up), splattered it on to the card base before setting it aside to dry.
I then coloured the flowers and leaves using Copic Markers. I used V09, V17, V15 & V01 for the purple flowers, RV66, RV55 & RV52 for the pink flowers and G28, YG17, YG23 & YG01 for the leaves and stems.
The panel was cut down and adhered to a US A2 sized white card base with tape runner adhesive. I then foiled the sentiment from the
Spellbinders Let's Celebrate Sentiments Press Plate & Die Set onto white cardstock using more
black foil. It was die cut out using the coordinating die and then I cut another two layers of the die from white cardstock to add dimension. It was adhered to the card with thin foam tape.
SUPPLIES:
Here are the links to
what I have used on the projects. Affiliate
links are used on some products. This means that if you make a purchase after
clicking on my link, I receive a small commission with no extra cost to you. I
truly appreciate your support when using these links. Please click on the logo below
the product to shop at your favourite store. All products were personally
purchased except those from Clearly Besotted, Hero Arts or those marked with an
asterisk (*) which were kindly sent to me to use. You can read my full
disclosure here.
Thank you so much for stopping by to see me today, I really do appreciate it. I hope you have a wonderful day!


absolutely gorgeous!!
ReplyDelete