28 February 2019

Clearly Besotted Teasers | Birthday Wishes

Hello there and welcome to day four of the March 2019 Clearly Besotted Teasers. The new sets release tomorrow at 8pm GMT. I have one last teaser to share with you today, using the new Robot Plushies set.
 

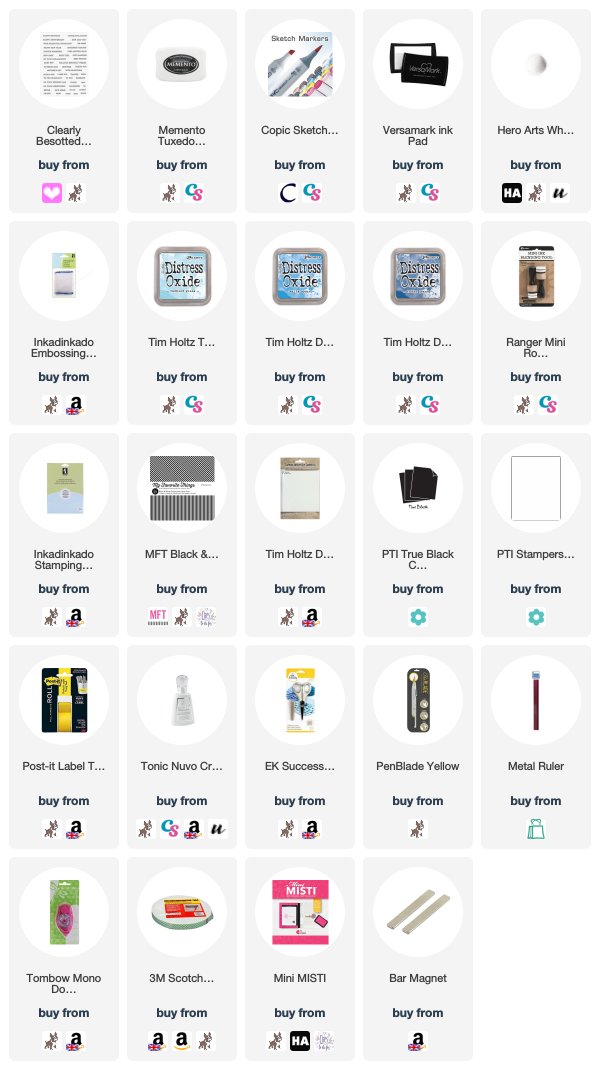
I started off by stamping one of the robots from the Robot Plushies set on to white cardstock with Memento Tuxedo Black Ink. I masked him off and then stamped the balloons so that it looked like he is holding them. I coloured the image with Copic Markers (I am so sorry but I do not have a list of colours that I used for this card, I forgot to write them down, sadly) and fussy cut out with scissors (but there are dies available).
 
 
I then took a panel of watercolour paper and masked off the bottom section. On the top part, I blended on Distress Oxide Ink. I used Faded Jeans and Salty Ocean. I then stamped the background image from the set on top with Tumbled Glass Distress Oxide Ink. I did have to stamp this a few times to get the saturation I wanted. Once dry, the panel was added to a white A2 card base with tape runner.
 
 
I added a strip of MFT Black & White Stripes Paper underneath the inked portion and then added the robot on top with foam tape. I took the sentiment from the Miniature Type set and stamped this on to black cardstock with Versamark Ink. I applied white embossing powder and heat set. This was cut in to a strip and added to the card with foam tape. To finish off, I added Crystal Glaze to the balloons and the heart on the robot.
 
SUPPLIES:

Here are the links to what I have used on the card. Affiliate links are used on some products. This means that if you make a purchase after clicking on my link, I receive a small commission with no extra cost to you. I truly appreciate your support when using these links. Please click on the logo below the product to shop at your favourite store. All products were personally purchased except those from Clearly Besotted, Hero Arts or those marked with an asterisk (*) which were kindly sent to me to use. You can read my full disclosure here.
 
 
There are three other sets that I haven't shared this month, they are all sentiment sets and I will share them in my release video tomorrow. For more inspiration using the new sets, please head over to the Clearly Besotted Blog, as well as Keren and Lisa. Thanks so much for stopping by today, have a great day!

27 February 2019

Clearly Besotted Teasers | Just A Note

Hello there and welcome to day three of the Clearly Besotted March 2019 Teasers. Not long to wait now, all the new products will be available to purchase on Friday. Today I am using a new mini set called Budgie Buddies. Now, my scene doesn't really work for a budgie as they are usually in cages, rather than perching on branches outside but never mind! ;)
 

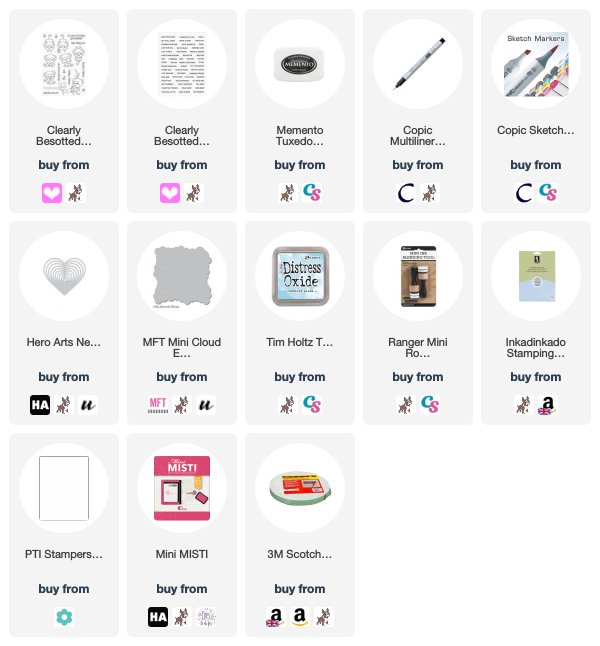
I started off by taking the branch image from the Cheeky Monkey set and stamping it on to white cardstock with Memento Tuxedo Black Ink. I then stamped one of the birds from the Budgie Buddies set so that he was standing on it. I extended the branch slightly with a black Copic Multiliner and then coloured the image with Copic Markers (the colours that I used are listed below the supplies area). I then fussy cut the image out with scissors (but there is a coordinating die set for the birds).
 
 
I took a sheet of mask paper and die cut a Hero Arts Nesting Infinity Heart die from it. This was placed on to the front of an A2 white card base. Using the MFT Mini Cloud Edges Stencil, I blended Tumbled Glass Distress Oxide Ink on top to create a sky. The mask was removed and the sentiment from the Tiny Type set stamped with black ink. I then added the image on top with foam tape.
 
SUPPLIES:

Here are the links to what I have used on the card. Affiliate links are used on some products. This means that if you make a purchase after clicking on my link, I receive a small commission with no extra cost to you. I truly appreciate your support when using these links. Please click on the logo below the product to shop at your favourite store. All products were personally purchased except those from Clearly Besotted, Hero Arts or those marked with an asterisk (*) which were kindly sent to me to use. You can read my full disclosure here.
 
 
COPIC MARKERS: Bird - B26, B24, B21, Y17, Y15. Branch - E59, E57, E55, YG67, YG17, YG23, YG03, YG01.
 
Like I say, the scene doesn't technically work for a budgie, but I like how the card came out none the less! Thank you so much for popping by today. For more inspiration, please check out my CB teamies Stephanie, Keren and Lisa. See you tomorrow for day four. Have a great day!

26 February 2019

Clearly Besotted Teasers | From All Of Us

Hello there and welcome to day two of the Clearly Besotted March 2019 Teasers. Today I am using the new Baby Love stamp set. It is so cute, it has three families of animals in it and I went with the bears for my card today.
 

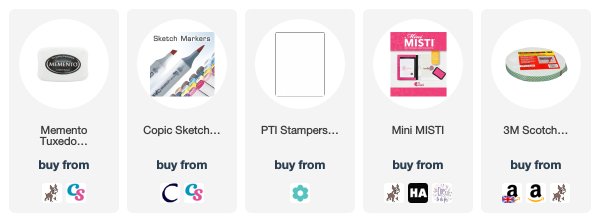
I started off by stamping the bears from the Baby Love set on to a panel of white cardstock with Memento Tuxedo Black Ink. I then created a scene for them to be in, using Copic Markers. I did the background first and then coloured the bears (the colours that I used are listed below the supplies section).
 

I stamped the sentiment from the same set below the bears. The panel was then simply adhered to an A2 white card base with foam tape.
 
SUPPLIES:

Here are the links to what I have used on the card. Affiliate links are used on some products. This means that if you make a purchase after clicking on my link, I receive a small commission with no extra cost to you. I truly appreciate your support when using these links. Please click on the logo below the product to shop at your favourite store. All products were personally purchased except those from Clearly Besotted, Hero Arts or those marked with an asterisk (*) which were kindly sent to me to use. You can read my full disclosure here.
 

COPIC MARKERS: Bears - E47, E44, E43, E42, E41. Grass - YG67, YG17, YG23, YG03, YG01. Trees - G46, G29, G28, G24, YG23. Sky - B00, B000, B0000.
 
These images are perfect for simple scenes like this. For more inspiration using the new sets, please head over to my teamies Stephanie, Keren and Lisa. Thank you for visiting me today, see you tomorrow for day three. Have a great day!

25 February 2019

Clearly Besotted Teasers | Anniversary Kitties

Hello there and welcome to day one of the Clearly Besotted Teasers for the March 2019 release. The new products will be available to purchase in the shop on the 1st March and until then, myself and the rest of the Design Team are sharing teasers with you. My card today uses two new sets - Cheeky Chappy and Mini Calligraphy.
 

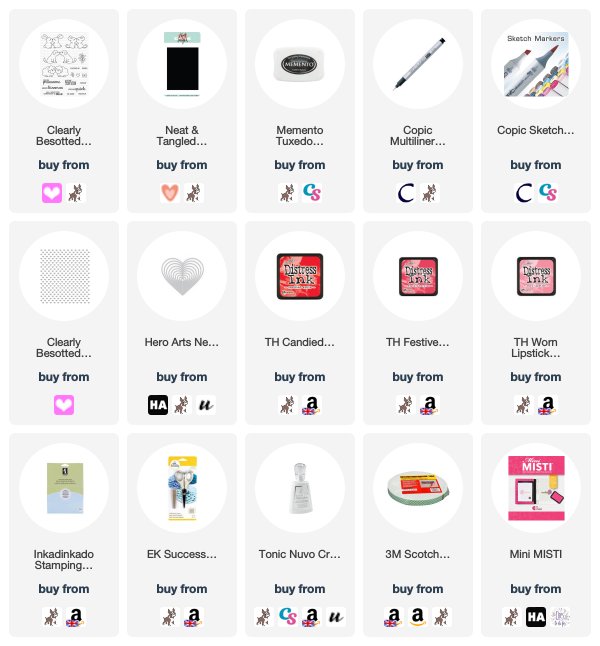
I started off my card by stamping the cats from the new Cheeky Chappy set. The cat on the right is the original image. I stamped it once and then stamped it again using the mirror stamping technique. I didn't get a perfect impression so I went around the outline with a black Copic Multiliner. The images were then coloured with Copic Markers (the colours I used are listed below the supplies area) and then fussy cut out (but there are coordinating dies available).
 
 
I took an A2 white card base and added a mask sheet over the top that I had cut with one of the Hero Arts Nesting Hearts Infinity Dies to make a window. I then blended Distress Ink inside. I used Worn Lipstick, Festive Berries and Candied Apple. Keeping the mask in place, I placed the Heart Confetti Stencil over the top and blended over Candied Apple Distress Ink to create the heart pattern. The mask was then removed and the sentiment from the new Mini Calligraphy stamp set stamped below with black ink.
 
 
I adhered the cats on top of the heart with foam tape and then stamped, coloured and cut out a heart from the Kiss Me Quick set to add between the cats. To finish off, I added Crystal Glaze to the heart.
 
SUPPLIES:

Here are the links to what I have used on the card. Affiliate links are used on some products. This means that if you make a purchase after clicking on my link, I receive a small commission with no extra cost to you. I truly appreciate your support when using these links. Please click on the logo below the product to shop at your favourite store. All products were personally purchased except those from Clearly Besotted, Hero Arts or those marked with an asterisk (*) which were kindly sent to me to use. You can read my full disclosure here.
 
 
COPIC MARKERS: Cats - T10, T8, T7, T6, T5, T4, T3, R12, R000. Heart - R89, R37, R27, R24.
 
There are lots of cats in different poses in this set and I think it can be used for lots of different occasions. I love the new Mini Calligraphy set too, you can mix and match sentiments to your heart's content! Please do head over to see what my teamies Stephanie, Keren and Lisa have been up to. Thanks so much for popping by today, I really do appreciate it. I hope you have a great day!

20 February 2019

Just For You

Hello there, today I have a card to share using the new Hero Florals Arum Lily stamp set. I love Arum and Calla lilies, they are my favourite flower. This one is coloured more like a Calla lily than an Arum lily but never mind! :)
 

I started off by stamping the head of the lily on to white cardstock with Intense Black Ink. I stamped the leaf on the right hand side next and masked these both off. I then stamped the stem, masked this off a well and stamped the last leaf on the left. The masks were removed and the lily coloured with Copic Markers. There are dies for this set but because I made up the image myself, I needed to fussy cut it out with scissors.
 
 
I took an A2 white card base and stamped the sentiment from the new Sending Smiles set, again with Intense Black Ink. I added the Arum lily with foam tape beside and then finished off with a few Ice Cube Jewels.


SUPPLIES:

Here are the links to what I have used on the card. Affiliate links are used on some products. This means that if you make a purchase after clicking on my link, I receive a small commission with no extra cost to you. I truly appreciate your support when using these links. Please click on the logo below the product to shop at your favourite store. All products were personally purchased except those from Clearly Besotted, Hero Arts or those marked with an asterisk (*) which were kindly sent to me to use. You can read my full disclosure here.
 
 
COPIC MARKERS: Flower head - V09, V06, V05, V04, V01, YR24. Leaves & stem - YG67, YG17, YG23, YG03, YG01.
 
Does this card look familiar? I CASE'd one of my own cards as I loved the purples against the white card base. Thank you so much for visiting me today, I hope you have a wonderful day!

18 February 2019

Hello Bear

Hello there, today I have a very CAS card to share with you. I coloured this adorable bear as part of The Daily Marker 30 Day Colouring Challenge and I thought he would look nice with just a simple background behind.
 

I started off by stamping the bear image from the WPlus9 Curious Forest Friends stamp set on to white cardstock with Memento Tuxedo Black Ink. I coloured him with Copic Markers (the colours that I used are listed below the supplies section) and then fussy cut out with scissors.
 
 
I took an A2 white card base and the MFT Cloud Stencil and blended Tumbled Glass Distress Oxide ink over to create the cloud background. The sentiment from the WPlus9 Forest Friends set was stamped on to the card base and then the bear image added with foam tape.
 
SUPPLIES:

Here are the links to what I have used on the card. Affiliate links are used on some products. This means that if you make a purchase after clicking on my link, I receive a small commission with no extra cost to you. I truly appreciate your support when using these links. Please click on the logo below the product to shop at your favourite store. All products were personally purchased except those from Clearly Besotted, Hero Arts or those marked with an asterisk (*) which were kindly sent to me to use. You can read my full disclosure here.
 
 
COPIC MARKERS: Bear - E44, E43, E42, E41. Branch - E59, E57, E55, YG17, YG01.
 
I love that little bear! He is so cute! I apologise for the photo's though, winter light and photography do not seem to work well together for me it seems. Thank you so much for stopping by to see me today, I really do appreciate it. I hope you have a great Monday and a fantastic week!

15 February 2019

Hero Arts 2019 Catalogue Blog Hop + Giveaway

Hello there and welcome to the Hero Arts 2019 Catalogue Blog Hop. Today we are celebrating the release of the new products going in to the Hero Arts store. What a fantastic release! There are so many amazing new products and I am using a few today, including the fantastic new heavyweight cardstock. 

If you are following along in the hop, you should have arrived here from the amazing Jessica, but if you get lost along the way, I have the full list of participants below.


My first card uses the new Garden Fancy Die. I adore these dies for creating simple scenes on cards. I started off by taking a panel of the new Dove White Hero Hues Cardstock and die cut the die from it. This piece was then set aside. I took a panel of Bristol Smooth cardstock and blended inks on to it using oval makeup brushes (I wanted a soft blend). I used Mint Julep, Soft Pool, Pool and Passion Flower inks.

 
I added the piece to the front of an A2 white card base and then added the die cut panel on top with foam tape. I took the sentiment from the Color Layering Sea & Sky stamp set and stamped this on to Hero Hues Pitch Black Cardstock with Versamark Ink. I applied White Detail Embossing Powder and heat set. This was cut in to a strip and added to the card with foam tape and tape runner. To finish off, I added a few Raindrops.
 

My next card uses the gorgeous new Color Layering Monarch Butterfly set. I stamped the outline layer on to white cardstock with Intense Black Ink. I then coloured the butterfly with Copic Markers. This is a layering set, however, so if you do not like colouring, you can add the other layers in with stamping. I love that you can use it in different ways, though! It was then cut out with the Color Layering Monarch Butterfly Frame Cuts.

 
I took a piece of the new Hero Hues Mist Cardstock (what a beautiful colour!) and stamped the Ocean Waves Bold Prints on to it using Versamark ink. The ink does take a while to dry so I set it aside before cutting it down in to a panel. I took the sentiment from the Birthday Cake Stamp & Cut set and stamped this on to the panel with Intense Black Ink. The panel was then added to a 4" x 5.5" card base with foam tape. I made the card smaller so that the butterfly could hang off the edge but still fit in a standard envelope.

 
I added the butterfly on top with tape runner just on it's centre so that I could bend the wings to give it some movement. To finish off, I added Aqua Shimmer Pen to the butterfly and I also added a few Sparkling Crystals around the card.


SUPPLIES:

Here are the links to what I have used on the card. Affiliate links are used on some products. This means that if you make a purchase after clicking on my link, I receive a small commission with no extra cost to you. I truly appreciate your support when using these links. Please click on the logo below the product to shop at your favourite store. All products were personally purchased except those from Clearly Besotted, Hero Arts or those marked with an asterisk (*) which were kindly sent to me to use. You can read my full disclosure here.


BLOG HOP:


Here is the full list of participants in the hop today:
 
The Hero Arts Blog
Ilina Crouse
Jessica Frost-Ballas
Michelle Short - you are here!
Debi Adams
Kathy Racoosin
Laurie Willison

GIVEAWAY:

Hero Arts are giving away four $50 shipping sprees! The winners will be drawn from all of the comments left across all of the stops in the hop. The more you comment, the more chances to win! Entries close on Sunday 17th February 2019 at 23.59 hrs PST. The winners will be announced on the Hero Arts blog the following week. Good luck!

Next on the hop is the fantastic Nichol. Thanks so much for stopping by today, have a great time on the rest of the hop and a wonderful day!

12 February 2019

This Little Piggy Says ...

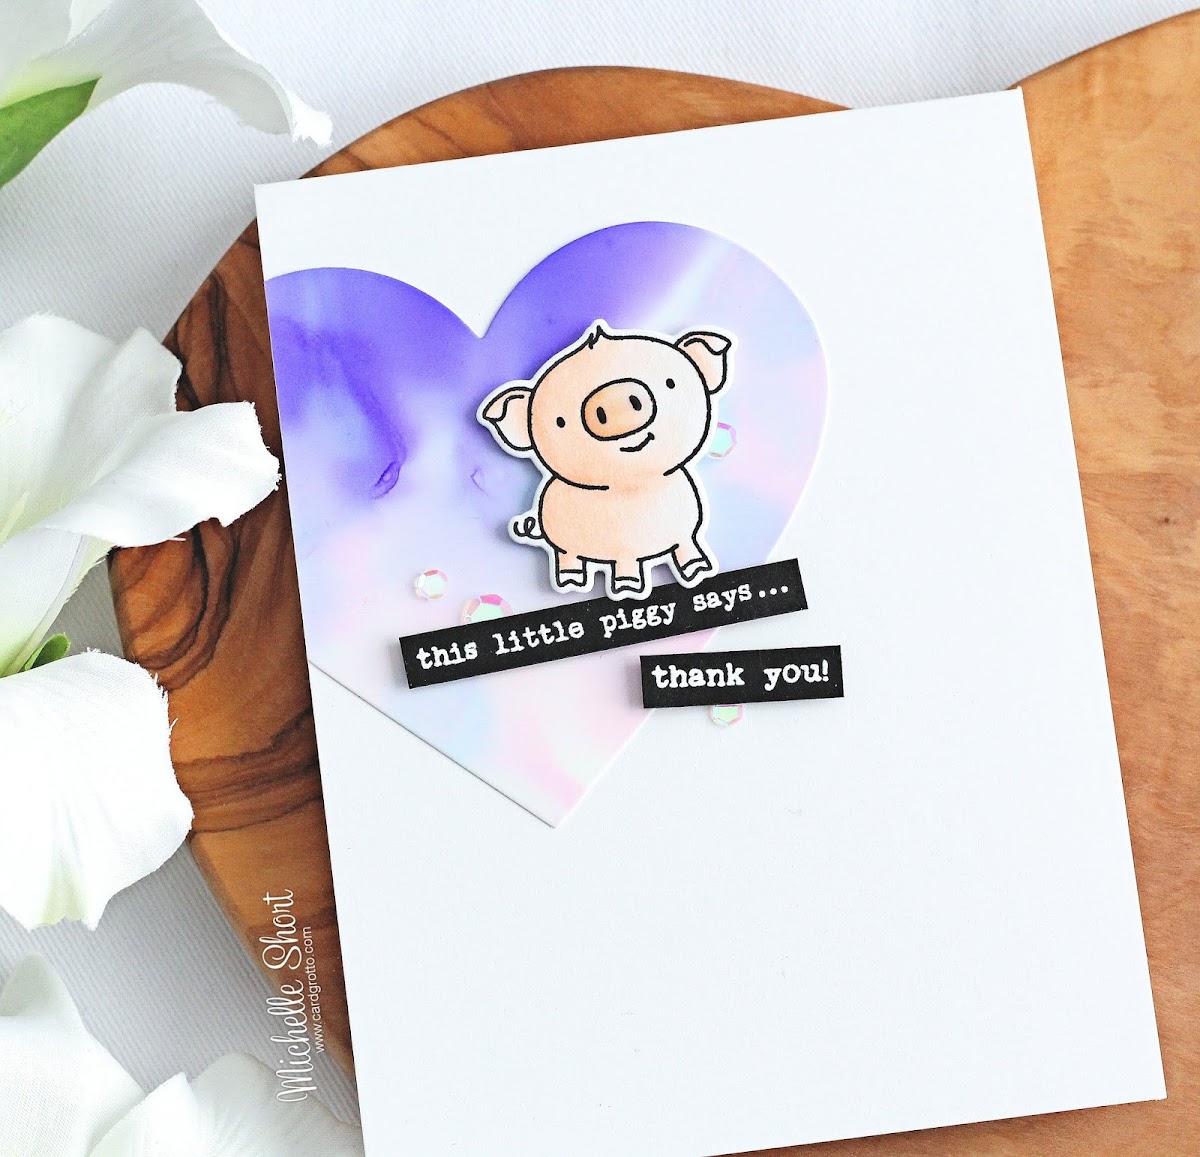
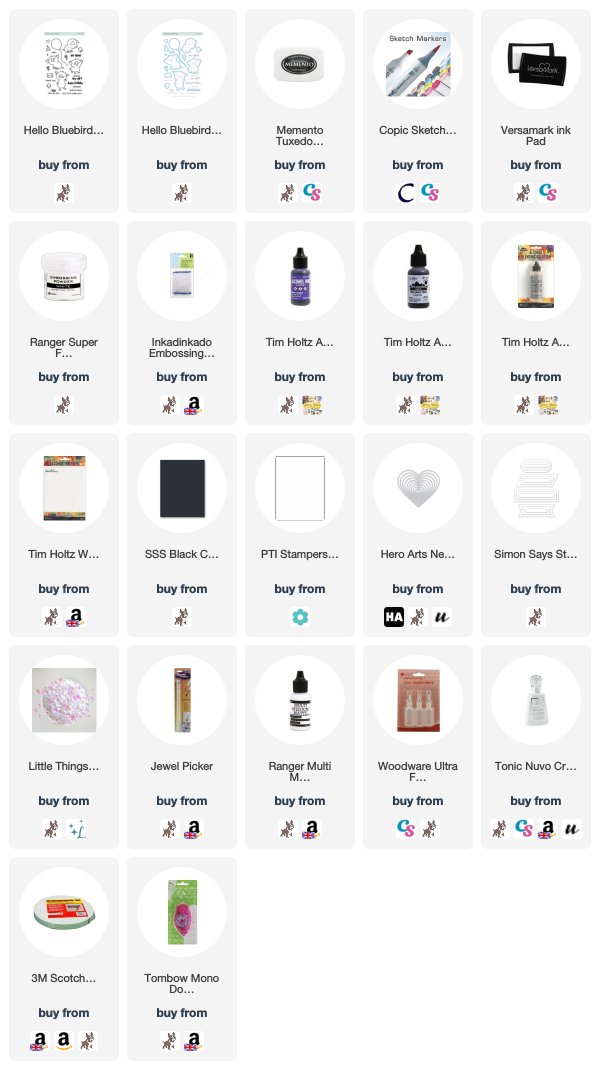
Hello there, today I have a card to share using the adorable Pig Day stamp set and dies from Hello Bluebird. I kindly received these as a gift from a friend and of course, I love them! I coloured the pig as part of The Daily Marker 30 Day Challenge, I am sharing my progress with that over on Instagram, if you are interested.
 

I started off by stamping the pig from the Pig Day set onto white cardstock with black ink. I coloured it with Copic Markers and cut out with the coordinating die. He was then set aside while I worked on the background. I took a piece of Yupo paper and first added some Alcohol ink Blending Solution to it. I then added drops of Amethyst and Cool Peri alcohol inks, followed by more blending solution. This was then set aside to dry.

 
Once dry, I die cut the alcohol piece using a Hero Arts Nesting Hearts Infinity Die and added this to an A2 white card base with tape runner. I cut off the part hanging off the card and then took the sentiments from the Pig Day set and stamped them on to black cardstock with Versamark Ink. I applied super fine embossing powder and heat set. These were then cut in to strips using the SSS Nesting Banners Dies and added to the card with foam tape. I added the pig on top with more foam tape. To finish off, I added a few Pink Moonstone Sequins and then Crystal Glaze on the pig's nose.
 
SUPPLIES:

Here are the links to what I have used on the card. Affiliate links are used on some products. This means that if you make a purchase after clicking on my link, I receive a small commission with no extra cost to you. I truly appreciate your support when using these links. Please click on the logo below the product to shop at your favourite store. All products were personally purchased except those from Clearly Besotted, Hero Arts or those marked with an asterisk (*) which were kindly sent to me to use. You can read my full disclosure here.
 
 
COPIC MARKERS: E02, E01, E00, E000, E0000.
 
I just love that little piggy! Thank you so much for visiting me today. I hope you have a wonderful day!

8 February 2019

Tone-on-Tone Stamping

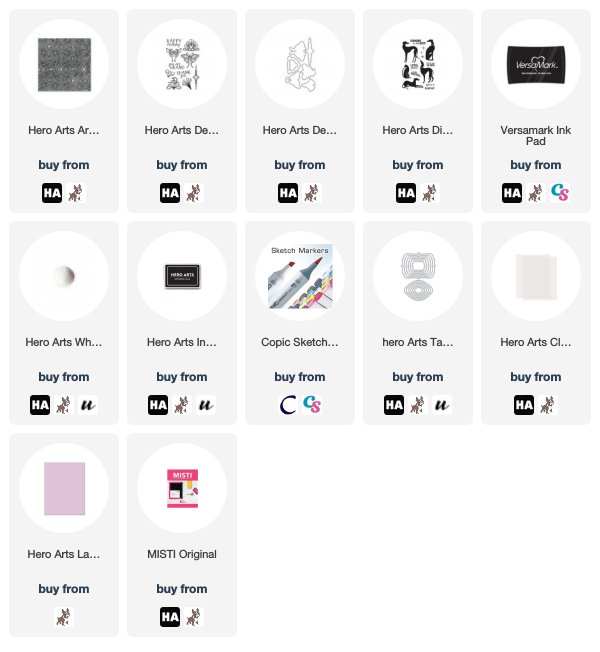
Hello there, I am over on the Hero Arts blog today looking at tone-on-tone stamping with the new Arch Pattern Bold Prints. I used Versamark ink to get the tone-on-tone look and I think it works perfectly for a subtle background. To complete my card, I used the new Deco-rations set for the beautiful butterfly, along with the new Diamond In The Ruff set for the sentiment.


SUPPLIES:

Here are the links to what I have used on the card. Affiliate links are used on some products. This means that if you make a purchase after clicking on my link, I receive a small commission with no extra cost to you. I truly appreciate your support when using these links. Please click on the logo below the product to shop at your favourite store. All products were personally purchased except those from Clearly Besotted, Hero Arts or those marked with an asterisk (*) which were kindly sent to me to use. You can read my full disclosure here.
 
 
COPIC MARKERS: BG15, BG13, BG11, BG10. R85, R83, R81. V17, V15, V12, V01.
 
For more information on how I made the card, please head over to the blog post here. Thanks so much for stopping by today, I hope you have a great day and fantastic weekend!

7 February 2019

No-Line Floral Spray

Hello there, today I have a card to share that I showed in my Clearly Besotted February 2019 Release video. I had originally made it for the release but wasn't sure about it. I had positive comments about it so I thought I would share it here too.
 

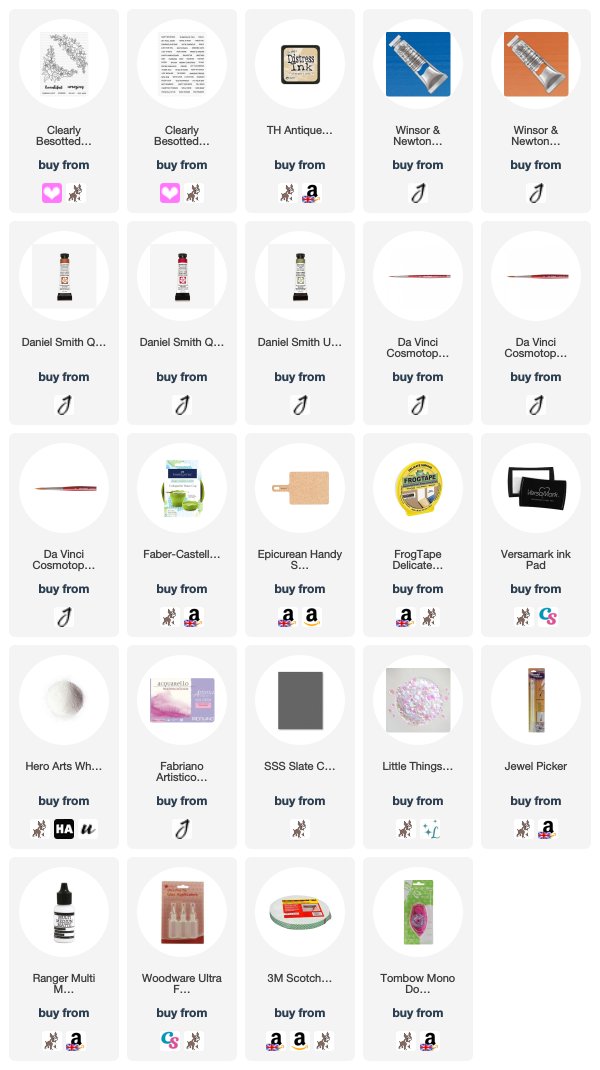
I started off with a piece of Fabriano Extra White Hot Pressed Watercolour Paper and stamped the corner floral  image from the Clearly Besotted Floral Spray Stamp Set on to it with Antique Linen Distress Ink. I then taped the paper to a board and water coloured the image with a combination of Winsor & Newton and Daniel Smith watercolours. The colour combination was inspired by Debby Hughes. Once coloured the piece was set aside to dry.
 
 
The panel was cut down and added to a 3.75" x 5.25" card base made from SSS Slate Cardstock with tape runner. I then took the sentiment from the Tiny Type set and stamped this on to more Slate cardstock with Versamark Ink. I applied Detail White Embossing Powder and heat set. This was cut in to a strip and added to the card with foam tape. To finish off, I added a few Lucy's Pink Moonstone Sequins.
 
SUPPLIES:

Here are the links to what I have used on the card. Affiliate links are used on some products. This means that if you make a purchase after clicking on my link, I receive a small commission with no extra cost to you. I truly appreciate your support when using these links. Please click on the logo below the product to shop at your favourite store. All products were personally purchased except those from Clearly Besotted, Hero Arts or those marked with an asterisk (*) which were kindly sent to me to use. You can read my full disclosure here.
 
 
I am still not sure about the card, I do not know why but after spending over an hour water colouring, I would still like to send it out! Does this happen to you too? Thank you so much for visiting me today. Have a great day!

6 February 2019

VIDEO | Card Making Haul - January 2019

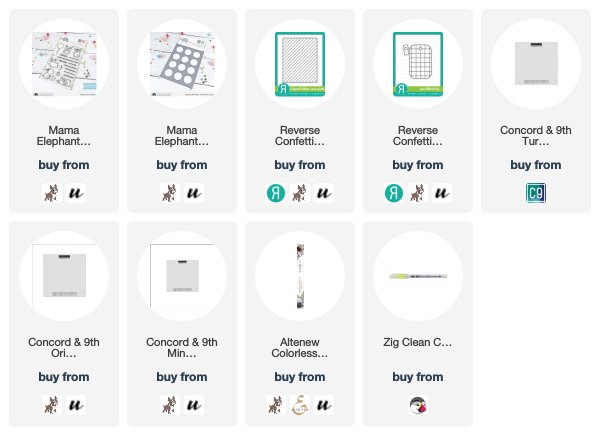
Hello there, I am popping in today to share a look at what I purchased in January. I didn't get a huge amount as you will see but I picked up a few dies, a stamp set, some pens and the Concord & 9th jigs.
 
 
As of when I am writing this post, the Zig Clean Color Real Brush Pens are on sale at Pirika UK for 50p a pen, which is a huge saving. As you will see in my video, I did purchase 19 from there (and one from eBay as I love the colour!). Since the UK will no longer have a supplier of them, I wanted to grab some before it becomes difficult to get hold of them.
 
Here is a look at everything I got:


If you are viewing this post via email subscription, you can watch the video on YouTube here.
 
SUPPLIES:

Here are the links to what I have shared in the video. Affiliate links are used on some products. This means that if you make a purchase after clicking on my link, I receive a small commission with no extra cost to you. I truly appreciate your support when using these links. Please click on the logo below the product to shop at your favourite store. All products were personally purchased except those from Clearly Besotted, Hero Arts or those marked with an asterisk (*) which were kindly sent to me to use. You can read my full disclosure here.
 
 
Thanks so much for stopping in to see me today, I really do appreciate it. I hope to be back tomorrow with a card. Have a great day!

4 February 2019

Hero Arts February 2019 My Monthly Hero Kit Blog Hop + Giveaway

Hello there, today we are celebrating the release of the February 2019 My Monthly Hero Kit from Hero Arts. It has a wonderful Art Deco feel to the kit this month, so perfect for lots of different occasions.

If you are following along in the hop, you should have arrived here from the fabulous Jessica, but if you get lost along the way, I have the full list of participants below.


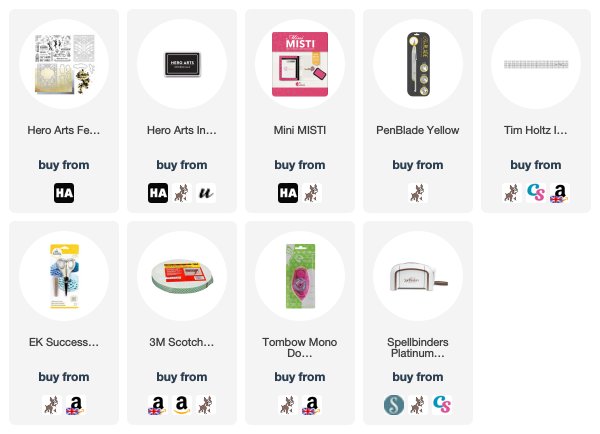
As always, I kept my card very clean and simple. I love the simple colour combination of crisp black and white. I started off by stamping the woman and man dancing from the main stamp set on to a panel of white cardstock, with Intense Black Ink. I used the Mini MISTI and stamped it a couple of times to get a nice dark impression. I then stamped the sentiment below.

I took a ruler and pencil and drew a line across the panel for a guide of where to cut. I cut along the line with a craft knife, keeping the bottom of the images attached to the card base. I then fussy cut around the images. This can be done with the coordinating dies with partial die cutting, but I thought it might be easier with scissors (I am not sure that it was!). Once cut, I erased any pencil lines.


I took a piece of black cardstock and embossed this using the stencil in the kit. I love the pattern on this stencil! The panel was then added to the front of an A2 white card base with tape runner. The image panel was then added on top with foam tape.


SUPPLIES:

Here are the links to what I have used on the card. Affiliate links are used on some products. This means that if you make a purchase after clicking on my link, I receive a small commission with no extra cost to you. I truly appreciate your support when using these links. Please click on the logo below the product to shop at your favourite store. All products were personally purchased except those from Clearly Besotted, Hero Arts or those marked with an asterisk (*) which were kindly sent to me to use. You can read my full disclosure here.


THE KIT:


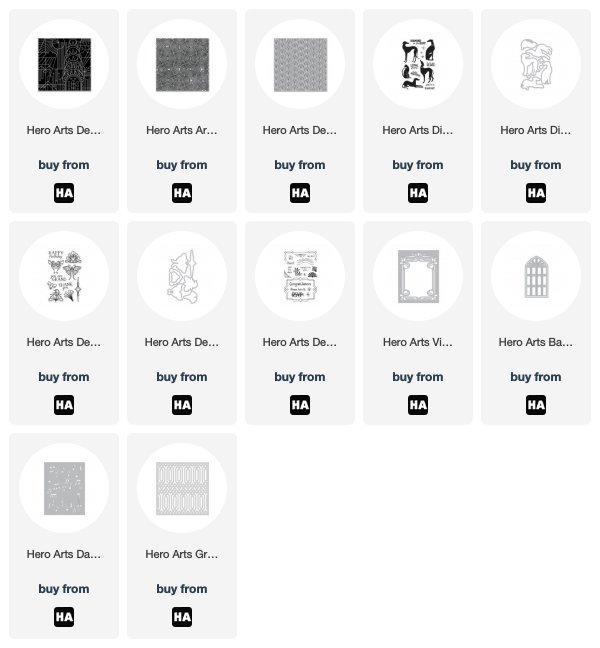
The February 2019 My Monthly Hero Kit contains a 6" x 8" clear stamp set, 7 coordinating Frame Cuts, 4.25" x 5.5" Fancy Die, 4.5" x 5.75" stencil, Art Deco Mirror Confetti, 1 5.5" x 8.5" sheet of reflective silver cardstock, 1 5.5" x 8.5" sheet of gold reflective cardstock. All of this is worth $72.00 but you can get it for $34.99! (approximately £28 depending on exchange rate). The kits are exclusive to Hero Arts and often sell out quickly. You can subscribe here so that you never miss a kit. International kit subscribers get a discount of shipping too!


ADD-ONS:

There are also some fantastic add-on products this month. These are not exclusive and can be purchased from you favourite Hero Arts retailer, or added to you order with the kit. Here is a look at them:


BLOG HOP:

Here is the full list of people participating in the hop today:


GIVEAWAY:

Hero Arts are giving away one kit to one lucky blog hop reader. The winner will be selected from all of the comments left across all of the blogs in the hop, so the more you comment, the more chances  you have to win! The giveaway closes on February 10th at 11.59pm. The winner will be announced the following week on the Hero Arts blog. Good luck!

Next on the hop is the fantastic Nichol. Thanks so much for stopping by today. I hope you enjoy the rest of the hop!

3 February 2019

VIDEO | Cute Koala - Simple Copic Colouring + Favourite Colour Combos

Hello there, today I have a card to share using the adorable Koala Friends stamp set from Pretty Pink Posh. I was kindly gifted this from a friend at Christmas and I fell in love with it straight away. I thought this would be a good opportunity to talk about some of my favourite colour combinations with Copic Markers too, and how I go about choosing which ones to use.
 

I am very much a creature of habit when it comes to colour combinations with Copic Markers. I have been colouring with Copics for about 10 years now and I still use the combinations that I used back then! I often use the Copic Colour Chart to see which Copic Markers might blend well with each other. This free chart from Copic can be printed out and filled in with which Copics you have. It uses the numbering system to place colours/shades next to each other. For the most part, the colour above and below another colour will usually mean that it will blend nicely together, but not always!
 
I do also use the Hex Chart from Sandy Allnock. This chart can be purchased from Sandy's website, printed off and filled in with the Copic Markers that you have. She has laid the colours out by what she feels blends with each other and not by the numbering system that Copic uses. This is really great as you can find some colour combinations that you never even thought of! I share a look at both charts in the video below.
 

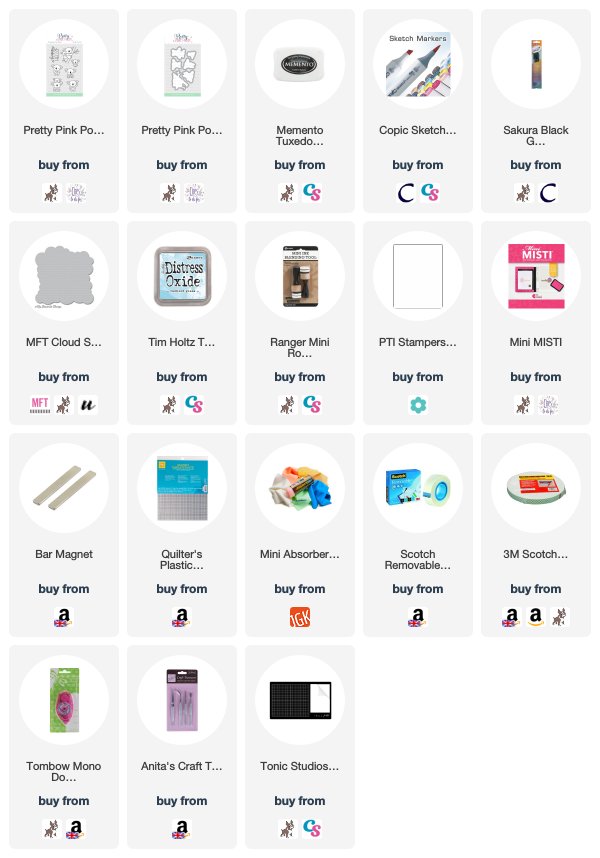
To start my card, I stamped the koala image from the Koala Friends stamp set on to white cardstock with Memento Tuxedo Black Ink. I then grabbed my favourite Warm Grey Copic Markers and coloured the koalas. For the leaves I used my favourite green colour combination for leaves and foliage. This is a really nice bright green. This colour combination does not use colours next to each other on the Copic chart, it is just a combination that I found and love! I then used browns for the tree trunk/bark (all of the colours I used are listed below the supplies section). Again, this is one of my favourite combinations for colouring wood. Once the image was coloured, I used the coordinating die to cut the image out.
 
 
I took an A2 white card base and blended clouds on to the front using the MFT Cloud Stencil and Tumbled Glass Distress Oxide Ink. I then stamped the sentiment from the set using the same black ink. I cut down two pieces of white cardstock to add to the front of the card, above and below the clouds. These were adhered with foam tape and the koala image added with a combination of foam tape and tape runner. I finished off by adding black glaze pen to the koala's eyes.


VIDEO:

Here is the video, showing how the card came together:


If you are viewing this post via email subscription, you can watch the video here on YouTube.
 
 
SUPPLIES:

Here are the links to what I have used on the card. Affiliate links are used on some products. This means that if you make a purchase after clicking on my link, I receive a small commission with no extra cost to you. I truly appreciate your support when using these links. Please click on the logo below the product to shop at your favourite store. All products were personally purchased except those from Clearly Besotted, Hero Arts or those marked with an asterisk (*) which were kindly sent to me to use. You can read my full disclosure here.
 

COPIC MARKERS: Koalas - W8, W6, W5, W4, W3, W2, W1, R12, R000. Tree trunk - E59, E57, E55. Leaves - YG67, YG17, YG23, YG01.
 
How about you? Do you stick to the numbering system with colour combinations or do you just pick colours and see what happens? I would love to hear! Thanks so much for stopping by today, I really do appreciate it. I hope you have a great rest of the weekend!

1 February 2019

My Monthly Hero | Cheers!

Hello there, I am over on the Hero Arts blog today sharing a look at the February 2019 My Monthly Hero Kit which releases on Monday. It has a fabulous Art Deco feel to it this month. I kept my card very simple using one of the images from the main stamp set coloured with Copic Markers. The sentiment is from the new Deco Celebration set, which is an optional add-on this month.
 
 
COPIC MARKERS: Skin - E13, E11, E00, E000, E50. Hair - E27, E25, E23. Hat - C9, C8, C6, C5, B79, B69, B66, B63. Outfit - C5, C3, C2, C1. Earring and bracelet - Y26. Martini olives - YG99, YG97.
 
Head over to the blog post to see how I made the card and if you leave a comment over there, you will be entered into a draw to win a kit. Thank you so much for stopping by today, hope you have a great weekend!

VIDEO | Clearly Besotted February 2019 Release Preview

Hello there, today is THE day! It is release day for the Clearly Besotted February 2019 release. All of the new products release tonight at 8pm GMT/3pm EST. The release is a wonderful mix of beautiful florals, cute characters, great sentiments and a fantastic stencil too.

 
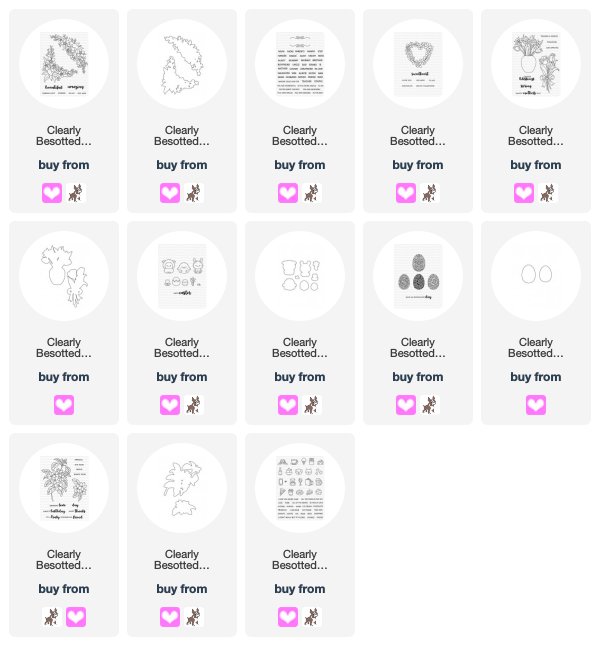
You can purchase the new products from the Clearly Besotted Shop (UK based) and Simon Says Stamp (US based). Here is a look at all of the new sets and a recap of the samples I have made:


If you are viewing this post via email subscription, you can watch the video here on YouTube.


SUPPLIES:

Here are the links to what I have shared in the video. Affiliate links are used on some products. This means that if you make a purchase after clicking on my link, I receive a small commission with no extra cost to you. I truly appreciate your support when using these links. Please click on the logo below the product to shop at your favourite store. All the products from Clearly Besotted were kindly sent to me to use as part of being on the Design Team. You can read my full disclosure here.


What has caught your eye? I would love to know! Thank you so much for visiting me today. I do very much appreciate it. I hope you have a great day!
End of code