Showing posts with label Honey Bee Stamps. Show all posts

10 January 2025

VIDEO | Bibi's Intense Liquid Colors

Hello there, I hope you are well. Back at the end of summer 20204, my good friend Bibi Cameron contacted me saying she was developing a new line of watercolours in collaboration with Contact Crafts and would I like to receive them to create some samples for her for the release. I of course said yes but with a clause of that if I didn't like them, I would send them back! Well, I didn't need to worry about the clause as they are fab! They released last week along with some sentiment stamp sets, which I am also using today. 

PLEASE NOTE: This post contains affiliate links. Please see below for my full disclosure.


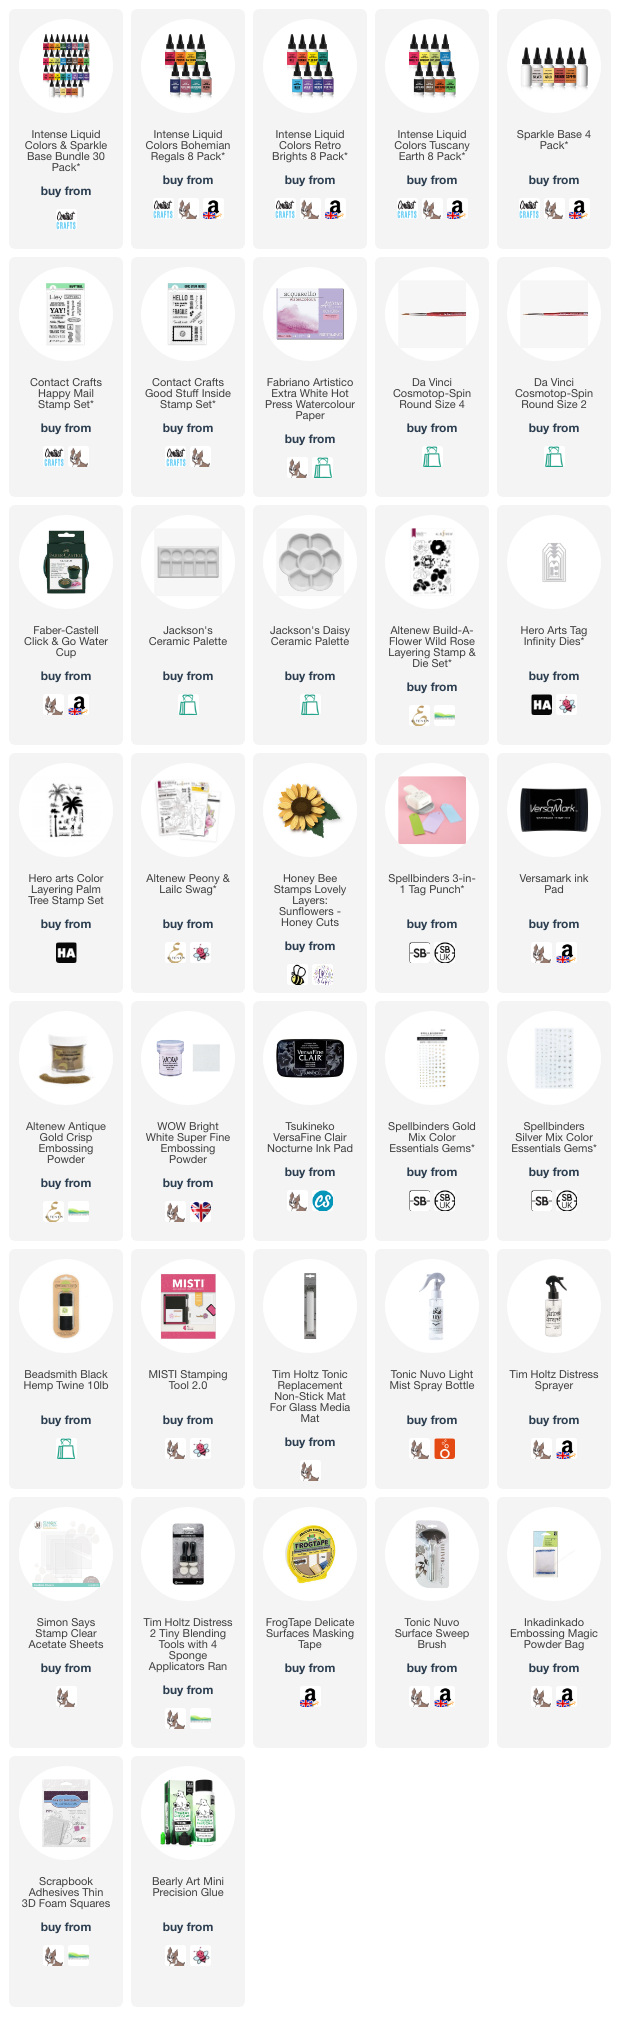
Bibi's Intense Liquid Colors are high quality, translucent water-based paints and as the name suggests, are very intense and vibrant! They are designed to work beautifully with water. There are three sets - Retro Brights, Bohemian Regals and Tuscany Earth, each with 8 colours in the set. As you will see from my samples, you can use them in lots of different ways. 

There is also another set called Sparkle Base. These are also translucent, water-based paints designed to add shimmer to projects. They can be applied over any project to add sparkle or can be mixed with the other paints to create shimmery watercolours. There are four colours in the set - Gold, Silver, Copper and Bronze. 

Artwork by Bibi Cameron

You can find more details about the paints, as well as seeing more ways to use them (and samples), in the Flipbook HERE

RETRO BRIGHTS

My first project uses Intense Liquid Colors Retro Brights. I started off by stamping the floral image from the Altenew Peony & Lilac Swag Stamp Set onto Fabriano Artistico Extra White Hot Press Watercolour Paper using Versamark Ink. I applied white embossing powder and heat set. I then coloured the image using the paints. 

I used all 8 colours in the Retro Brights set - Yellow, Orange, Red & Purple for the peonies, Violet & Indigo for the lilacs, and Green, Yellow and Blue for the leaves. I wouldn't usually use this many colours on one image but I really love how it turned out! I die cut the image out using the coordinating die and adhered it to a panel of the same watercolour paper (so that the papers would match in shade) using foam tape. I then adhered that to a white US A2 sized card base using tape runner adhesive. 

I took the 'thank you' sentiment from the Happy Mail Clear Stamp Set and heat embossed it onto black cardstock. It was cut into a strip and adhered to the card with foam tape. To finish, I embellished with Spellbinders Silver Mix Color Essentials Gems

BOHEMIAN REGALS

My next project uses Intense Liquid Colors Bohemian Regals. I really love the muted tones in this set! I started off my card by masking off the edges of a panel of Fabriano Artistico Extra White Hot Press Watercolour Paper using masking tape. I then stamped one of the leaves from Altenew Build-A-Flower Wild Rose Stamp Set on top using Versamark Ink

I applied Altenew Antique Gold Embossing Powder and heat set. I then repeated the process to stamp another two sets of leaves. I spritzed the panel with water and dropped in the Bohemian Regals paints (top right to bottom left): Carnation, Purple Rain, Navy, Verdigris & Bluegrass. I let it sit to dry (but you can use a heat tool like I show in the video below) and then went back in with the same colours but with more intensity this time and focussed the colour around the negative space. 

Once the panel was dry, I removed the tape and adhered it to a US A2 sized white card base with tape runner adhesive. I stamped a sentiment from the Happy Mail Clear Stamp Set and heat embossed also. It was cut into a strip and adhered to the card with foam tape. To finish, I embellished with Spellbinders Gold Mix Color Essentials Gems

My next project ended up being a bonus one. I used the same Intense Liquid Colors Bohemian Regals but this time, just Carnation, Pumpkin and Saffron. I thought it would be fun to see if I could use the ink smooshing technique with these paints and I am happy to report that you can! I applied a small amount of the paint to a piece of acetate, spritzed it with water and pounced or 'smooshed' it onto a tag cut from Fabriano Artistico Extra White Hot Press Watercolour Paper.

I overlapped the colours a little and I think it looks really cool! I thought it looked a little like a sunset, so I thought the palm tree from the Hero Arts Color Layering Palm Tree (currently in the retirement sale) would work well with it. It was stamped using Versafine Clair Nocturne Ink multiple times. The sentiment is from the Good Stuff Inside Stamp Set which was heat embossed onto black cardstock, cut into a strip and adhered to the tag with foam tape. To finish, I added black twine through the top of the tag and tied in a bow. 

TUSCANY EARTH + SPARKLE BASE

My last project for today uses Intense Colors Tuscany Earth. As the name suggests, these are more earth tones and I thought they would work perfectly for a sunflower. I ended up using all 8 colours from the set - Sunbeam, Burnt Orange & Scarlet Red for the petals, Sunbeam, Umber & Lamp Black for the centre, and Olive Green, Emerald & Ocean Blue for the leaves. 

I die cut the Honey Bee Stamps Lovely Layers: Sunflowers Dies from Fabriano Artistico Extra White Hot Press Watercolour Paper. I applied a little of the paint onto a non-stick craft sheet and picked it up using a Tim Holtz Distress Tiny Blending Tool and applied it to the pieces. The paints blend really well not only on to the paper but also with each other. 

I splattered on a little Gold Sparkle Base to the centre pieces and set them all aside to dry (which did not take long). Once dry, the sunflower was assembled and adhered using thin foam tape and Bearly Art Glue. I cut a tag from white cardstock using the Spellbinders 3-in-1 Tag Punch and adhered the sunflower and leaves on top. The sentiment from the Happy Mail Stamp Set was stamped and heat embossed onto black cardstock. It was cut onto a strip and adhered to the tag using foam tape. To finish, I added black twine through the top of the tag and tied in a bow. 

VIDEO:

Here is the video showing the techniques that I used with Bibi's Intense Liquid Colors:

If you are viewing this post via email subscription, you can watch the video on YouTube HERE

SUPPLIES:


Here are the links to what I have used on the projects. Affiliate links are used on some products. This means that if you make a purchase after clicking on my link, I receive a small commission with no extra cost to you. I truly appreciate your support when using these links. Please click on the logo below the product to shop at your favourite store. All products were personally purchased except those from Clearly Besotted, Hero Arts or those marked with an asterisk (*) which were kindly sent to me to use. You can read my full disclosure here.


I love that you can do so much with these paints - watercolour, blend with daubers and blending brushes, use with stencils, ink smoosh ... plus lots more! Thank you so much for stopping by today, I really do appreciate it. I hope you have a wonderful day!  

8 July 2020

Hero Arts + Honey Bee Stamps Partner Release Blog Hop + Giveaway

Hello there and welcome as we continue to celebrate Hero Arts 45th Anniversary collaborating with wonderful companies. Today, Hero Arts is partnering with Honey Bee Stamps to bring you the wonderful You Are Amazing stamp set. The stamp set is designed by Honey Bee Stamps and work perfectly on it's own or with other sets from both Hero Arts and Honey Bee.

If you are following along in the hop, you should have arrived here from the super talented Lisa, but if you get lost along the way, I have the full list of participants below.


I started off my card by taking a panel of Hero Arts Dove White Cardstock and blending on Hero Arts Reactive Inks on top using ink blending brushes. I used Thistle, Grape Slush and Blue Hawaii.
 
 
Using a Mini MISTI, I took the sentiment from the Hero Arts + Honey Bee You Are Amazing Stamp Set and stamped it on to the panel using Hero Arts Intens-ified Black Ink. I then stamped the hearts from he set too, around the sentiment.  
 
 
Keeping the card very simple, I then simply adhered the panel to an A2 white card base with foam tape and then added a few Moonstone Sequins, adhering with Hero Arts Precision Glue.


Here is a look at the set in full, as you can see, it is filled with wonderful encouraging sentiments, plus great add-on images too.
 
SUPPLIES:

Here are the links to what I have used on the card. Affiliate links are used on some products. This means that if you make a purchase after clicking on my link, I receive a small commission with no extra cost to you. I truly appreciate your support when using these links. Please click on the logo below the product to shop at your favourite store. All products were personally purchased except those from Clearly Besotted, Hero Arts or those marked with an asterisk (*) which were kindly sent to me to use. You can read my full disclosure here.
 
 
BLOG HOP:
 
 
 Michelle Short - you are here!
 
GIVEAWAY:
 
We have two $50 shopping sprees to give away. One to the Hero Arts store and one to Honey Bee Stamps. Winners will be drawn from the comments left across the stops in the hop. The more you comment, the more chances to win! Enter by Wednesday 15th July at 11.59pm PDT and the winners will be announced on the Hero Arts and Honey Bee blogs the following week. Good luck!
 
Next on the hop is the wonderful Mindy. Thanks so much for visiting me today, I hope you have a lovely day!

21 March 2018

Zen Floral Hugs

Hello there, today I have a card to share using the beautiful Zen Floral Stamp Set from Honey Bee Stamps. I purchased this set a while back with this idea in my head and finally, I have actually got around to doing it! :)
 

I started off by taking a panel of Bristol cardstock (I like the Winsor & Newton one as it is quite a bright white) and prepped the cardstock with an anti-static tool. I stamped the long floral border stamp from the Zen Floral set at the top, using Versafine Onyx Black ink. I also stamped the Hugs stamp below, using the same ink. I applied clear embossing powder and then heat set.
 
 
Using rainbow colours of Distress Ink, I blended the colours over the embossed stamped border, overlapping the colours as I went through the rainbow. Once I had finished, I flicked some water on using a paintbrush. I let it sit for about 15 seconds and then picked it up with a paper towel. This gave some interest to the panel, which was then adhered flat to a black A2 card base with ATG. To finish off, I added a few Sparkling Clear sequins using Multi Medium Matte glue.
 
SUPPLIES:

Here are the links to what I have used on the card. Affiliate links are used on some products. This means that if you make a purchase after clicking on my link, I receive a small commission with no extra cost to you. I truly appreciate your support when using these links. Please click on the logo below the product to shop at your favourite store. Products marked with an asterisk (*) were kindly sent to me to use.
 
 
I think I bought this set about six months ago! Oh well! I finally got around to using it ;) Please tell me that I am not the only one that does that. Please tell me that you also buy something and do not get around to using it until months later, come on, make me feel better! Haha! Thank you so much for popping by today. Have a great day!

28 August 2017

VIDEO | Alcohol Ink Background with Honey Bee Stamps

Hello there, today I am delighted to be guest designing with Honey Bee Stamps. I am using the super cute Swimming By stamp set along with alcohol inks to create a fun sea background.
 

To start my card, I took a piece of Yupo paper (a synthetic paper that works really well with alcohol inks) and added on some Alcohol Ink Blending Solution on to it. This helps the alcohol inks to move. I then applied three shades of alcohol ink. I used Mermaid, Pool and Aqua. Since I blended the colours together so much, I probably could have just used one or two but that's ok! Once I had the colour on the paper, I picked it up and moved it so that the alcohol inks ran on the paper. I then spritzed air on to it using the TH Spritzer Tool. I set this piece aside to dry while I worked on my stamping.
 
 
I took the mermaid and turtle from the Swimming By stamp set and stamped these on to white cardstock using Memento Tuxedo Black Ink. I then coloured them using Copic Markers and cut them out with the coordinating dies.
 
 
I cut my alcohol inked piece down to size and stamped the bubbles from the set on to it. I used Versamark ink to stamp and then applied white embossing powder and heat set. The heat did warp the paper slightly but since I was sticking it down to the card base I wasn't too concerned. After applying the piece to an A2 white card base, I added two strips of white cardstock on top with foam tape. The 'happy birthday' sentiment was stamped on to the top piece with Memento Tuxedo Black Ink.
 
 
I then added the turtle on to the card with foam tape and the mermaid was added with a combination of foam tape and tape runner. Using Copic At You Spica glitter pens, I added little dots to the mermaid's hair, top and tail. I also added a little on to the shell of the turtle too. To finish off, I added Shimmering Pool Jewels, along with Peacock sequins.
 
VIDEO:

Here is a look at how I made the card:


SUPPLIES:

Here are the links to what I have used on the card. Affiliate links are used on some products. This means that if you make a purchase after clicking on my link, I receive a small commission with no extra cost to you. I truly appreciate your support when using these links. Please click on the logo below the product to shop at your favourite store.
 
 
COPIC MARKERS: Mermaid skin - E13, E11, E00, E000, E0000, E11. Mermaid hair - V09, V06, V05, V01, Spica 01 Lavender, Spica 13 Lilac. Mermaid Top and tail - BG49, BG34, BG13, BG11, BG10, BG000, Spica 08 Turquoise. Turtle - YG17, YG23, YG03, YG01, Spica 17 Mint.
 
For more inspiration using this set, along with the other sets from Honey Bee Stamps, please head over to their blog. Thanks so much for visiting me today. I hope you have a great day!
End of code