
Hello there, today I have three clean and simple projects to share with you using the Spellbinders Glimmering Christmas Project Kit. The kit contains three glimmer foil plate sets and two etched die sets, along with supplies to create four pre-kitted projects. Although the sky's the limit with what you can create with the kit, my three projects use the sets in the kit plus a few extra supplies.

The Project Kit can be purchased now from the Spellbinders store and the sets in the kit can be purchased separately from 10th August 2020. Although one of my projects is Christmas themed, the other two are more winter/holiday themed so perfect for those who celebrate Christmas or those who do not. They all use the Spellbinders Glimmer Hot Foil System, along with the Spellbinders Platinum 6 Die Cutting Machine.
FOILING WITH ETCHED DIES

My first card uses the Spellbinders Die D-Lites Joyful Christmas Tree Etched Dies. These dies work so that you can create either a solid shape or an outline for the tree branches and layer them up to create a tree. When I made the card, I thought that the inside portion of the dies were glimmer plates! So I used them to foil with. As you can see, they worked perfectly fine and you can foil with any of your normal cutting dies, but I did want to mention it here just in case there was any confusion.

The dies were foiled on to white cardstock with Spellbinders Silver Foil and then die cut with the outside pieces of the dies. I also foiled the sentiment from the Spellbinders Holiday Sentiment Series 2 Glimmer Hot Foil Plates & Die Set on to FSJ Black Licorice Cardstock using the same silver foil. They were cut in to strips using the die that comes in the set. I took a white A2 card base and masked off the edges, I then blended on FSJ Turbo Teal True Color Fusion Ink. The tree pieces and sentiment strips were then added on top with foam squares. To finish off, I added a few sequins.
VELLUM TAG

I thought it would be fun to create a vellum tag for my next project using the Spellbinders Glimmer Poinsettia Glimmer Hot Foil Plate & Die Set. I foiled the poinsettia petals on to white cardstock using Spellbinders Rose Gold Foil. I then cut the pieces out using the coordinating dies. They were layered up one on top of another using a small dab of Journey Craft Glue. For the leaves, I decided to just cut them from white cardstock and not foil them.

I die cut a tag from vellum and then cut the bottom off as I thought it was a bit too tall for what I wanted. The poinsettia and leaves were added on top with more craft glue and then I foiled the sentiment from the Spellbinders Holiday Sentiment Series 2 Glimmer Hot Foil Plates & Die Set on to black cardstock with more rose gold foil and cut in to a strip. It was added to the tag with foam squares. To finish off, I added a few Iridescent Jewels and twine through the top of the tag.
IRIDESCENT FOILED PATTERNS

My final project today uses the Spellbinders Christmas Sweater Borders Glimmer Hot Foil Plate Set. This set has three sizes of plate and can create fun patterned backgrounds. I started off by die cutting a piece of FSJ Lavender Fusion Cardstock using a Spellbinders Nestabilities Standard Circle Die. Using FSJ Lavender Fusion True Color Fusion Ink, I blended it on to the bottom of the circle for some added depth. I then foiled the largest of the borders on to it using Spellbinders Opal Foil Roll.

I took a panel of white cardstock and embossed the next largest size of circle from the Nestabilities circles and then adhered the panel on to an A2 white card base. The foiled circle was added on top with foam squares. I took the 'greeting' sentiment from the Spellbinders Christmas Mix & Match Sentiments Etched Dies Set and cut it three times from FSJ Pretty Pansy Cardstock. They were adhered one on top of another and added to the card. I then foiled the 'from me to you' sentiment from the Spellbinders Holiday Sentiment Series 2 Glimmer Hot Foil Plate & Die Set on to white cardstock with Spellbinders Black Foil Roll. It was adhered on to the card using foam squares. To finish off, I added sequins using craft glue.
VIDEO:
Here is the video showing how I made the cards:
If you are viewing this blog post via email subscription, you can watch the video here on YouTube.
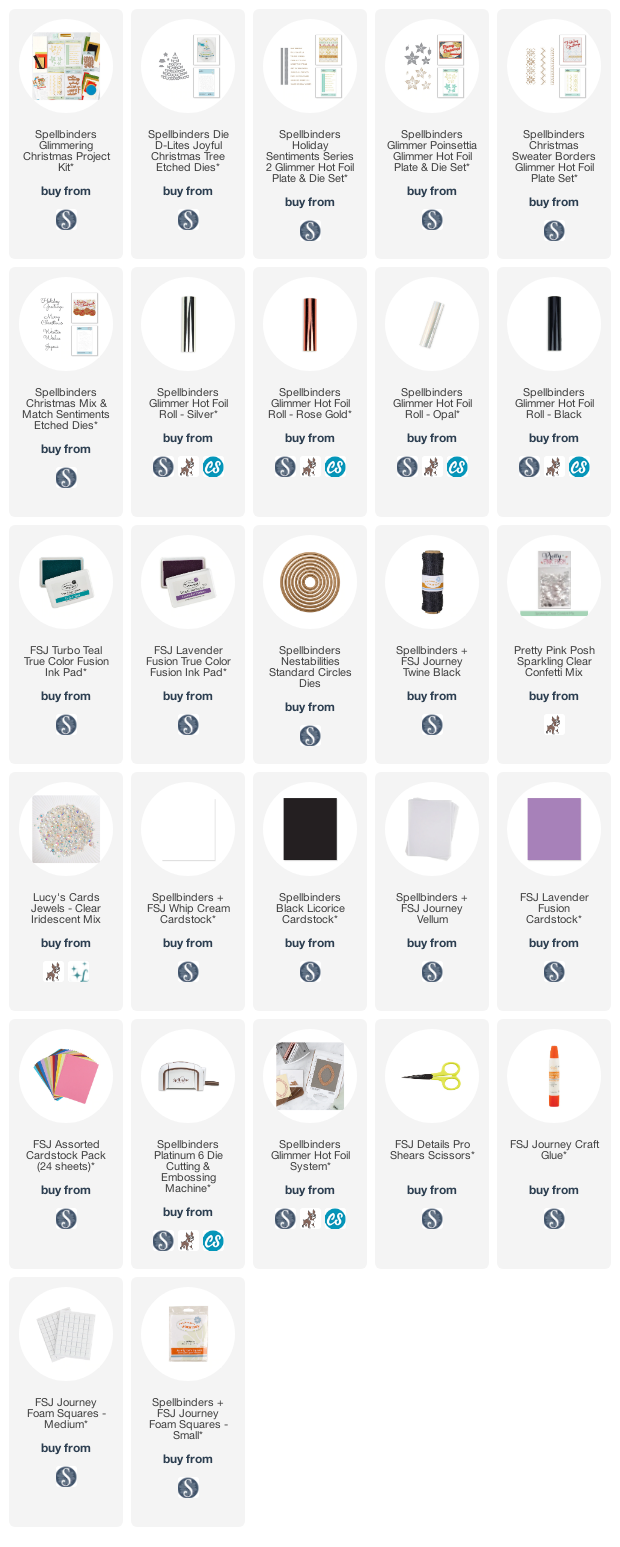
SUPPLIES:
Here are the links to what I have used on the card. Affiliate links are used on some products. This means that if you make
a purchase after clicking on my link, I receive a small commission with no
extra cost to you. I truly appreciate your support when using these links.
Please click on the logo below the product to shop at your favourite store. All
products were personally purchased except those from Clearly Besotted, Hero
Arts or those marked with an asterisk (*) which were kindly sent to me to use.
You can read my full disclosure here.
For more inspiration using the kit, please head over to the Spellbinders Blog and YouTube channel. Thank you so much for visiting me today, I will be back a little later with my Clearly Besotted Teaser.
No comments:
Post a Comment
Thank you for visiting my blog today! Please feel free to leave me a comment. I really appreciate receiving them. Please note that if you comment as unknown on a hop, you will not be entered into the prize draw unless you leave your email address in the comment. Please see my Privacy Policy for details on how your data is used when leaving me a comment. Thank you so much :)