
Hello there, I am over on the Spellbinders Blog and YouTube channel today taking a look at the new Effortless Greetings Project Kit. The new Effortless Greetings collection was designed by the amazing Laurie Willison. The project kit contains three of her new Glimmer Hot Foil Plate sets, as well as a stamp set and all that you need to create four pre-kitted projects. Although sky's the limit with what you can do with this kit! You can now purchase the glimmer plates separately too.

The Effortless Greetings collection consists of basic foiling plates that you can mix and match to create both clean and simple projects (like mine) or more detailed ones. I love Laurie's new collection! All of my cards today combine foiling with ink blending. I am also using the Spellbinders Glimmer Hot Foil System, along with the Spellbinders Platinum 6 Machine.
FOIL RESIST
My first card uses the foil resist technique for ink blending. Did you know that you can ink blend over foiling and the foil resists the ink?

I started off by foiling the falling leaves plate from the Spellbinders Framed Details Glimmer Hot Foil Plate set (that comes in the Effortless Greetings Project Kit) on to a panel of white cardstock with Spellbinders Silver Foil (also in the kit). As you will see in the video below, I like to adhere my foiling plates on to the cardstock and foil with low tack tape, but there are different methods of foiling.

Once foiled, the panel was cut down and I added the ink on top using brushes. I used FSJ Lavender Fusion True Color Fusion Ink Pad at the top, followed by FSJ Huckleberry Fusion True Color Fusion Ink Pad in the middle and FSJ Turbo Teal True Color Fusion Ink Pad at the bottom, blending out to white. It was then splattered with FSJ Sparkle Silk. The sentiment from the Spellbinders Effortless Sentiments Glimmer Hot Foil Plate & Die Set (which is in the kit), was foiled in Silver Foil and then die cut out with the coordinating die. It was added on to the card with foam tape.
FOILING OVER INK BLENDING
For my second card, I decided to do the ink blending first and then foiling over the top. This technique works well but the ink does need to be dry before foiling.

I started off by taking a panel of FSJ Huckleberry Cardstock and stamping the floral image from the Spellbinders Floral Love Clear Stamp Set (in the kit) using FSJ Huckleberry Fusion True Color Fusion Ink Pad. I then blended the same ink around the edges and re-stamped the image to increase the intensity. I then set the piece aside to dry for a few hours.

I took two of the stripes from the Spellbinders Foiled Brushstrokes and Stripes Glimmer Hot Foil Plate set (in the kit) and foiled these at the bottom of the panel using Spellbinders Gold Foil Roll (also in the kit). I then took the sentiment from the Spellbinders Everyday Sentiments II Glimmer Hot Foil Plate set (not in the kit) and foiled this above the stripes. The panel was then simply added to a white A2 card base with foam tape.
FOILED BACKGROUND
For my last card, I used foiling in the background with the ink blending on a die cut word.

To start, I took two of the brushstrokes from the Spellbinders Foiled Brushstrokes and Stripes Glimmer Hot Foil Plate set and foiled these using Silver Foil on to a panel of white cardstock. The panel was added to a white A2 card base with tape runner. I then took the hello die cut word that is in the kit and added ink blending to it (it comes as white cardstock).

I used FSJ Catalina Splash True Colour Fusion Ink Pad at the bottom, FSJ Blue Lagoon True Color Fusion Ink Pad in the middle and FSJ Turbo Teal True Color Fusion Ink Pad at the top. It was then adhered on to the card using foam squares. For an accompanying sentiment, I foiled the 'friend' sentiment from the Spellbinders Everyday Sentiments II Glimmer Hot Foil Plate on to FSJ Black Licorice Cardstock with Silver Foil. To finish off, I added a few FSJ Fashion Silver Embellishments (you get a strip of these in the kit).
VIDEO:
Here is the video showing how I made the cards:
If you are viewing this blog post via email subscription, you can watch the video HERE on YouTube.
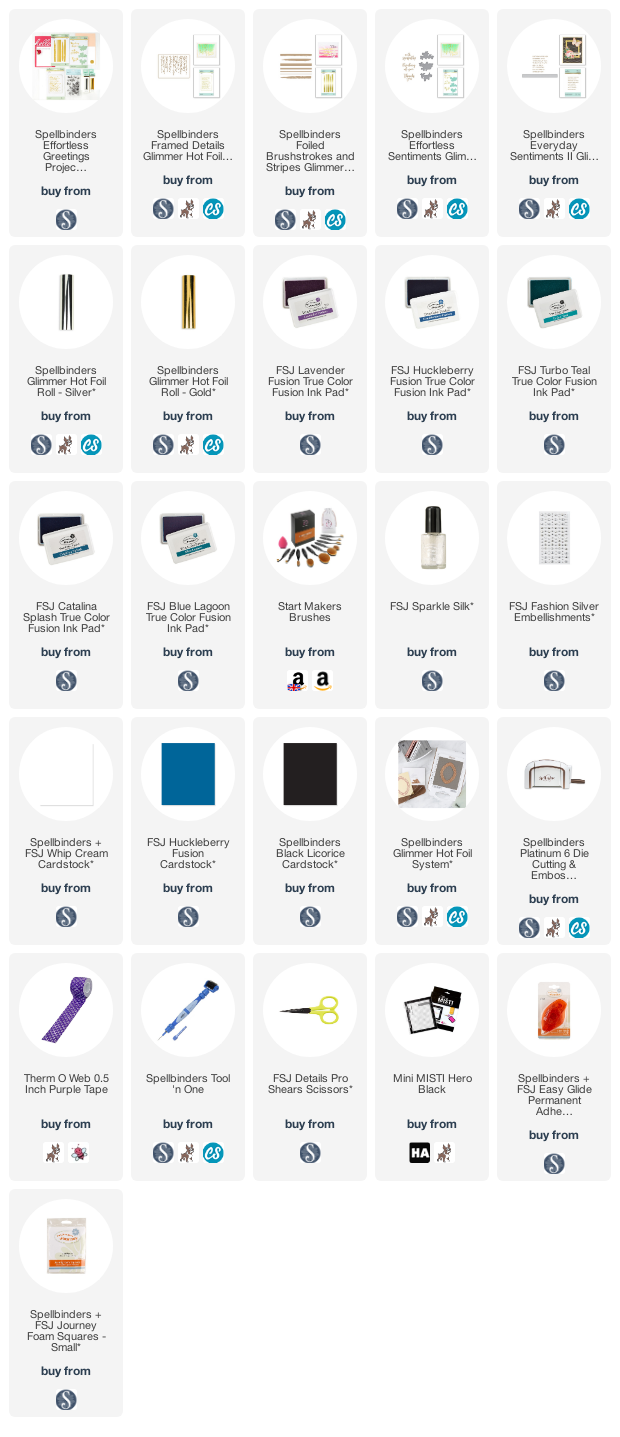
SUPPLIES:
Here are the links to what I have used on the cards and in the video. Affiliate links are used on some products. This means that if you make a purchase after clicking on my link, I receive a small commission with no extra cost to you. I truly appreciate your support when using these links. Please click on the logo below the product to shop at your favourite store. All products were personally purchased except those from Clearly Besotted, Hero Arts or those marked with an asterisk (*) which were kindly sent to me to use. You can read my full disclosure here.
For more inspiration using the new release, please head over to the Spellbinders Blog. Thanks so much for joining me today, I really do appreciate it. I hope you have a lovely day, take care!
love all these cards - its made me want to get the glimmer system out again thank you - keep safe and virus free
ReplyDelete