Hello there, today I have a card and tag to share with you using the Spellbinders Bayfair Collection from Rosie's Studios. The collection includes lots of papers, stickers, embellishments and also three die sets - two of which I am using today. I am combining them with the Timeless Sentiments and also some new tools.
PLEASE
NOTE: This post contains affiliate links. Please see below for my full
disclosure.
I love that you can mix and match these flowers however you wish! You can layer them or leave them one layer - the possibilities are (almost!) endless! I adhered them together using
Bearly Art Glue. I die cut one of the
Spellbinders Nested Postage labels & Tags Etched Dies from white cardstock and then arranged my flowers on top to get an idea of where I wanted the sentiment to be before adhering down.
Since I had some leftover flowers (I made extra as I wasn't sure initially how many I needed for my arrangement), I made a tag too. I started off by cutting a panel of white cardstock using the new
Spellbinders Guillotine Paper Trimmer to 4.25" x 2.5" and placed it inside the
Spellbinders 3-in-1 Tag Punch. This punch can cut tags with a 1.5" width, a 2" width or 2.5" width. It just cuts to top of the cardstock into the tag shape, so it can be any length you want, which is great! I used the 2.5" for my tag today.
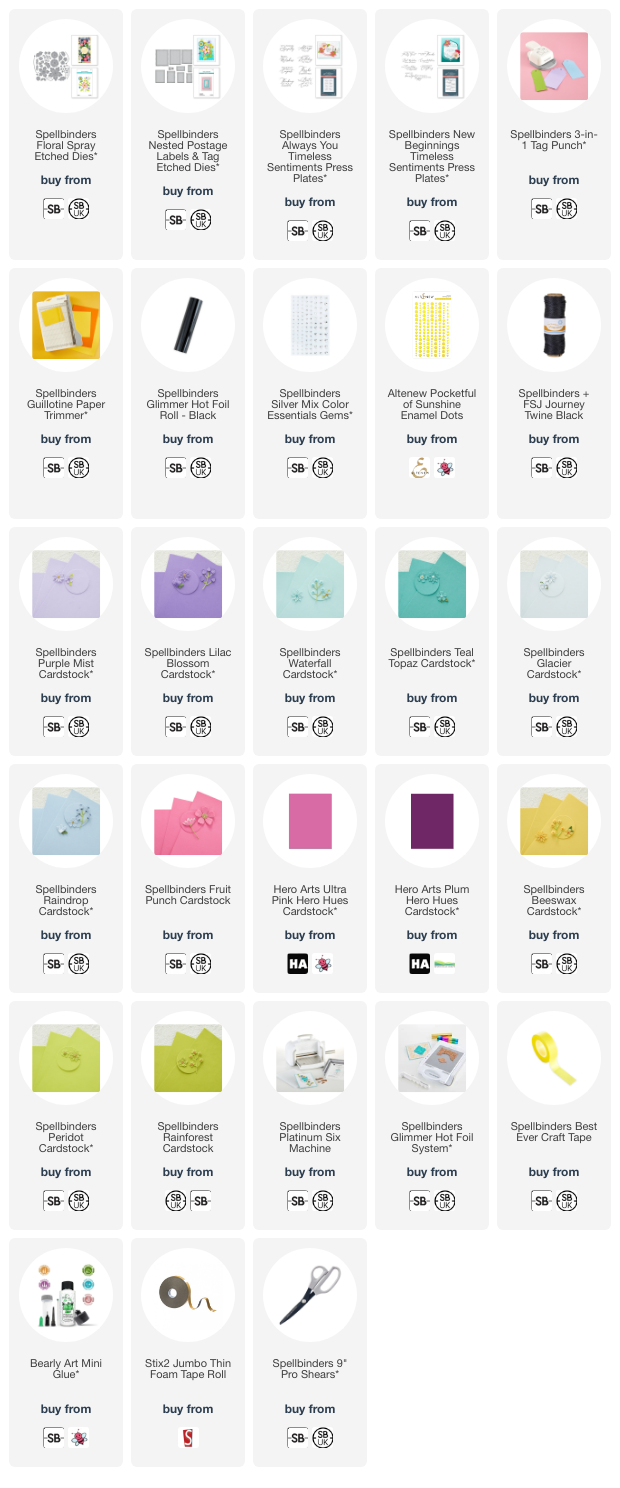
SUPPLIES:
Here are the links to
what I have used on the projects. Affiliate
links are used on some products. This means that if you make a purchase after
clicking on my link, I receive a small commission with no extra cost to you. I
truly appreciate your support when using these links. Please click on the logo below
the product to shop at your favourite store. All products were personally
purchased except those from Clearly Besotted, Hero Arts or those marked with an
asterisk (*) which were kindly sent to me to use. You can read my full
disclosure here.
These flowers are so pretty and I can see myself using them a lot. I also love the font on the sentiments and the postage shape dies are great too! Thank you so much for popping by today, I really appreciate it. I hope you have a wonderful day!


lovely bright flowers
ReplyDeleteMichelle your card and tag are gorgeous and I love the colour combination.
ReplyDeleteSo so pretty! The colours are gorgeous, the layouts are perfect! I love how you've showcased this beautiful collection. These must have taken a while, but so worth the time 🩵💜
ReplyDelete