Hello there, I hope you are well. Today I have two projects to share with you with using the Spellbinders Spotlight Frames and Florals Collection by Lisa Horton. I have already shared one card using the collection, which you can see here. It is such a great collection! The products work perfectly together but can can also be combined with other products/collections too.
PLEASE
NOTE: This post contains affiliate links. Please see below for my full
disclosure.
I started off my card by die cutting the Spellbinders Layered Anemone Etched Dies from white cardstock. I added ink blending on top using blending brushes. I used Altenew Dried Petals Fresh Dye Inks for the petals, Altenew Golden Sunset Fresh Dye Inks for the flower centres and Altenew Green Valley Fresh Dye Inks for the leaves and stems.
The flowers were then assembled using Bearly Art Glue and set aside while I worked on the rest of the card. For the background, I wanted something there but for it to still be fairly subtle, so I die cut the Spellbinders Woven Lattice Texture Etched Die from white cardstock. This die is rectangular in shape but I simply went in with my scissors and cut it down to make a square shape instead.
It was adhered flat to a US A2 sized white card base with Bearly Art Glue. I then adhered the stems and leaves on top with Bearly Art Glue and the flowers with thin foam tape. I die cut the hello word from the Spellbinders A Little Hello Sentiments Clear Stamp & Die Set three times from black cardstock.
I cut the shadow piece twice from white cardstock. They were layered one on top of another for dimension and then adhered to the card with thin foam tape. To finish, I embellished with Spellbinders Pink Color Essentials Gems.
When I was making the flowers, I made three thinking that I would add three to the card. I ended up only using two, so I thought I would make a little tag using the other one. I started off by making the tag itself. I cut a 3.25" x 2" panel of white cardstock using the Spellbinders Guillotine Paper Trimmer. I then placed it inside the Spellbinders 3-in-1 Tag Punch to cut the top into a tag shape.
I die cut the hello from the Spellbinders A Little Hello Sentiments Clear Stamp & Die Set from white cardstock and then the shadow twice from white cardstock. I added ink blending on the word itself using Altenew Dried Petals Fresh Dye Inks (the three darkest shades). The two shadow pieces were adhered one on top of another using Bearly Art Glue and then word adhered on top.
I stamped the sentiment in the stamp set onto black cardstock using Spellbinders Clear Embossing & Watermark Ink. I applied Spellbinders White Embossing Powder and heat set. It was cut into a strip using the coordinating dies. I adhered the hello word to the tag first, using thin foam tape, followed by the friend strip. The flower was popped behind the top of the word, as well as the leaves. I added Spellbinders Black Journey Twine through the top of the tag and tied in a bow. To finish, I embellished with Spellbinders Silver Mix Color Essentials Gems.
SUPPLIES:
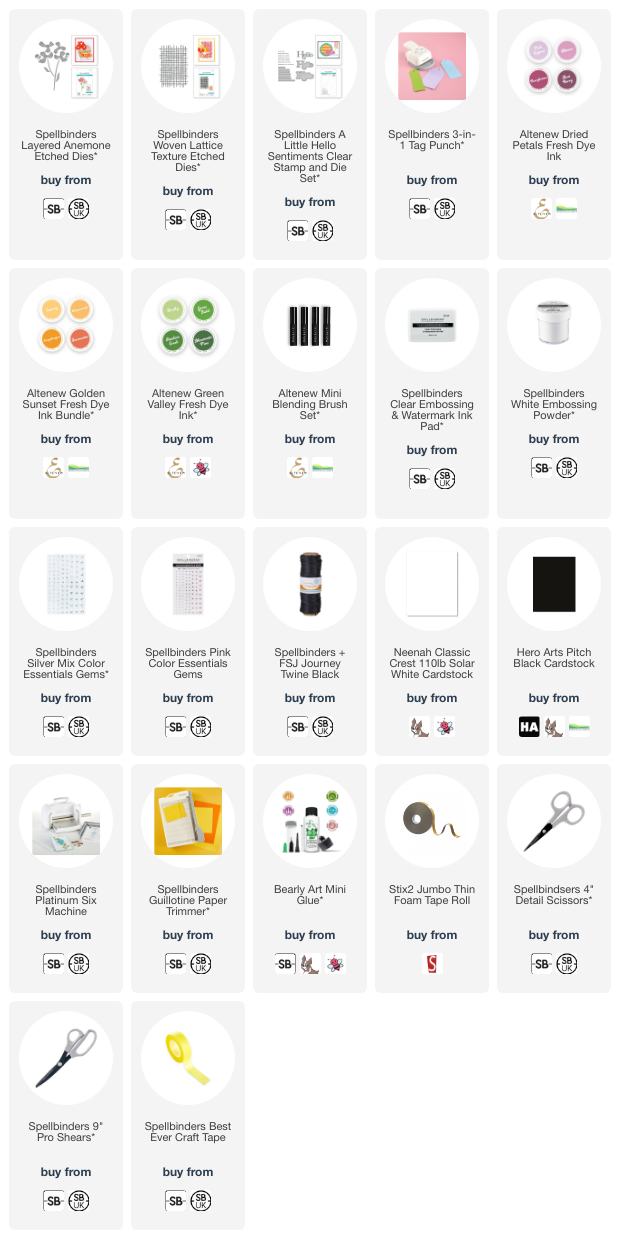
Here are the links to what I have used on the projects. Affiliate links are used on some products. This means that if you make a purchase after clicking on my link, I receive a small commission with no extra cost to you. I truly appreciate your support when using these links. Please click on the logo below the product to shop at your favourite store. All products were personally purchased except those from Clearly Besotted, Hero Arts or those marked with an asterisk (*) which were kindly sent to me to use. You can read my full disclosure here.
As I mentioned, I think this collection will incorporate nicely with other collections, so I am sure I will be using all of these products again soon! Thank you so much for stopping by today, I really do appreciate it. I hope you have a wonderful day!


beautiful!!
ReplyDeleteBeautiful card and tag! I love how you added the texture panel at an angle behind the anemone and I really love the ombre ink blending on the hello on the tag. Gorgeous projects!
ReplyDelete