5 September 2025

Spellbinders | All About Christmas

Hello there, I am delighted to be over on the Spellbinders Blog today sharing a step by step tutorial using new products from the All About Christmas Collection by Lisa Horton. This is such a wonderful collection as there are products for Christmas in it, but lots of staples too that can be used all year round. 

PLEASE NOTE: This post contains affiliate links. Please see below for my full disclosure.


I used the Spellbinders Christmas Sentiments Clear Stamp & Die Set as my main focal point and then built around it from there. I used the Spellbinders Christmas Foliage Etched Dies and then of course had to add one of the super cute birds from the Spellbinders Little Birdies Etched Dies wearing a hat, scarf and boots! 

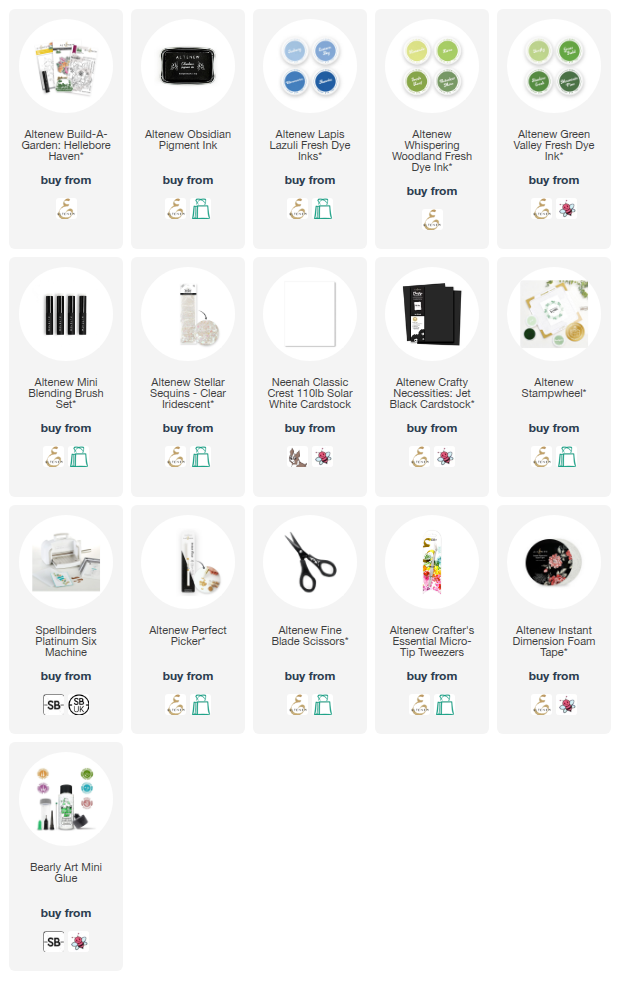
SUPPLIES:


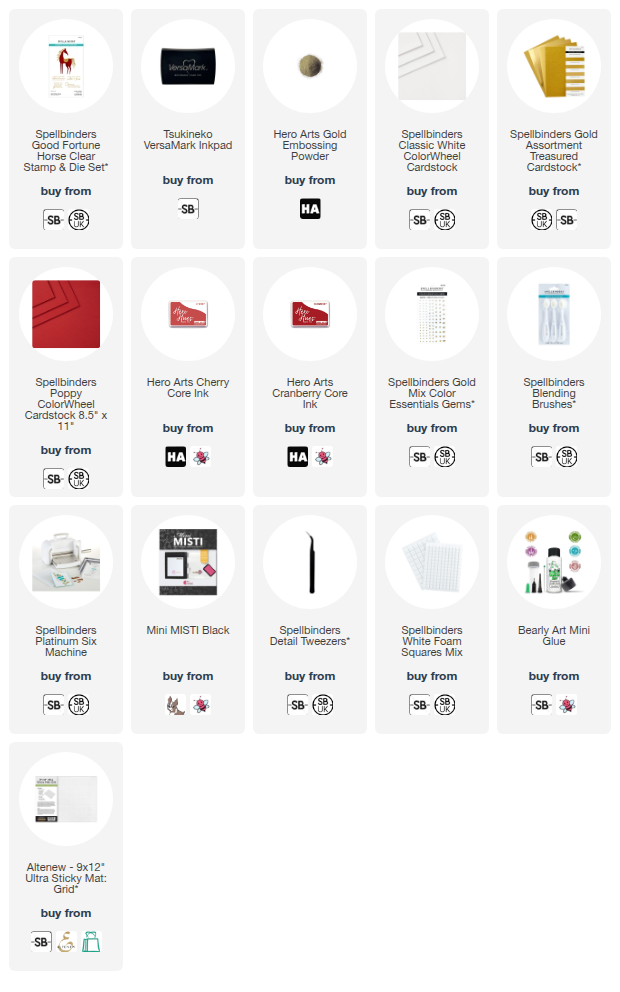
Here are the links to what I have used on the project. Affiliate links are used on some products. This means that if you make a purchase after clicking on my link, I receive a small commission with no extra cost to you. I truly appreciate your support when using these links. Please click on the logo below the product to shop at your favourite store. All products were personally purchased except marked with an asterisk (*) which were kindly sent to me to use. You can read my full disclosure here.


For more details and photos of how I made the card, please head over to the Spellbinders Blog Post. Thank you so much for stopping by today, I really do appreciate it. I hope you have a wonderful day! 

4 September 2025

Spellbinders | Foliage 2 Ways + New Tools

Hello there, I hope you are well! Today I have two cards to share using the new Spellbinders Seasonal Wreath Etched Dies. I wanted to show that the set isn't just for Christmas and the holidays but can be used all year round too! 

PLEASE NOTE: This post contains affiliate links. Please see below for my full disclosure.


I started off my Christmas card by die cutting the greenery die in the Spellbinders Seasonal Wreath Etched Dies set three times from Spellbinders Waterfall ColorWheel Cardstock. I adhered them to the front of an A2 sized white card base with Bearly Art Glue, popping the end of each one behind the end of the next one. 


I then cut the dies that look like mistletoe (to me!) from Spellbinders Seaside ColorWheel Cardstock. They were adhered on top of the greenery ones but you could definitely just use one or the other and not both! I die cut the berries from Classic White ColorWheel Cardstock and adhered them on top. 


I then die cut the bird from Spellbinders Little Birdies Etched Dies from Spellbinders ColorWheel Cardstock. I used Lavender for the body of the bird, Lilac for the wing, Raven for the eye, Beeswax for the beak, and Poppy and Classic White for the hat. I adhered the pieces together and then onto the wreath, adding Spellbinders Micro Foam Squares behind his head. 


For the sentiment, I hot foiled the Spellbinders Merry Messages Plate onto white cardstock using Spellbinders Silver Foil and the Glimmer Hot Foil System. It was die cut out using the coordinating die and adhered overhanging the wreath. To finish, I embellished with Spellbinders Silver Color Essentials Gems


For my next card, I used just the greenery dies from the Spellbinders Seasonal Wreath Etched Dies set. To me they looked like generic leaves so I thought they would work for all year round. I die cut the die three times from Spellbinders Rainforest ColorWheel Cardstock and three times from Spellbinders Peridot Cardstock


They were adhered to an A2 sized white card base with Bearly Art Glue. I then die cut the bird again, this time using Spellbinders ColorWheel Cardstock in Seaside for the body, Waterfall for the wing, Raven for the eye and Beeswax for the beak. I also cut flowers from the Spellbinders Be Bold Blooms Etched Dies set from Spellbinders ColorWheel Cardstock in Blush, Carrot, Beeswax, Classic White and Hero Arts Ultra Pink Cardstock


The flowers were assembled and adhered using Bearly Art Glue and adhered to the wreath, the bird was then popped in between so it looked like it was sitting in amongst them. For the sentiment, I hot foiled the Spellbinders Birthday Wishes Sentiments BetterPress Plate & Die Set onto white cardstock using Spellbinders Silver Foil. It was die cut out using the coordinating die.  I then adhered the 'happy birthday' one on to the card. To finish, I embellished with Spellbinders Silver Color Essentials Gems.

NEW SPELLBINDERS TOOLS


Before I go, I just wanted to share some new tools from Spellbinders with you in case you haven't seen them. These are great for die cutting. There is the new  Lilac Shimmer Tool 'n One. This is the same as the other Tool 'n One's, so if you already have one you don't need another, but of course, I love the new Lilac Shimmer colour that matches my Platinum Scout! The Tool 'n One is great for removing the little bits inside the die cuts that you don't want - whether that be using the brush end or the pokey end. The pokey end is great for placing down gems too! 


There is also the new Handy Foam Mat. This fits inside the Large Craft Stax Trays. The idea is that you would place your die cuts on top and use the brush end of the Tool 'n One to pop out the inside pieces. This also works for the dies themselves too. You can do this on any surface but the foam mat gives a nice resistance to the tool. You can also just use the pokey end of the Tool 'n One and I found that works as well. The benefit of using the mat inside the tray is that all the little die cut pieces stay contained and not strewn across your desk! You can then use lift out the foam insert and slide the pieces into the bin. Is it necessary? No, but I have found it hand when doing a lot of die cutting! 

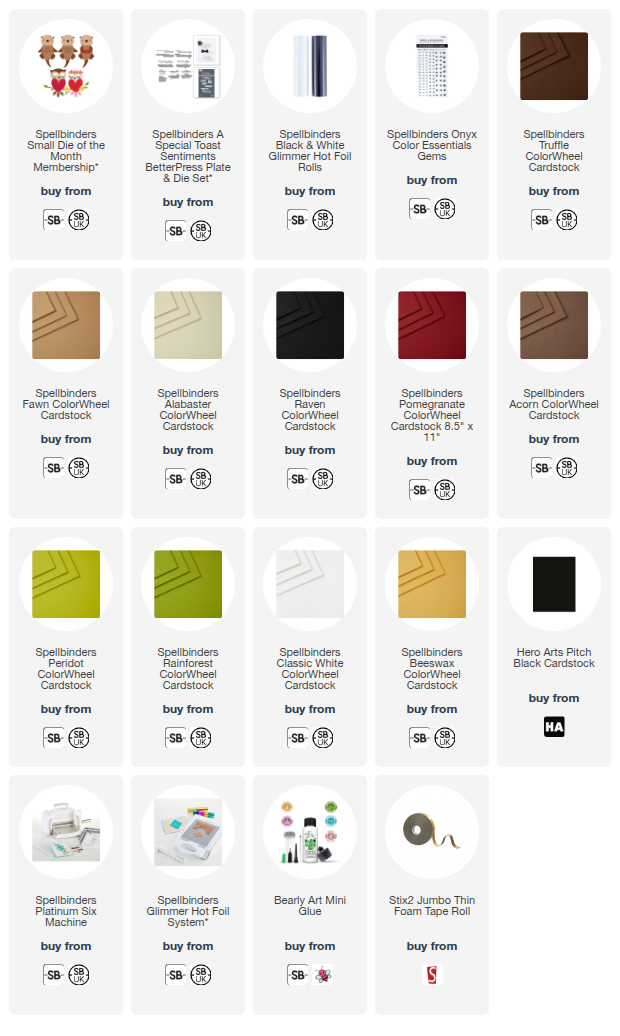
SUPPLIES:


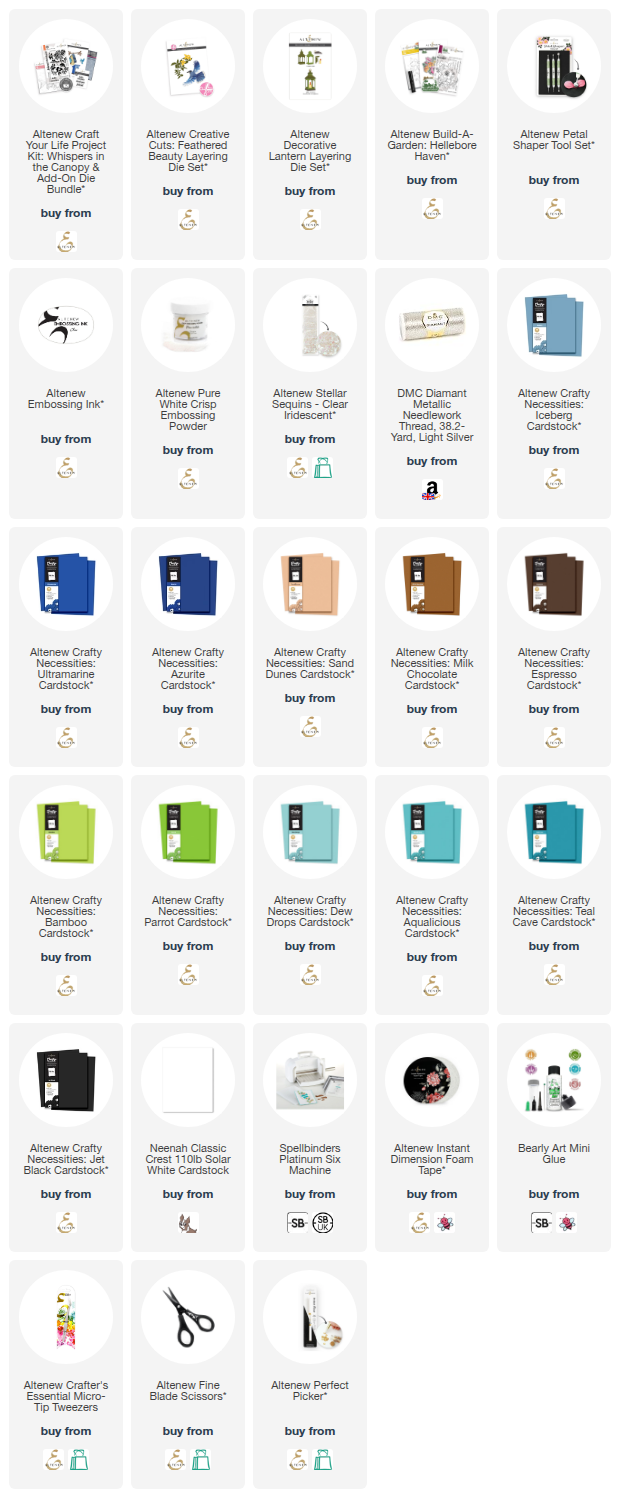
Here are the links to what I have used on the projects. Affiliate links are used on some products. This means that if you make a purchase after clicking on my link, I receive a small commission with no extra cost to you. I truly appreciate your support when using these links. Please click on the logo below the product to shop at your favourite store. All products were personally purchased except marked with an asterisk (*) which were kindly sent to me to use. You can read my full disclosure here.


I think the birds are a cute addition to the wreaths but they would look beautiful one their own too! Thank you so much for stopping by today, I really do appreciate it. I hope you have a wonderful day! 

2 September 2025

Simon Says Stamp | STAMPtember 2025 Party

Hello there, I am delighted to be joining Simon Says Stamp today to celebrate all things STAMPtember with a fun party! Loads of designers have come together to share tons of inspiration using the new release. 

For today's party, each designer has a prize promotion to share, so make sure to stop off on as many guests blogs/social media as you can to find all the prizes! More info on that below. 

PLEASE NOTE: This post contains affiliate links. Please see below for my full disclosure.


For my card today, I am using the new Simon Says Stamp Magnificent Mums Embossing Folder and Cutting Die. I started off by placing a 4.25" x 5.5" panel of white cardstock inside the folder and ran it through my die cutting machine. I then die cut the die in the set four times from white cardstock. I placed these inside the embossing folder, behind the flower heads, and ran it through my die cutting machine again. 

I added ink blending to the main panel with Altenew Sweet Dreams Fresh Dye Inks (Dew Drops and Aqualicious) and added ink blending to the flower heads using Altenew Bubblegum Dreams Fresh Dye Inks (Baby Pink, Fuchsia and Magenta). I adhered the main panel onto a white A2 sized card base, followed by the flower heads, cutting off the excess hanging over the sides with scissors. 

I popped the card into my splat box and splattered over Spellbinders Sparkle Splatter Effects for some added shimmer. I die cut the 'thanks' sentiment from the Simon Says Stamp CZ Design Basic Trio Dies four times from white cardstock. I adhered them one on top of another and then onto the card. 

I stamped the 'forever grateful' sentiment from the Simon Says Stamp Tiny Words Stamp Set onto black cardstock using Versamark Ink. I applied white embossing powder and heat set. It was cut into a strip using the Simon Says Stamp Sentiment Labels Dies and adhered to the card using thin foam squares. 

STAMPTEMBER PARTY TIME!

As mentioned, this is a fun party and you are all invited! It is also a scavenger hunt of sorts as you need to find all of the free gifts/promotions. All of the guests at the party are listed over on the Simon Says Stamp Blog. Visit their blogs/Instagram to find their prizes! 

My promotion for you is a free Simon Says Stamp Pinwheels 3x3" stencils with any purchase. Use the code in the graphic. Valid until 3rd September 2025 11.59pm ET. 


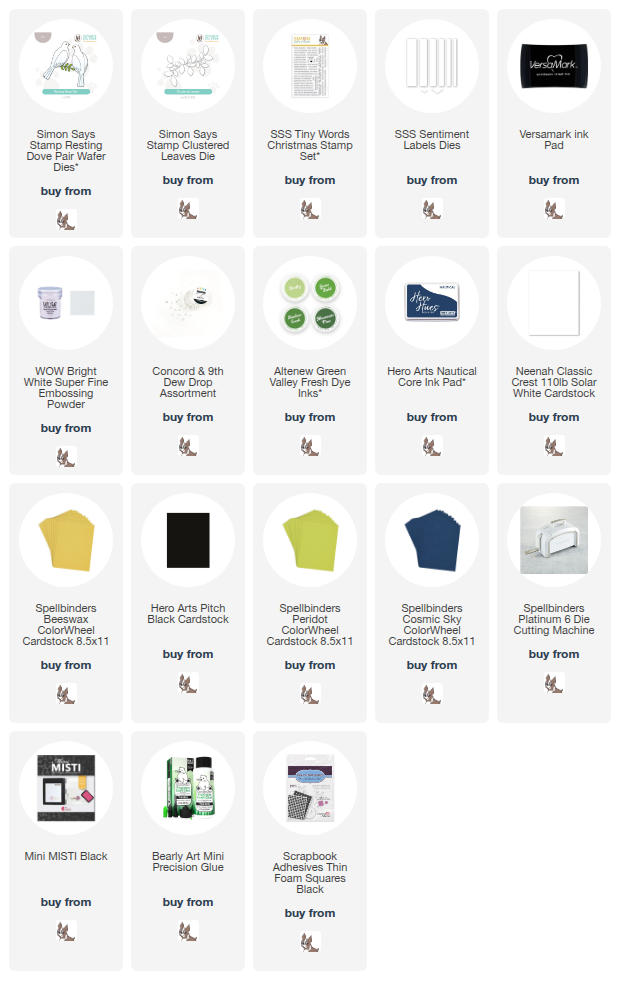
SUPPLIES:


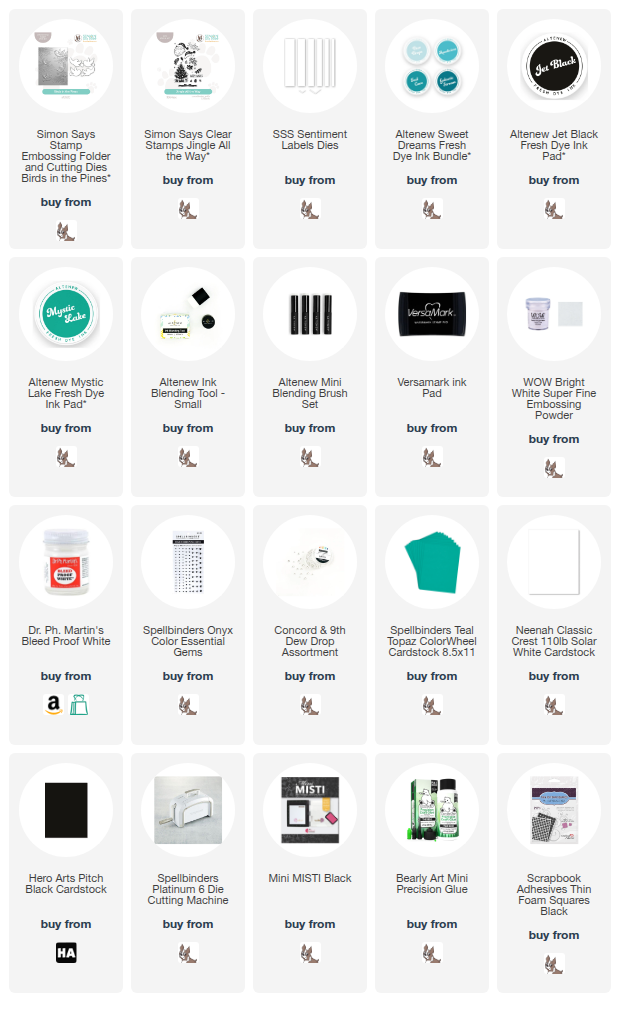
Here are the links to what I have used on the project. Affiliate links are used on some products. This means that if you make a purchase after clicking on my link, I receive a small commission with no extra cost to you. I truly appreciate your support when using these links. Please click on the logo below the product to shop at your favourite store. All products were personally purchased except marked with an asterisk (*) which were kindly sent to me to use. You can read my full disclosure here.


Thank you so much for stopping by today, I really do appreciate it. I hope you have a wonderful time at the party and a great day too! Take care! 

1 September 2025

Hero Arts | Hero Studio September 2025 Release Blog Hop + Giveaway

Hello there, I am delighted to be joining Hero Arts today for a fun blog hop to celebrate the Hero Studio September 2025 release. The theme this month is all about autumn and fall. 

The Card Kit of the Month, Stamp & Cut of the Month, Dies of the Month, Layering Stencils of the Month, and Cling of the Month are all releasing today. You can also purchase the Whole Studio which includes all of the kits and a free gift. Today, I am focussing on the Card Kit and the Stamp & Cut of the Month. 

PLEASE NOTE: This post contains affiliate links. Please see below for my full disclosure.

HERO STUDIO CARD KIT OF THE MONTH

The Hero Arts Hero Studio September Card Kit of the Month is so cute! There are lots of squirrels, pumpkins, leaves, mushrooms and all things woodland in the stamp set. There is also a die set in the kit that cuts a tree and you can have the squirrels popping out from it - so cute! 

For my card, I started off by stamping one of the squirrels, the tree stump, two pumpkins, mushrooms and leaves onto Hero Arts Deluxe Smooth White Cardstock using Hero Arts Intens-ified Black Ink. I then coloured the images using Copic Markers (the colours that I used are listed below the supplies for reference). 

I took a panel of Hero Arts Sand Cardstock and stamped the 'hello' from the stamp set on top with Hero Arts Clear Embossing & Watermark Ink. I applied Hero Arts Detail White Embossing Powder and heat set. The panel was then adhered to an A2 sized white card base. The images were adhered on top using a combination of liquid glue and thin foam tape. To finish, I added white gel pen dots. 

WHAT’S IN THE KIT?

The Hero Arts September 2025 Card Kit of the Month includes:

        • Fall is my Favorite 6" x 8" Stamp Set
        • Fall is my Favorite Coordinating Dies
        • Treehouse Die Set
        • Sunset Enamel Dots
        • Brown Twine, 1 yard
        • 10 Sheets of Cardstock- 1 of each color, 5.5" x 8.5" (Truffle, Merlot, Cinnamon, Terra Cotta, Carrot, Coral, Bellini, Beeswax, Saffron, Tuscan)

HERO STUDIO STAMP & CUT OF THE MONTH


For my second card today, I am using the Hero Arts Hero Studio September 2025 Stamp & Cut of the Month called Pick of the Patch. I started off by stamping three of the pumpkins from the stamp set onto Deluxe Smooth White Cardstock using Hero Arts Paradise Core Ink. I then stamped two more using Hero Arts Papaya Core Ink


For the second layer of the images, I used Hero Arts Intens-ified Black Ink. I also stamped the leaves using Hero Arts Green Hills and Butter Bar Core Inks, followed by the second layer in Intens-ified Black. They were then cut out. I have a confession here - I would have used the dies to cut them out but I accidently stamped the second layer of the stamp slightly in the wrong place, this meant that the dies did not line up properly, so I ended up fussy cutting them out with scissors instead. I should have die cut then stamped!


I took a panel of white cardstock and adhered it onto an A2 sized card base made from Hero Arts Sand Cardstock. The pumpkins and leaves were then adhered on top using thin foam tape. I stamped the sentiment in the set onto more white cardstock and die cut it out using the coordinating die. I cut the die another two times and layered them up one on top of each other and then onto the card. To finish, I added dots using an Altenew Fine Liner Pen

BLOG HOP:


For the hop, you should have arrived here from Michelle. Next on the hop is Mindy. If you get lost along the way or want to start the hop from the beginning, please head over to the Hero Arts Blog

GIVEAWAY:

Hero Arts will give away a $50 gift card, drawn from the comments left across the hop. Enter by Friday, September 5th at 11:59pm PT, and the winner will be announced on the Hero Arts blog the following week. Leave a comment on all stops for more chances to win!

SUPPLIES:


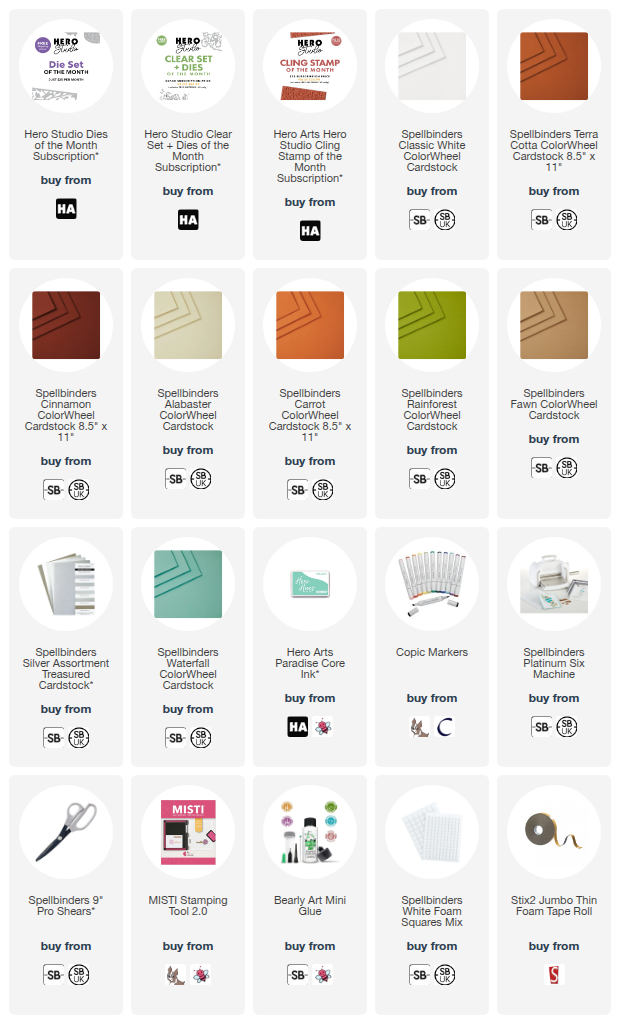
Here are the links to what I have used on the projects. Affiliate links are used on some products. This means that if you make a purchase after clicking on my link, I receive a small commission with no extra cost to you. I truly appreciate your support when using these links. Please click on the logo below the product to shop at your favourite store. All products were personally purchased except marked with an asterisk (*) which were kindly sent to me to use. You can read my full disclosure here.


COPIC MARKERS: Squirrel - E09, E08, E11. Tree stump - E59, E57, E55, E53. Pumpkins - YR18, YR14, YR12/YG99, YG93. Mushrooms - R89, R39, R37, R35/C1/E43, E41. Leaves - YR27, Y17, Y15/RV99, RV69, RV95/G28, YG17, YG23, YG01. 

Thank you so much for stopping by today, I really do appreciate it. I hope you have a wonderful day! 

Simon Says Stamp | STAMPtember 2025

Hello there and happy STAMPtember to you! If you haven't heard of STAMPtember before, it's a month long event hosted by Simon Says Stamp that features lots of fun, new products, inspiration and collaborations. Today is the main STAMPtember release for the Simon exclusive products. Tomorrow we are celebrating with a fun party and then after that, the collaborations start with all your favourite craft companies! 

PLEASE NOTE: This post contains affiliate links. Please see below for my full disclosure.


My first card today uses the new Simon Says Stamp Fall Wreath Die. This set features two semi circle leaf designs that you can put together to create a wreath. I die cut both parts from Spellbinders Brushed Black Cardstock. Using a Blending Tool, I pounced Tim Holtz Distress Oxides in Wilted Violet and Dried Marigold on top. 


I then took them to my splat box and spritzed Tim Holtz Wilted Violet and Spiced Marmalade Distress Spritz on top. I felt like I lost a little of the black, so I added Hero Arts Black Acrylic Speckle on top. Whilst it was drying, I die cut my sentiment. I used the new Simon Says Stamp Trick or Treat 2 Die. I die cut it five times from Tim Holtz Distress Black Heavystock and adhered them one on top of another. 


I created a US A2 sized card base from the same heavystock cardstock and adhered the wreath pieces on top using black thin foam squares. The sentiment was adhered in the centre. To finish, I added Simon Says Stamp Sea Star Sequins


My next card uses the new Simon Says Stamp Pumpkin Blessings. There is a stamp set, as well as a stencil set to colour/ink blend the main image in the set. I started off by stamping the image onto white cardstock using Memento Tuxedo Black Ink. I then stamped the sentiments (there are lots of different options) onto the banners.  


I coloured the pumpkins and sunflowers using Copic Markers. I then grabbed the Simon Says Stamp Pumpkin Blessings Stencils and used these to colour/ink blend the banners. I started off with a layer of Tim Holtz Gathered Twigs Distress Ink and then to add a little more depth, went in with Ground Espresso Distress Ink. The image was then fussy cut out using scissors. 


I die cut the second largest die in the new Simon Says Stamp A2 Postage Rectangles Dies from Neenah Desert Storm Cardstock. I then created a mini card to adhere behind. I adhered the stamped image to the front using thin foam squares. I added a few white gel pen dots and then embellished with Altenew White Enamel Dots

SUPPLIES:


Here are the links to what I have used on the projects. Affiliate links are used on some products. This means that if you make a purchase after clicking on my link, I receive a small commission with no extra cost to you. I truly appreciate your support when using these links. Please click on the logo below the product to shop at your favourite store. All products were personally purchased except marked with an asterisk (*) which were kindly sent to me to use. You can read my full disclosure here.


A big thank you to Simon Says Stamp for sending me these products to use. I will be back tomorrow to share another card, but until then, thank you so much for stopping by, I really do appreciate it. I hope you have a great day! 

29 August 2025

VIDEO | Pinkfresh Studio Whispers of Poinsettia

Hello there, I was over on the Pinkfresh Studio YouTube channel yesterday, sharing a card using Whispers of Poinsettia, which was a definite favourite of mine from the August 2025 release! 

PLEASE NOTE: This post contains affiliate links. Please see below for my full disclosure.


I started off my card by adding ink blending to the Pinkfresh Studio Whispers of Poinsettia Stencils. I used Pinkfresh Studio Summer Shower, Seaside, Sapphire and Stargazer Inks for the petals, and Pinkfresh Studio Grassy Knoll, Key Lime and Mermaid Cove for the leaves. I then die cut it out using the Pinkfresh Studio Whispers of Poinsettia Die. Watch the video below to see which layers of the stencil I missed out! 

I wanted just part of the image for my card, so using my scissors, I cut away one of the poinsettias. I added ink blending to a US A2 sized card base made from Spellbinders Cosmic Sky ColorWheel Cardstock using Pinkfresh Studio Sapphire and Stargazer Inks. I then splattered Dr Ph. Martin's Bleed Proof White on top. 

The poinsettia piece was adhered on top using thin foam tape. I hot foiled the sentiment from Pinkfresh Studio The Shelf Edit: Magic of the Season Press Plate using Spellbinders Silver Foil and the Glimmer Hot Foil System. It was die cut out using the coordinating die and adhered to the card. To finish, I embellished with Pinkfresh Studio Iridescent Dew Drops

VIDEO:

Here is the video showing how I made the card:

If you are viewing this post via email subscription, you can watch the video HERE on YouTube. 

SUPPLIES:


Here are the links to what I have used on the project. Affiliate links are used on some products. This means that if you make a purchase after clicking on my link, I receive a small commission with no extra cost to you. I truly appreciate your support when using these links. Please click on the logo below the product to shop at your favourite store. All products were personally purchased except marked with an asterisk (*) which were kindly sent to me to use. You can read my full disclosure here.


Whilst not traditional, I love the poinsettias in blue! Thank you so much for stopping by today, I really do appreciate it. I hope you have a wonderful day and a great weekend! 

28 August 2025

Hero Arts | Festive Trees

Hello there, I hope you are well! I am over on the Hero Arts blog today sharing a card using the Festive Tree Dies, adding patterns to the trees for some added interest and sparkle! 

PLEASE NOTE: This post contains affiliate links. Please see below for my full disclosure.


There are two dies in the Hero Arts Festive Tree Etched Dies set. I cut the larger one from a panel of white cardstock to create an aperture. I added Spellbinders ColorWheel Cardstock behind in a diagonal pattern. For the smaller tree, I die cut it from Waterfall Cardstock and then placed the Hero Arts Snowflake Pattern Stencil on top. 

I first added Hero Arts Bermuda Core Ink and then a layer of Hero Glitter Paste for some added sparkle! The sentiment on the card is from the Hero Arts Modern Holiday Greetings Stamp & Cut. I finished off the card with Spellbinders Crystal Mix Color Essentials Gems

SUPPLIES:


Here are the links to what I have used on the project. Affiliate links are used on some products. This means that if you make a purchase after clicking on my link, I receive a small commission with no extra cost to you. I truly appreciate your support when using these links. Please click on the logo below the product to shop at your favourite store. All products were personally purchased except marked with an asterisk (*) which were kindly sent to me to use. You can read my full disclosure here.


For more information on how I made the card, please head over to the Hero Arts Blog. Thank you so much for stopping by today, I hope you have a great day! 

20 August 2025

Pinkfresh Studio | Snowy Cottage Lantern Landscape

Hello there, I am delighted to be joining Pinkfresh Studio today to celebrate the Twinkle & Traditions release with a fun Instagram Hop (more info on the hop below). I already shared two projects using the release here and today I have another to share. I am not sure what I am calling this project today - it could be a tag, it could be an ornament, it could just be a little keepsake to give, but I will probably call it a tag for now! 

PLEASE NOTE: This post contains affiliate links. Please see below for my full disclosure.


I started off my tag by creating the landscape image. I took the Pinkfresh Studio Lantern Landscapes: Snowy Cottage Stencils and one by one, placed them onto a panel of white cardstock and added ink blending to them to colour/create the image using Pinkfresh Studio inks and Blending Brushes (I used all three sizes of brushes on this piece). 


I used Pinkfresh Studio Inks in Wisteria, Hydrangea and Opulence for the sky and door, Sheer Freesia and Wisteria for the mountains, Waterfall for the snow, Grassy Knoll for the greenery, Misty Coast and Rocky Slope for the house and pathway, Lemon Whip for the windows, and Bubble Gum for the bow on the wreath. It was then die cut out using the coordinating die in the Pinkfresh Studio Lantern Landscapes Die set. 


I took a panel of Spellbinders Lilac ColorWheel Cardstock and placed the Pinkfresh Studio Lantern Landscapes Stencils on top. I added ink blending with Pinkfresh Studio Hydrangea and Opulence Inks to create the lantern itself. It was then die cut out using the coordinating die from the Pinkfresh Studio Lantern Landscapes Die set. I cut it another three times from the same Lilac cardstock. 


I placed a piece of acetate over one of the lantern pieces and drew a line of where I needed to cut it. I then adhered it to one of the lantern pieces. I adhered two more lantern pieces on top, using Pinkfresh Studio Precision Clear Craft Glue. I adhered the scene into the centre and then adhered the ink blended lantern piece on top. I added ink blending to the last lantern layer and adhered it on the back (since the shape is symmetrical). I also cut another of the die for the landscape piece and adhered that to the back too, so that there is somewhere to write a personal message and it hides the glue on the back too! 


I then took the Pinkfresh Studio Timeless Tidings Stencils and added ink blending to the holly leaves and berries using Pinkfresh Studio Inks in Grassy Knoll, Key Lime and Mermaid Cove for the leaves, and Bubble Gum and Raspberry Bliss for the berries. They were die cut out using the Pinkfresh Studio Timeless Tidings Die and adhered to the top of the lantern. To finish, I tied DMC Silver Metallic Thread through the top of and tied in a loop and then added white gel pen dots to the sky for snow. 

SUPPLIES:


Here are the links to what I have used on the project. Affiliate links are used on some products. This means that if you make a purchase after clicking on my link, I receive a small commission with no extra cost to you. I truly appreciate your support when using these links. Please click on the logo below the product to shop at your favourite store. All products were personally purchased except marked with an asterisk (*) which were kindly sent to me to use. You can read my full disclosure here.


This was so fun to make! You can definitely add this to a card or you could make it into a shaped card too by scoring one of the lantern pieces to create a hinge and adhere it to the back, so that it stands up. To follow along with the hop (and potentially win a prize!) please head over to the Pinkfresh Studio Instagram Page HERE and you can visit mine HERE. Thank you so much for stopping by today, I really do appreciate it. I hope you have a wonderful day! 

19 August 2025

Pinkfresh Studio | Twinkle & Tradition August 2025 Release Blog Hop + Giveaway

Hello there, I am delighted to be joining Pinkfresh Studio today to celebrate the Twinkle & Tradition release with a fun blog hop. The release is Christmas and holiday themed and so very beautiful! I have a card and ornament to share today but I will be back tomorrow sharing more inspiration too! 

PLEASE NOTE: This post contains affiliate links. Please see below for my full disclosure.


My card and ornament today both use the new Pinkfresh Studio Tied with Cheer Die & Stencil Bundle. There are three different wreath designs in the set, plus stencils to ink blend the bow and then the die to cut it out too. 


For the card, I started off by die cutting the three wreaths from the Pinkfresh Studio Tied with Cheer Die & Stencil Bundle from white cardstock. I then added ink blending to them using Pinkfresh Studio Inks in Mermaid Cove for the bottom layer, Grassy Knoll for the middle layer, and Ocean Breeze for the top layer. 


For the bow, I used Pinkfresh Studio Inks in Waterfall, Turquoise and Paradise. I then used the coordinating die to cut it out. I also cut it again another two times from white cardstock and adhered them onto the back of the stencilled one, for added dimension. 


I adhered the wreath layers, one by one, onto a white 4.5" x 4.5" card base using Pinkfresh Studio Precision Clear Craft Glue. I added the glue to the main body of the wreath layers and left the leaf pieces without glue, so that I could lift them up to create a little more dimension. The bow was then adhered at the top. 


I took the 'Warm Holiday Wishes' sentiment from the Pinkfresh Studio Once Upon a Holiday Press Plate set and hot foiled it onto white cardstock using Spellbinders Silver Foil and the Glimmer Hot Foil System. It was then die cut out using the coordinating Pinkfresh Studio Once Upon a Holiday Die. I cut the die another two times from white cardstock and adhered them behind the foiled one before adhering to the card. 


To finish, I embellished with Pinkfresh Studio Dew Drops: Iridescent embellishments, adhering with Precision Clear Craft Glue. 


I thought the wreath would look lovely as an ornament too, so I die cut the layers from Pinkfresh Studio Tied with Cheer again. This time for the ink blending I used Pinkfresh Studio Inks in Mermaid Cove for the bottom layer, Grassy Knoll for the middle layer, and Fresh Pear for the top layer. 


I then took the tree stencils from Pinkfresh Studio Holiday Express Stencils and placed them onto a panel of white cardstock. I added ink blending using Pinkfresh Studio Inks in Grassy Knoll, Key Lime, Olive and Mermaid Cove for the trees themselves. I used Doe and Gathered Twigs for the tree trunks. I then die cut them out using the Pinkfresh Studio Holiday Express Die


I die cut a Pinkfresh Studio Essentials: Double Stitched Circle Die from acetate that was just slightly bigger than the inside of the wreath dies. I then adhered the wreath dies on top, using Pinkfresh Studio Precision Clear Craft Glue, leaving a gap at the top without glue so that I could tie thread through it. I then adhered the trees inside the wreaths. 


To finish, I embellished with Pinkfresh Studio Clear Drops: Ice embellishments. I then threaded DMC Diamant Metallic Thread (Light Silver) through the wreaths, and tied in a loop at the top, so that it could be hung up. I also tied some of the thread into a bow and then adhered the bow on top. 

BLOG HOP:


As mentioned, this post is part of a fun, inspirational blog hop. Please click on the participants below to visit their blogs. 

You are invited to the Inlinkz link party!

Click here to enter

GIVEAWAY:

Pinkfresh Studio will give away ten $50 gift cards along the hop, selected from the comments left along the hop at random. They will also give away the full release over on the Pinkfresh Studio blog and YouTube Channel. Winners will be announced on the Pinkfresh Studio Giveaway Page on 26th August 2025. Please make sure to check if you are a winner and claim your prize within two weeks. 

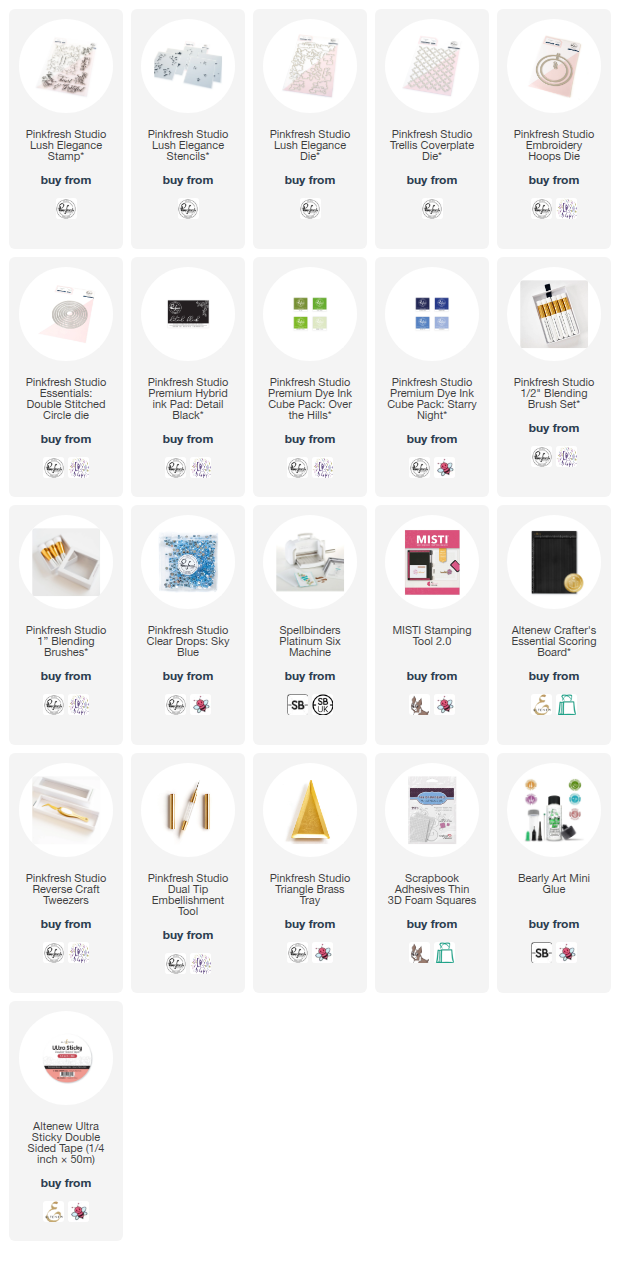
SUPPLIES:


Here are the links to what I have used on the projects. Affiliate links are used on some products. This means that if you make a purchase after clicking on my link, I receive a small commission with no extra cost to you. I truly appreciate your support when using these links. Please click on the logo below the product to shop at your favourite store. All products were personally purchased except marked with an asterisk (*) which were kindly sent to me to use. You can read my full disclosure here.


Thank you so much for stopping by today, I really do appreciate it. I hope you have a great time on the rest of the hop and a wonderful day too! Take care! 
End of code