
Hello there and happy Saturday to you! Today I have a card to share using the Spellbinders Wild Violet and Ladybugs Etched Dies from the Poet's Garden Collection by Susan Tierney-Cockburn. These flowers are made to be realistic, so if you shape them like Susan does (there are tutorials on the Spellbinders YouTube Channel to see how to do this), it does mean that the flowers end up very dimensional.
PLEASE
NOTE: This post contains affiliate links. Please see below for my full
disclosure.

I started off my card by die cutting the Spellbinders Wild Violet and Ladybugs Etched Dies from Spellbinders ColorWheel Cardstock multiple times. I die cut the stem, helix and leaves from Peridot and the petals from Lavender. I then added ink blending to the pieces using Spellbinders Mini Blending Brushes.

I used Altenew Enchanted Garden Fresh Dye Inks for the petals and Altenew Green Valley Fresh Dye Inks for the leaves and stem. I placed the petals on to my moulding mat and using a loop tool, shaped the flowers (unfortunately Spellbinders have discontinued the petal shaping tool kit that I used but stylus tools would work here as well). I adhered the petals onto the helix and then set them aside.

I created my card base by die cutting two Spellbinders Essential Arches Etched Dies from white cardstock. I added a scoring line at the top of one to create a hinge. I added adhesive to the hinge and adhered it to the other arch to create a shaped card base. I die cut the arch again from Hero Arts Pitch Black Cardstock and adhered that on top. I then adhered the stem piece on to the card using liquid glue, popping the bud piece underneath.

I then adhered the flowers on top of the branch. I shaped the leaves using Spellbinders Reverse Tweezers and then popped them around the flowers. There are no centres for these flowers, so I used Spellbinders Fashion Oyster Pearls. I hot foiled the Spellbinders Holding Your Heart Sentiments BetterPress Plates & Die Set onto black cardstock using Spellbinders Silver Foil and the Glimmer Hot Foil System. The thank you (part of a longer sentiment) was cut into a strip and adhered to the card using thin foam tape. To finish, I embellished with Spellbinders Onyx Color Essential Gems.
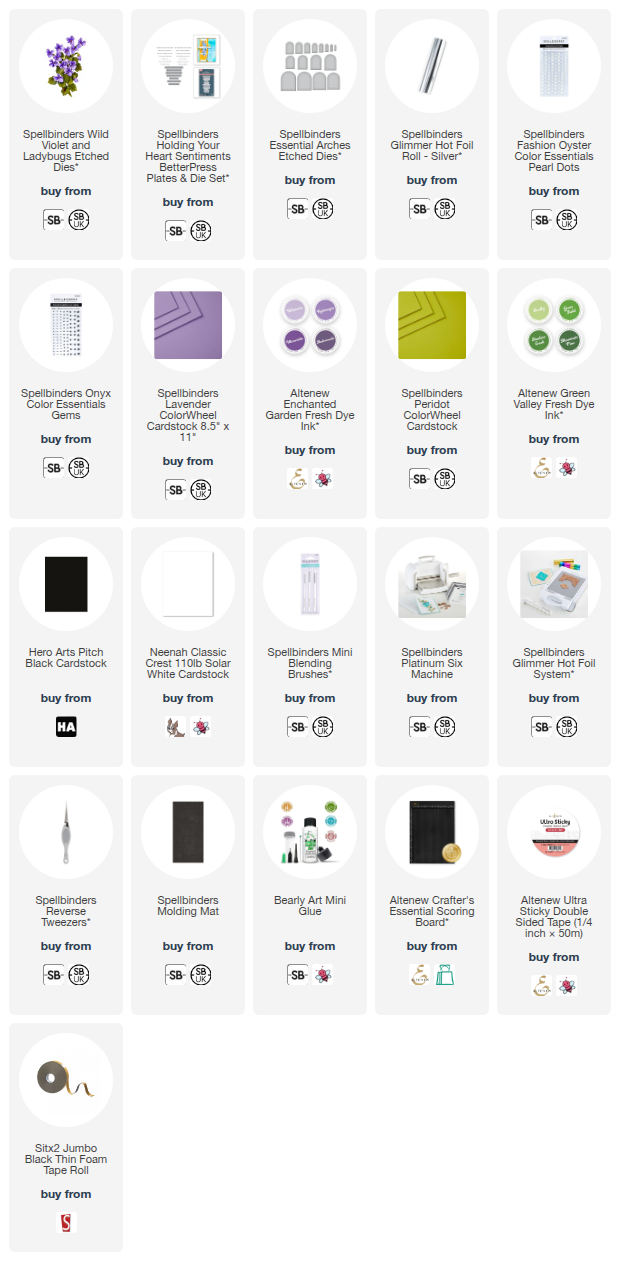
SUPPLIES:
Here are the links to
what I have used on the project. Affiliate
links are used on some products. This means that if you make a purchase after
clicking on my link, I receive a small commission with no extra cost to you. I
truly appreciate your support when using these links. Please click on the logo below
the product to shop at your favourite store. All products were personally
purchased except marked with an asterisk (*) which were kindly sent to me to
use. You can read my full disclosure here.
Since this card is so dimensional, it will definitely be one that will have to be hand delivered but I think these flowers would make a beautiful framed piece of decor too. Thank you so much for stopping by today, I really appreciate it. I hope you have a great weekend!
This is breathtaking. I would never have thought a black background could look that good, but Wow! The contrast is epic.
ReplyDelete