
Hello there, I am delighted to be over on the Spellbinders Blog today sharing a step by step tutorial using the Classic Mouse Love Collection. This collection works with Steamboat Willie Duo Etched Dies to add love themed accessories to the mice, as well as sentiments. I am sharing the boy mouse version over on the Spellbinders blog and here I am sharing the girl mouse version.
PLEASE
NOTE: This post contains affiliate links. Please see below for my full
disclosure.

I started off by die cutting the girl mouse from Spellbinders Steamboat Willie Etched Dies from Spellbinders ColorWheel Cardstock. I used Raven (body and arms), Alabaster (face), Poppy (tongue), Lavender (dress and shoes) and Fairy Tale (knickers). She was assembled and adhered together using Bearly Art Glue.

I then die cut the balloon and envelope from the Spellbinders Classic Mouse Love Etched Dies. I cut the balloon and heart on the envelope from Spellbinders Lilac ColorWheel Cardstock, the string for the balloon from Fog ColorWheel Cardstock and the envelope from Classic White ColorWheel Cardstock.

I adhered the heart to the envelope and then popped it under her arm. I adhered the string to the balloon and then adhered it to her hand. I created a shaped card base using Spellbinders Essentials Arches Etched Dies and then adhered a strip of Spellbinders Lilac ColorWheel Cardstock at the bottom.

The mouse was adhered on top using thin foam tape. I hot foiled the Spellbinders Classic Mouse Happy Sentiments Press + Foil Plate onto white cardstock using Spellbinders Opaque Black Foil and the Glimmer Hot Foil System. It was die cut out using the coordinating dies and the 'oh happy day' one adhered to the card with thin foam tape. To finish, I embellished with Spellbinders Prism AB Color Essentials Gems.
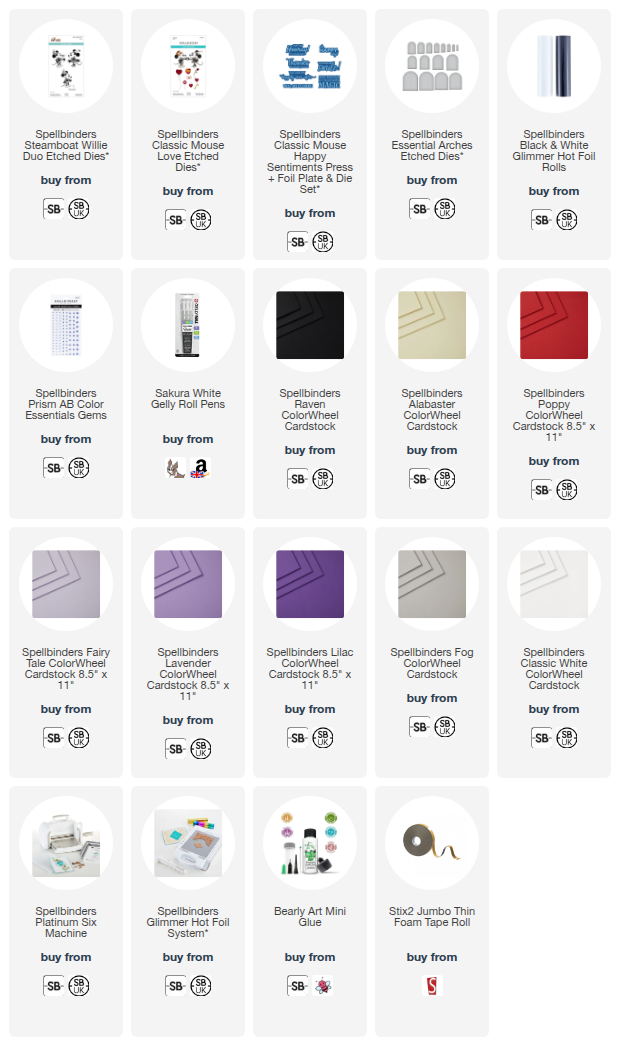
SUPPLIES:
Here are the links to
what I have used on the project. Affiliate
links are used on some products. This means that if you make a purchase after
clicking on my link, I receive a small commission with no extra cost to you. I
truly appreciate your support when using these links. Please click on the logo below
the product to shop at your favourite store. All products were personally
purchased except marked with an asterisk (*) which were kindly sent to me to
use. You can read my full disclosure here.
To see step by step photos of how I made the boy mouse version of this card, please visit the Spellbinders Blog. Thank you so much for stopping by today, I really do appreciate it. I hope you have a great day!
A sweet and gorgeous card! Love Minnie in purple, it really suits her. TFS
ReplyDelete