
Hello there, today I have a card to share using the Altenew Pop It Up: Blooming Hydrangea Stamp & Die Set. This is a really fun set as you get to puzzle the die cuts with the stamping. Hydrangeas are one of my favourite flowers too and I love the two-tone blue and purples ones, so that's what I did today!
PLEASE
NOTE: This post contains affiliate links. Please see below for my full
disclosure.

I started off my card by creating a tag shaped card. This is really easy to do as you just cut off the top two corners from a standard card base (in this case I used a US A2 card size). It's a really quick and easy way to create a shaped card! I then stamped the Altenew Pop It Up: Blooming Hydrangea Stamp Set image on top using Altenew Obsidian Pigment Ink. This stamps the leaves and stems but also letters to know where to place the die cut flowers on top.

I then sprayed Altenew Shimmer Metallic Ink Sprays on of a panel of white cardstock in Ocean Waves and Lavender Fields and set it aside to dry. Once dry, I die cut it using the Altenew Pop It Up: Blooming Hydrangea Die Set. When the die cuts, it also indents the letters into the centre of the petals so you know where to line these up on top of the stamped ones - so clever!

I wanted to add some dimension onto the flowers, so I placed them on to the foam mat that comes in the Altenew Petal Shaper Tool Set and then used the styluses to shape the petals, so that they were cupped slightly. I then added liquid glue onto the back of the flowers and one by one, adhered them to the card.

I stamped a sentiment from Altenew Pop It Up: Blooming Hydrangea Stamp Set onto Altenew Crafty Necessities: Jet Black Cardstock using Altenew Embossing Ink. I applied Altenew Pure White Crisp Embossing Powder and heat set. It was cut into a strip and adhered to the card using Altenew Instant Dimension Foam Tape. To finish, I added an Altenew Ivory Pearl Dot to the centre of each flower.
VIDEO:
Here is the video showing how I made the card:
If you are viewing this blog post via email subscription, you can watch the video HERE on YouTube.
SUPPLIES:
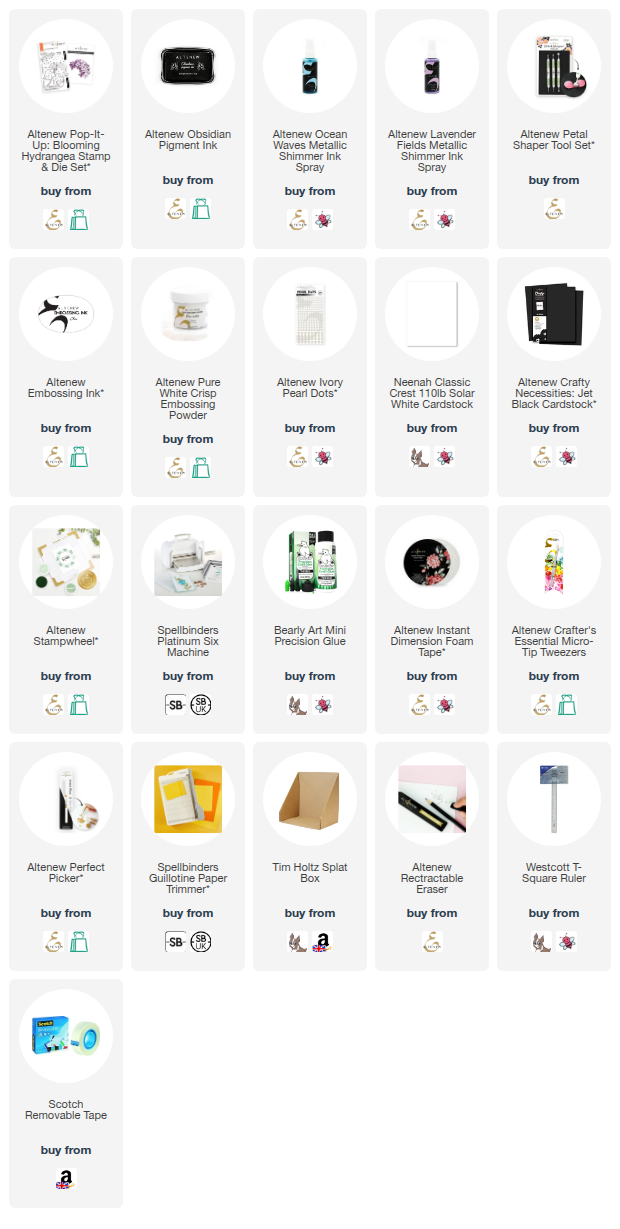
Here are the links to what I have used on the project. Affiliate links are used on some products. This means that if you make a purchase after clicking on my link, I receive a small commission with no extra cost to you. I truly appreciate your support when using these links. Please click on the logo below the product to shop at your favourite store. All products were personally purchased except marked with an asterisk (*) which were kindly sent to me to use. You can read my full disclosure here.
This is such a fun set to use! Even if you don't get the petals placed exactly where they are supposed to, it still looks really pretty! Thank you so much for stopping by today, I really do appreciate it. I hope you have a wonderful day and a great week ahead!
No comments:
Post a Comment
Thank you for visiting my blog today! Please feel free to leave me a comment. I really appreciate receiving them. Please note that if you comment as unknown on a hop, you will not be entered into the prize draw unless you leave your email address in the comment. Please see my Privacy Policy for details on how your data is used when leaving me a comment. Thank you so much :)