20 August 2025

Pinkfresh Studio | Snowy Cottage Lantern Landscape

Hello there, I am delighted to be joining Pinkfresh Studio today to celebrate the Twinkle & Traditions release with a fun Instagram Hop (more info on the hop below). I already shared two projects using the release here and today I have another to share. I am not sure what I am calling this project today - it could be a tag, it could be an ornament, it could just be a little keepsake to give, but I will probably call it a tag for now! 

PLEASE NOTE: This post contains affiliate links. Please see below for my full disclosure.


I started off my tag by creating the landscape image. I took the Pinkfresh Studio Lantern Landscapes: Snowy Cottage Stencils and one by one, placed them onto a panel of white cardstock and added ink blending to them to colour/create the image using Pinkfresh Studio inks and Blending Brushes (I used all three sizes of brushes on this piece). 


I used Pinkfresh Studio Inks in Wisteria, Hydrangea and Opulence for the sky and door, Sheer Freesia and Wisteria for the mountains, Waterfall for the snow, Grassy Knoll for the greenery, Misty Coast and Rocky Slope for the house and pathway, Lemon Whip for the windows, and Bubble Gum for the bow on the wreath. It was then die cut out using the coordinating die in the Pinkfresh Studio Lantern Landscapes Die set. 


I took a panel of Spellbinders Lilac ColorWheel Cardstock and placed the Pinkfresh Studio Lantern Landscapes Stencils on top. I added ink blending with Pinkfresh Studio Hydrangea and Opulence Inks to create the lantern itself. It was then die cut out using the coordinating die from the Pinkfresh Studio Lantern Landscapes Die set. I cut it another three times from the same Lilac cardstock. 


I placed a piece of acetate over one of the lantern pieces and drew a line of where I needed to cut it. I then adhered it to one of the lantern pieces. I adhered two more lantern pieces on top, using Pinkfresh Studio Precision Clear Craft Glue. I adhered the scene into the centre and then adhered the ink blended lantern piece on top. I added ink blending to the last lantern layer and adhered it on the back (since the shape is symmetrical). I also cut another of the die for the landscape piece and adhered that to the back too, so that there is somewhere to write a personal message and it hides the glue on the back too! 


I then took the Pinkfresh Studio Timeless Tidings Stencils and added ink blending to the holly leaves and berries using Pinkfresh Studio Inks in Grassy Knoll, Key Lime and Mermaid Cove for the leaves, and Bubble Gum and Raspberry Bliss for the berries. They were die cut out using the Pinkfresh Studio Timeless Tidings Die and adhered to the top of the lantern. To finish, I tied DMC Silver Metallic Thread through the top of and tied in a loop and then added white gel pen dots to the sky for snow. 

SUPPLIES:


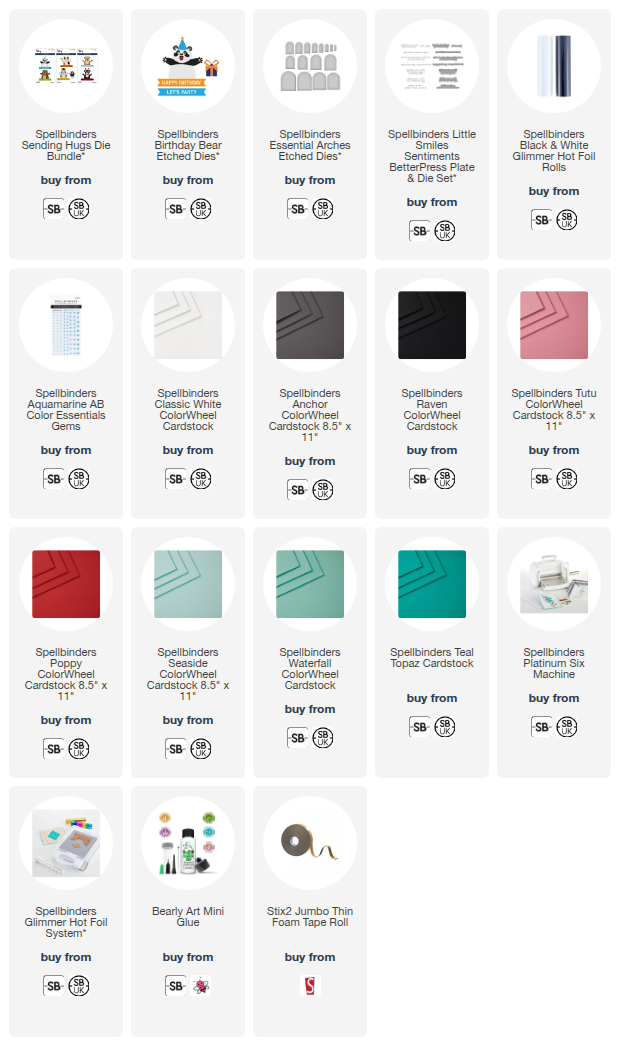
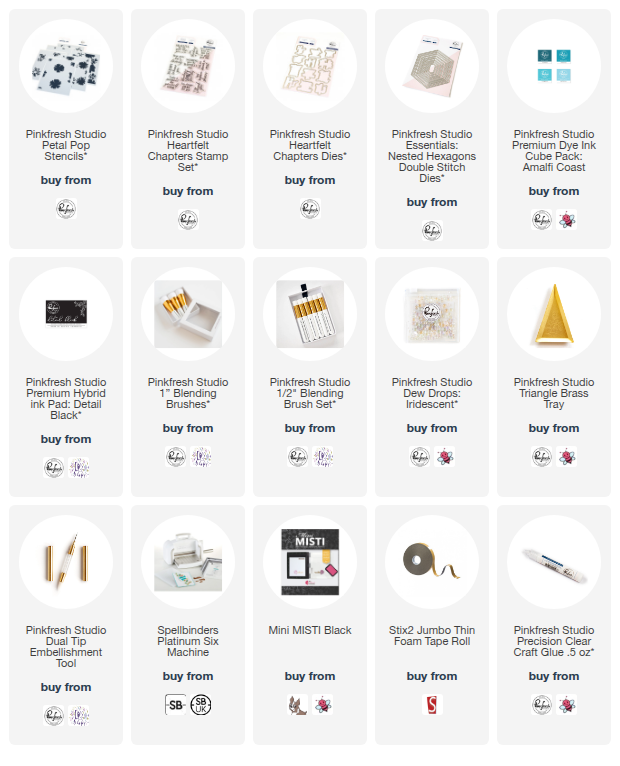
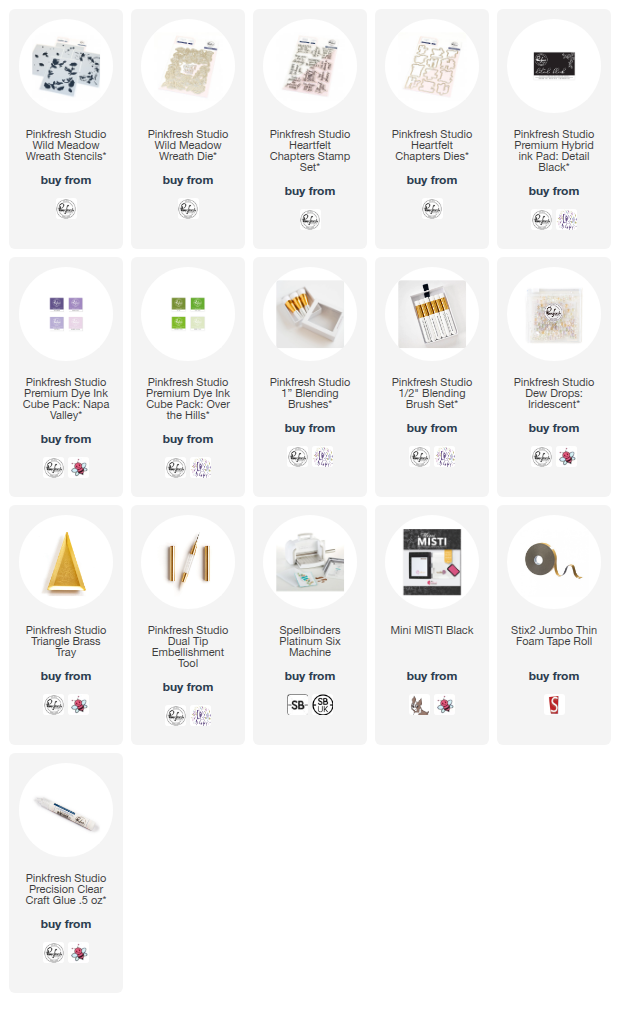
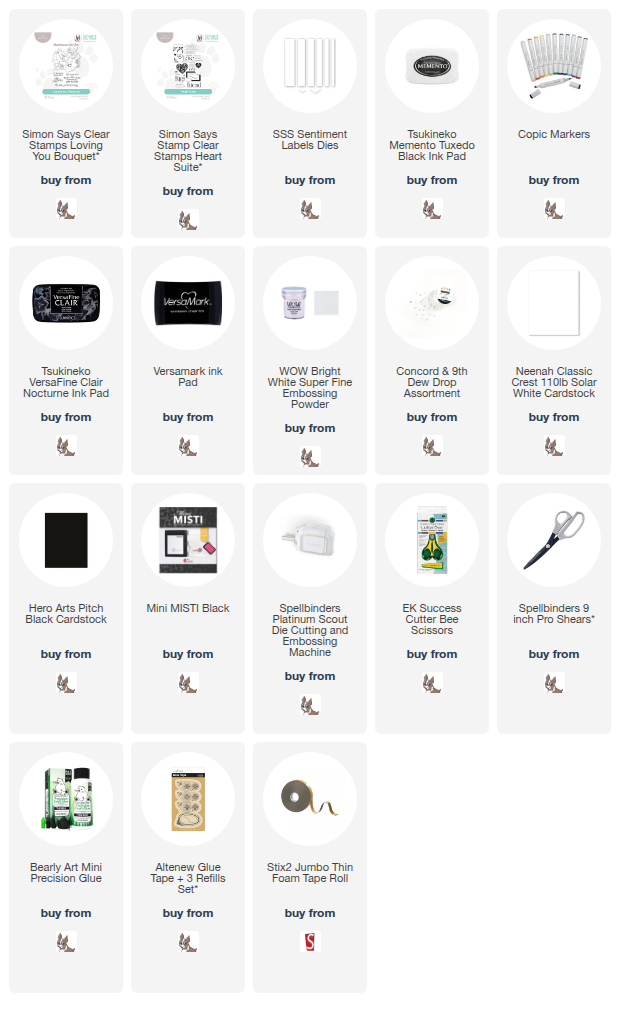
Here are the links to what I have used on the project. Affiliate links are used on some products. This means that if you make a purchase after clicking on my link, I receive a small commission with no extra cost to you. I truly appreciate your support when using these links. Please click on the logo below the product to shop at your favourite store. All products were personally purchased except marked with an asterisk (*) which were kindly sent to me to use. You can read my full disclosure here.


This was so fun to make! You can definitely add this to a card or you could make it into a shaped card too by scoring one of the lantern pieces to create a hinge and adhere it to the back, so that it stands up. To follow along with the hop (and potentially win a prize!) please head over to the Pinkfresh Studio Instagram Page HERE and you can visit mine HERE. Thank you so much for stopping by today, I really do appreciate it. I hope you have a wonderful day! 

19 August 2025

Pinkfresh Studio | Twinkle & Tradition August 2025 Release Blog Hop + Giveaway

Hello there, I am delighted to be joining Pinkfresh Studio today to celebrate the Twinkle & Tradition release with a fun blog hop. The release is Christmas and holiday themed and so very beautiful! I have a card and ornament to share today but I will be back tomorrow sharing more inspiration too! 

PLEASE NOTE: This post contains affiliate links. Please see below for my full disclosure.


My card and ornament today both use the new Pinkfresh Studio Tied with Cheer Die & Stencil Bundle. There are three different wreath designs in the set, plus stencils to ink blend the bow and then the die to cut it out too. 


For the card, I started off by die cutting the three wreaths from the Pinkfresh Studio Tied with Cheer Die & Stencil Bundle from white cardstock. I then added ink blending to them using Pinkfresh Studio Inks in Mermaid Cove for the bottom layer, Grassy Knoll for the middle layer, and Ocean Breeze for the top layer. 


For the bow, I used Pinkfresh Studio Inks in Waterfall, Turquoise and Paradise. I then used the coordinating die to cut it out. I also cut it again another two times from white cardstock and adhered them onto the back of the stencilled one, for added dimension. 


I adhered the wreath layers, one by one, onto a white 4.5" x 4.5" card base using Pinkfresh Studio Precision Clear Craft Glue. I added the glue to the main body of the wreath layers and left the leaf pieces without glue, so that I could lift them up to create a little more dimension. The bow was then adhered at the top. 


I took the 'Warm Holiday Wishes' sentiment from the Pinkfresh Studio Once Upon a Holiday Press Plate set and hot foiled it onto white cardstock using Spellbinders Silver Foil and the Glimmer Hot Foil System. It was then die cut out using the coordinating Pinkfresh Studio Once Upon a Holiday Die. I cut the die another two times from white cardstock and adhered them behind the foiled one before adhering to the card. 


To finish, I embellished with Pinkfresh Studio Dew Drops: Iridescent embellishments, adhering with Precision Clear Craft Glue. 


I thought the wreath would look lovely as an ornament too, so I die cut the layers from Pinkfresh Studio Tied with Cheer again. This time for the ink blending I used Pinkfresh Studio Inks in Mermaid Cove for the bottom layer, Grassy Knoll for the middle layer, and Fresh Pear for the top layer. 


I then took the tree stencils from Pinkfresh Studio Holiday Express Stencils and placed them onto a panel of white cardstock. I added ink blending using Pinkfresh Studio Inks in Grassy Knoll, Key Lime, Olive and Mermaid Cove for the trees themselves. I used Doe and Gathered Twigs for the tree trunks. I then die cut them out using the Pinkfresh Studio Holiday Express Die


I die cut a Pinkfresh Studio Essentials: Double Stitched Circle Die from acetate that was just slightly bigger than the inside of the wreath dies. I then adhered the wreath dies on top, using Pinkfresh Studio Precision Clear Craft Glue, leaving a gap at the top without glue so that I could tie thread through it. I then adhered the trees inside the wreaths. 


To finish, I embellished with Pinkfresh Studio Clear Drops: Ice embellishments. I then threaded DMC Diamant Metallic Thread (Light Silver) through the wreaths, and tied in a loop at the top, so that it could be hung up. I also tied some of the thread into a bow and then adhered the bow on top. 

BLOG HOP:


As mentioned, this post is part of a fun, inspirational blog hop. Please click on the participants below to visit their blogs. 

You are invited to the Inlinkz link party!

Click here to enter

GIVEAWAY:

Pinkfresh Studio will give away ten $50 gift cards along the hop, selected from the comments left along the hop at random. They will also give away the full release over on the Pinkfresh Studio blog and YouTube Channel. Winners will be announced on the Pinkfresh Studio Giveaway Page on 26th August 2025. Please make sure to check if you are a winner and claim your prize within two weeks. 

SUPPLIES:


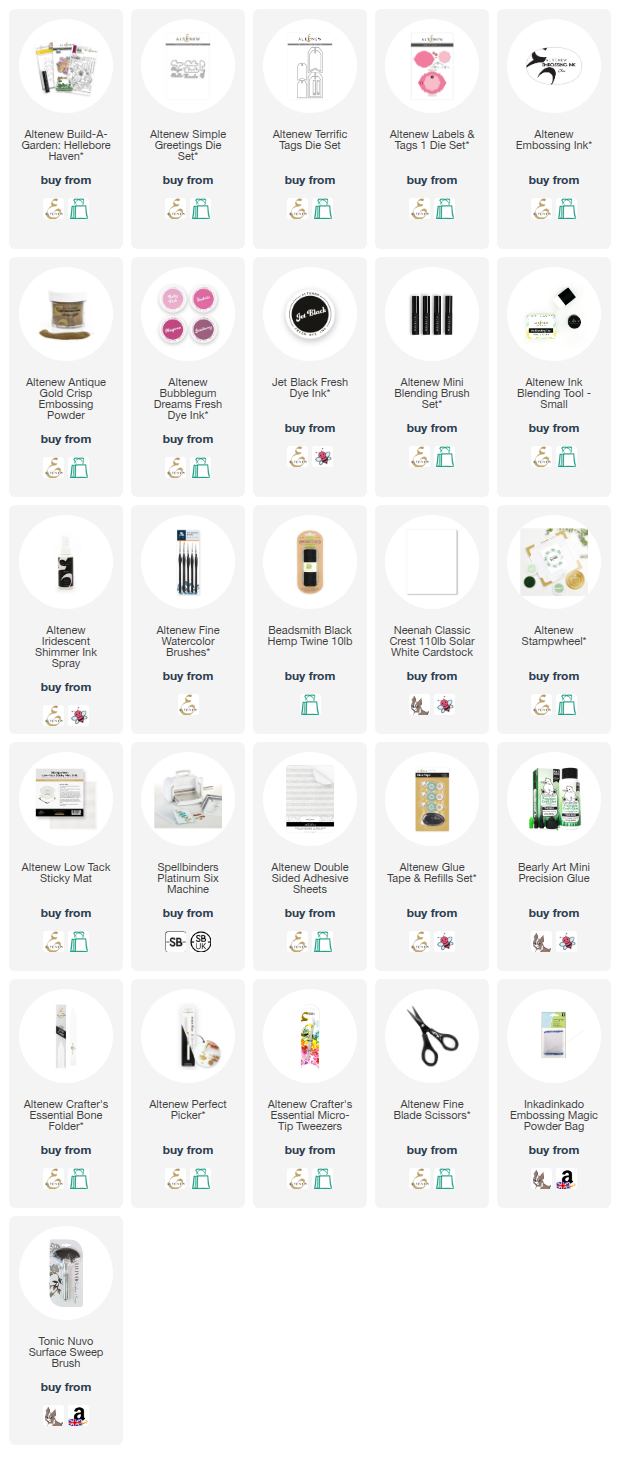
Here are the links to what I have used on the projects. Affiliate links are used on some products. This means that if you make a purchase after clicking on my link, I receive a small commission with no extra cost to you. I truly appreciate your support when using these links. Please click on the logo below the product to shop at your favourite store. All products were personally purchased except marked with an asterisk (*) which were kindly sent to me to use. You can read my full disclosure here.


Thank you so much for stopping by today, I really do appreciate it. I hope you have a great time on the rest of the hop and a wonderful day too! Take care! 

17 August 2025

Spellbinders | Christmas Cracker

Hello there, I am delighted to be over on the Spellbinders Blog today sharing a step by step photo tutorial on how I made the card in the peek below. 

PLEASE NOTE: This post contains affiliate links. Please see below for my full disclosure.


The card uses the fabulous new Spellbinders Christmas Cracker Etched Dies from the new City Holiday Collection by Yana Smakula. I already shared one card using the collection which you can see here. I used a similar colour scheme to that card but changed the silver for gold. I always love a blue and gold colour combo for Christmas! The foliage is from the same set, as well as the sentiment. I embellished with Gold Color Essentials Gems

SUPPLIES:


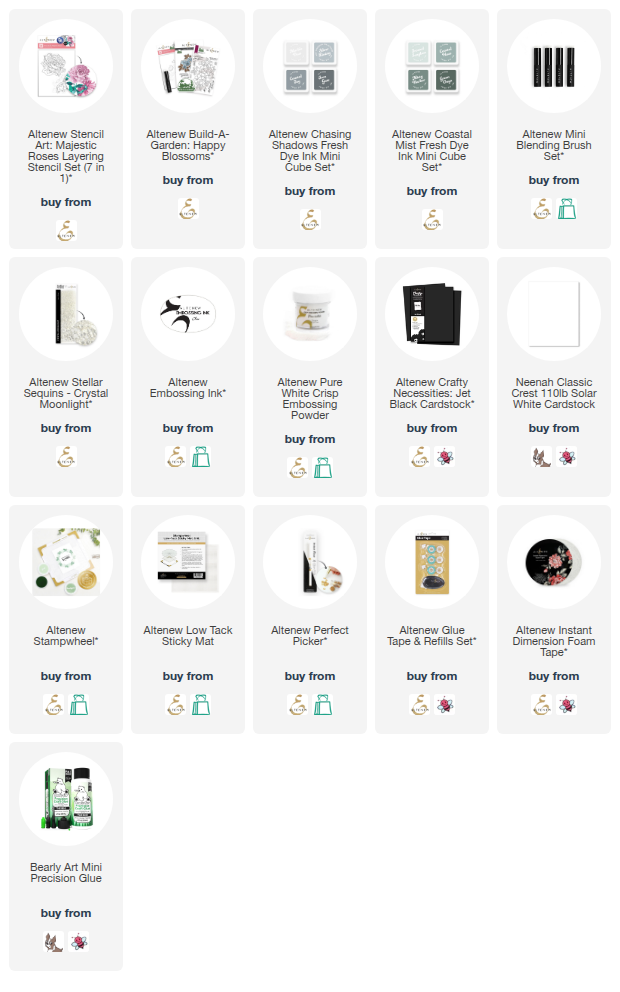
Here are the links to what I have used on the project. Affiliate links are used on some products. This means that if you make a purchase after clicking on my link, I receive a small commission with no extra cost to you. I truly appreciate your support when using these links. Please click on the logo below the product to shop at your favourite store. All products were personally purchased except marked with an asterisk (*) which were kindly sent to me to use. You can read my full disclosure here.


For the full step by step tutorial on how I made the card, please visit the Spellbinders Blog here. Thank you so much for stopping by today. I hope you have a great rest of the weekend! 

15 August 2025

Hero Arts | Hocus Pocus

Hello there, today I have a card to share using the Hero Studio August 2025 Die Set of the Month which is called Haunted Gallery. The set consists of lots of different frames and icons that can go inside the frames. For today's card, I just used the icons. 

PLEASE NOTE: This post contains affiliate links. Please see below for my full disclosure.


I started off by die cutting the icons from the Hero Arts Hero Studio August 2025 Die Set of the Month. I cut the cat, hat, bats and base layer of the skull from Hero Arts Pitch Black Cardstock. I cut the moon and top layer of the skull from Spellbinders Classic White ColorWheel Cardstock, and the pumpkin from Spellbinders Carrot ColorWheel Cardstock for the base layer and Hero Arts Papaya Cardstock for the top layer. 


The layers were adhered together using liquid glue. I then added a little Spellbinders Rainforest ColorWheel Cardstock behind the cat to show though for his eyes. I took the sentiment from the Hero Arts Hero Studio August 2025 Card Kit of the Month and stamped it onto Hero Arts Pitch Black Cardstock using Hero Arts Clear Embossing & Watermark Ink. I applied Detail White Embossing Powder and heat set. It was die cut out using the coordinating dies. 


I die cut the die another two times from the same black cardstock and adhered them one on top of another for added dimension. I then took a 4.25" x 5.5" panel of Spellbinders Lilac ColorWheel Cardstock and added ink blending around the edges. I used Hero Arts Amethyst Core Ink, followed by Hero Arts Purple Galaxy Reactive Ink and lastly, Hero Arts Pitch Black Core Ink


I then splattered on new Hero Arts Black Acrylic Speckle Ink around the edges and set it aside to dry. Once dry, It was adhered to a white A2 sized white card base. I adhered the icons on top with a combination of liquid glue and thin foam tape. The sentiment was adhered with liquid glue. To finish, I added Spellbinders Onyx Color Essentials Gems to the centres of the bats. 

SUPPLIES:


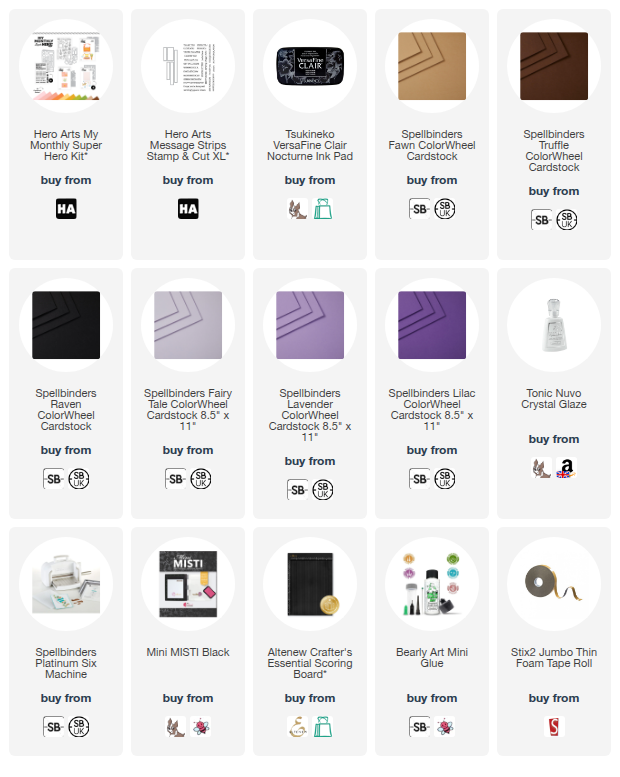
Here are the links to what I have used on the project. Affiliate links are used on some products. This means that if you make a purchase after clicking on my link, I receive a small commission with no extra cost to you. I truly appreciate your support when using these links. Please click on the logo below the product to shop at your favourite store. All products were personally purchased except marked with an asterisk (*) which were kindly sent to me to use. You can read my full disclosure here.


Please check out the Hero Arts website for more examples using this set, including ones using the frames. Thank you so much for stopping by today, I really do appreciate it. I hope you have a wonderful day! 

14 August 2025

Spellbinders | August 2025 Clubs Blog Hop + Giveaway

Hello there, I am delighted to be joining Spellbinders today to celebrate the August 2025 Club Kits with a fun blog hop. Each stop on the hop is sharing a different club. Mine is the Small Die of the Month Club Kit called "The Deep Blue Two". In case you missed it, I already shared one card using the kit here

PLEASE NOTE: This post contains affiliate links. Please see below for my full disclosure.


For my card, I started off by die cutting the coral, seaweed and fish from the Spellbinders August 2025 Small Die of the Month Club Kit from Spellbinders ColorWheel Cardstock. I used Orchid and Mulberry for the large coral, Lilac, Lavender and Fairy Tale for the tube pipe coral, and Peridot and Rainforest for the seaweed. 

For the fish, I used Lavender and Lilac for the small fish, cutting the base layer from Raven for the eyes. The two bigger fish were cut from Beeswax and Carrot, again with Raven for the eyes. 


For the scuba divers, I cut their faces and hands from Alabaster, the hair for the one on the left from Truffle, the hair for the one on the right from Acorn, their scuba wetsuits from Lilac and Raven, their flippers from Beeswax, and their oxygen tanks from Fog. For the masks I used layers of (bottom to top) Raven, Classic White, Seaside and Raven again. I used Anchor for the mouth part. 

I adhered all the layers together for the divers and sea life using Bearly Art Glue and set them aside while I worked on the card base. 


I took a 4.25" x 5.25" panel of Spellbinders Waterfall ColorWheel Cardstock and added ink blending at the bottom using Altenew Sweet Dreams Fresh Dye Inks (Aqualicious & Teal Cave) using a Large Blending Brush. It was adhered to a US A2 sized white card base using tape runner adhesive. The coral was adhered first, followed by the seaweed. I adhered the fish using liquid glue and the divers using thin foam tape. 


I stamped the sentiment from the Spellbinders Typewriter Adventure Sentiments Clear Stamp Set onto black cardstock using Versamark Ink. I applied white embossing powder and heat set. It was cut into a strip and adhered to the card using thin foam tape. To finish, I embellished with Concord & 9th Dew Drops

BLOG HOP:


Please click on the participants' links below to visit their blogs:


GIVEAWAY:

To celebrate, Spellbinders are giving away a $25 gift certificate to 3 lucky blog readers – selected from the comments on our blog. Giveaway closes Sunday, August 17th, 11:59 pm MST. The winner will be announced in this blog hop post the following Wednesday. The winner is responsible for shipping costs, duties, and taxes. Please note, store credit (gift certificate) cannot be applied to Club Subscriptions. Store credit can be applied to shop past Club products, Club extras and regular releases.

SUPPLIES:


Here are the links to what I have used on the project. Affiliate links are used on some products. This means that if you make a purchase after clicking on my link, I receive a small commission with no extra cost to you. I truly appreciate your support when using these links. Please click on the logo below the product to shop at your favourite store. All products were personally purchased except marked with an asterisk (*) which were kindly sent to me to use. You can read my full disclosure here.


Thank you so much for stopping by today, I hope you have a wonderful time on the rest of the hop and a great rest of the day too! Take care! 

13 August 2025

Spellbinders | You're Fintastic

Hello there, I hope you are doing well. Today I have a card to share using the Spellbinders August 2025 Small Die of the Month Club Kit called "The Deep Blue Two". The theme this month for all the kits is under the sea and this kit features coral, seaweed, fish and two deep sea divers. I excluded the deep sea divers for this card and just focussed on the fish and coral, but I will have another card to share tomorrow featuring the divers! 

PLEASE NOTE: This post contains affiliate links. Please see below for my full disclosure.


I started off by die cutting the coral, seaweed and fish from the Spellbinders August 2025 Small Die of the Month Club Kit from Spellbinders ColorWheel Cardstock. I used Orchid for the large coral piece, die cutting it twice to layer up one on top of another for some dimension. I used Lilac, Lavender and Fairy Tale for the tube pipe coral, and Peridot and Rainforest for the seaweed. 


For the fish, I used Lavender and Lilac for the small fish, cutting the base layer from Raven for the eyes. The two bigger fish were cut from Beeswax and Carrot. I adhered all the layers together using Bearly Art Glue and set them aside while I worked on the card base. 


I took a 4.25" x 5.25" panel of Spellbinders Waterfall ColorWheel Cardstock and added ink blending at the bottom using Altenew Sweet Dreams Fresh Dye Inks (Aqualicious & Teal Cave) using a Large Blending Brush (love these brushes for getting a soft smooth blend!). It was adhered to a US A2 sized white card base using tape runner adhesive. 


The coral was adhered first, followed by the seaweed. I adhered the smaller fish using liquid glue and the larger fish using thin foam tape. I stamped the sentiment from the Spellbinders Typewriter Adventure Sentiments Clear Stamp Set onto black cardstock using Versamark Ink. I applied white embossing powder and heat set. It was cut into a strip and adhered to the card using thin foam tape. To finish, I embellished with Concord & 9th Dew Drops

SUPPLIES:


Here are the links to what I have used on the project. Affiliate links are used on some products. This means that if you make a purchase after clicking on my link, I receive a small commission with no extra cost to you. I truly appreciate your support when using these links. Please click on the logo below the product to shop at your favourite store. All products were personally purchased except marked with an asterisk (*) which were kindly sent to me to use. You can read my full disclosure here.


SPELLBINDERS CLUB KITS

To buy the kit - if you are a current subscriber to the Small Die of the Month Club Kit (or any kit), you do not need to do anything. You will be charged as normal on the 5th of the month and your kit will be shipped to you. If you are a new subscriber, you can purchase the kit from the 6th - 27th August 2025. Members can cancel their membership at any time. If you are not keen on subscribing to the kit but still want it, you can purchase it individually (without a subscription) on the 10th of the following month but the price will be higher. 


As mentioned, I will be back tomorrow to share another card using the kit. Thank you so much for stopping by today, I really do appreciate it. I hope you have a wonderful day! 

10 August 2025

Spellbinders | Joy

Hello there and happy Sunday to you! Today I have a card to share using the new Spellbinders City Holiday Collection by Yana Smakula, which is out today along with lots of other fabulous collections. The Shadow Joy Dies have three different layers to them to create, as the name suggests, a shadow on the word joy. I used just one layer on this card but you change it up and add two! 

PLEASE NOTE: This post contains affiliate links. Please see below for my full disclosure.


I started off my card by creating the card base, since I wanted to give it time to dry. I took a 4.25" x 5.5" panel of Spellbinders Cosmic Sky ColorWheel Cardstock and added ink blending around the edges using Hero Arts Nautical Core Ink and an Extra Large Blending Brush. I then splattered the new Spellbinders Sparkle Splatter Effects (this has a lovely silvery shimmer to it!) on top and set it aside to dry. Once dry, it was adhered to a US A2 sized white card base. 


I then took the base layer of the joy from Spellbinders Shadow Joy Etched Dies and die cut it from Spellbinders Brushed Metallic Silver Treasured Cardstock. I cut the top layer from Spellbinders Cosmic Sky ColorWheel Cardstock twice. I adhered them on top of each other and then onto the silver layer. 


I took the foliage from Spellbinders Christmas Cracker Etched Dies and cut the holly from Spellbinders Rainforest ColorWheel Cardstock, the evergreen sprigs from Spellbinders Fern ColorWheel Cardstock, and the berry sprig from Spellbinders Peridot ColorWheel Cardstock. The berries were cut from Spellbinders Classic White ColorWheel Cardstock. I adhered the berries onto the sprigs and then arranged and adhered all the foliage onto the card, using the joy word as a guide for placement. 


The joy word was then adhered on top. I took the sentiments from the Spellbinders Mistletoe Greetings Press Plate & Die Set and foiled them onto white cardstock using Spellbinders Silver Foil and the Glimmer Hot Foil System. They were die cut out and the 'Christmas Greetings' one adhered onto the card (with liquid glue on the left and thin foam tape on the right). To finish, I embellished with Spellbinders Silver Mix Color Essentials Gems

SUPPLIES:


Here are the links to what I have used on the project. Affiliate links are used on some products. This means that if you make a purchase after clicking on my link, I receive a small commission with no extra cost to you. I truly appreciate your support when using these links. Please click on the logo below the product to shop at your favourite store. All products were personally purchased except marked with an asterisk (*) which were kindly sent to me to use. You can read my full disclosure here.


This collection from Yana is absolutely stunning! I have another card that I made using the collection, for the Spellbinders Blog, which I will share next week. Thank you so much for stopping by today, I hope you have a wonderful rest of the weekend! Take care! 

8 August 2025

Spellbinders | Color Swatch Petal Stack Colour Combos

Hello there, today I have something a little different to share. Back in March, I shared how I was swatching my Spellbinders ColorWheel Cardstock, you can see that post here. Well, there is a new die in town! This one is to help with colour combinations. 

PLEASE NOTE: This post contains affiliate links. Please see below for my full disclosure.


The new Spellbinders Color Swatch Petal Stack is a die that cuts six different pieces that stack on to the base layer of the original Spellbinders Color Swatch Petal Etched Dies. This is a great way to keep track of different colour combinations. 

I started off by grabbing some of the Spellbinders ColorWheel Cardstock that I use the most and die cutting it using the Spellbinders Color Swatch Petal Stack die. This die cuts all six sections/stack pieces at once, that is why most of my colour combinations have the same colour palette, so that I could utilise as may of the pieces as possible! You could, however, be more strategic and place the die over the piece of cardstock and just cut that portion of it. 

I then cut the base layer of the Spellbinders Color Swatch Petal Etched Dies from Spellbinders Classic White ColorWheel Cardstock. I also cut the toppers from white too. You can do them from a colour of cardstock but I didn't have that many colours for my combos today! I added Barely Art Glue to the back of the stack pieces and then adhered them to the base piece, followed by the topper piece at the top. 

For reference, the colour combos I used are:

Left to right and colours bottom to top:

  1. Lavender, Fairy Tale, Lilac, Beeswax, Classic White
  2. Tutu, Blush, Pomegranate, Teal Topaz, Waterfall
  3. Blush, Tutu, Waterfall, Teal Topaz, Peridot
  4. Classic White, Waterfall, Teal Topaz, Peridot, Rainforest
  5. Lilac, Lavender, Fairy Tale, Waterfall, Teal Topaz
You can get a stamp set with the names of the cardstock on, so that you could stamp them on the stacked pieces. I liked them without, so I just wrote the names on the back of the swatches instead.  

SUPPLIES:


Here are the links to what I have used on the project. Affiliate links are used on some products. This means that if you make a purchase after clicking on my link, I receive a small commission with no extra cost to you. I truly appreciate your support when using these links. Please click on the logo below the product to shop at your favourite store. All products were personally purchased except marked with an asterisk (*) which were kindly sent to me to use. You can read my full disclosure here.


If you are stuck for colour combinations, Spellbinders has a DIY Color Deck System that works specifically with their ColorWheel Cardstock that looks great! I do not have it yet but it looks like a great idea! There are loads of different colour combinations on Pinterest though, if you are not too specific regarding the shade of colour matching the cardstock perfectly. Thanks so much for stopping by today, I really do appreciate it. I hope you have a great day! 

7 August 2025

Altenew | August 2025 Release Blog Hop + Giveaway

Hello there, I am delighted to be joining Altenew today to celebrate the August 2025 release. Another wonderful release this month - stamps, dies, embossing folders, pens, storage pockets and more! Today I have two projects to share with you, plus a look at the new pens and storage pockets. 

PLEASE NOTE: This post contains affiliate links. Please see below for my full disclosure.


ROSE REVERIE


My first card uses the new Altenew Build-A-Garden: Rose Reverie. I started off by stamping the image onto a panel of white cardstock using Altenew Obsidian Pigment Ink. I then used the coordinating stencils to colour the image in using ink blending. I used Altenew Deep Blue Seas Fresh Dye Inks for the petals and Altenew Green Valley Fresh Dye Inks for the leaves. 


I then die cut it out using the coordinating die. I adhered it to a US A2 sized white card base using Altenew Instant Dimension Foam Tape, cutting off the excess from the sides using scissors. I stamped a sentiment from the set onto Altenew Crafty Necessities Jet Black Cardstock using Altenew Embossing Ink


I applied Altenew Pure White Crisp Embossing Powder and heat set. It was cut into a strip and adhered to the card with thin foam tape. To finish, I embellished with Altenew Ivory Pearl Dots

BRIGHT BLOOMS + FINE LINER PENS


For my next project, I created a tag using the new Bright Blooms Layering Die Set and Fine Liner Pens. I started off by die cutting two sets of the dies in the Altenew Bright Blooms Layering Die Set from white cardstock. I added ink blending to the petals using Altenew Pocketful of Sunshine Fresh Dye Inks. I used Altenew Coffee Break Fresh Dye Inks for the flower centres. 


I die cut the leaves from the Altenew Craft-A-Flower: Prairie Roses Layering Die Set from white cardstock and added ink blending to them using Altenew Green Valley Fresh Dye Inks. I then assembled the flowers using the keyhole system and liquid glue. I die cut an Altenew Terrific Tags Die from white cardstock and adhered the leaves and flowers on top using liquid glue. I then die cut the hole reinforcer from Altenew Labels & Tags 2 Die Set from Altenew Crafty Necessities Jet Black Cardstock and adhered that at the top. 


Instead of adding embellishments, I thought I would add "splatter" using the new Altenew Fine Liner Pens 2.0. Although difficult to see, I used a few different sizes for the dots - mainly 01 and 03, but I did use 005 for the tiny ones too! 


I stamped a sentiment from Altenew Build-A-Garden: Rose Reverie onto Altenew Crafty Necessities Jet Black Cardstock using Altenew Embossing Ink. I applied Altenew Pure White Crisp Embossing Powder and heat set. It was cut into a strip and adhered to the tag using Altenew Instant Dimension Foam Tape. To finish, I tied twine through the top of the tag and tied in a bow. 

STORAGE POCKETS


Before I go, I wanted to share that there are two new sizes of storage pockets available now. The ones on the left are 4.5" x 6" Storage Pockets and are great for smaller stamp sets but also die cuts, wax seals and general storage for smaller bits and bobs. The ones of the right are the 6.5" x 8.5" Storage Pockets and fit embossing folders and paper pads, plus lots more! 

BLOG HOP:


This post is part of a fun, inspirational blog hop with prizes. Please click on the other participants in the hop below to visit their blogs. 

You are invited to the Inlinkz link party!

Click here to enter

GIVEAWAY:


$300 in total prizes! To celebrate this release, Altenew is giving away a $100 gift certificate to 1 lucky winner and a $50 gift certificate to 4 winners! Please leave a comment on the
Altenew Blog and/or each designer’s blog post on the blog hop list below by August 14th for a chance to win. Altenew will draw 5 random winners from the comments left on each stop of this blog hop and announce the winners on the Altenew's Blog Hop Post on August 16th, 2025.The winner of the $100 gift certificate will be chosen from comments left on the Altenew blog. 

SUPPLIES:


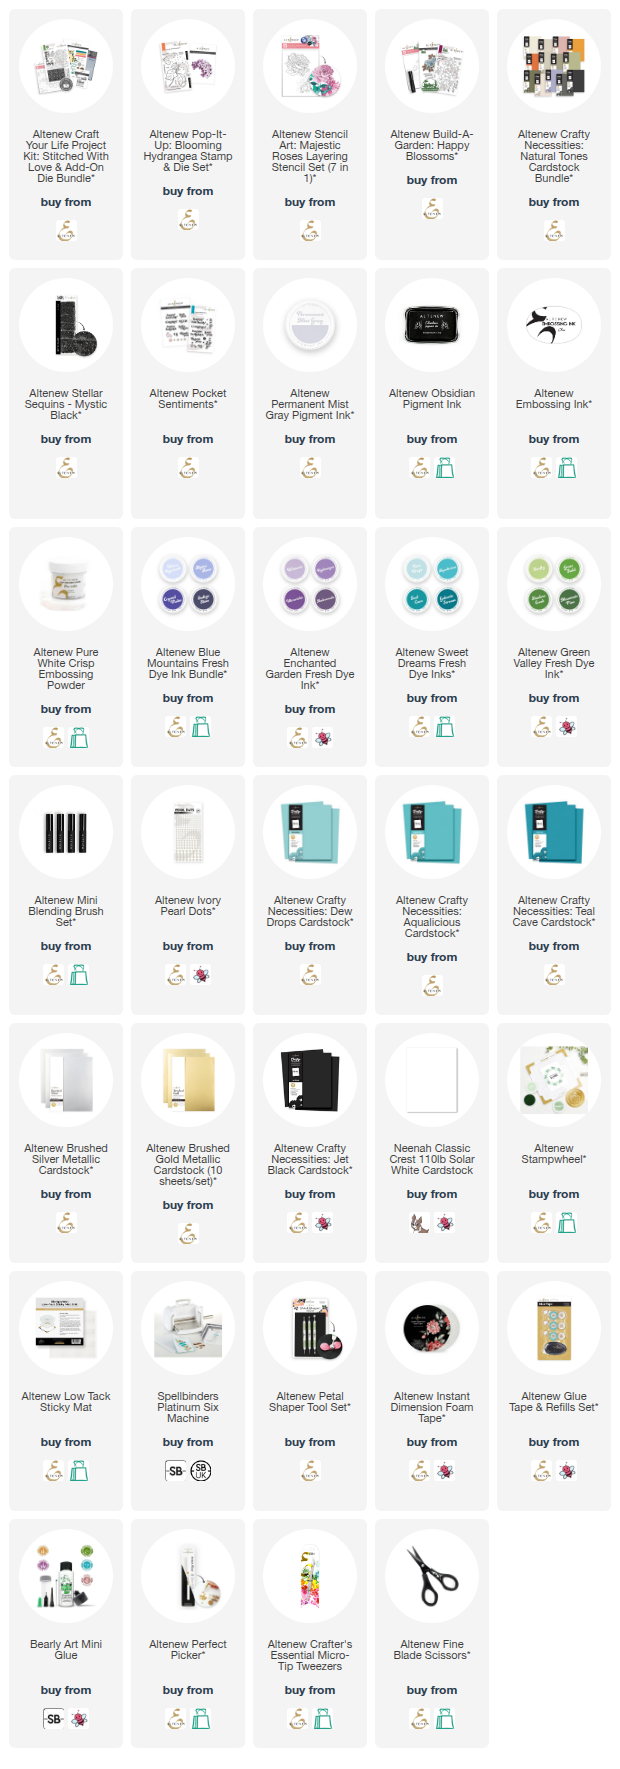
Here are the links to what I have used on the project. Affiliate links are used on some products. This means that if you make a purchase after clicking on my link, I receive a small commission with no extra cost to you. I truly appreciate your support when using these links. Please click on the logo below the product to shop at your favourite store. All products were personally purchased except marked with an asterisk (*) which were kindly sent to me to use. You can read my full disclosure here.


Thank you so much for stopping by today, I really do appreciate it. I hope you have a wonderful rest of the day! 
End of code