
Hello there, today I have a card to share using the Spellbinders Aged to Perfection collection. This collection is on the light-hearted/funny side. You wouldn't necessarily know it from the front of my card but I did add a funny sentiment on the inside!
PLEASE
NOTE: This post contains affiliate links. Please see below for my full
disclosure.

I started off my card by die cutting the new Spellbinders HBD Balloons Etched Dies from Spellbinders Waterfall (H & D) and Seaside (B) ColorWheel Cardstock. I die cut each letter three times and adhered them together (one on top of another).

On the top layer I added ink blending with Altenew Sweet Dreams Fresh Dye Inks. The strings were die cut from Spellbinders Fog ColorWheel Cardstock and adhered to the back of the balloons with liquid glue.

I die cut the Spellbinders Dancin' Dragon Etched Dies from Spellbinders ColorWheel Cardstock in Fairy Tale, Lavender, Lilac, Classic White and Raven. I added ink blending to the pieces using Altenew Enchanted Garden Fresh Dye Inks and adhered together using Bearly Art Glue, leaving his arms off at this point. I die cut the crown and present bow from Spellbinders Aquamarine Glitter Treasured Cardstock and the present itself from Seaside. They were adhered together and then onto the dragon. His left arm was then adhered on top of the present.

I die cut the cloud from the Spellbinders Tigger & Eeyore Etched Dies multiple times from white cardstock. They were adhered to a mini slimline (3.5" x 6.5") white card base using liquid glue and the excess cut off the sides with scissors. I then adhered the balloons on top. I adhered the dragon below using thin foam tape. I then adhered the dragon's hand on top of the balloon strings so that it looks like he is holding them and flying in the sky! To finish the front, I embellished with Spellbinders Aquamarine AB Color Essentials Gems.

For the inside of the card, I stamped a sentiment from the Spellbinders Birthday Laughs Sentiments Clear Stamp Set using Versafine Clair Nocturne Ink. I then die cut more of the clouds from white cardstock and adhered them around the sentiment. Some I managed to save from the pieces I had cut from the front of the card (the bits that were overhanging).
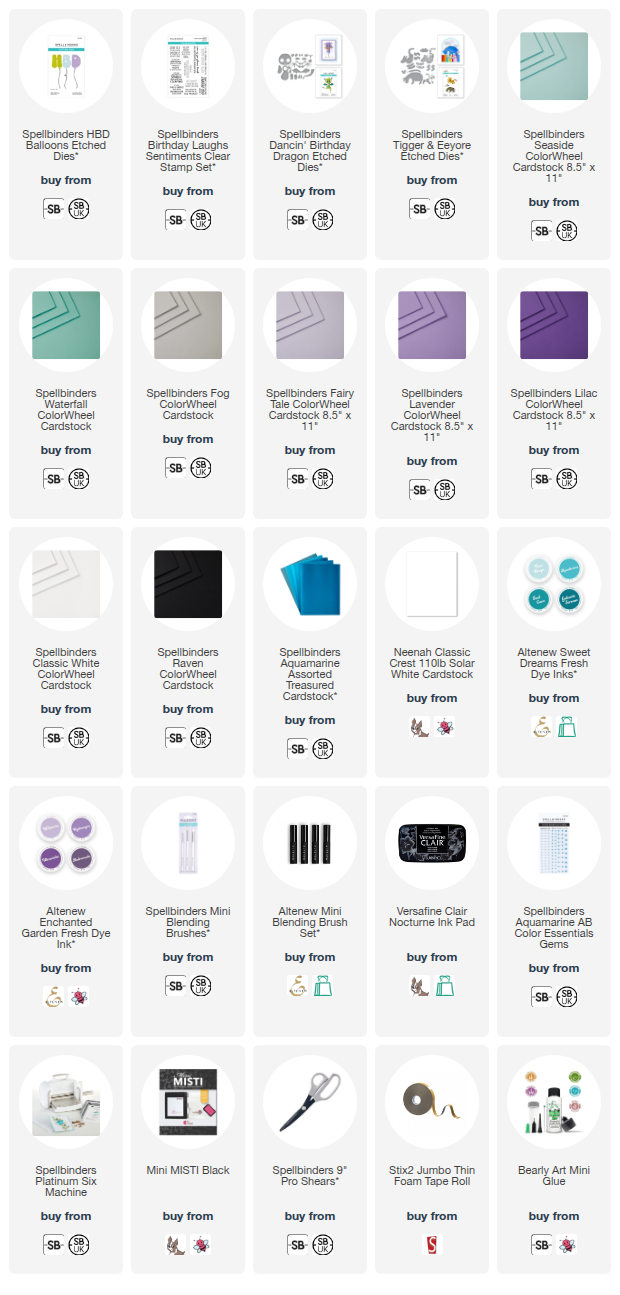
SUPPLIES:
Here are the links to what I have used on the project. Affiliate links are used on some products. This means that if you make a purchase after clicking on my link, I receive a small commission with no extra cost to you. I truly appreciate your support when using these links. Please click on the logo below the product to shop at your favourite store. All products were personally purchased except marked with an asterisk (*) which were kindly sent to me to use. You can read my full disclosure here.
There are lots of new collections releasing today over at Spellbinders. I will be sharing more cards using them over the next month. Thank you so much for stopping by today, I really do appreciate it. I hope you have a great day!
So cute, liking the pastel colour mix & the font on the letters x
ReplyDelete